

Skip to content
Home / Notes

Studio Notes

Practical help on materials, setup and the printmaking process, grounded in established linocut and block-print practice for learners and returning printers.

Studio Notes
What Is Linocut

What Is Linocut

Relief prints come from what you leave standing on the carved block.

Block Print Basics

Block Print Basics

Ink sits on the raised surface you leave behind, and that surface prints.

Soft-Cut or Lino

Soft-Cut or Lino

Soft-cut is easy on the hands, while traditional lino holds a finer line.

Using V-Tools

Using V-Tools

How V-tools create fine lines, texture and directional detail in a carving plan.

Using U-Gouges

Using U-Gouges

How rounded gouges help clear areas and control broader carved channels.

Safe Carving Habits

Safe Carving Habits

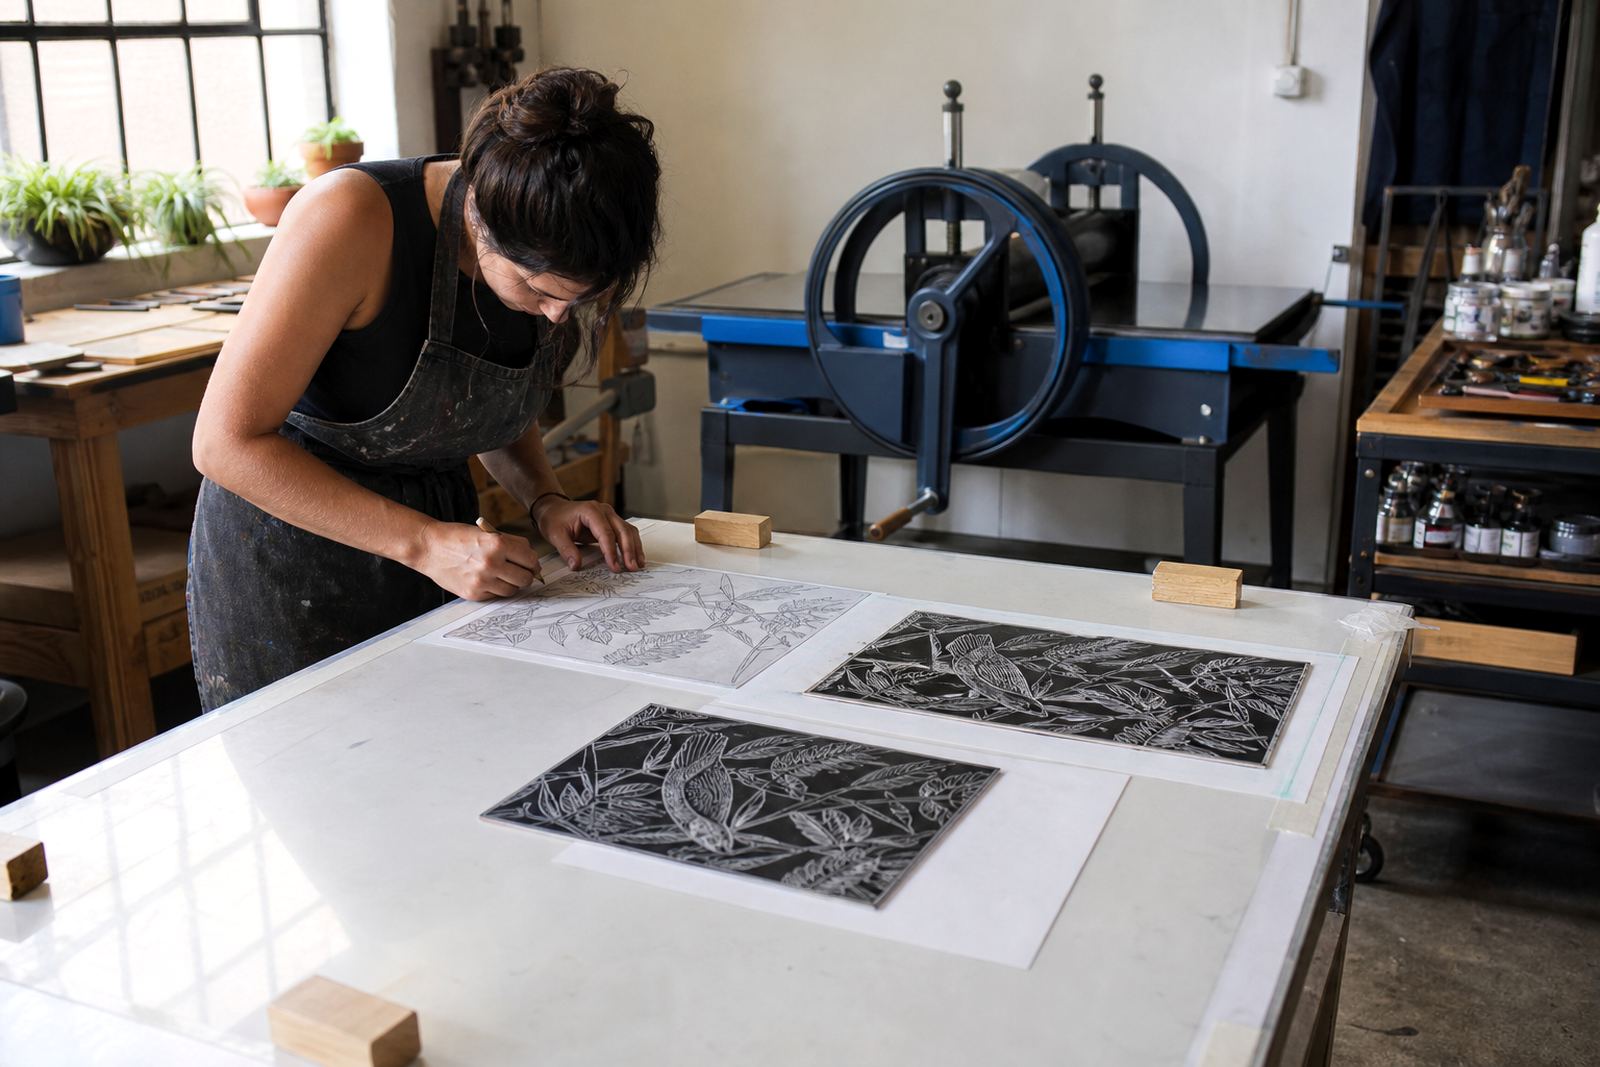
Essential carving direction, grip and table setup habits for beginners and groups.

Planning First Design

Planning First Design

Tips for choosing a simple first image that carves and prints well.

Transferring Image Lino

Transferring Image Lino

Ways to move a drawing onto lino before carving starts.

Rolling Ink Evenly

Rolling Ink Evenly

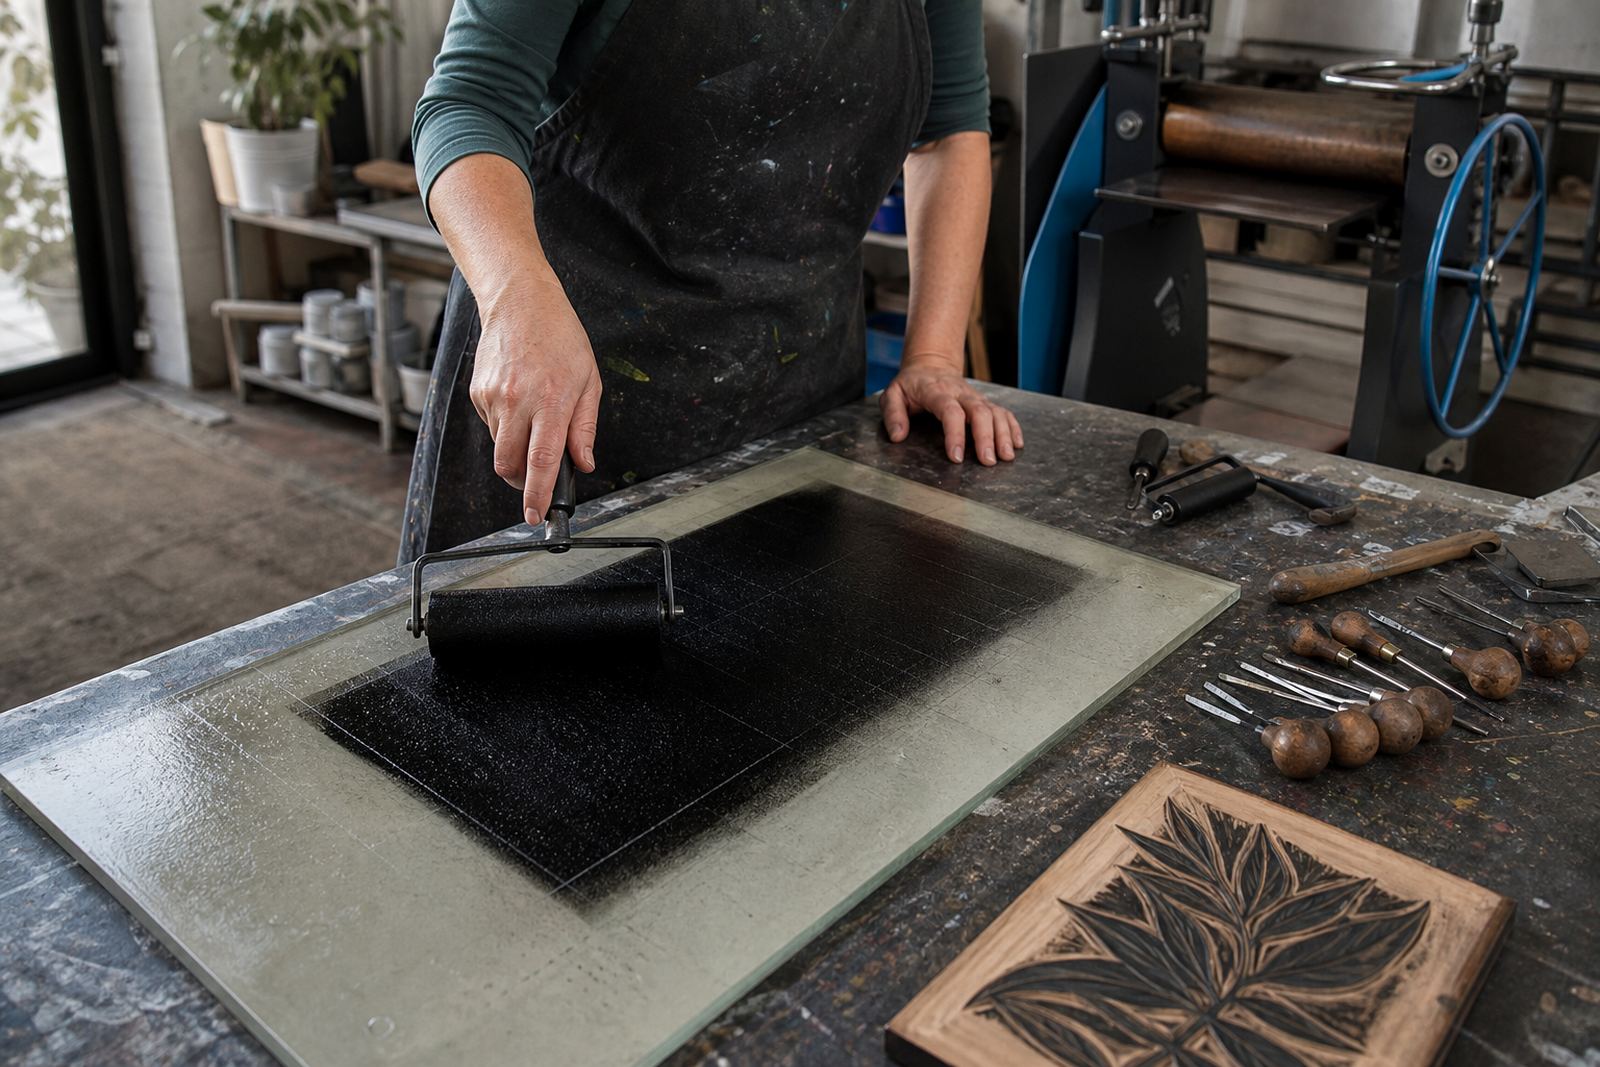
How to load a brayer for smooth, even ink coverage without over-inking.

Water-Based Inks

Water-Based Inks

When water-based block inks suit teaching spaces, home use and quick cleanup.

Oil-Based Inks

Oil-Based Inks

What to expect from oil-based block inks in drying time, handling and finish.

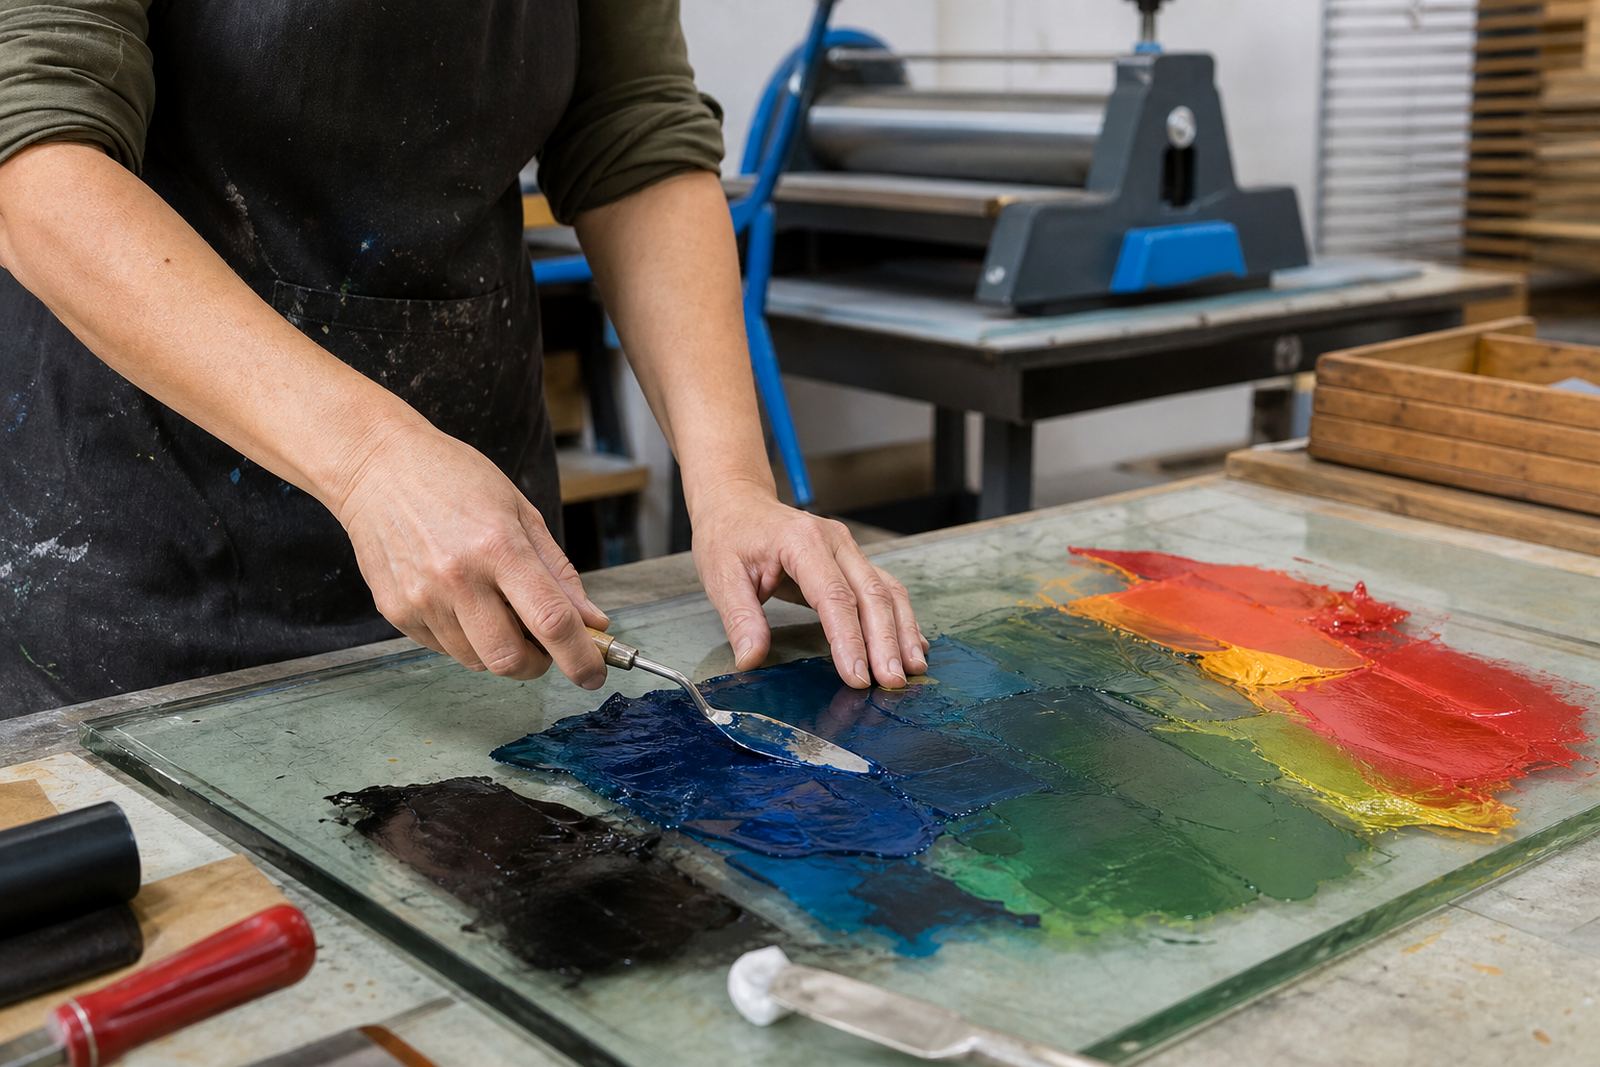
Mixing Print Colour

Mixing Print Colour

Mixing block-print colours in measured parts so the same shade comes back on every inking.

Choosing Paper Weight

Choosing Paper Weight

How paper thickness influences hand printing, pressure and print feel.

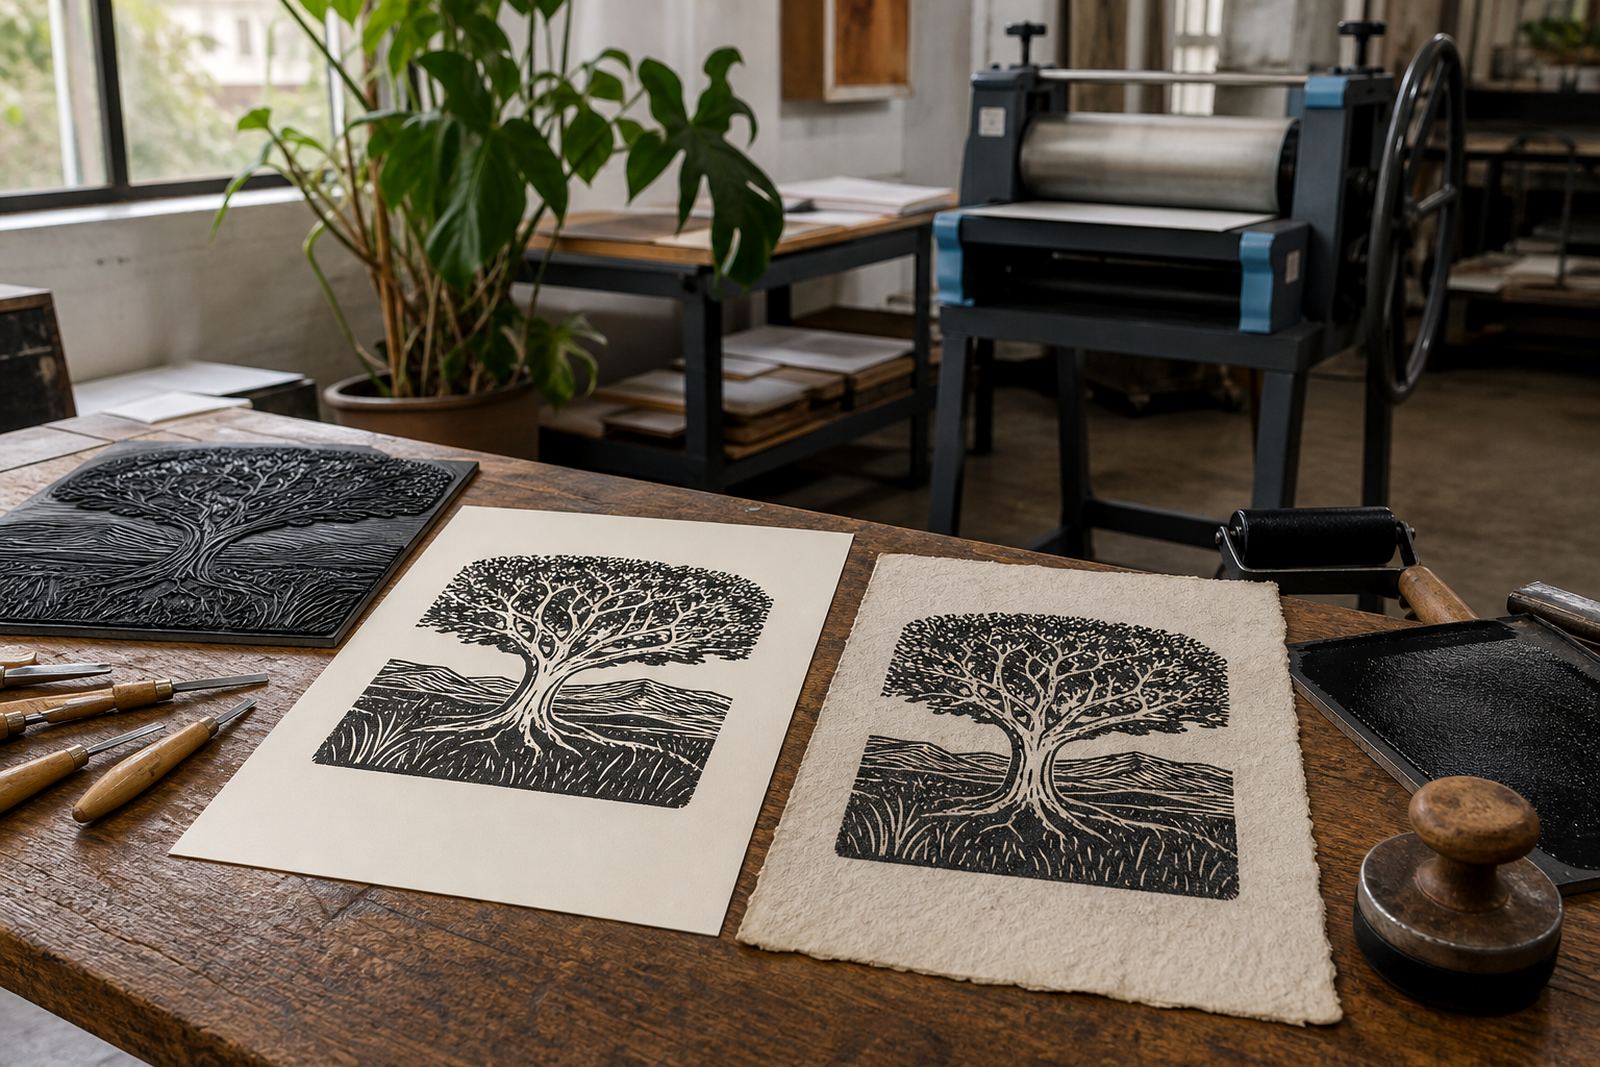
Smooth or Textured Paper

Smooth or Textured Paper

How surface texture affects ink pickup, detail and the look of a print.

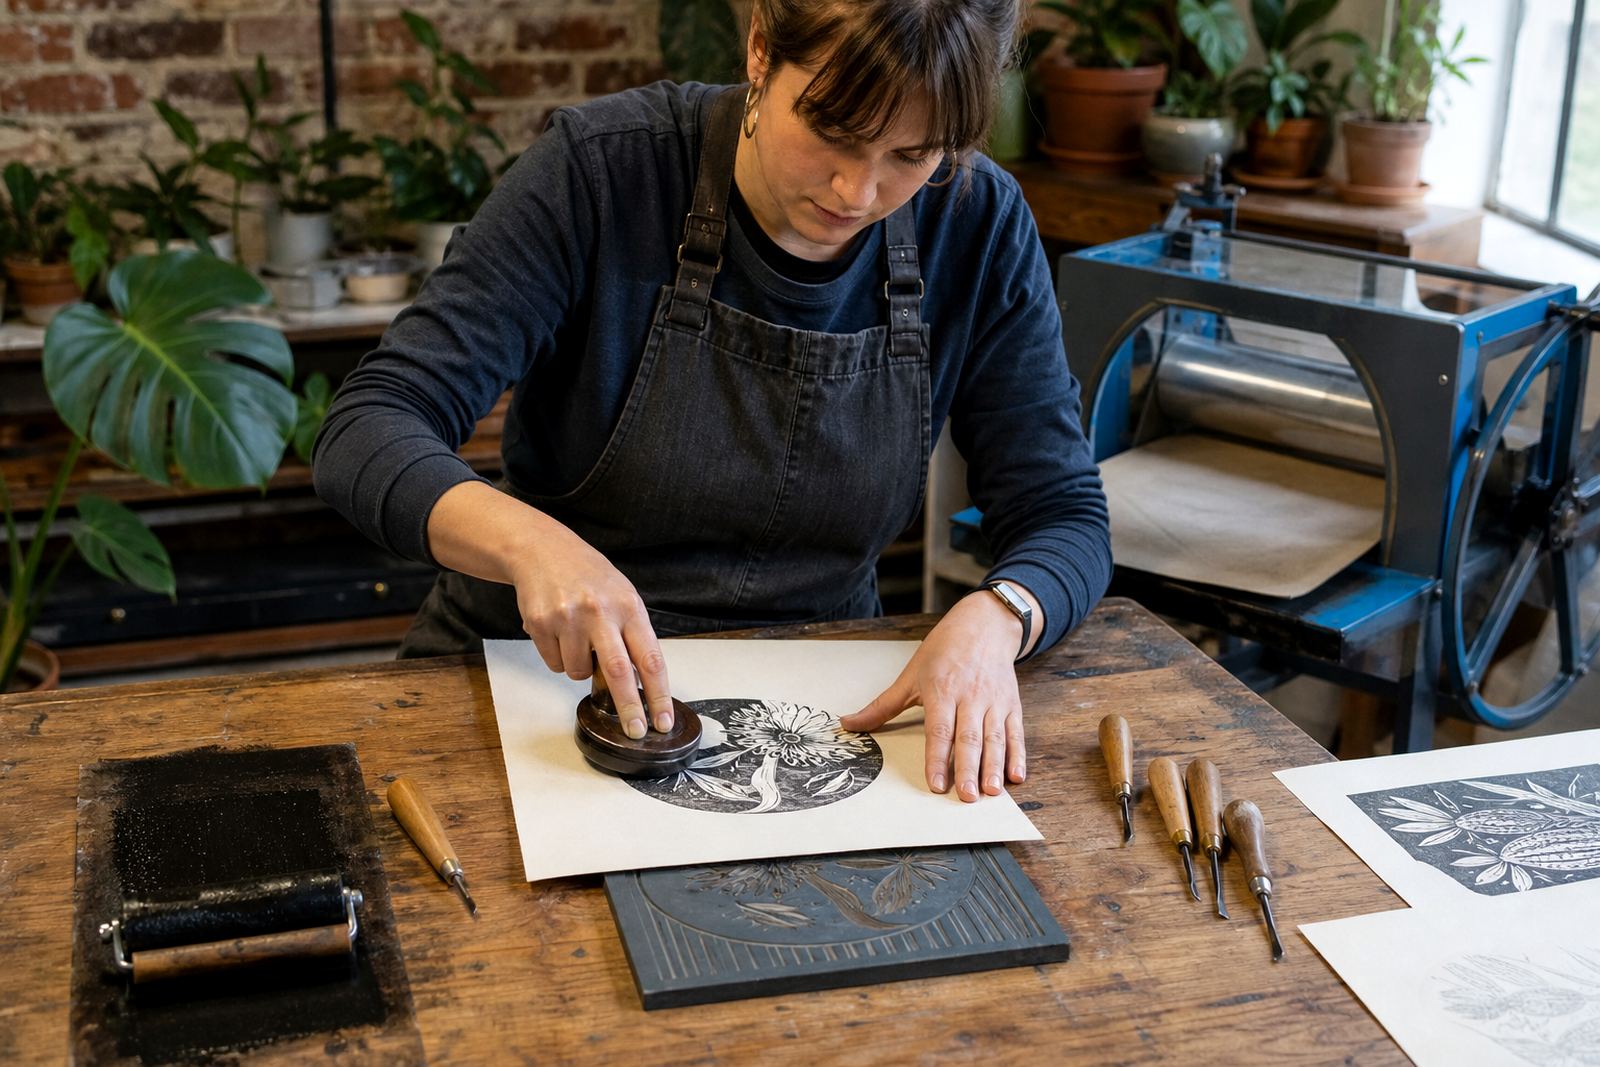
Baren Printing Basics

Baren Printing Basics

How to burnish a print by hand using steady pressure and even movement.

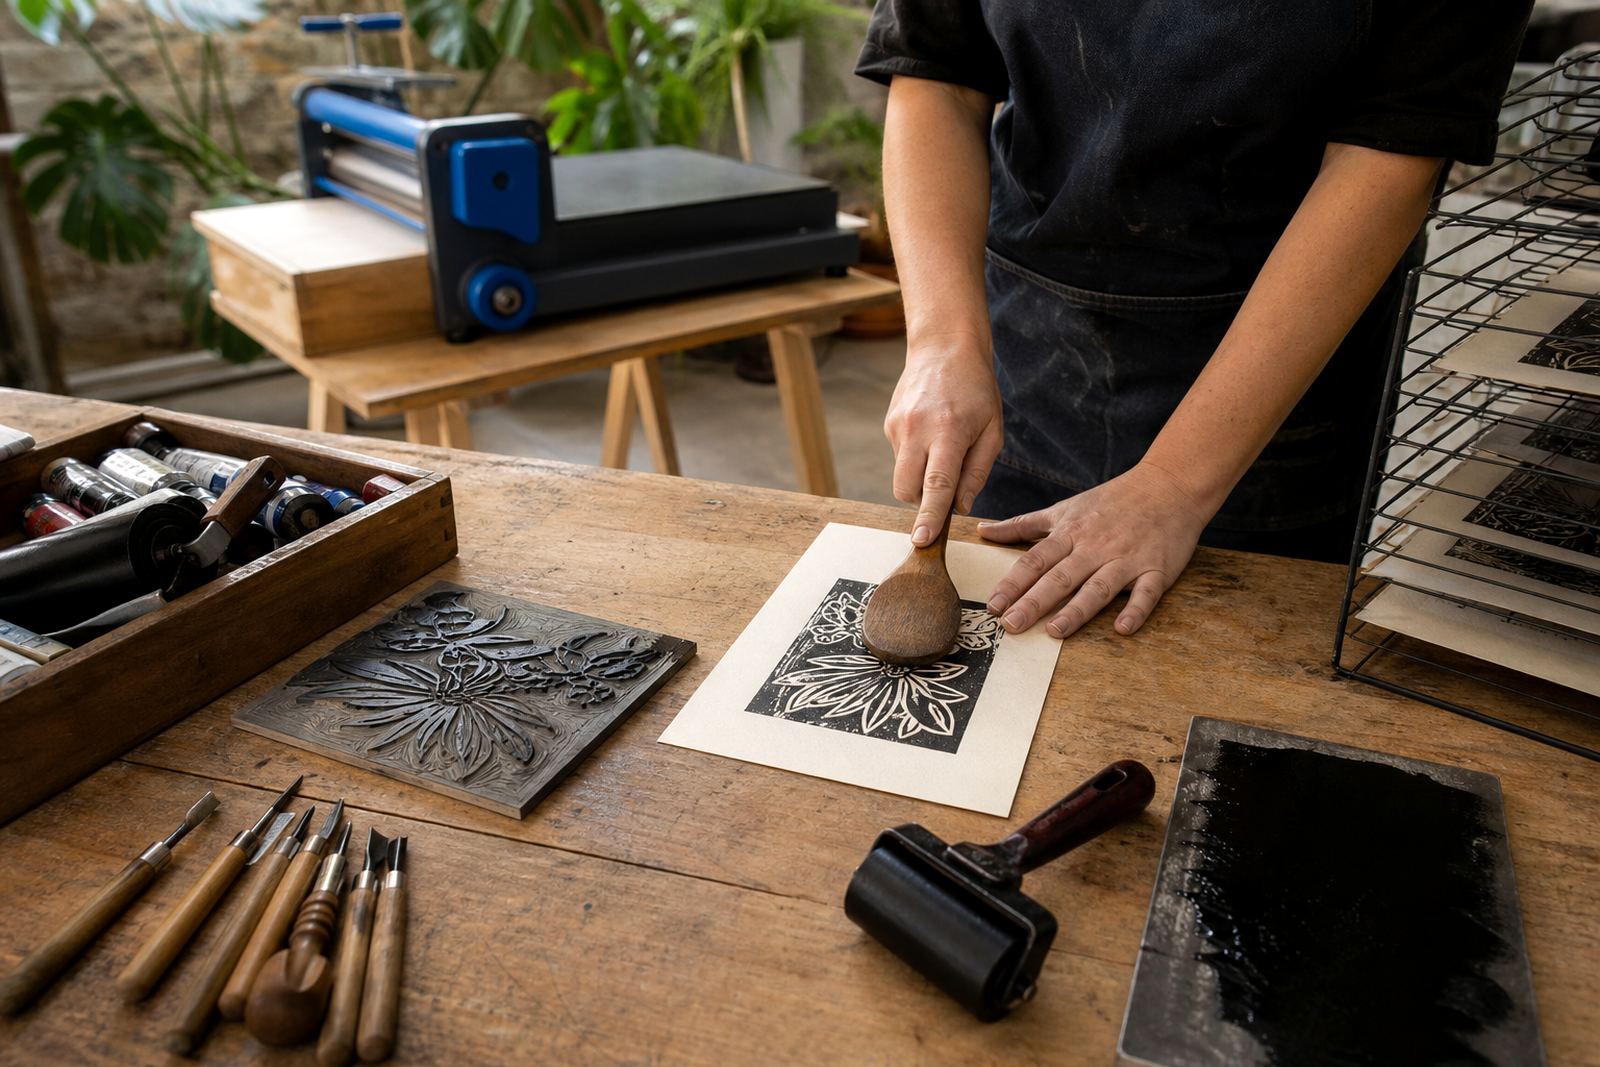
Spoon Burnishing Tips

Spoon Burnishing Tips

Useful spoon-printing methods for small workshops and press-free practice.

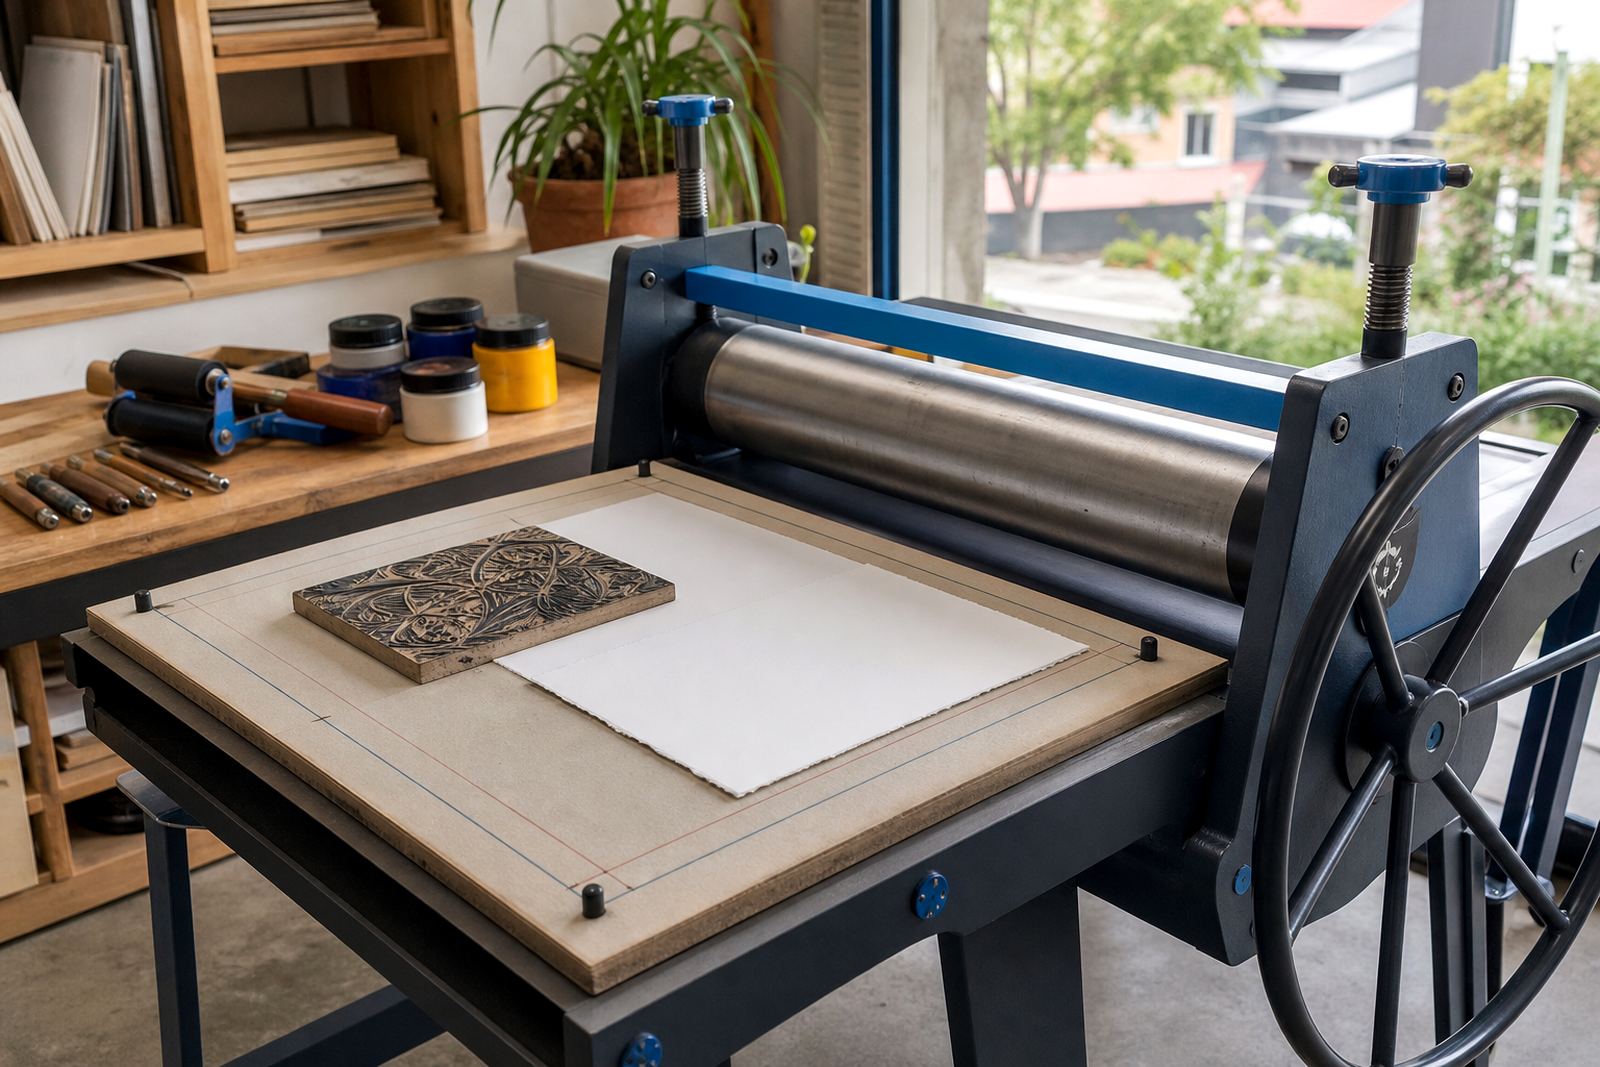
Press Printing Basics

Press Printing Basics

A relief press gives even pressure across the whole block in one pull.

Simple Registration Methods

Simple Registration Methods

Ways to keep paper placement consistent for cleaner repeat prints and layers.

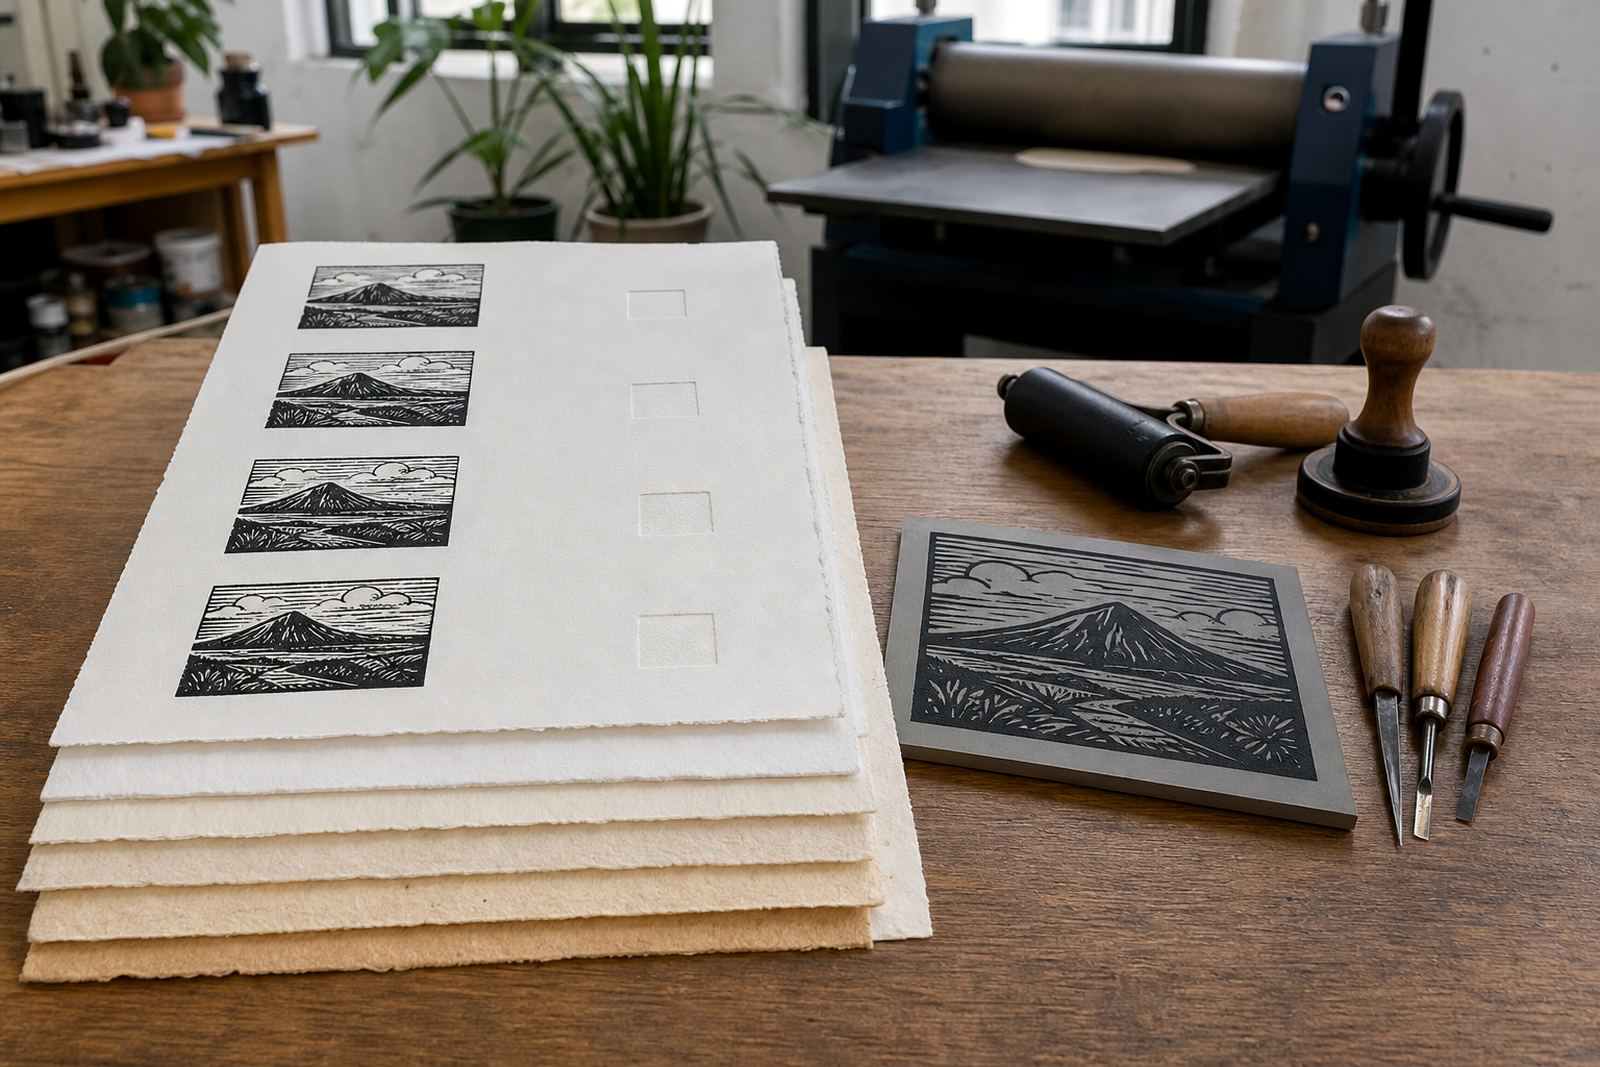
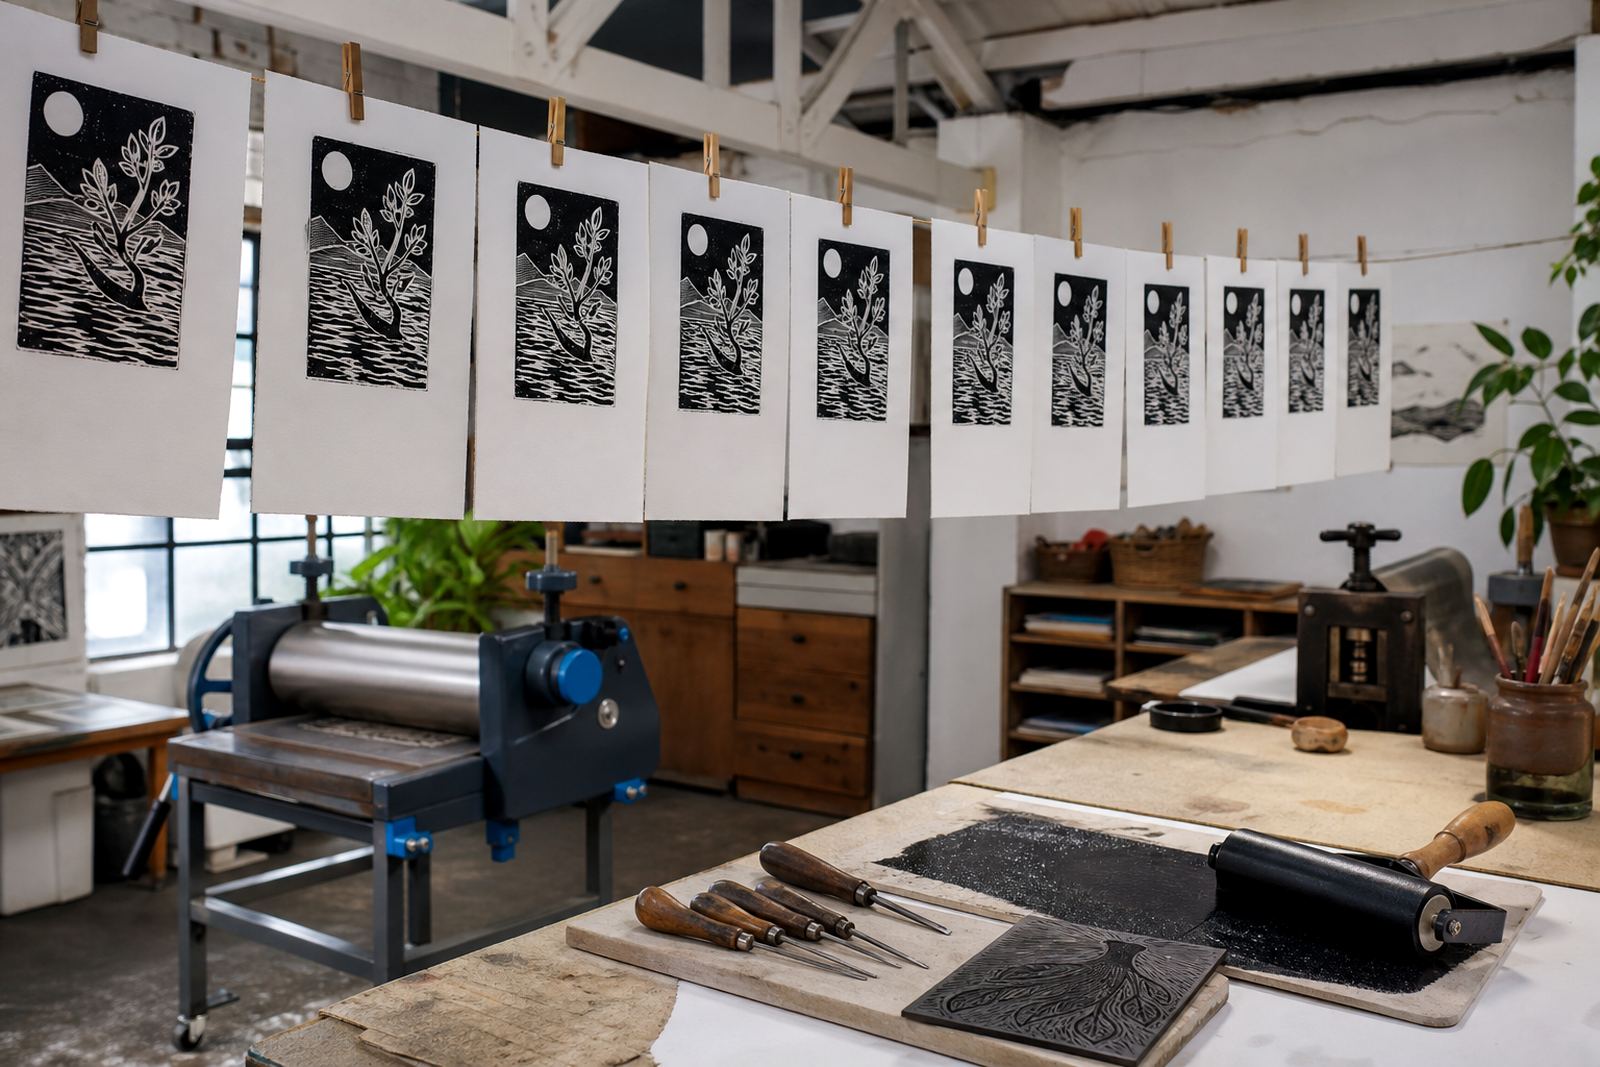
Printing an Edition

Printing an Edition

What it means to pull a short edition and keep prints consistent.

Proofs Before Final

Proofs Before Final

Why proof prints matter for checking cut depth, ink and composition.

Avoiding Over-Inking

Avoiding Over-Inking

How to tell if there is too much ink on the block and regain control of the surface.

Patchy Print Fixes

Patchy Print Fixes

Common causes of uneven transfer and how to adjust pressure, paper or ink.

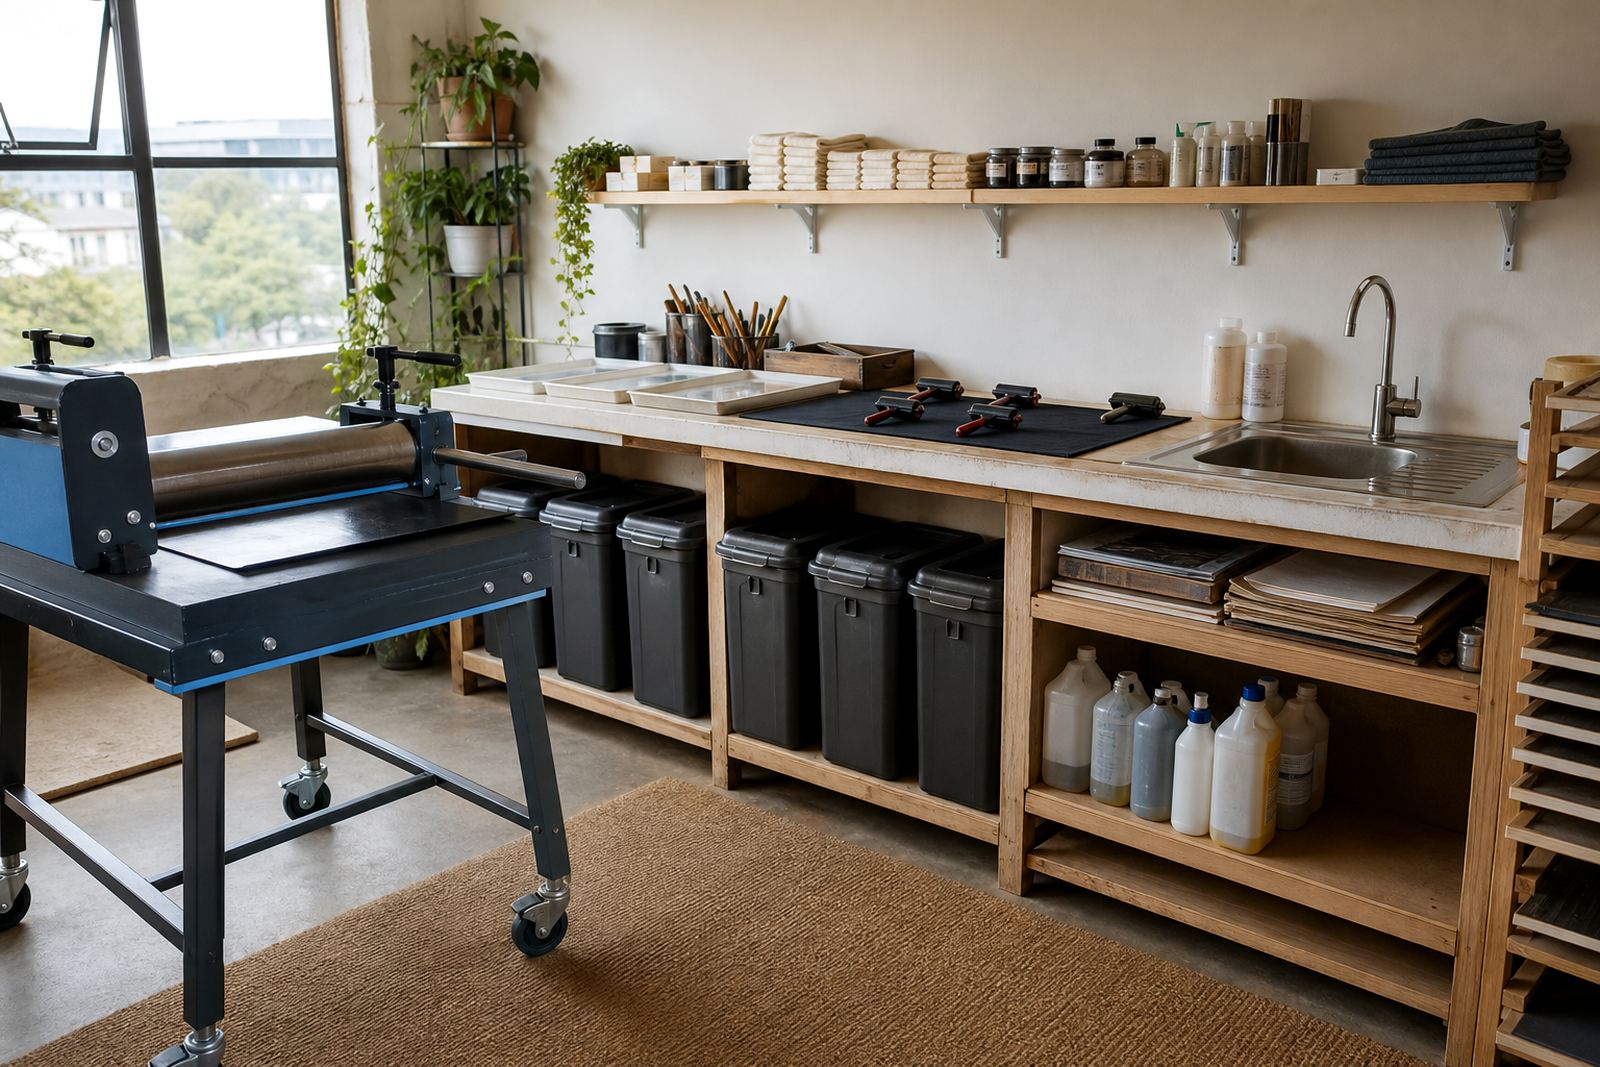
Cleaning Brayers

Cleaning Brayers

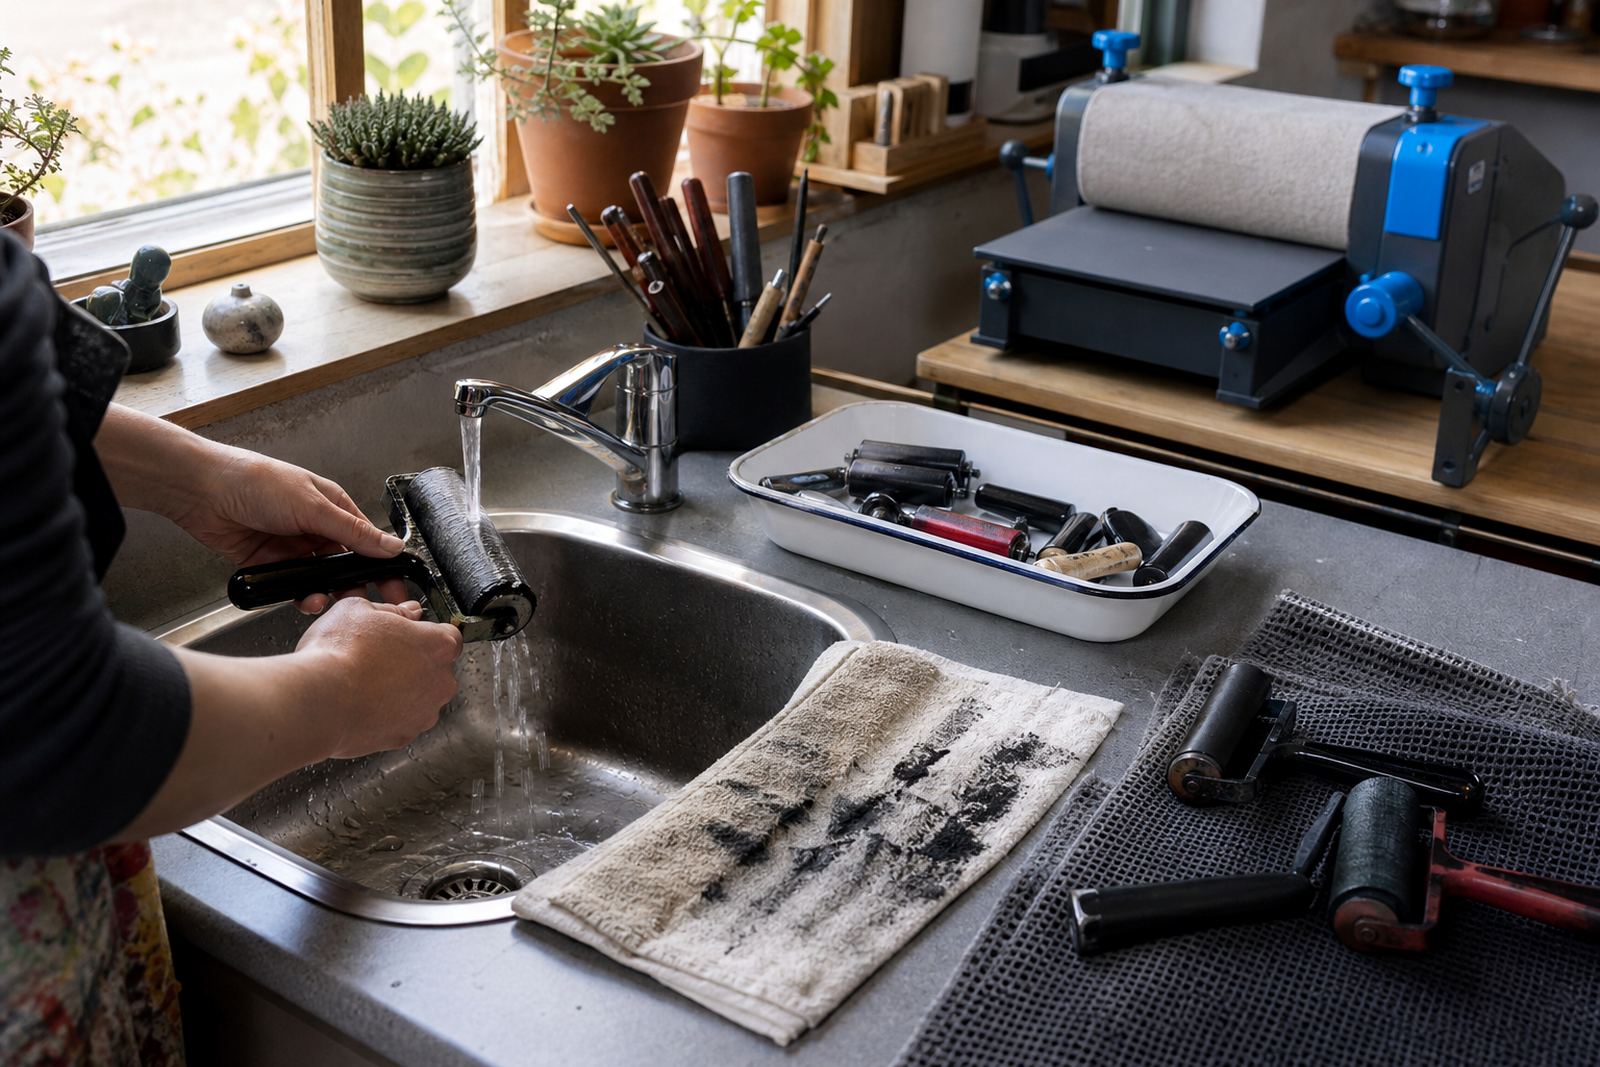
Practical brayer cleaning steps that help maintain a smooth rolling surface.

Caring for Tools

Caring for Tools

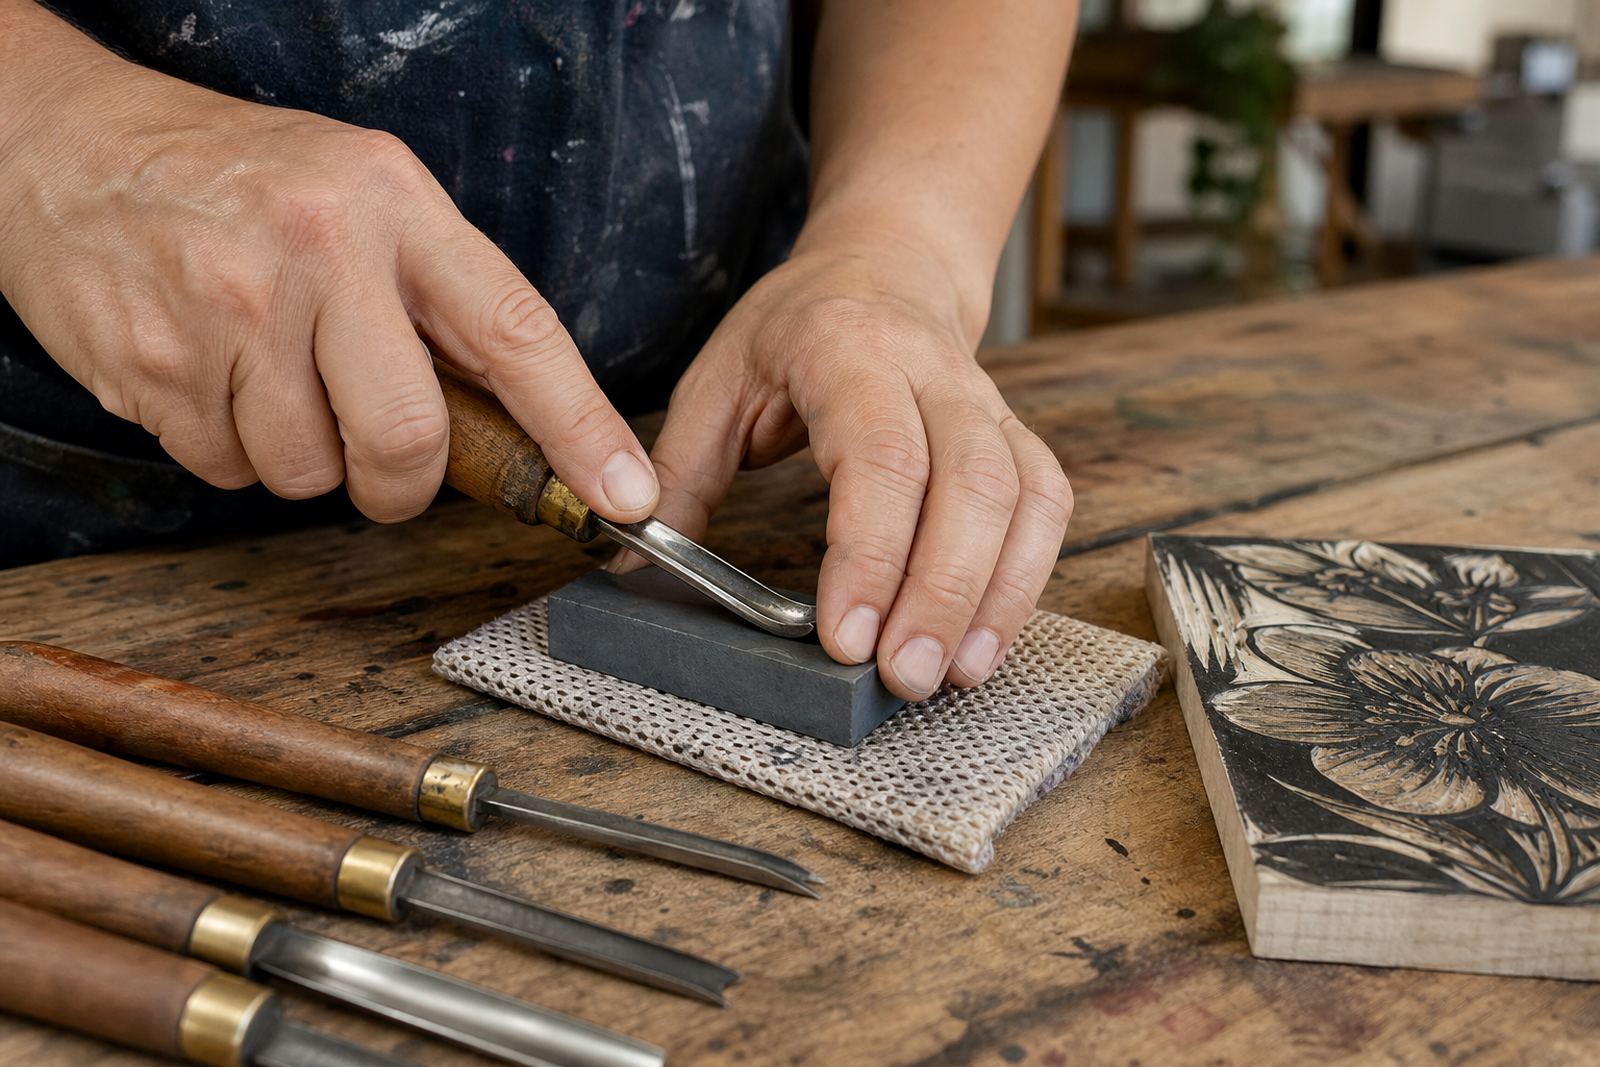
Daily care for cutters and gouges to keep edges cleaner and safer to use.

Sharpening Gouges

Sharpening Gouges

Sharp gouges glide through lino. Blunt ones tear the surface and slip.

Storing Lino Blocks

Storing Lino Blocks

How to keep blocks flat, clean and ready for future proofing or editions.

Drying Fresh Prints

Drying Fresh Prints

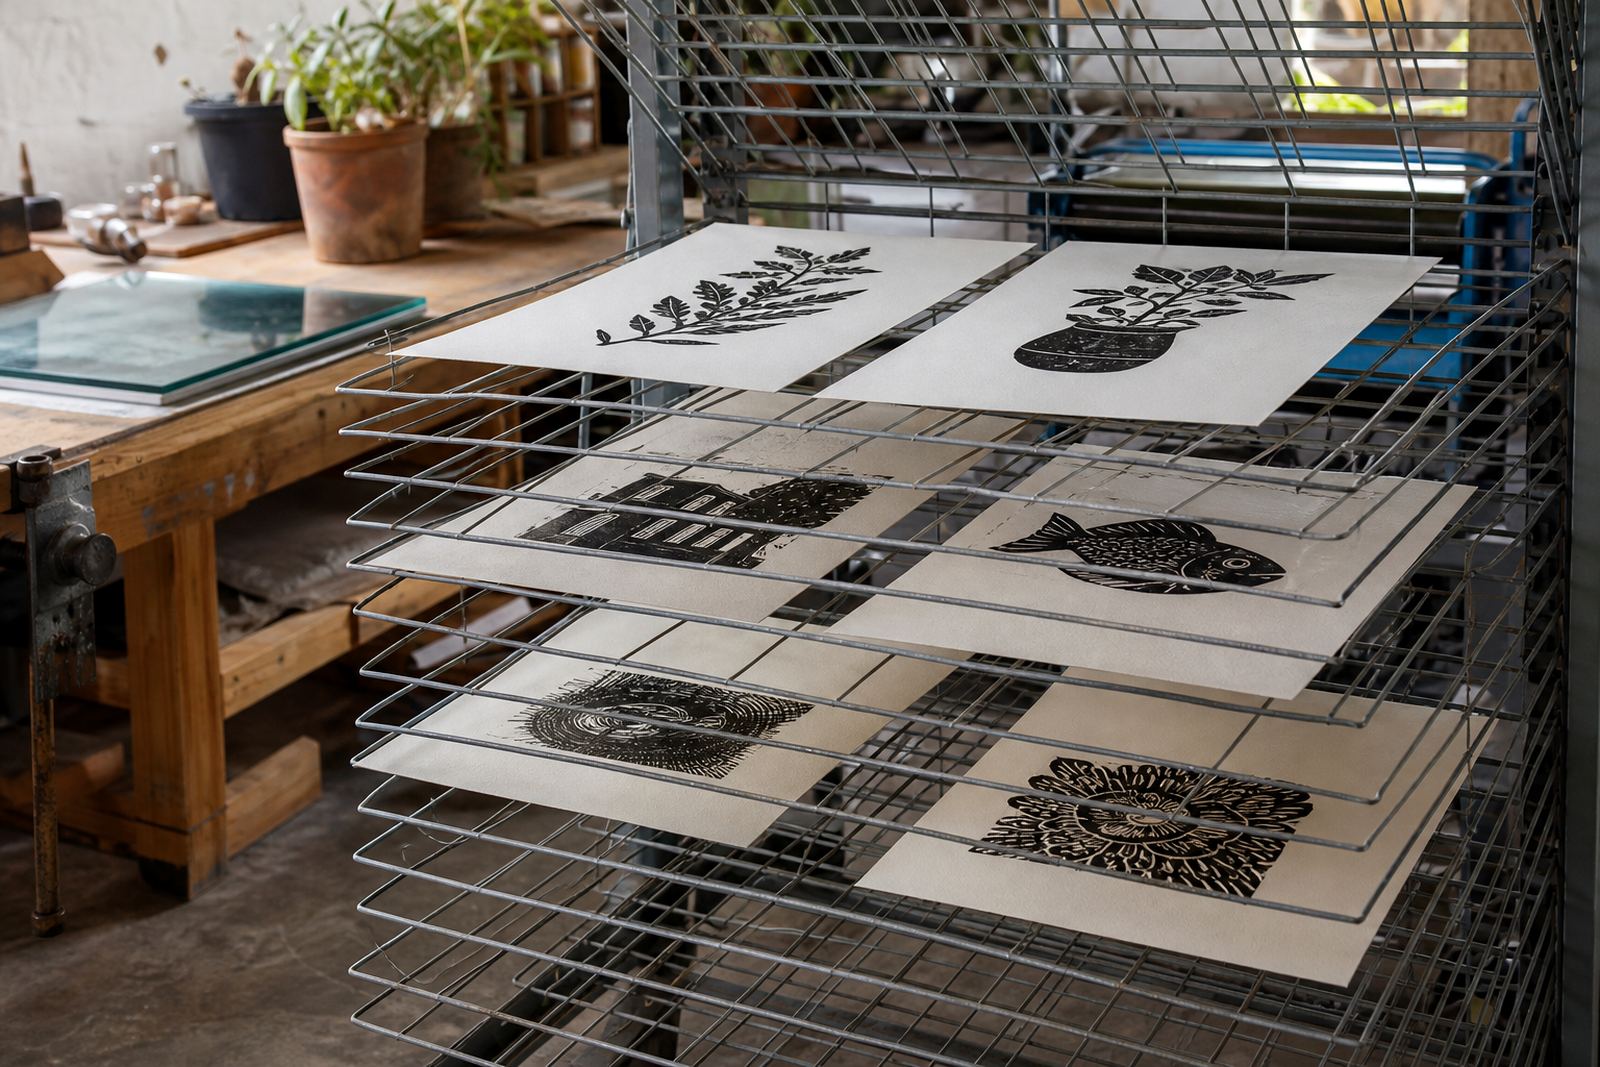
Useful ways to dry prints without smudging or unwanted transfer.

Flattening Curled Papers

Flattening Curled Papers

Ways to settle lightly curled paper before or after a print session.

One-Colour Projects

One-Colour Projects

Why single-colour projects are often the clearest way to learn first principles.

Two-Colour Printing

Two-Colour Printing

What changes when printing a second colour using simple registration methods.

Negative Space Thinking

Negative Space Thinking

How carving away the non-printing area shapes the image and final contrast.

Making Repeat Patterns

Making Repeat Patterns

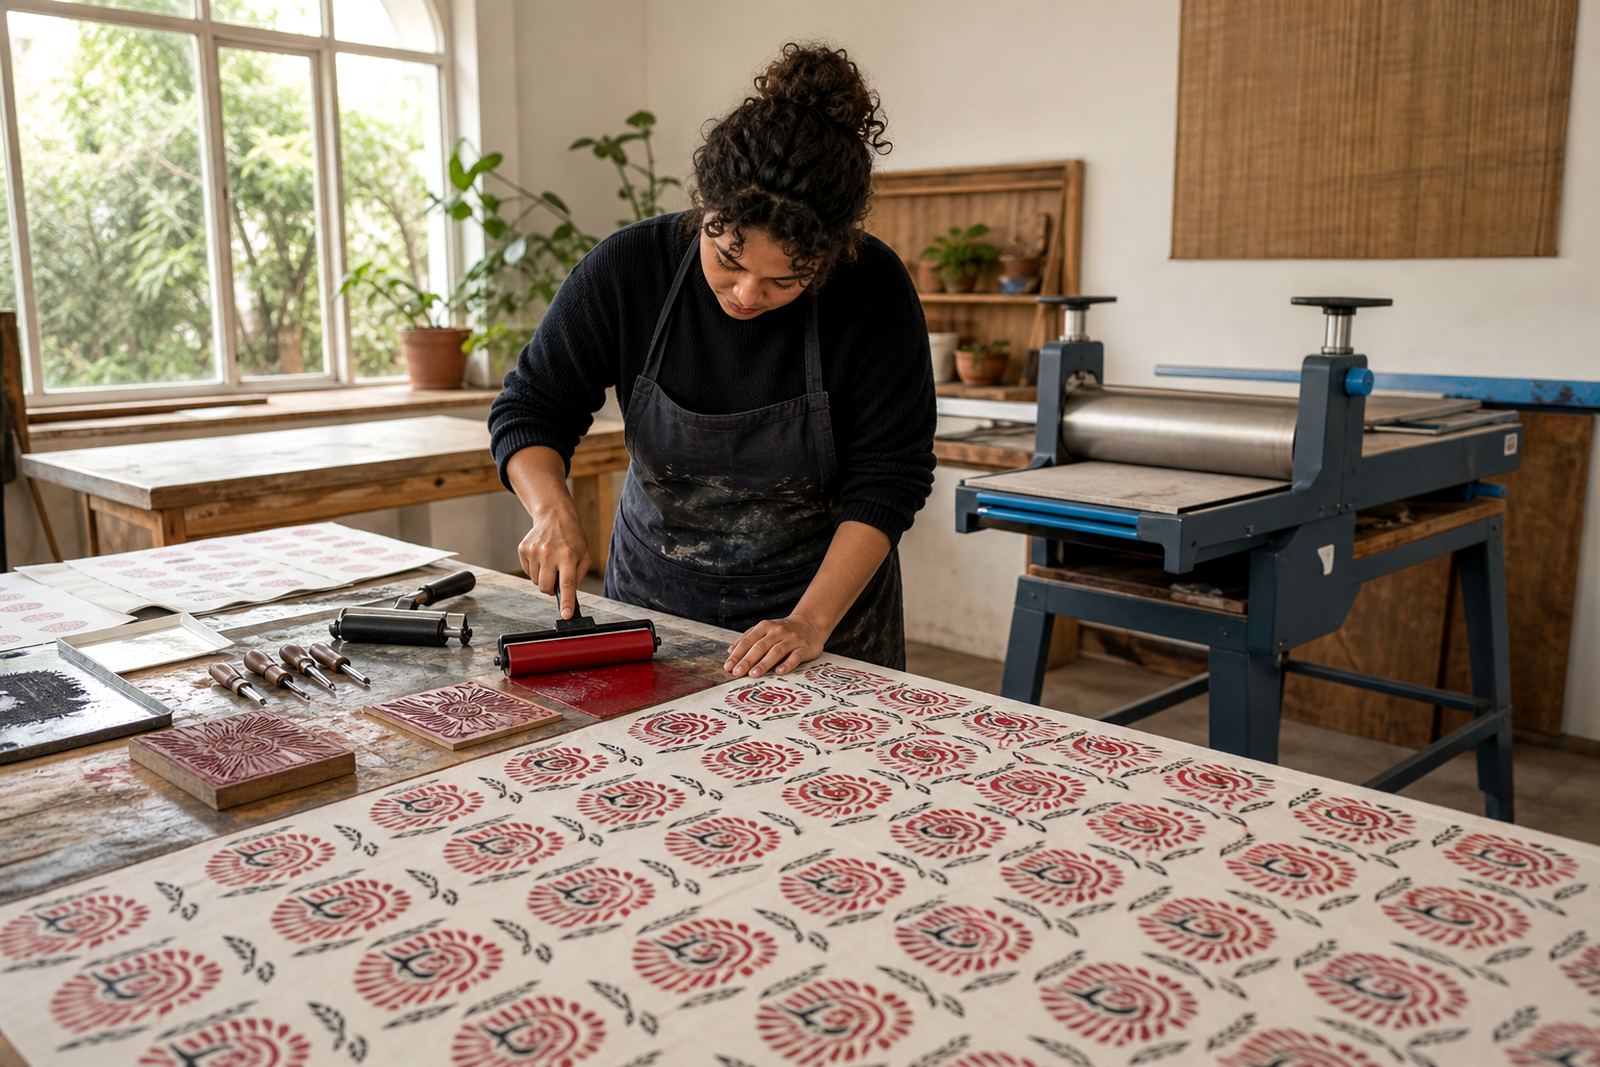
Building a repeat motif from one carved block, with registration marks that keep each pull lined up.

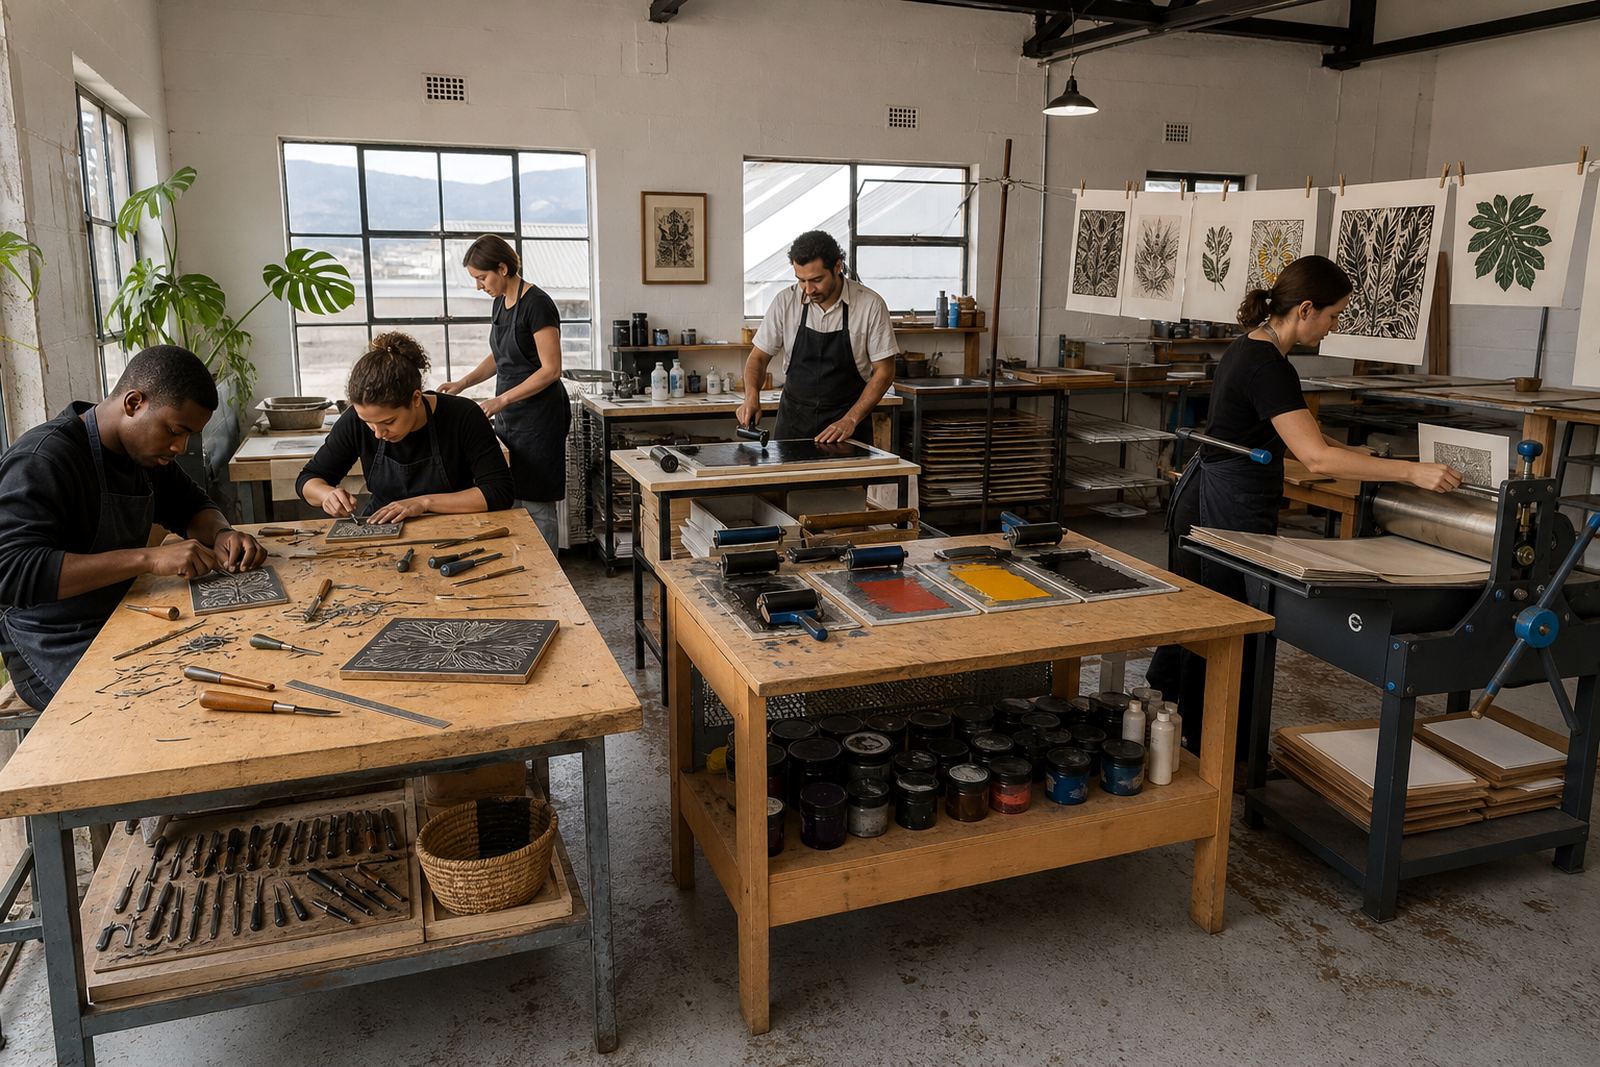
Classroom Print Setup

Classroom Print Setup

How to organise tools, inks and movement flow for a school print session.

Venue Cleanup Planning

Venue Cleanup Planning

Practical cleanup planning for hired venues, halls and temporary workshops.

Family Print Ideas

Family Print Ideas

Project ideas that keep family sessions manageable, enjoyable and visually strong.

Team Session Flow

Team Session Flow

How larger group workshops can move from introduction to final print without bottlenecks.

Block first, then the mark

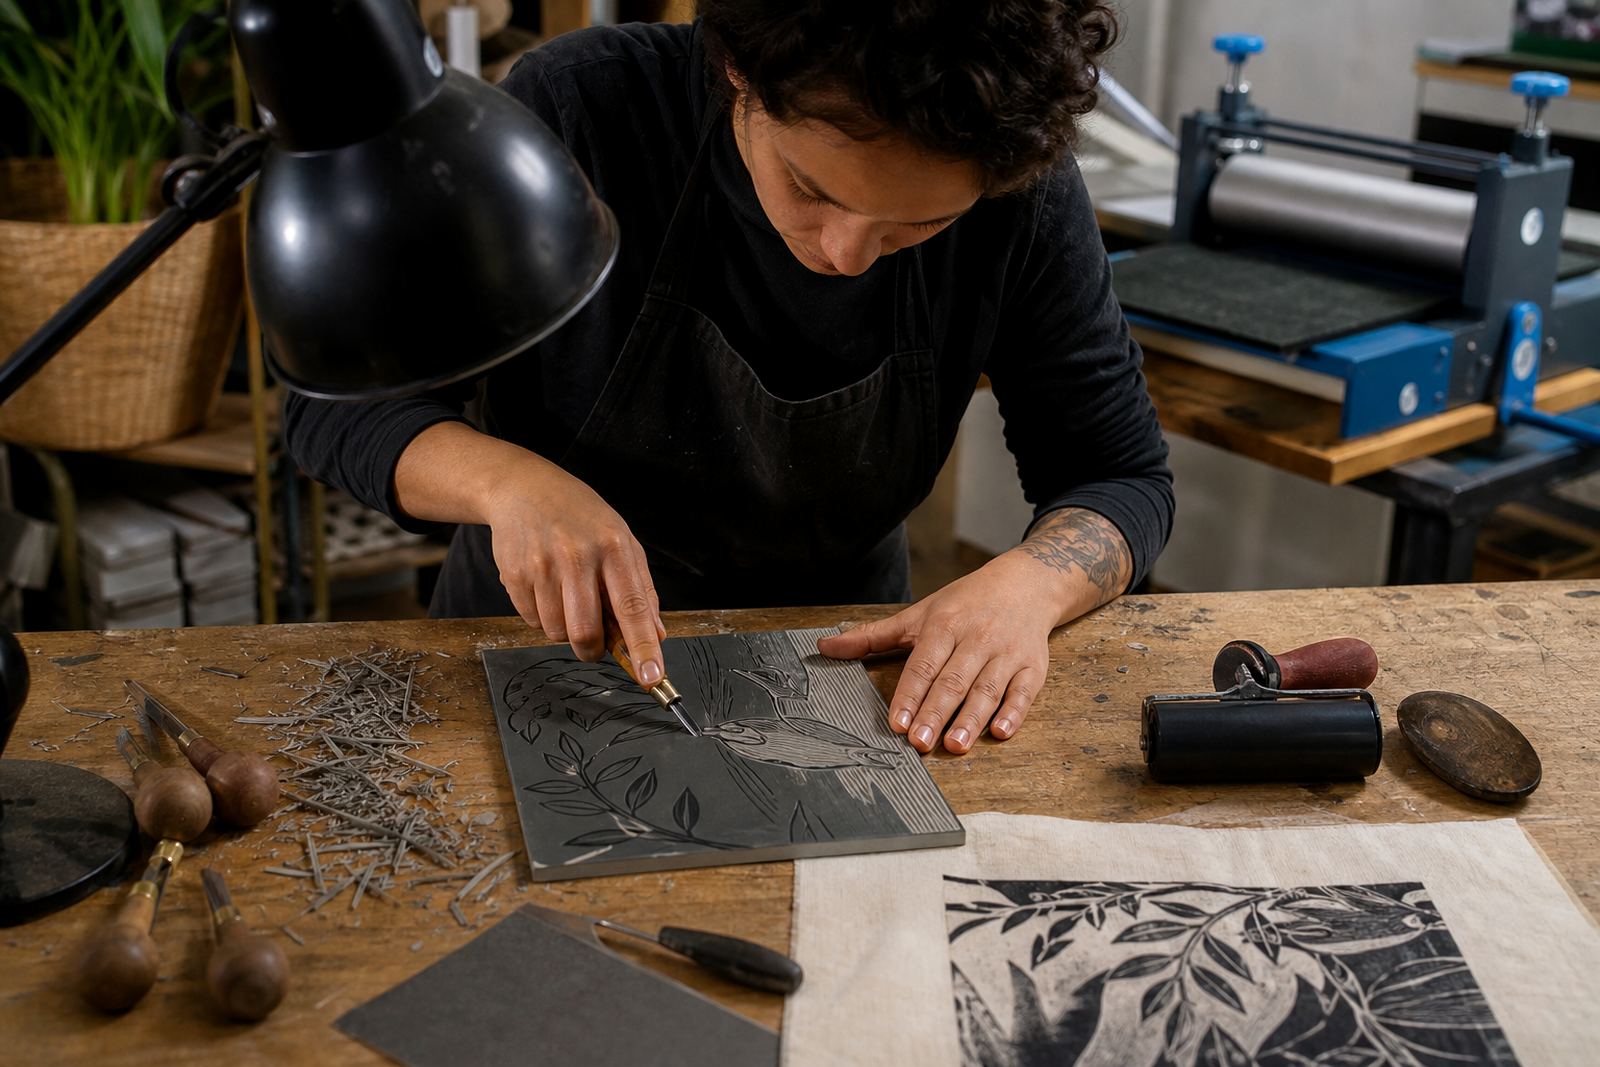
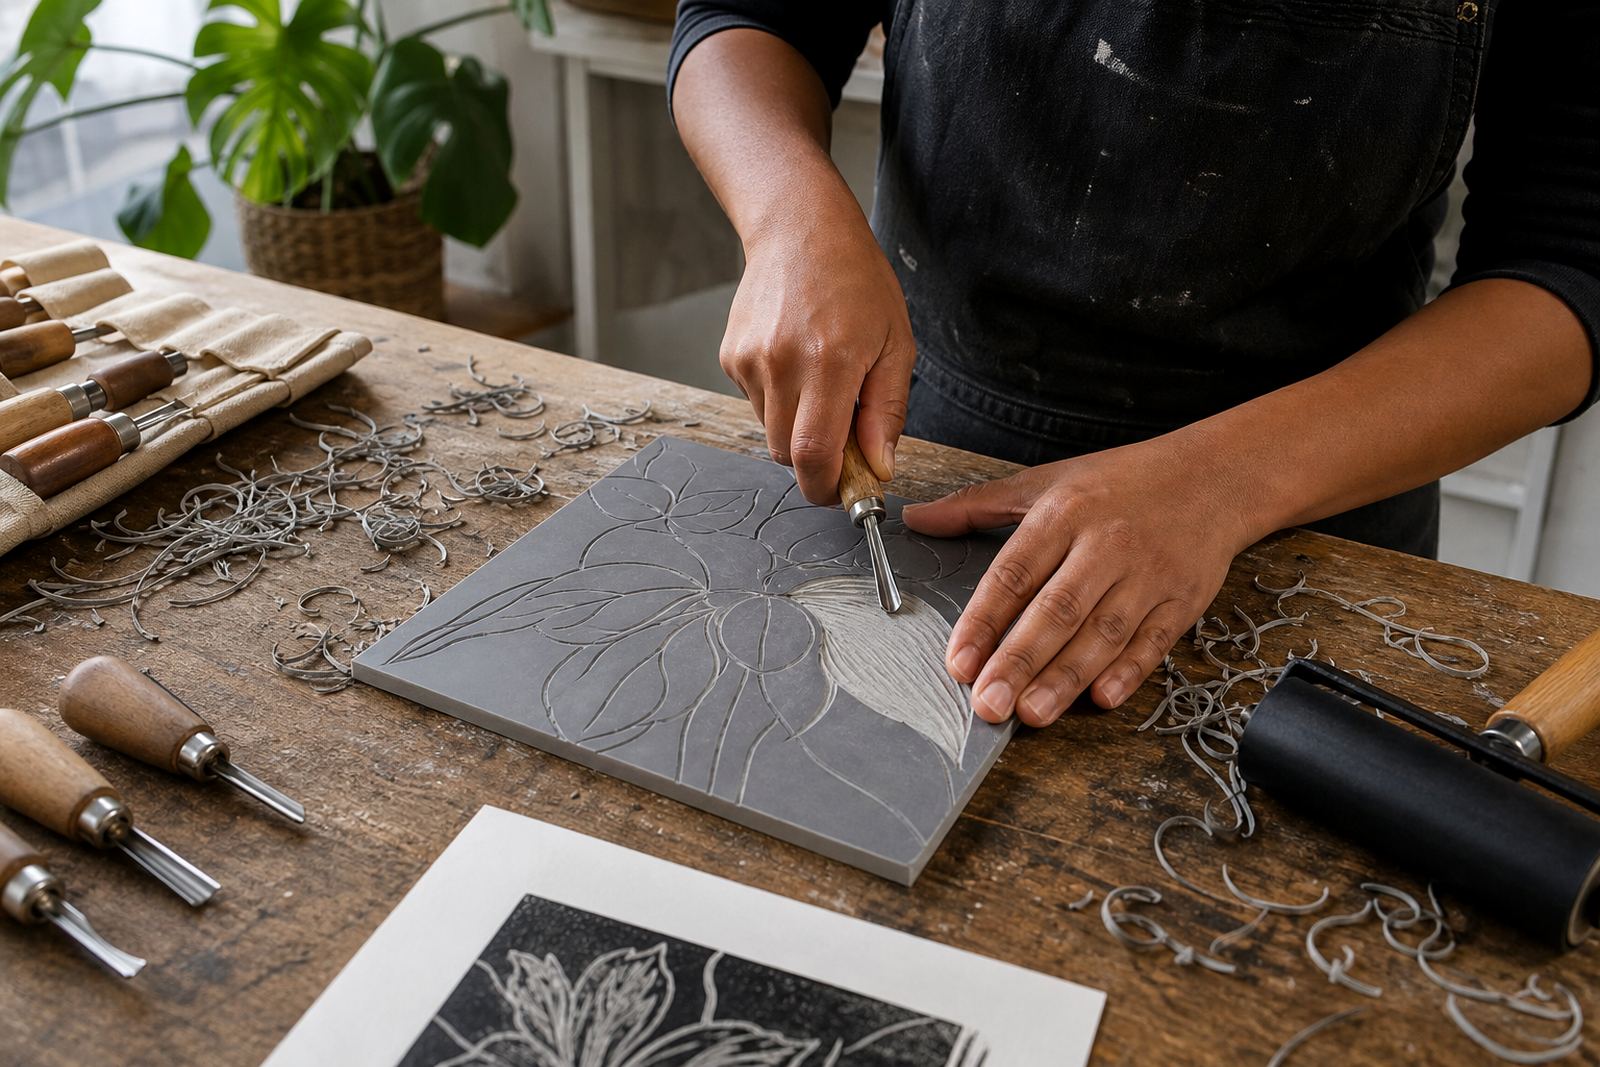
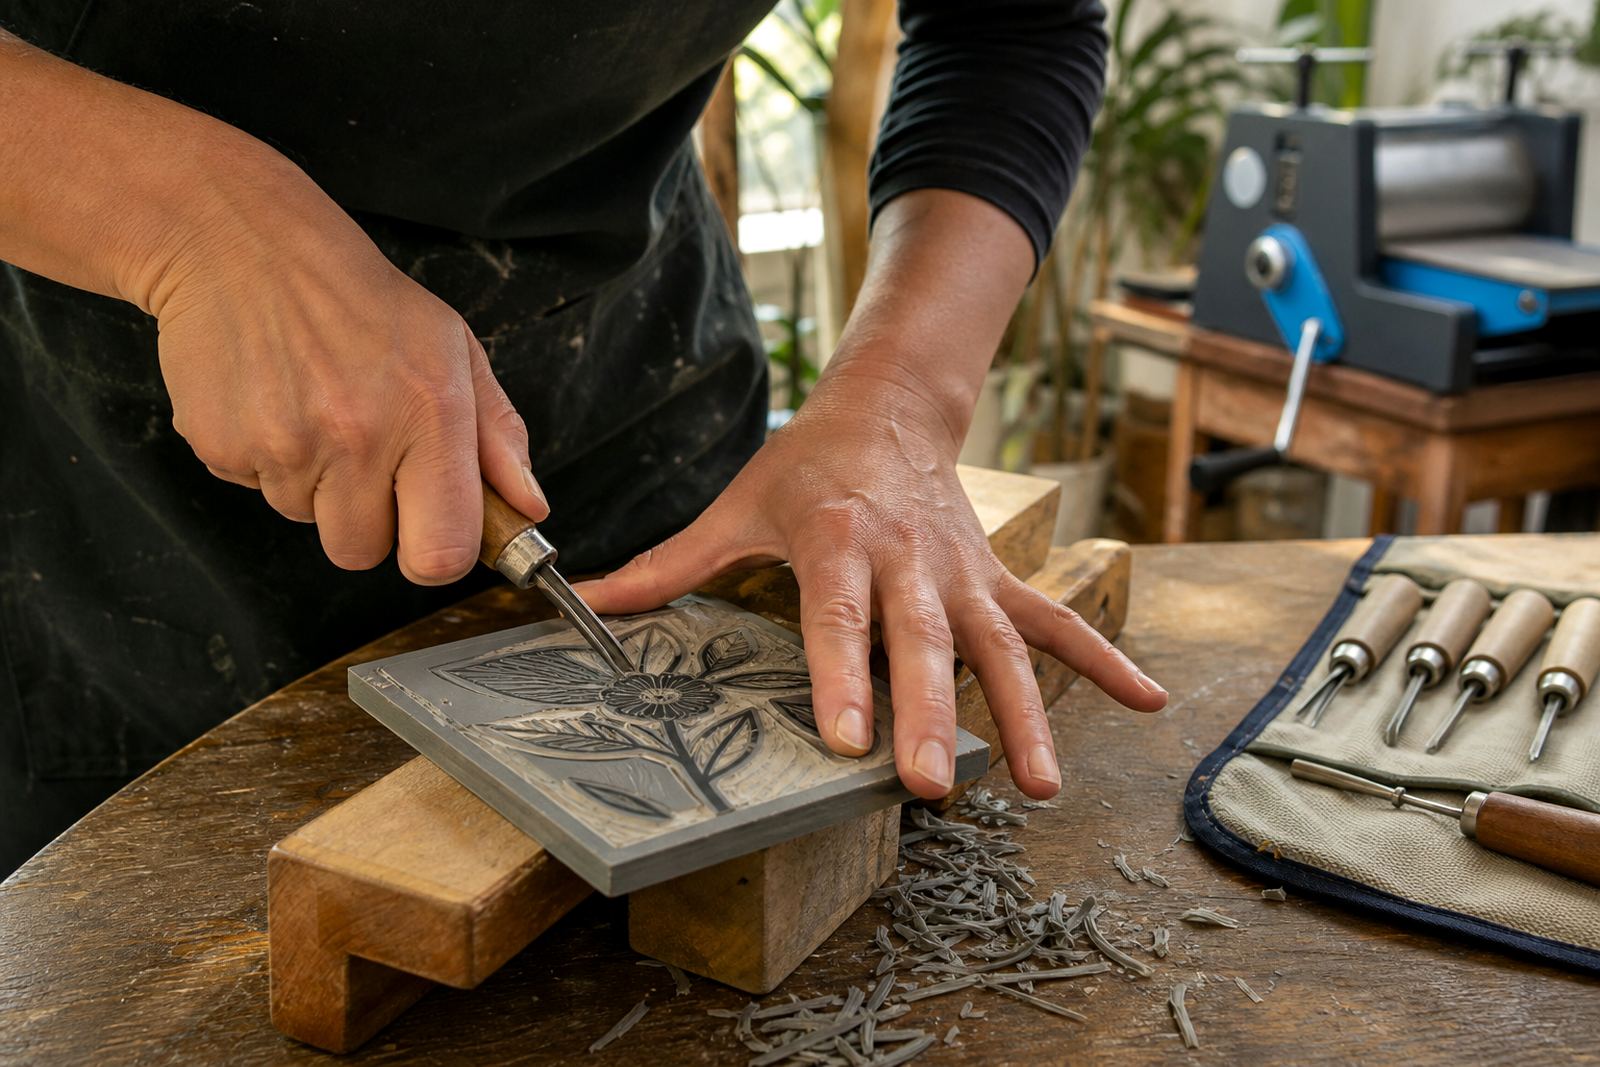
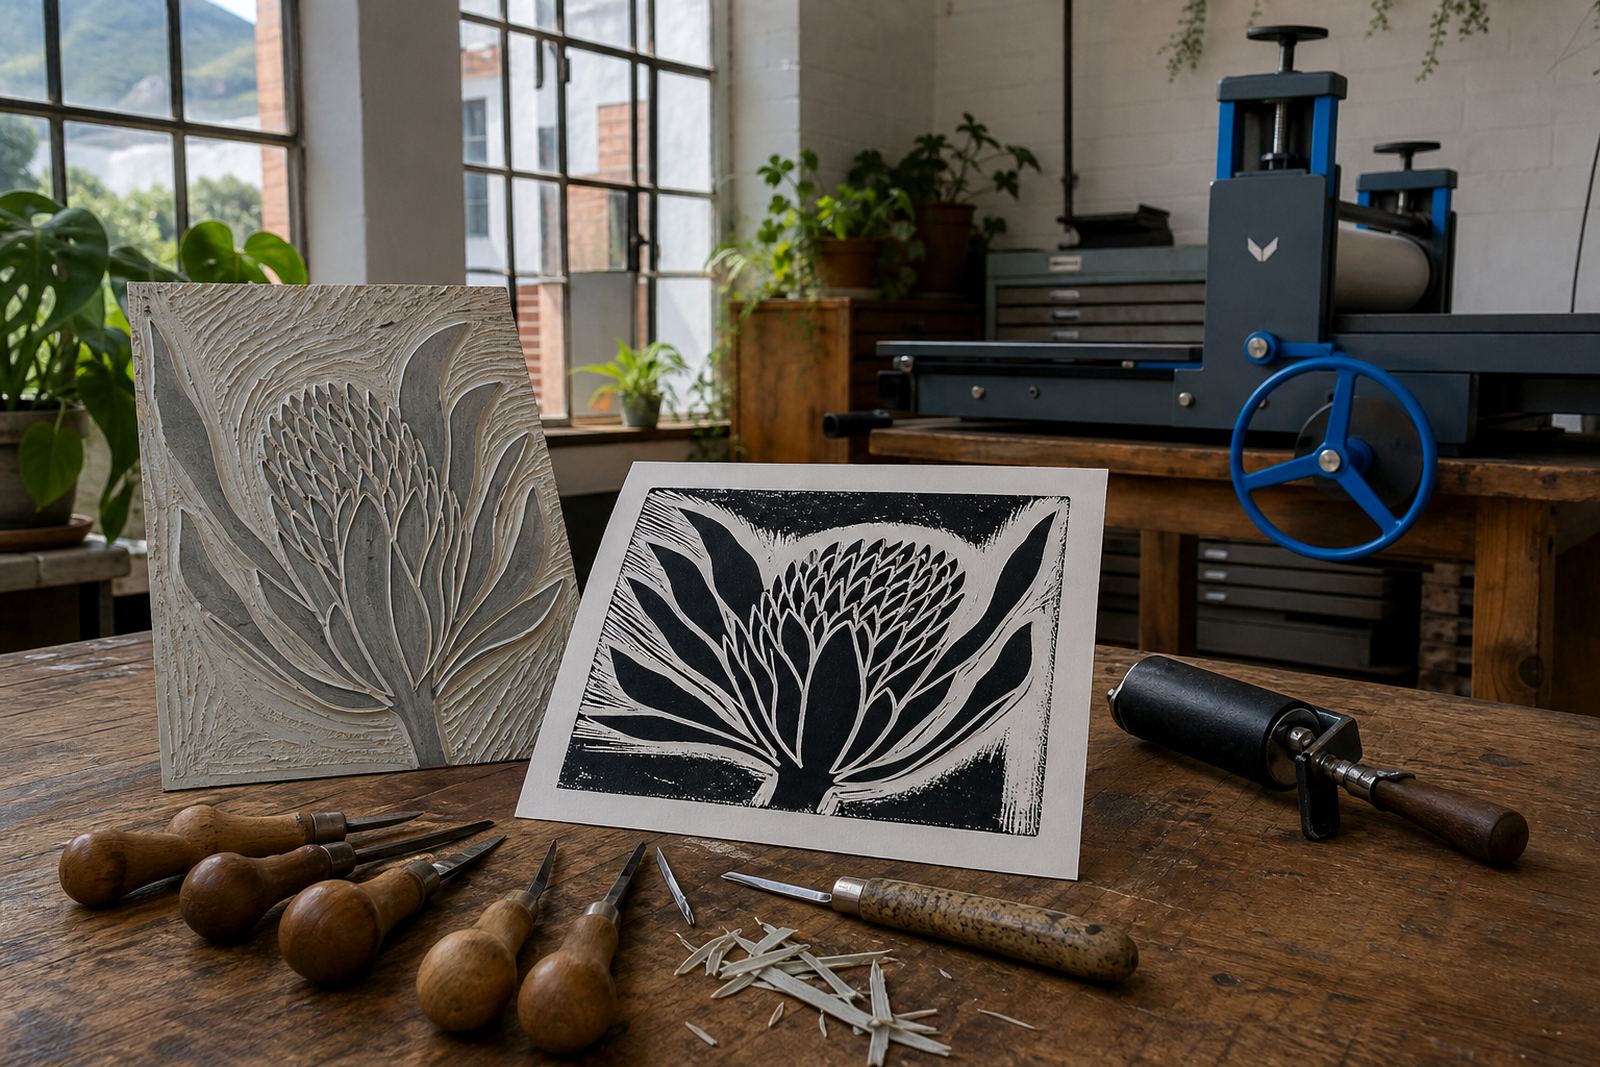
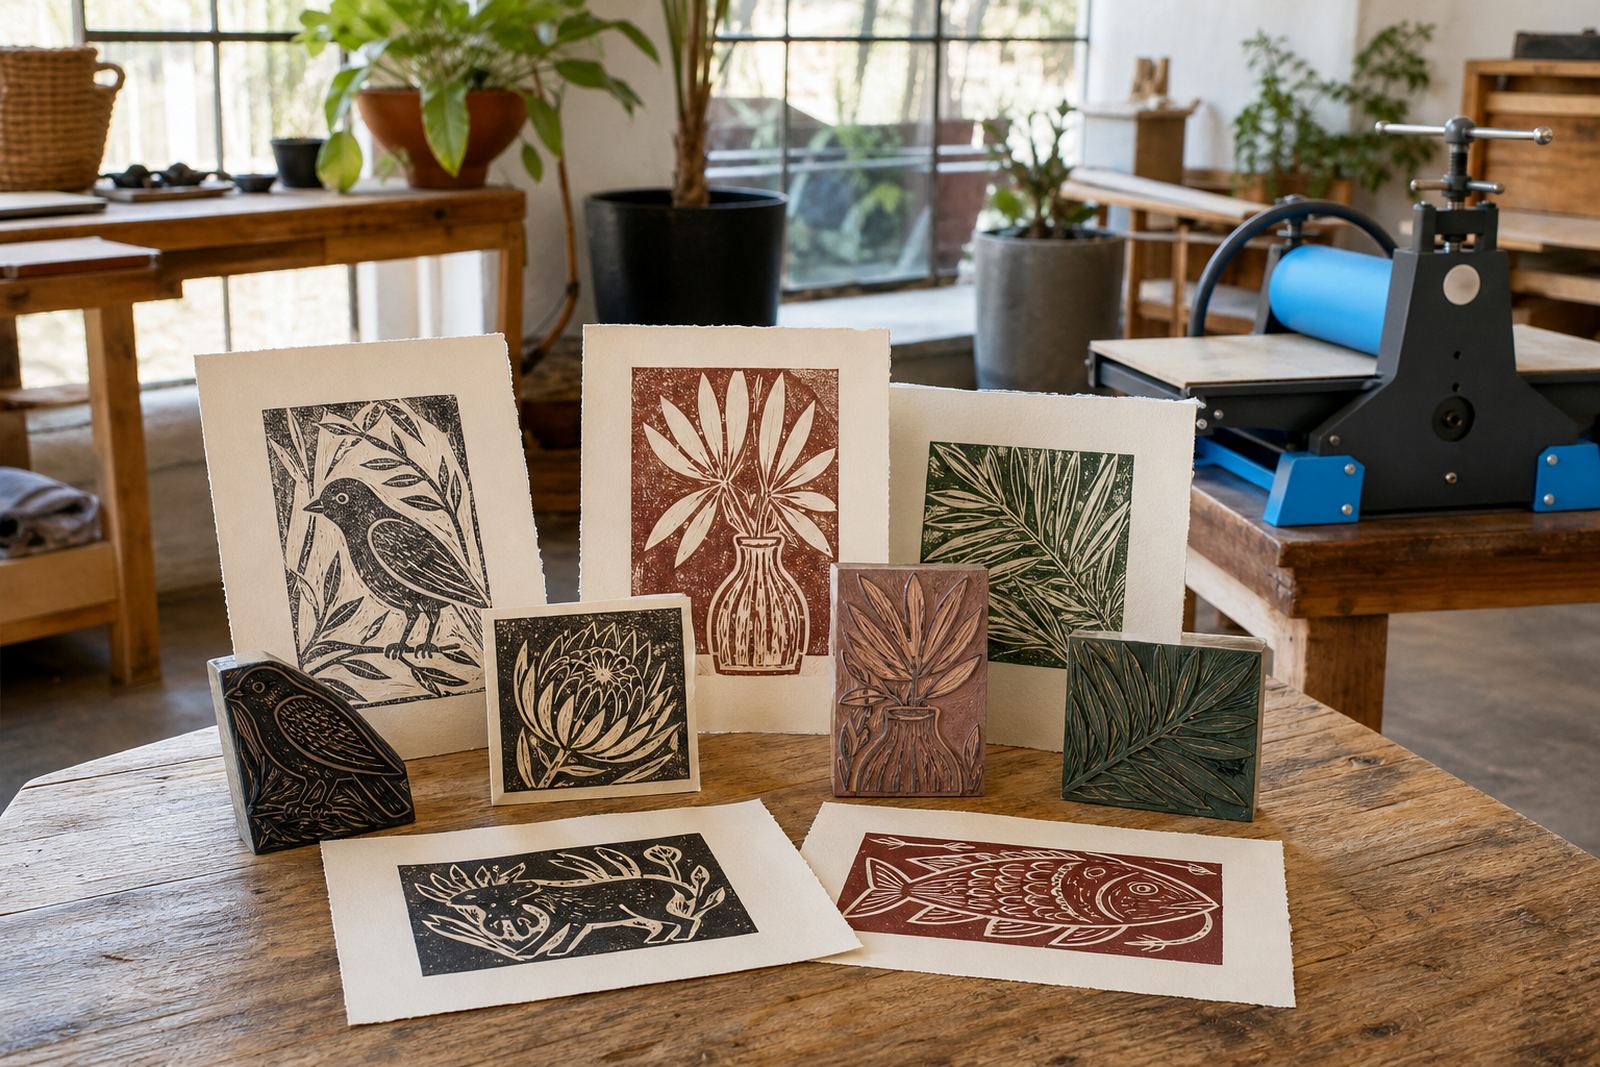
Linocut and block printing begin with the surface you carve. A lino block gives a cleaner carve and a firmer edge, while soft-cut blocks suit first-time learners who want a gentler entry into the process. Both can hold a strong line, a bold shape, or a finer detail if the hand stays steady.

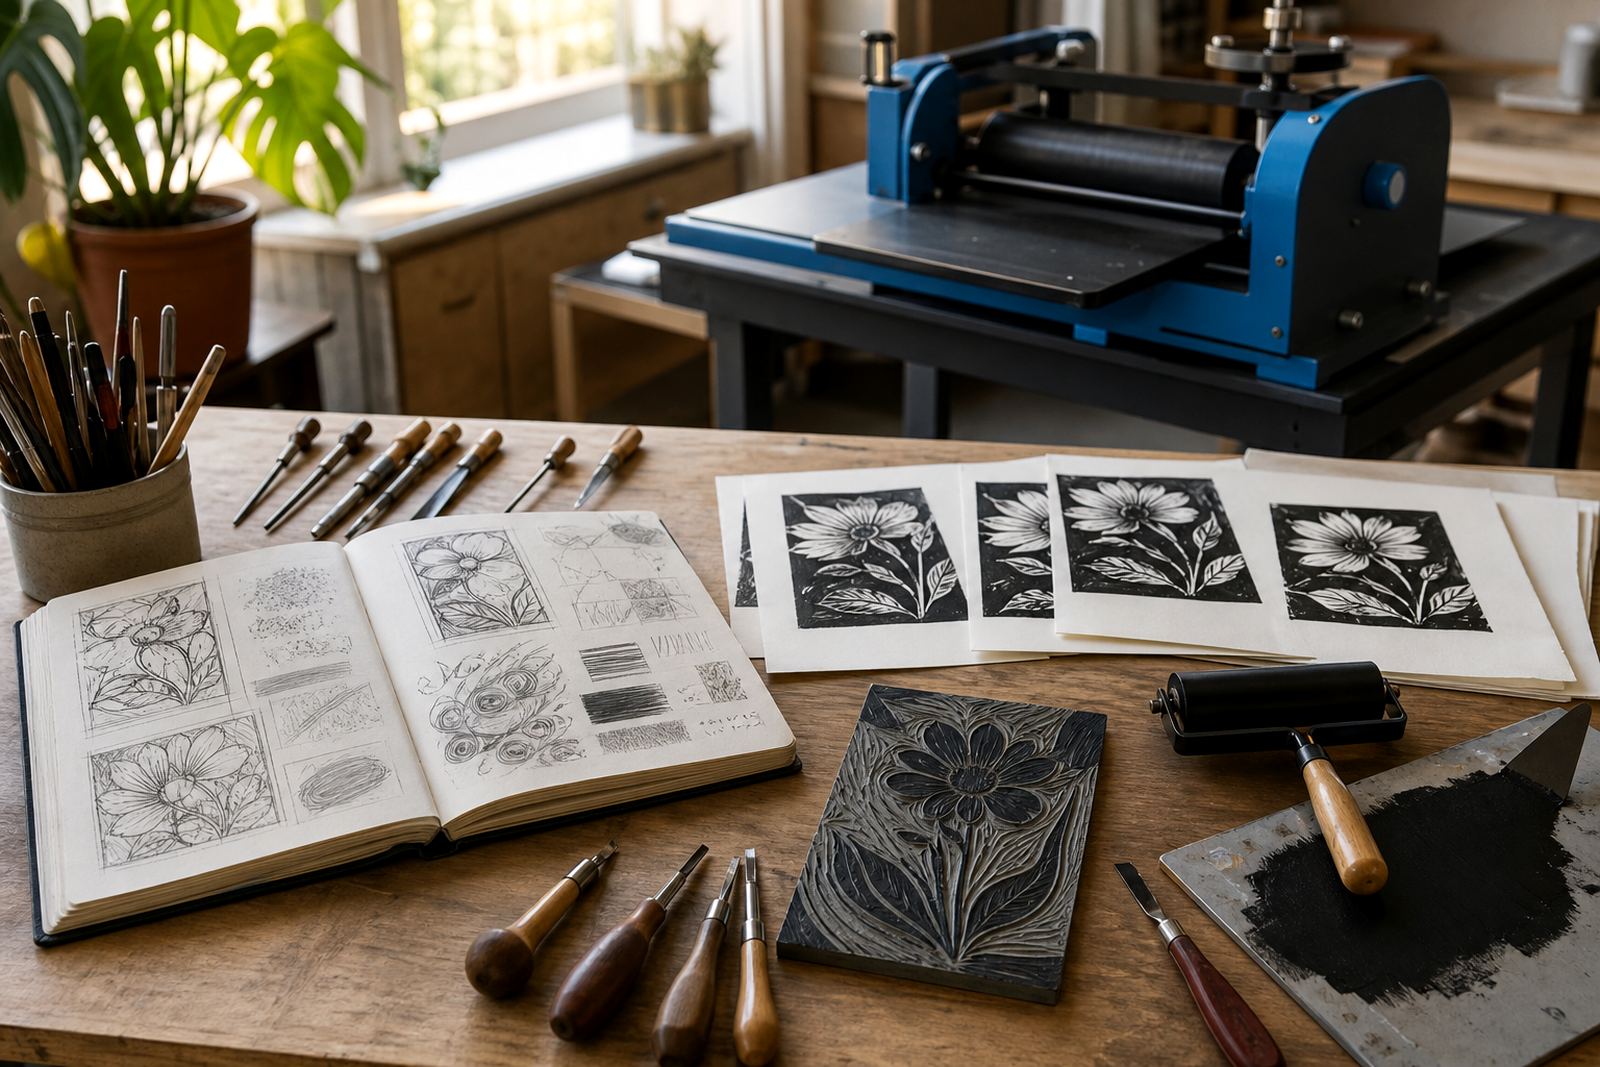
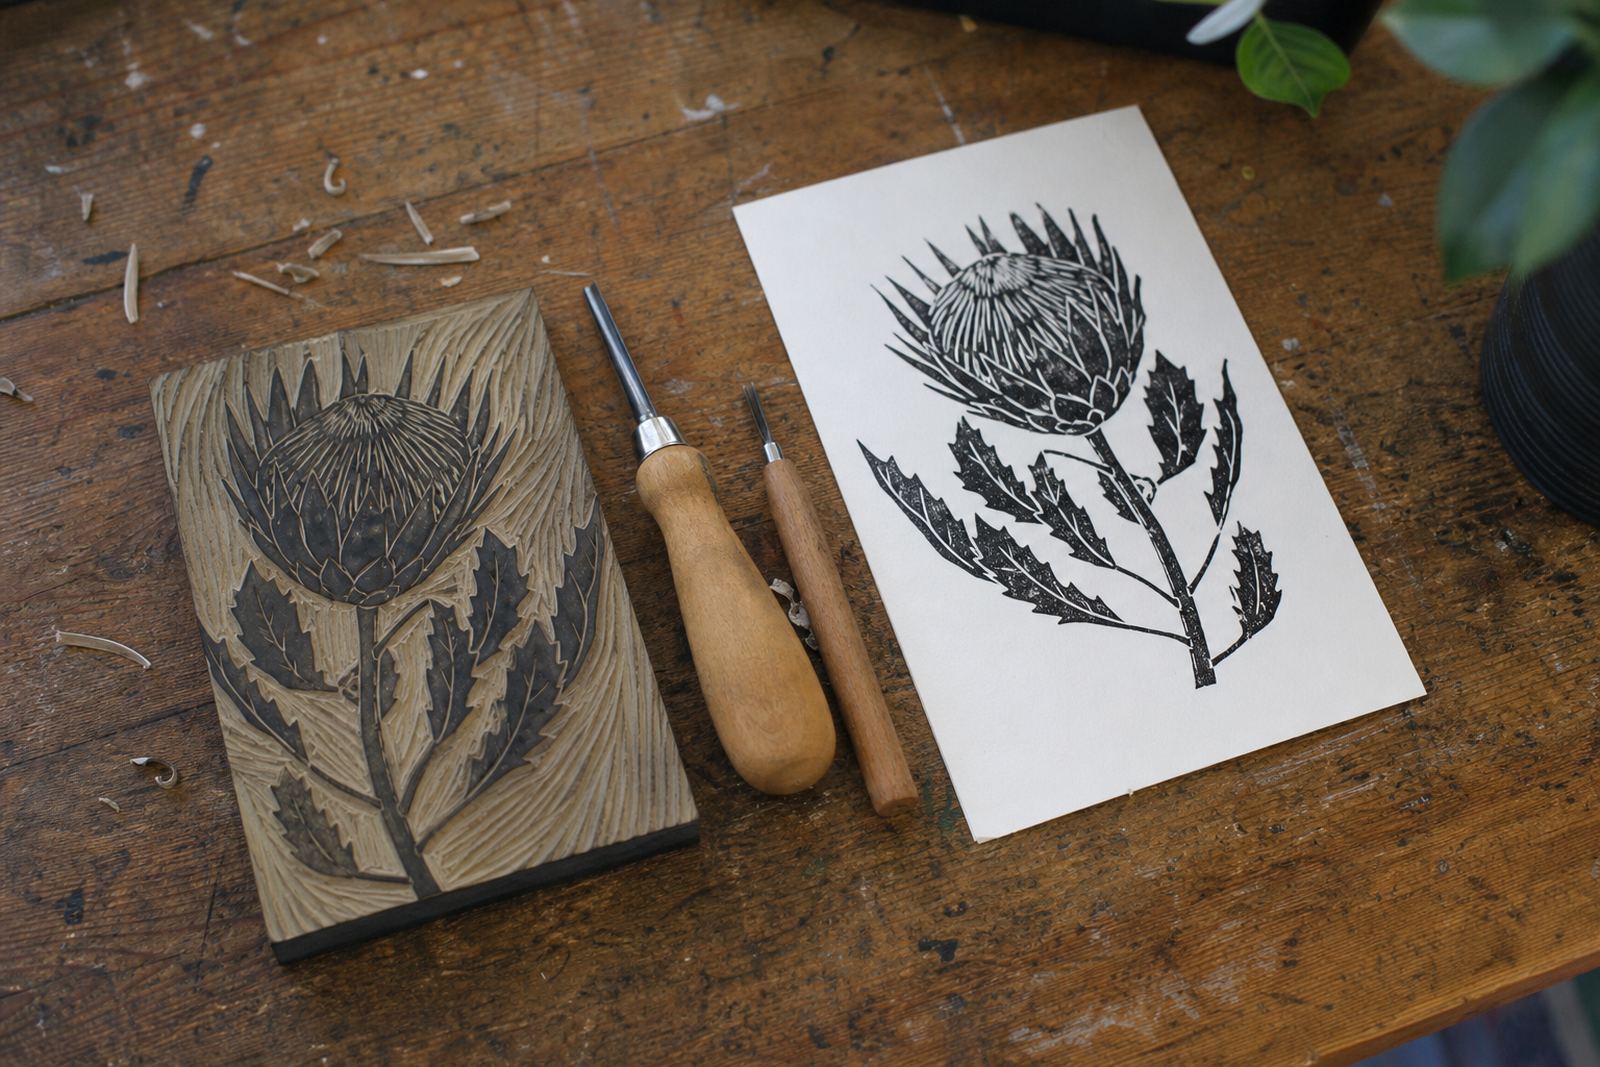
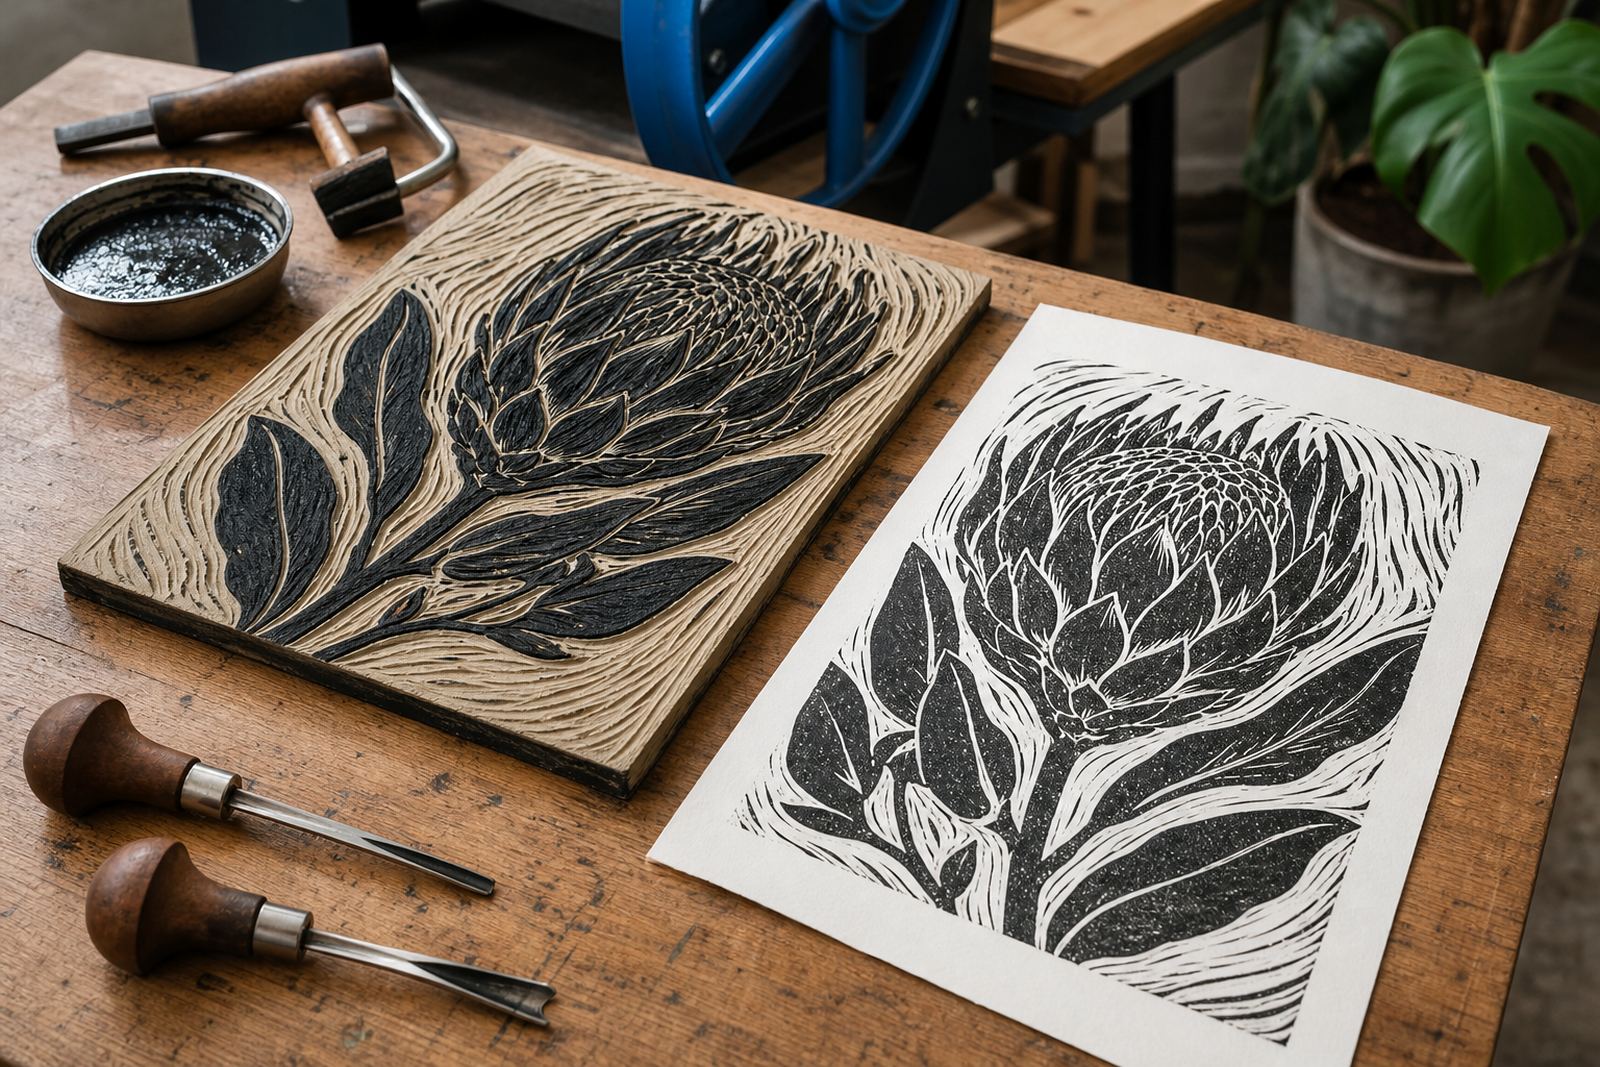
When you read through Studio Notes, look for the parts that explain how a line opens up under a gouge, how a V-tool changes the cut, and how the carved areas lift white from the image. That is usually where the method starts to make sense.

  • Lino for firmer carving and sharper edges
  • Soft-cut for easier handling in a first session
  • Gouges and V-tools for line, texture and outline

Tools that shape the pace of the workshop

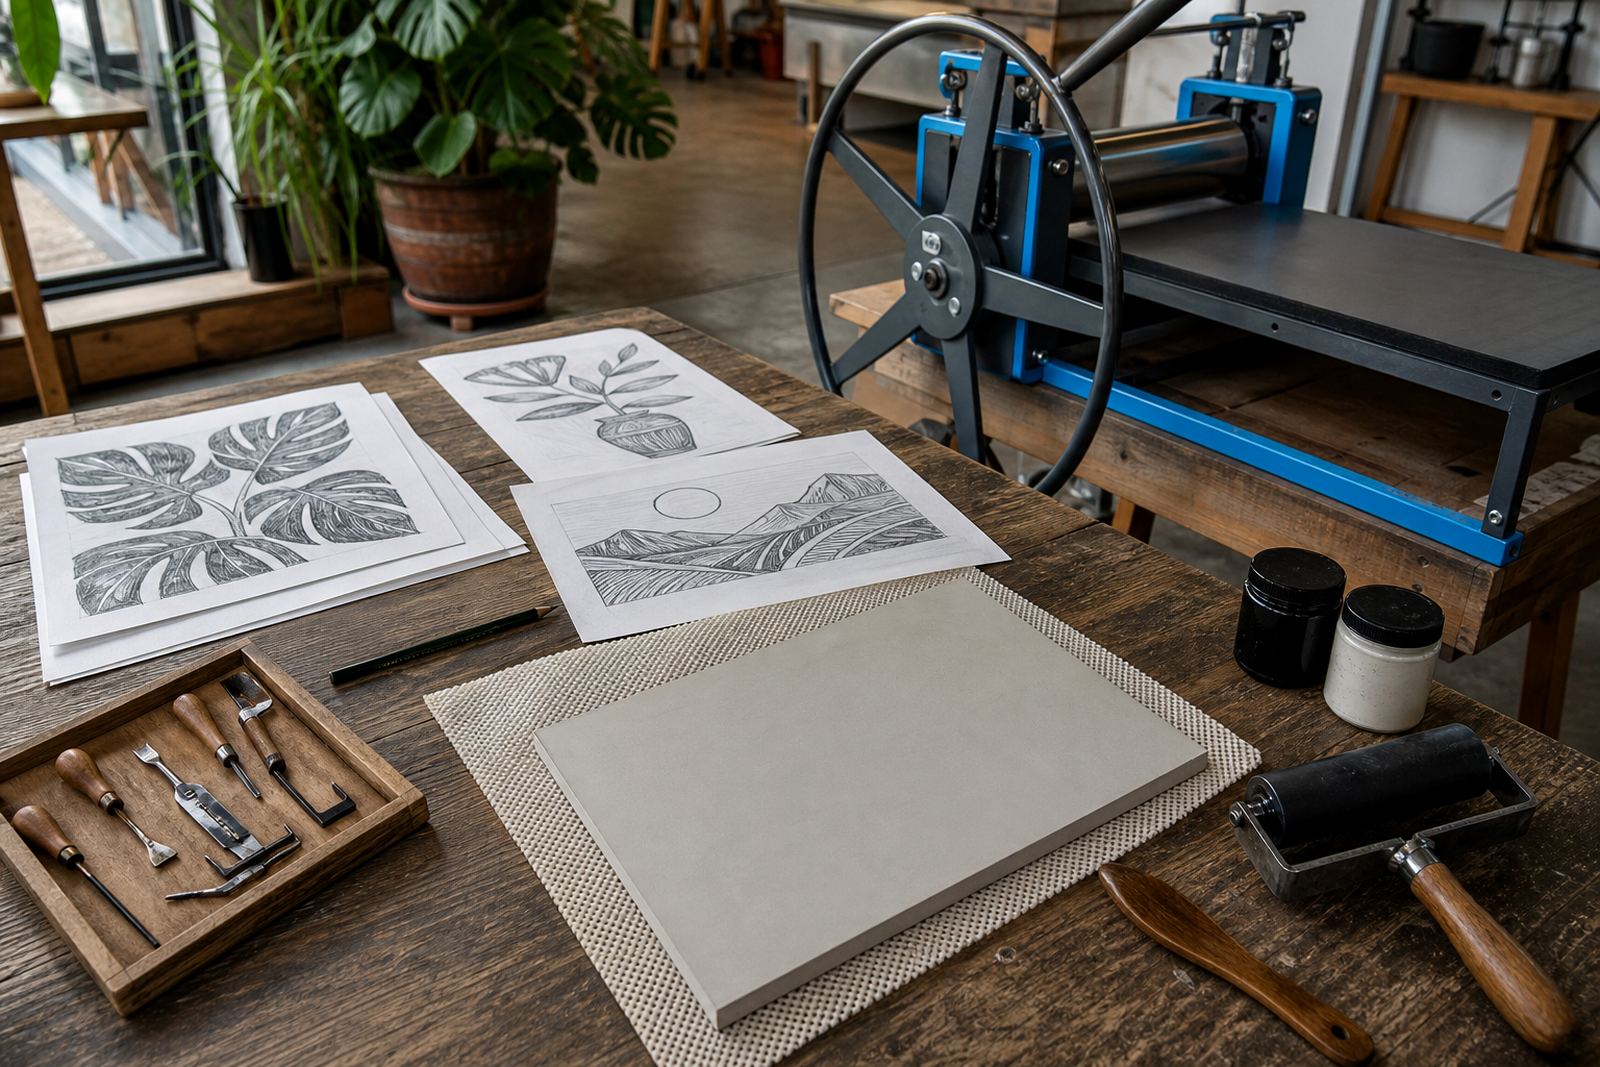
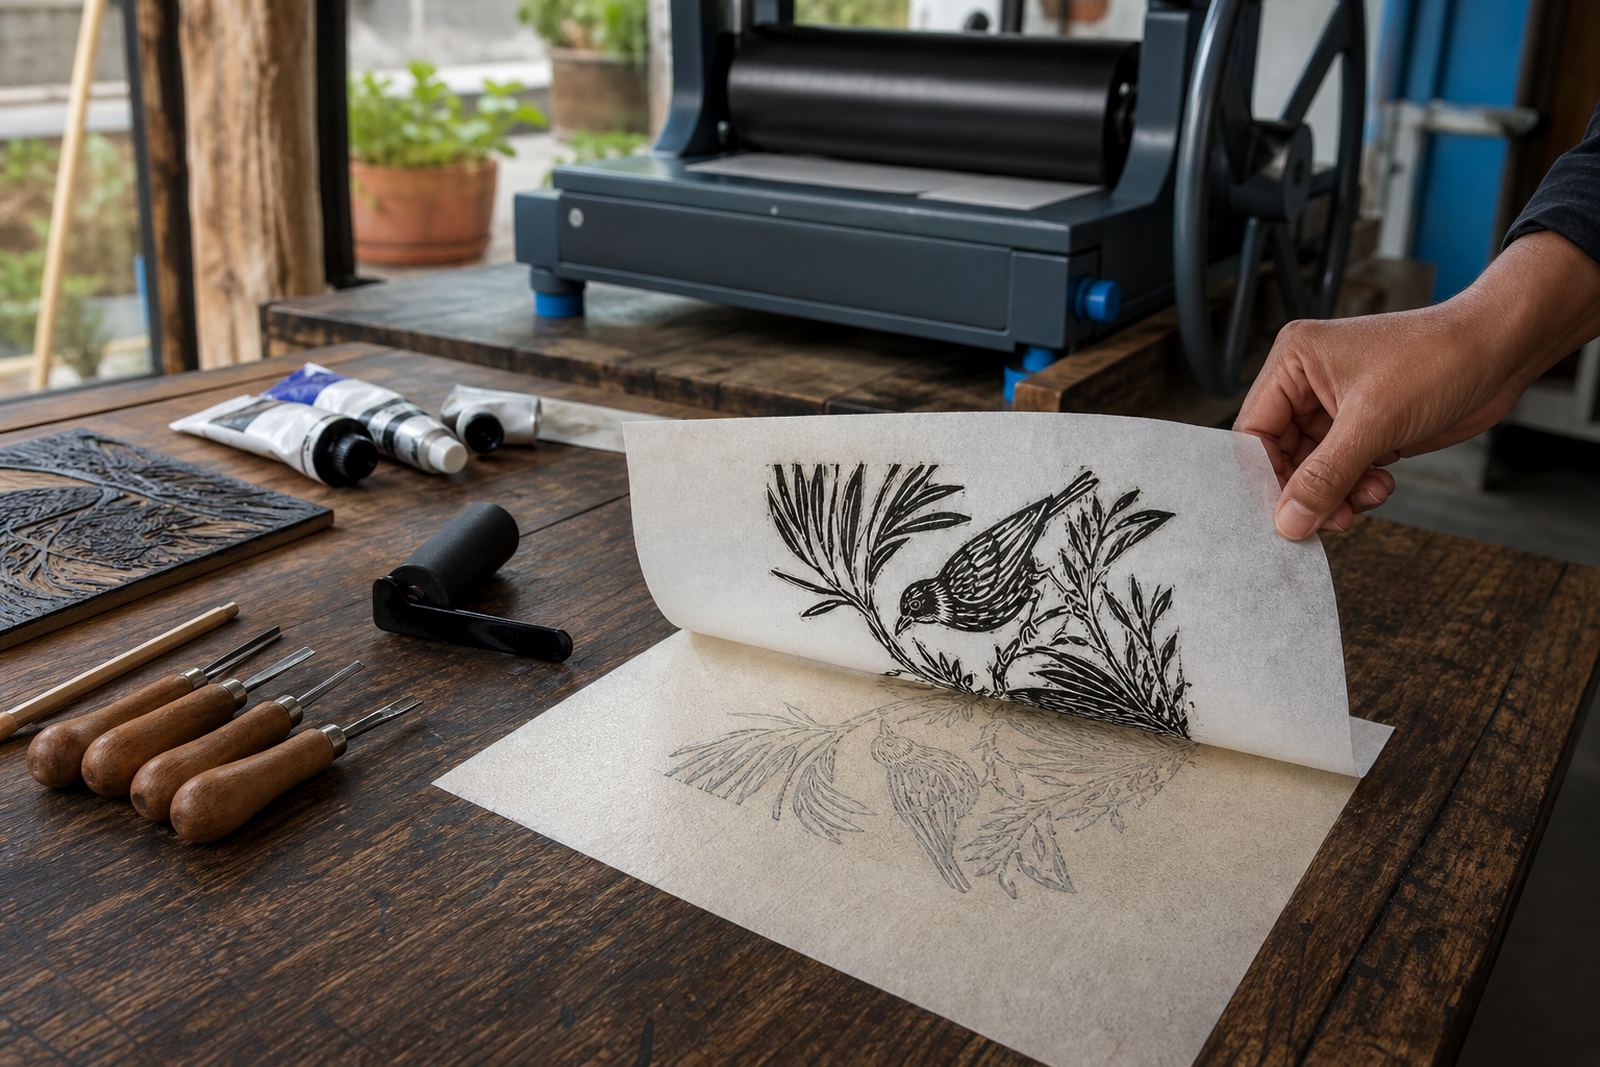
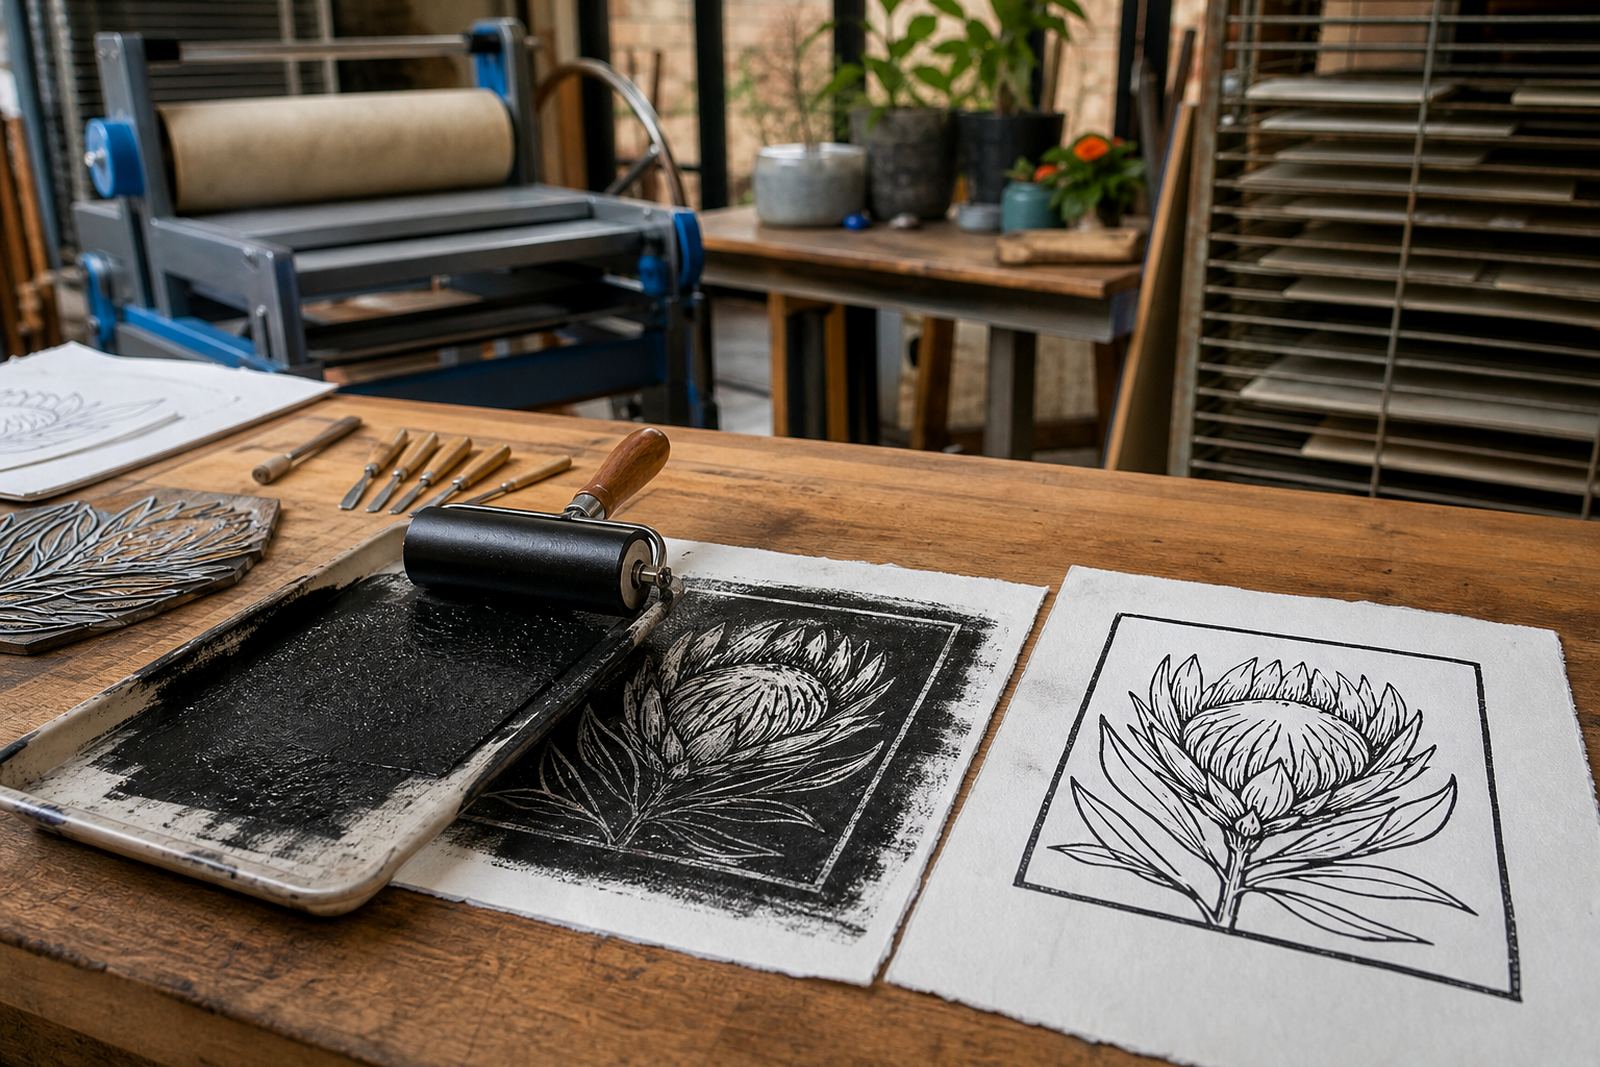
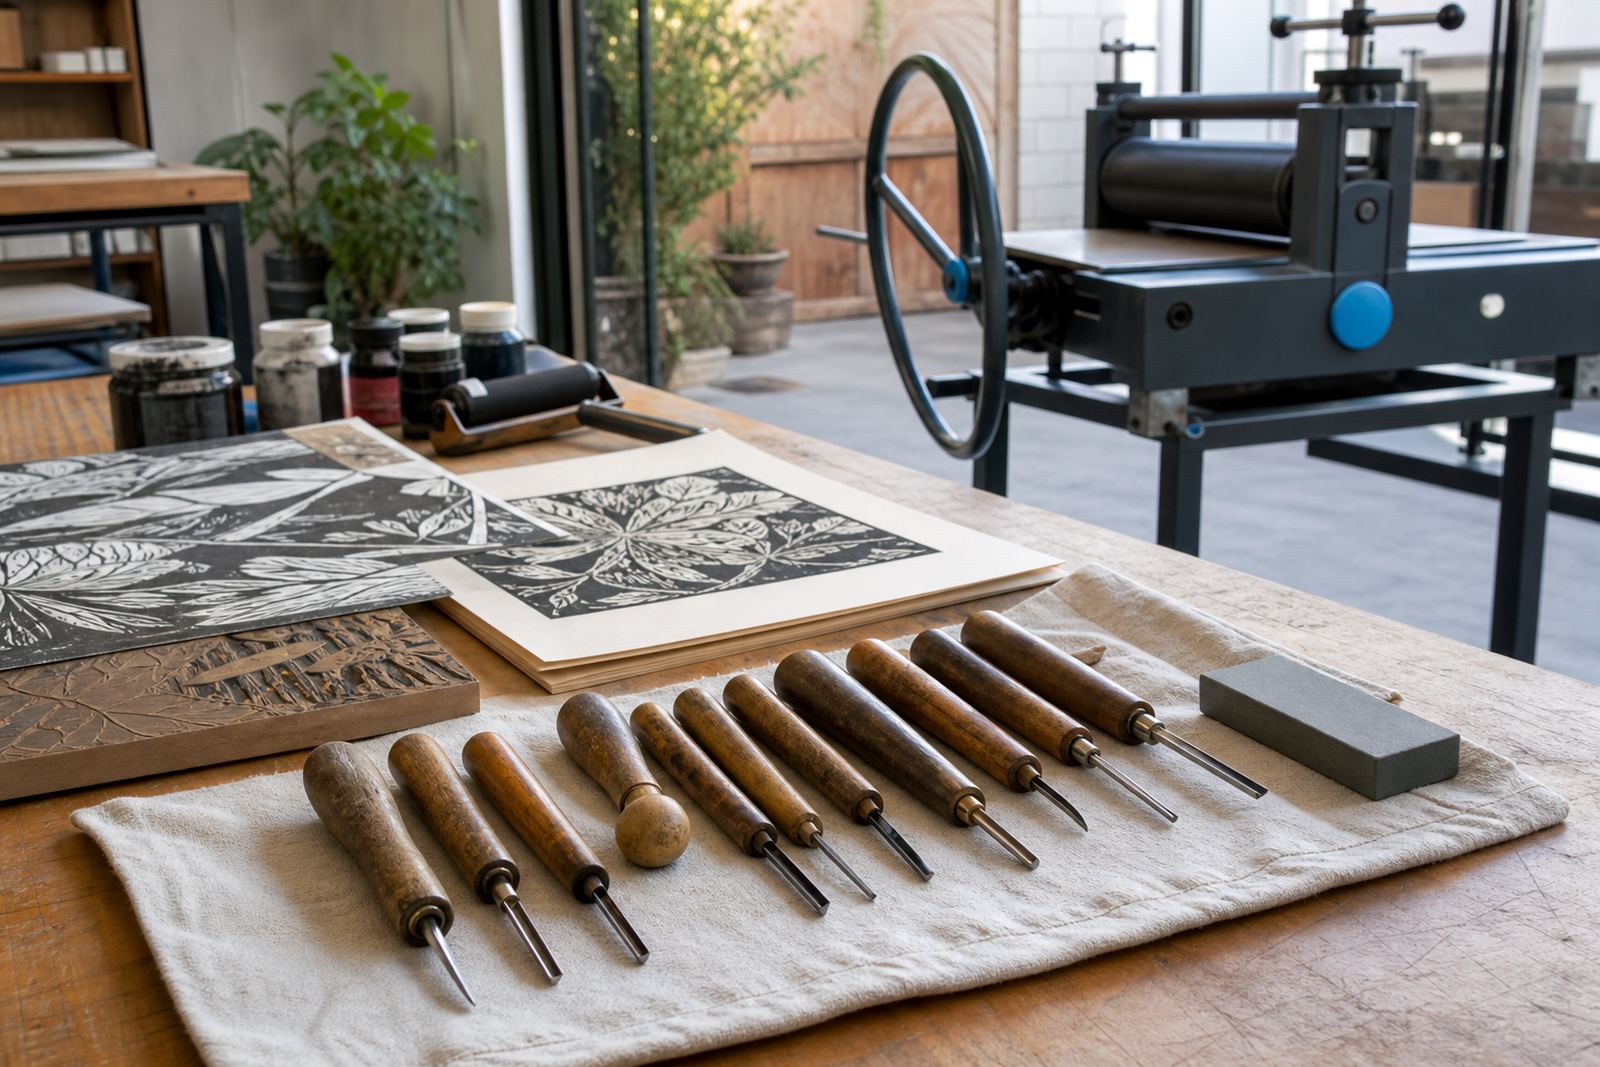
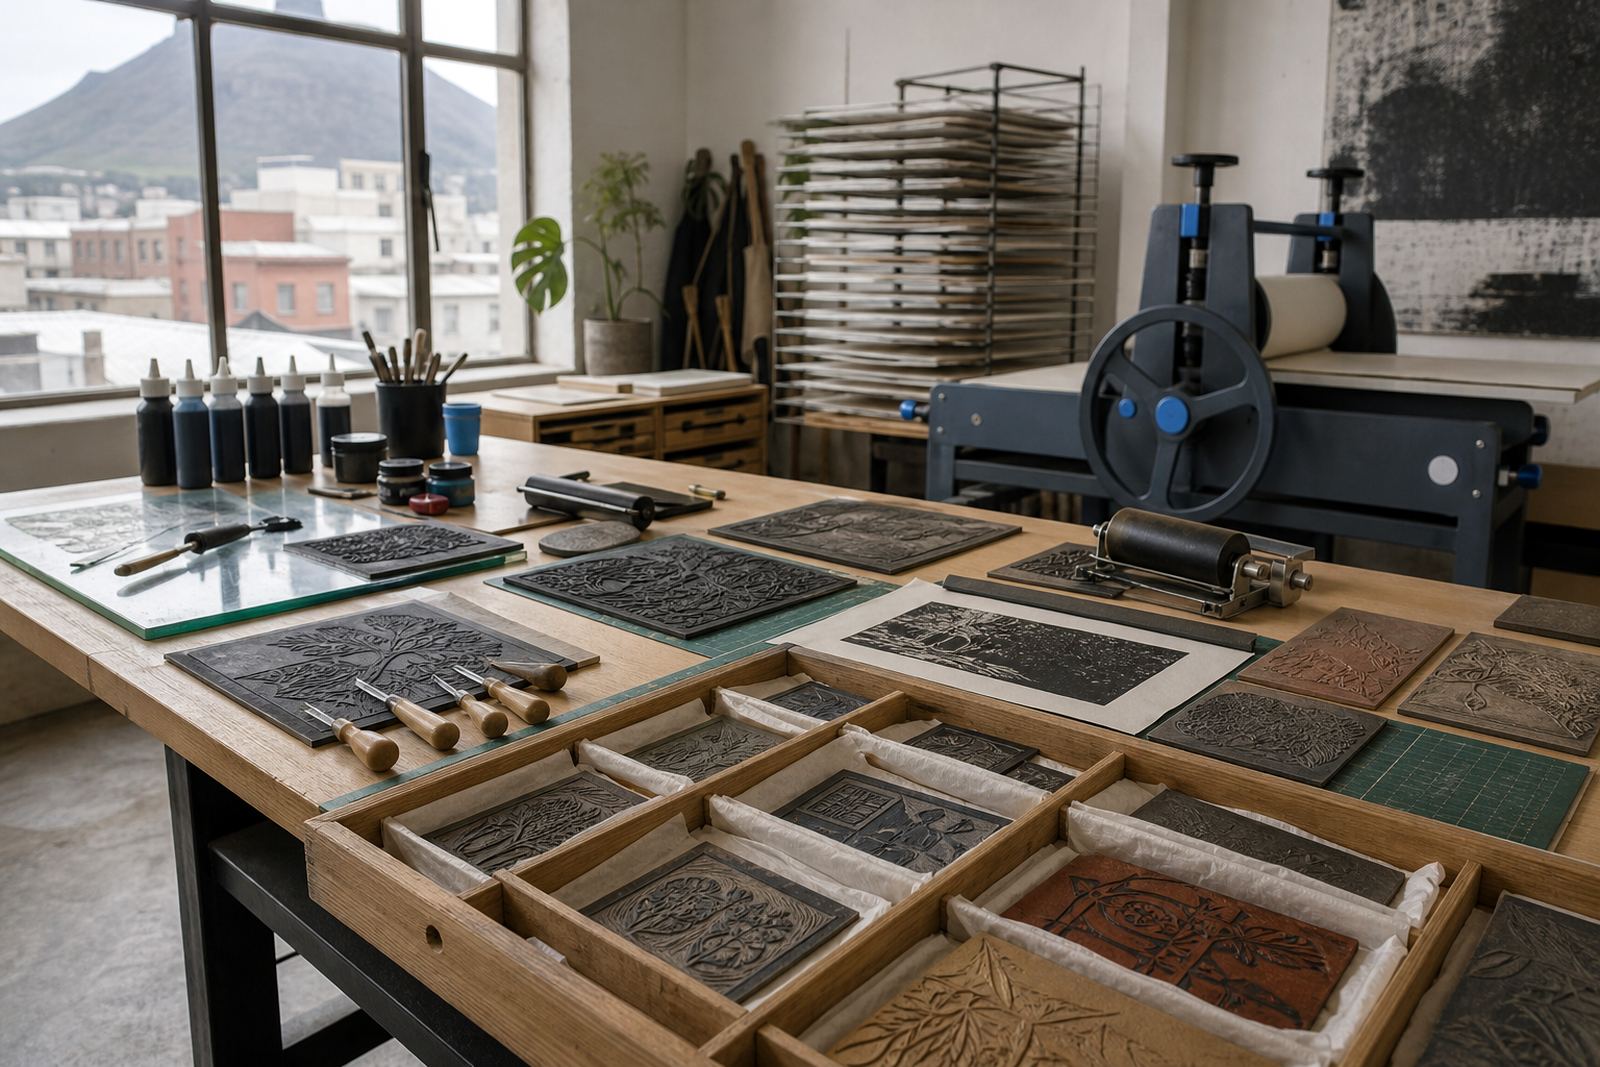
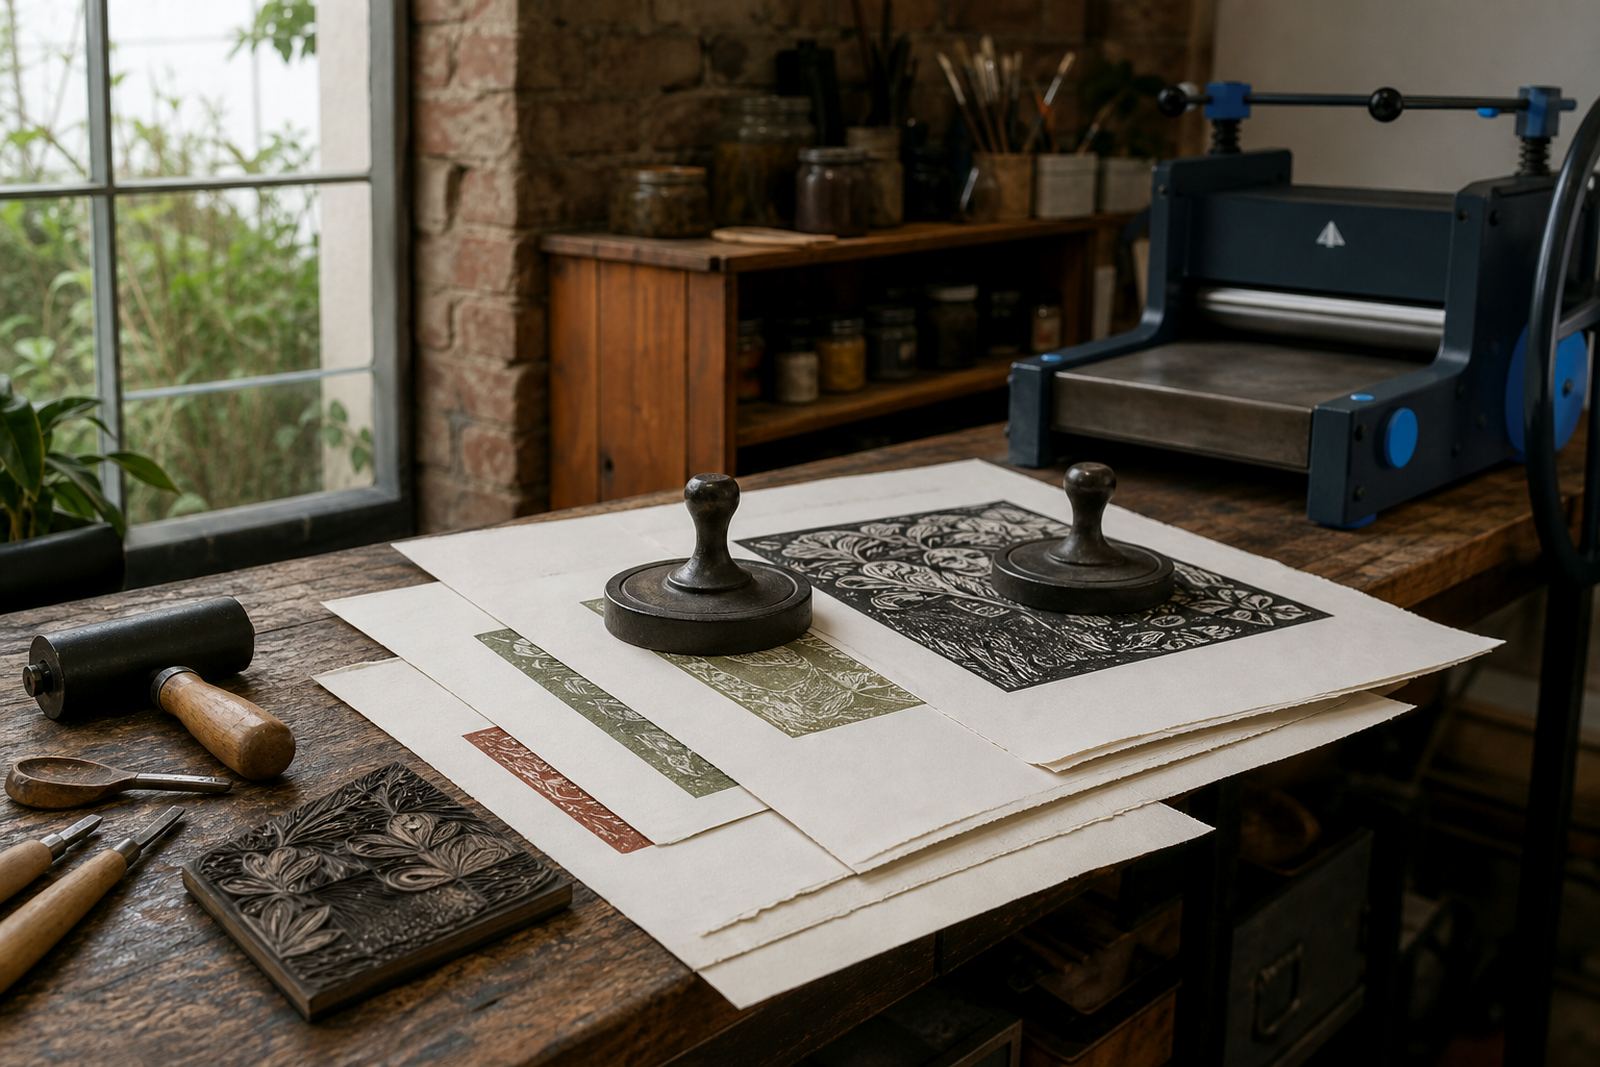
The right tool changes how quickly a group can move from drawing to printing. A brayer helps lay ink evenly across the block, while a baren gives hand pressure for a clean transfer onto paper. In studio work, a press can give more even pressure across a larger edition, especially when the image includes texture or repeated layers.

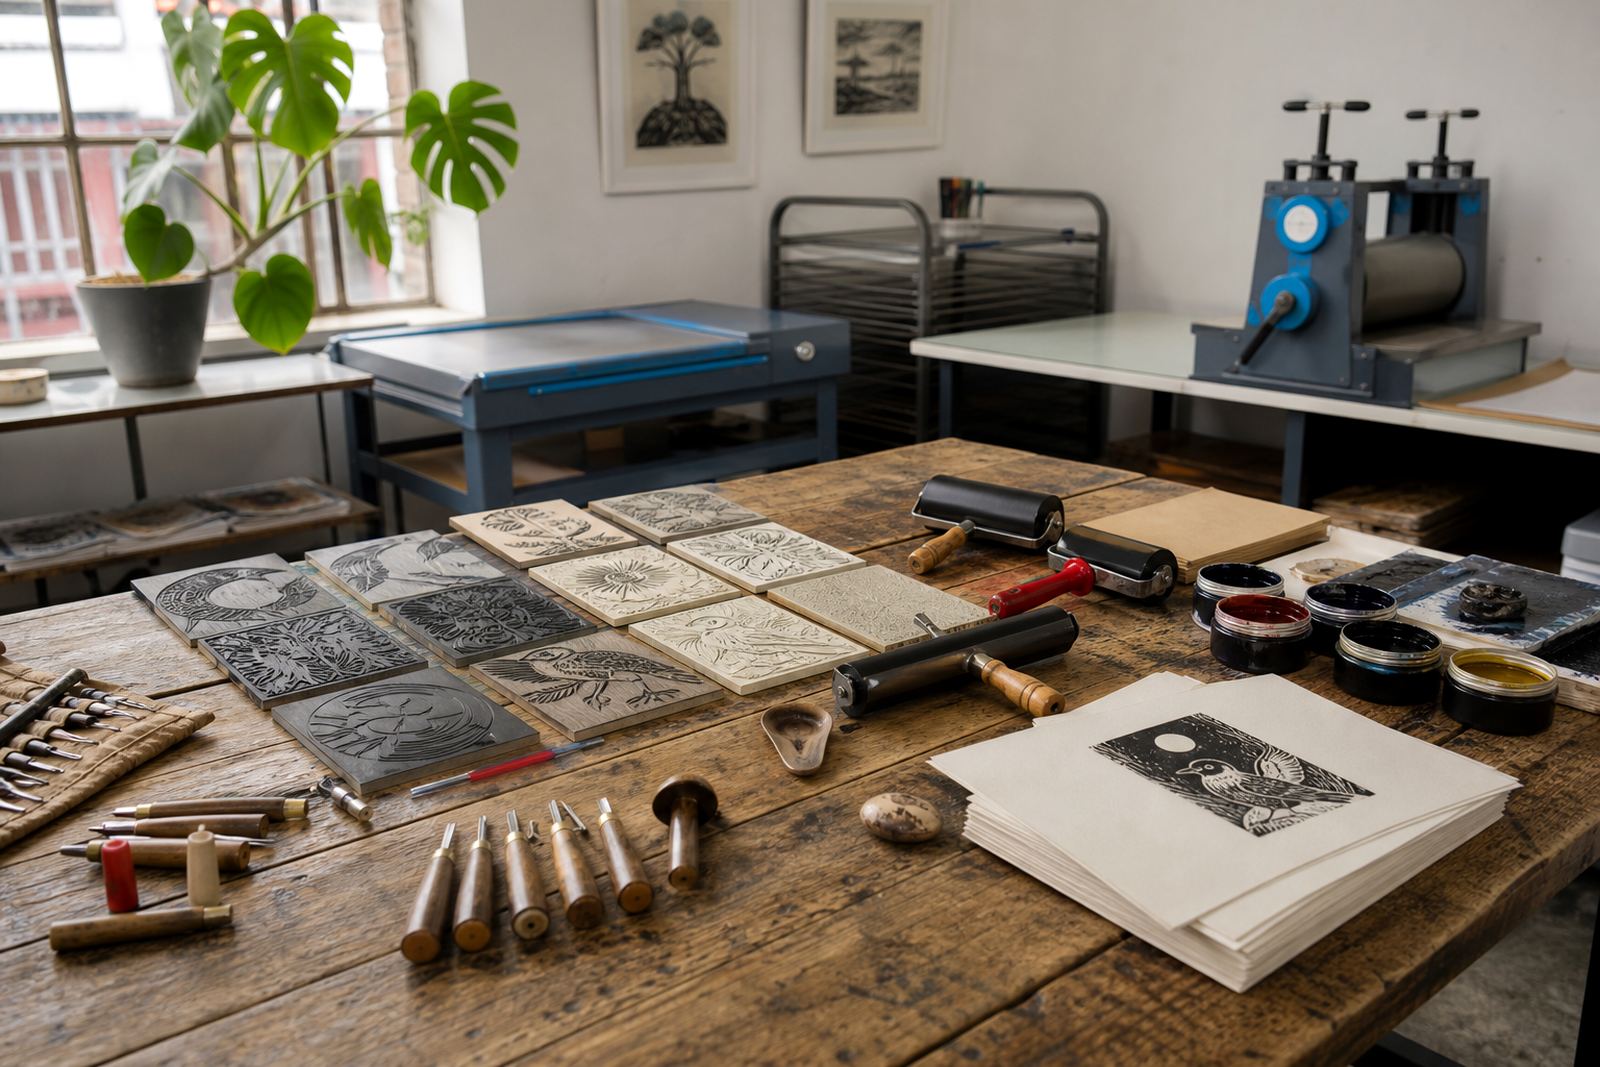
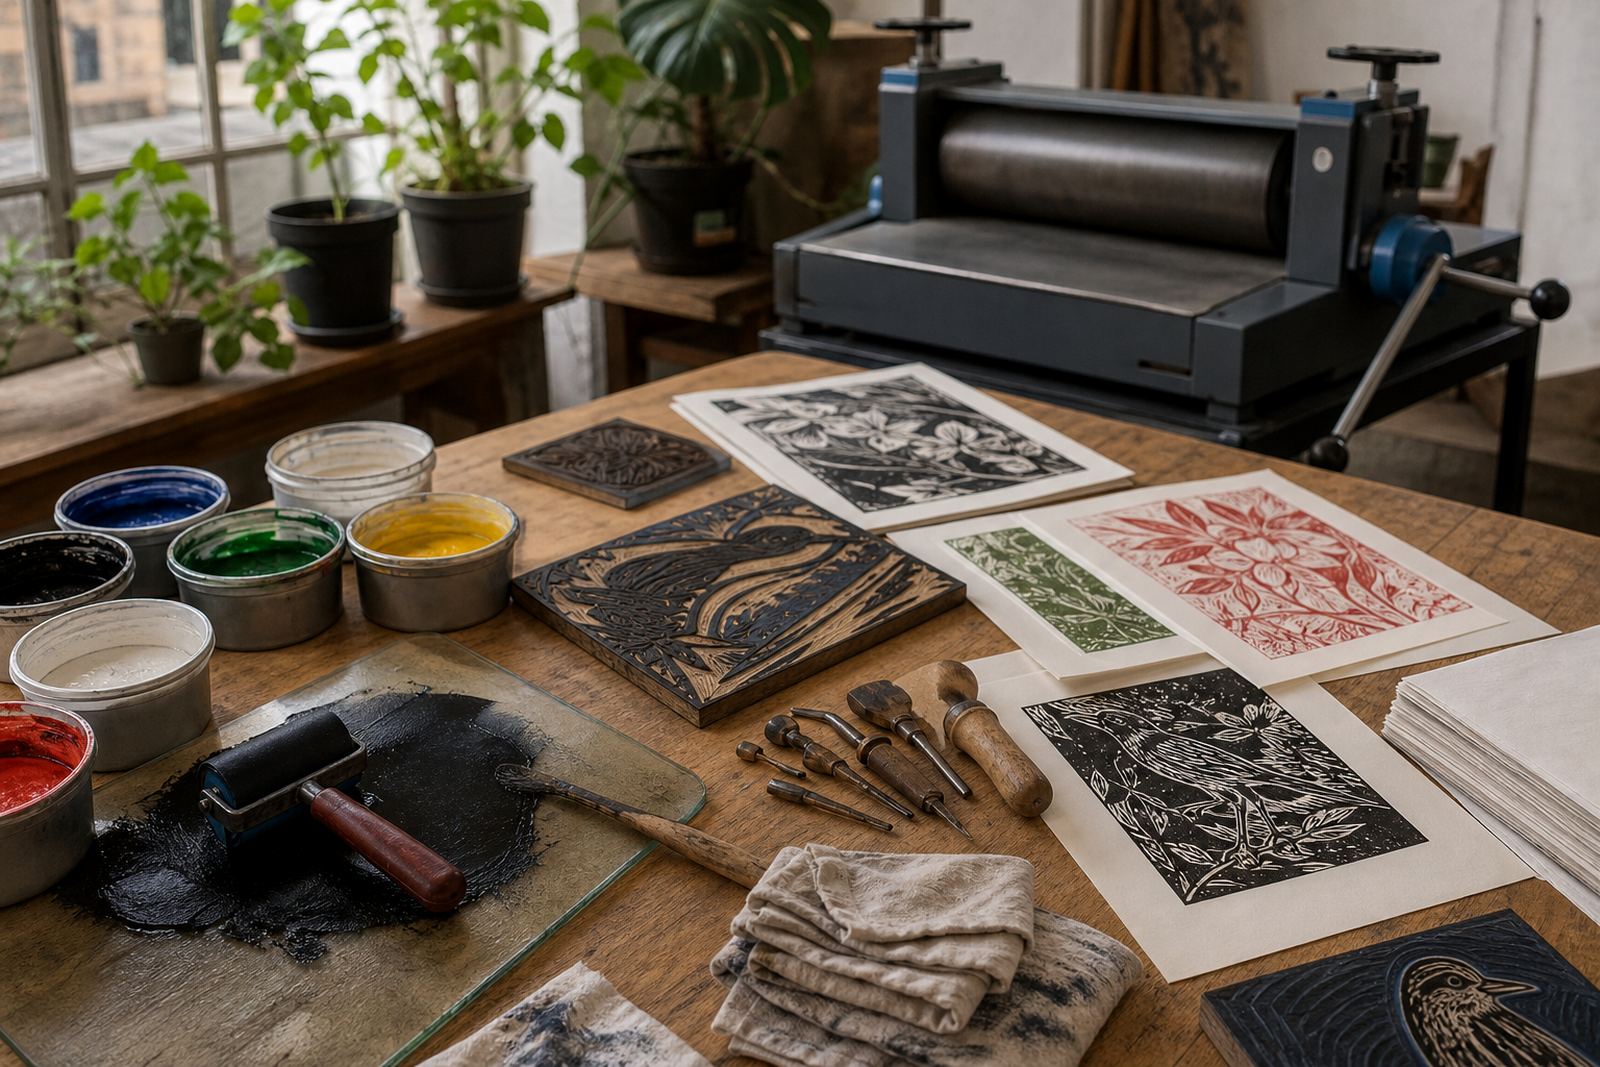
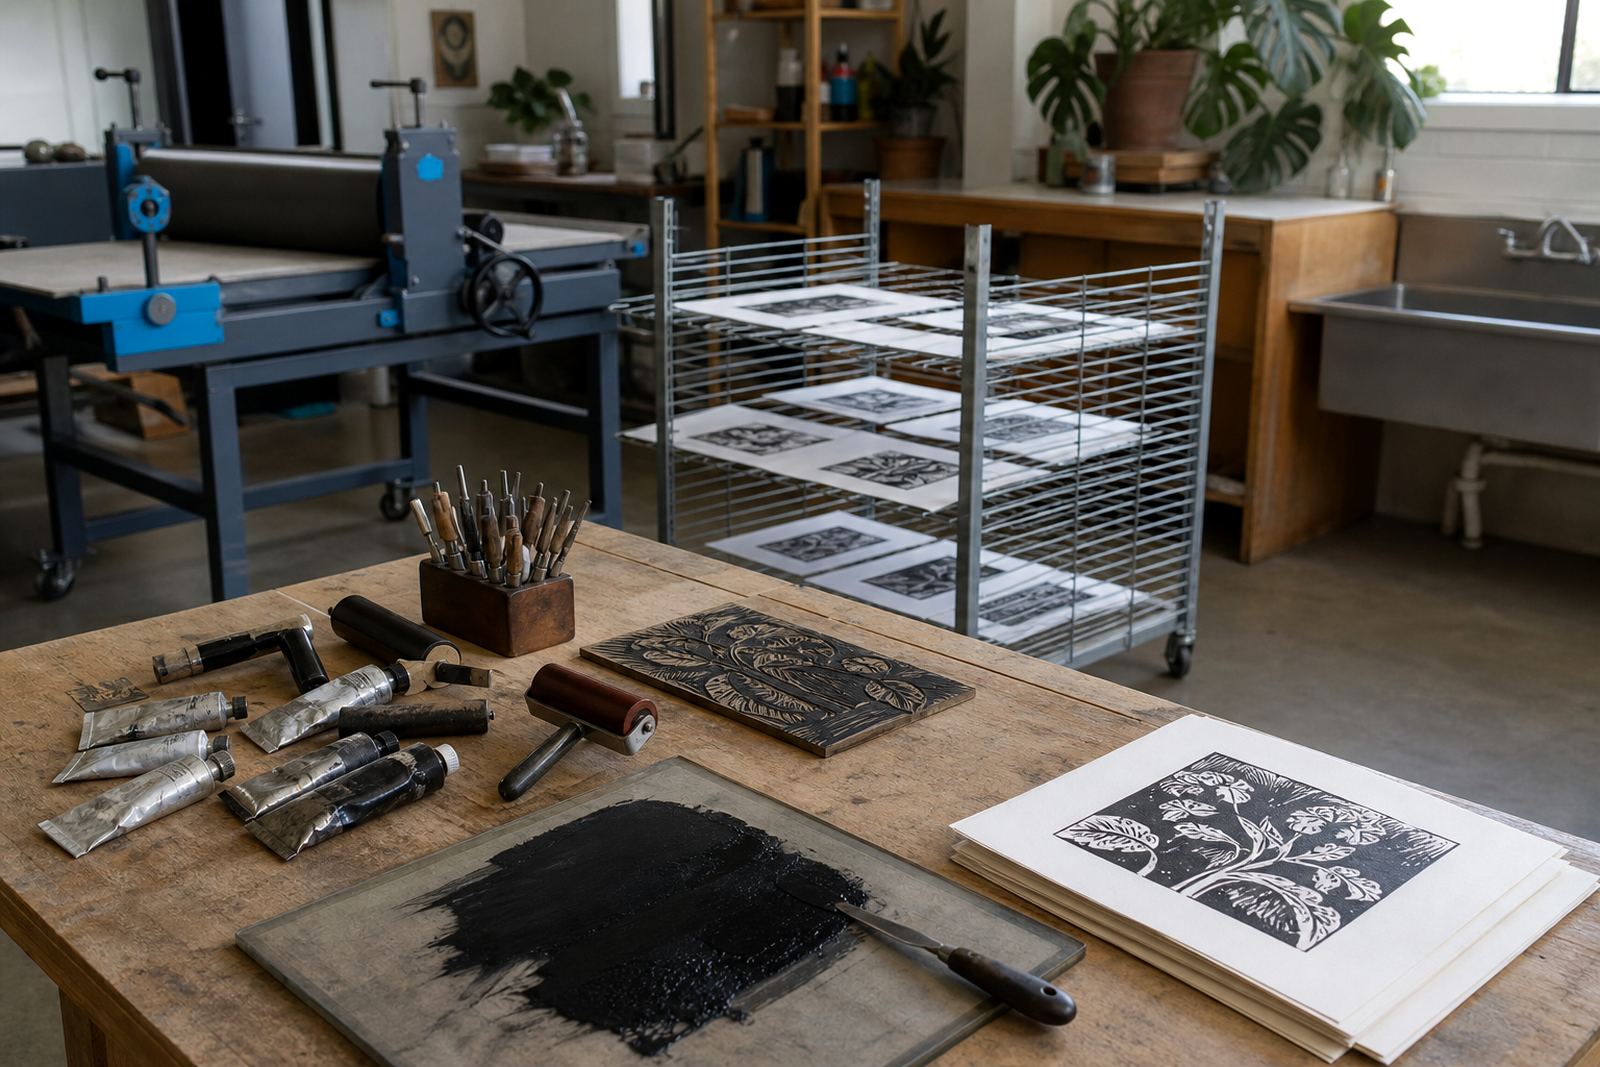
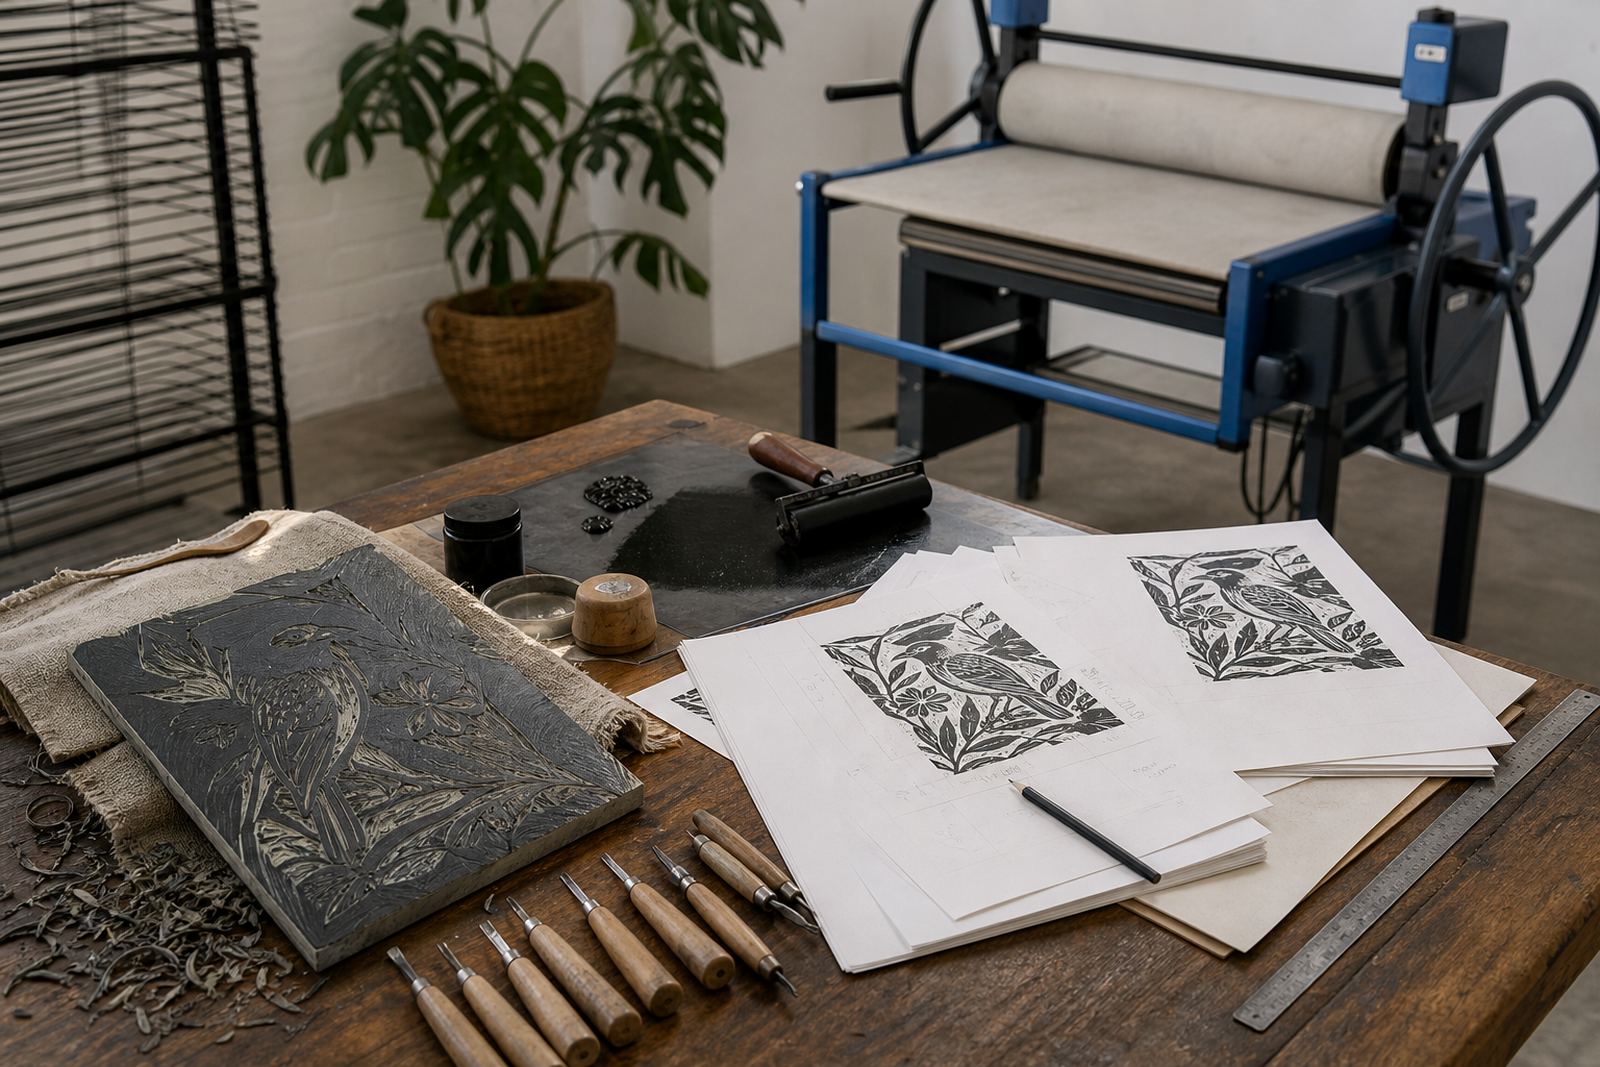
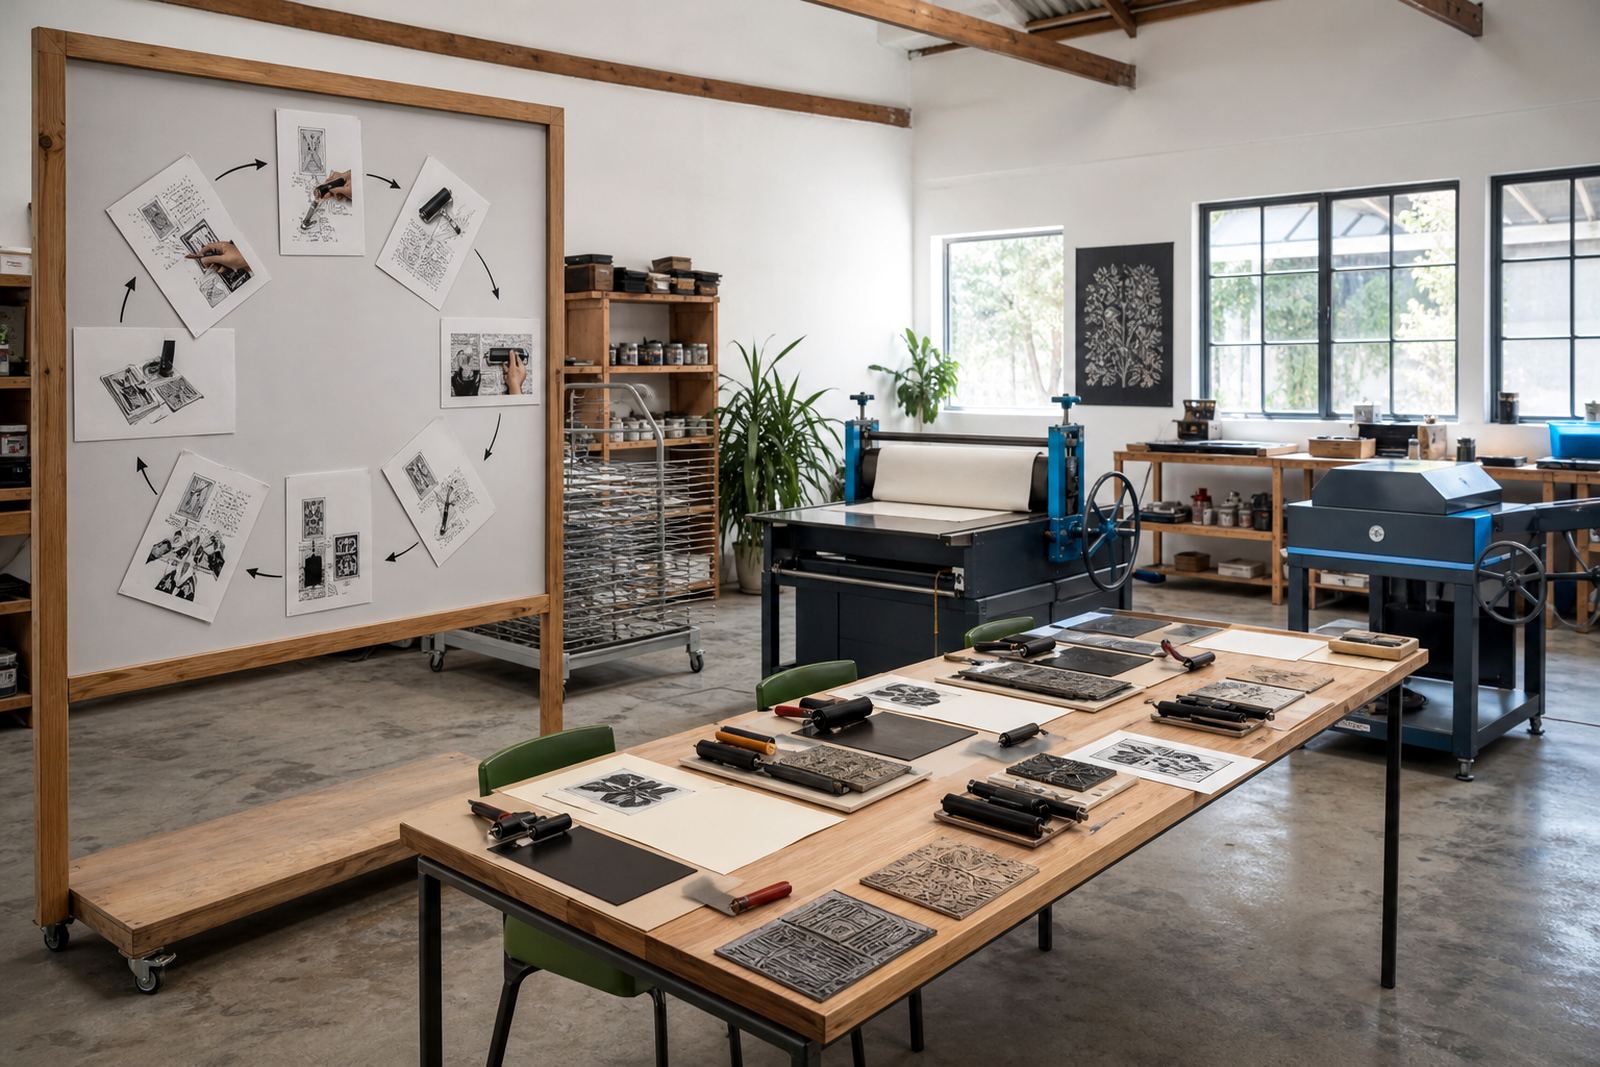
Our studio table runs from the carved block to the inking slab and the first proof. They also help you see why a tool that seems minor can change the whole rhythm of the session.

  • Brayers for rolling an even ink film
  • Baren for hand printing on smaller sheets
  • Press printing for steadier pressure and repeat pulls

Ink, paper and the proofing table

Water-based inks suit many classroom and family sessions because they clean up neatly and behave well in busy shared spaces. Oil-based block inks need more care in setup and clean-up, but they can give a different feel on the paper and a longer working time on the slab. Both have their place, depending on the edition, the paper and the pace of the group.

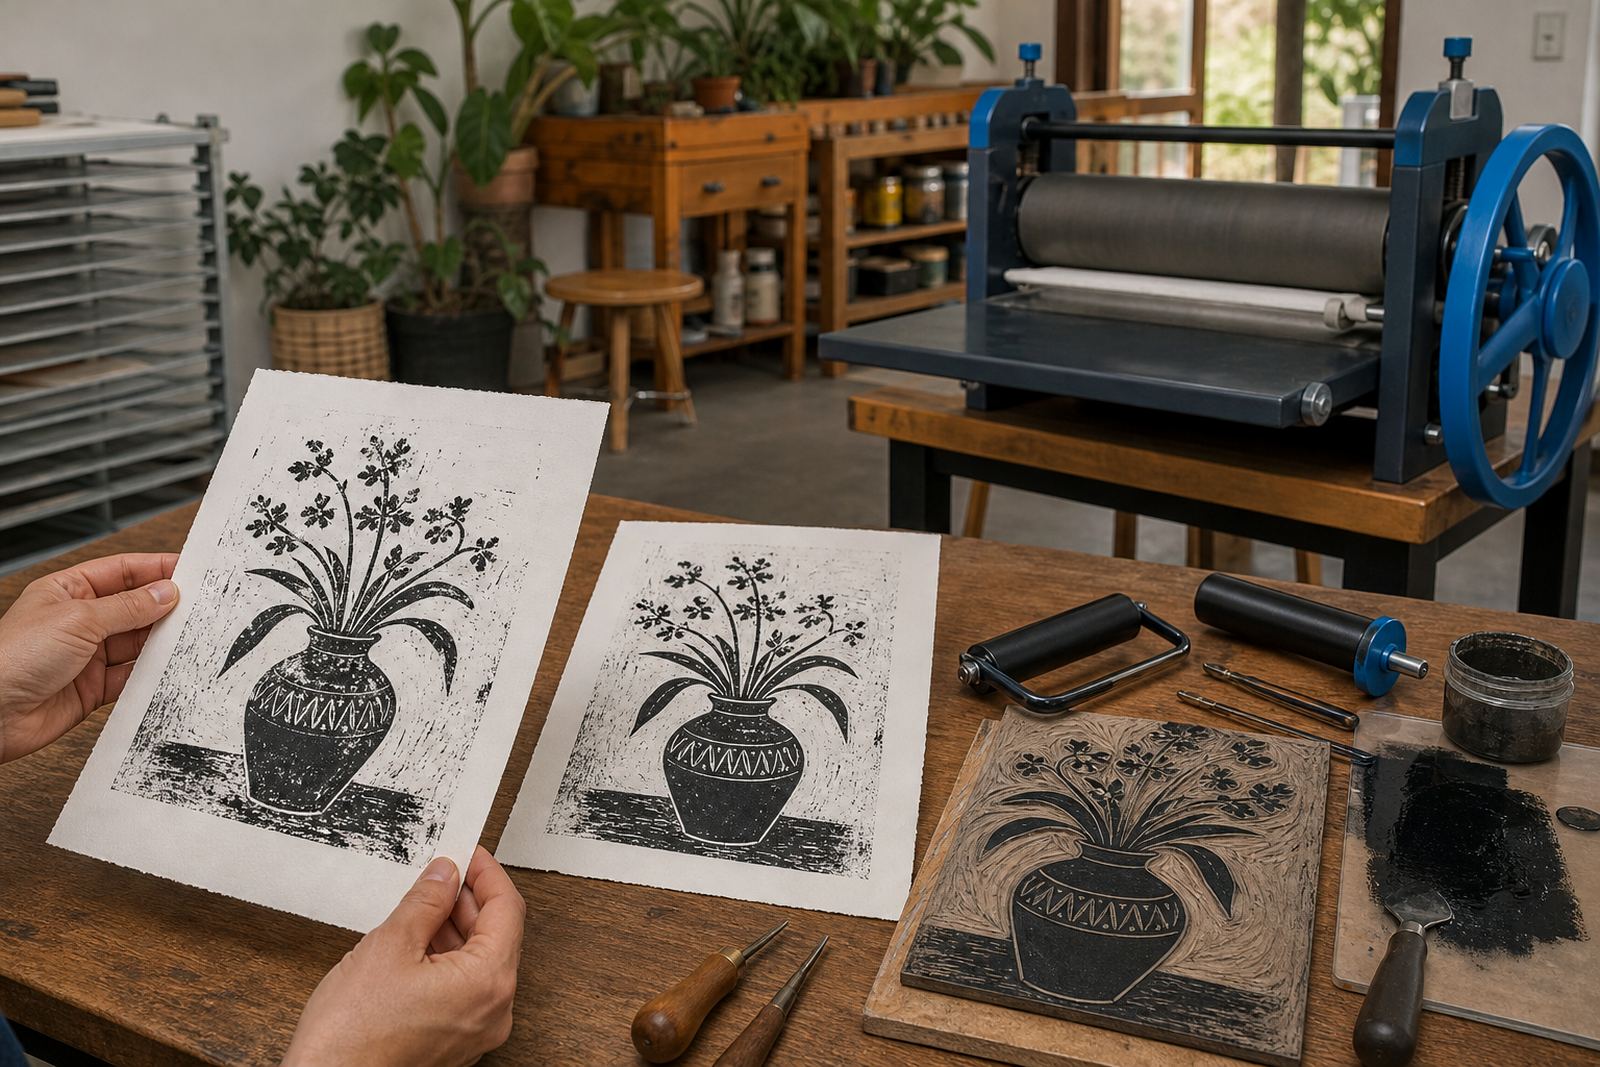
Paper choice matters too. A lighter sheet may show a crisp impression for a simple image, while a heavier sheet can take more pressure and hold a richer surface. Good proofing starts with seeing how the paper lifts the ink from the block, then adjusting pressure, registration and ink load before the edition begins.

Registration, layers and edition printing

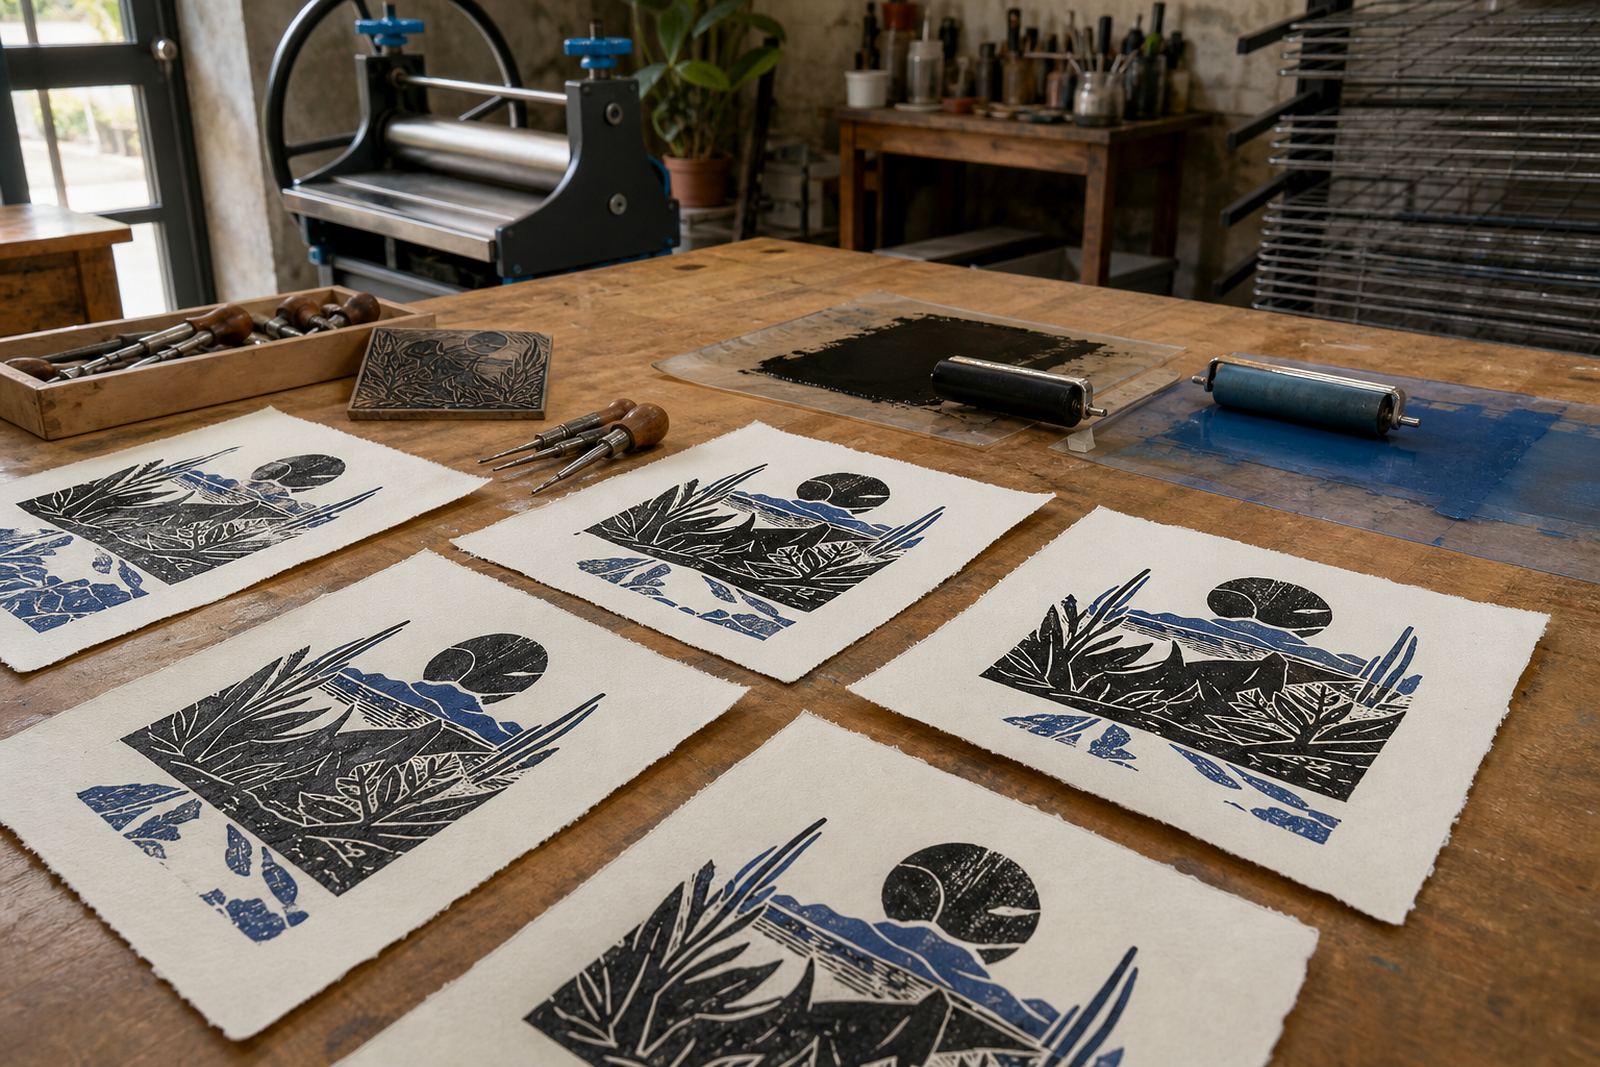
Once a design uses a second block or colour, registration becomes part of the lesson. The paper has to return to the same place each time, and the image needs the same alignment from sheet to sheet. That is where clean corners, marks on the bed and careful handling start to matter.

Edition printing is where learners often notice the discipline in the process. Each pull should belong to the same print run, with the same block, the same paper and the same visual intent. Studio Notes covers the points that affect consistency without turning the process into a mystery.

  • Register the sheet before the first print runs
  • Keep pressure and ink load steady across the edition
  • Check each proof before moving to the final set

By workshop level

Start with the basics and move on to more detailed studio practice in a clear order. Some notes are ideal for adults and students who want to understand the tools before they book a session, while others suit groups that already know how a block behaves under a cutter.

If you are planning a family session, look for the pieces on safe carving, simple forms and short printing runs. If you are arranging school work or a team booking, the notes on registration, edition control and press use will be the better match.

  • Beginner reading for first-time printers
  • Studio notes for returning learners
  • Group planning notes for schools and team sessions

What the process feels like in practice

Printmaking has a steady sequence: draw, carve, ink, print, then check what the paper gives back. The rhythm shifts with each block and each hand, but the structure stays familiar. That is why a clear note on carving depth or ink roll-out can be useful long after the session ends.

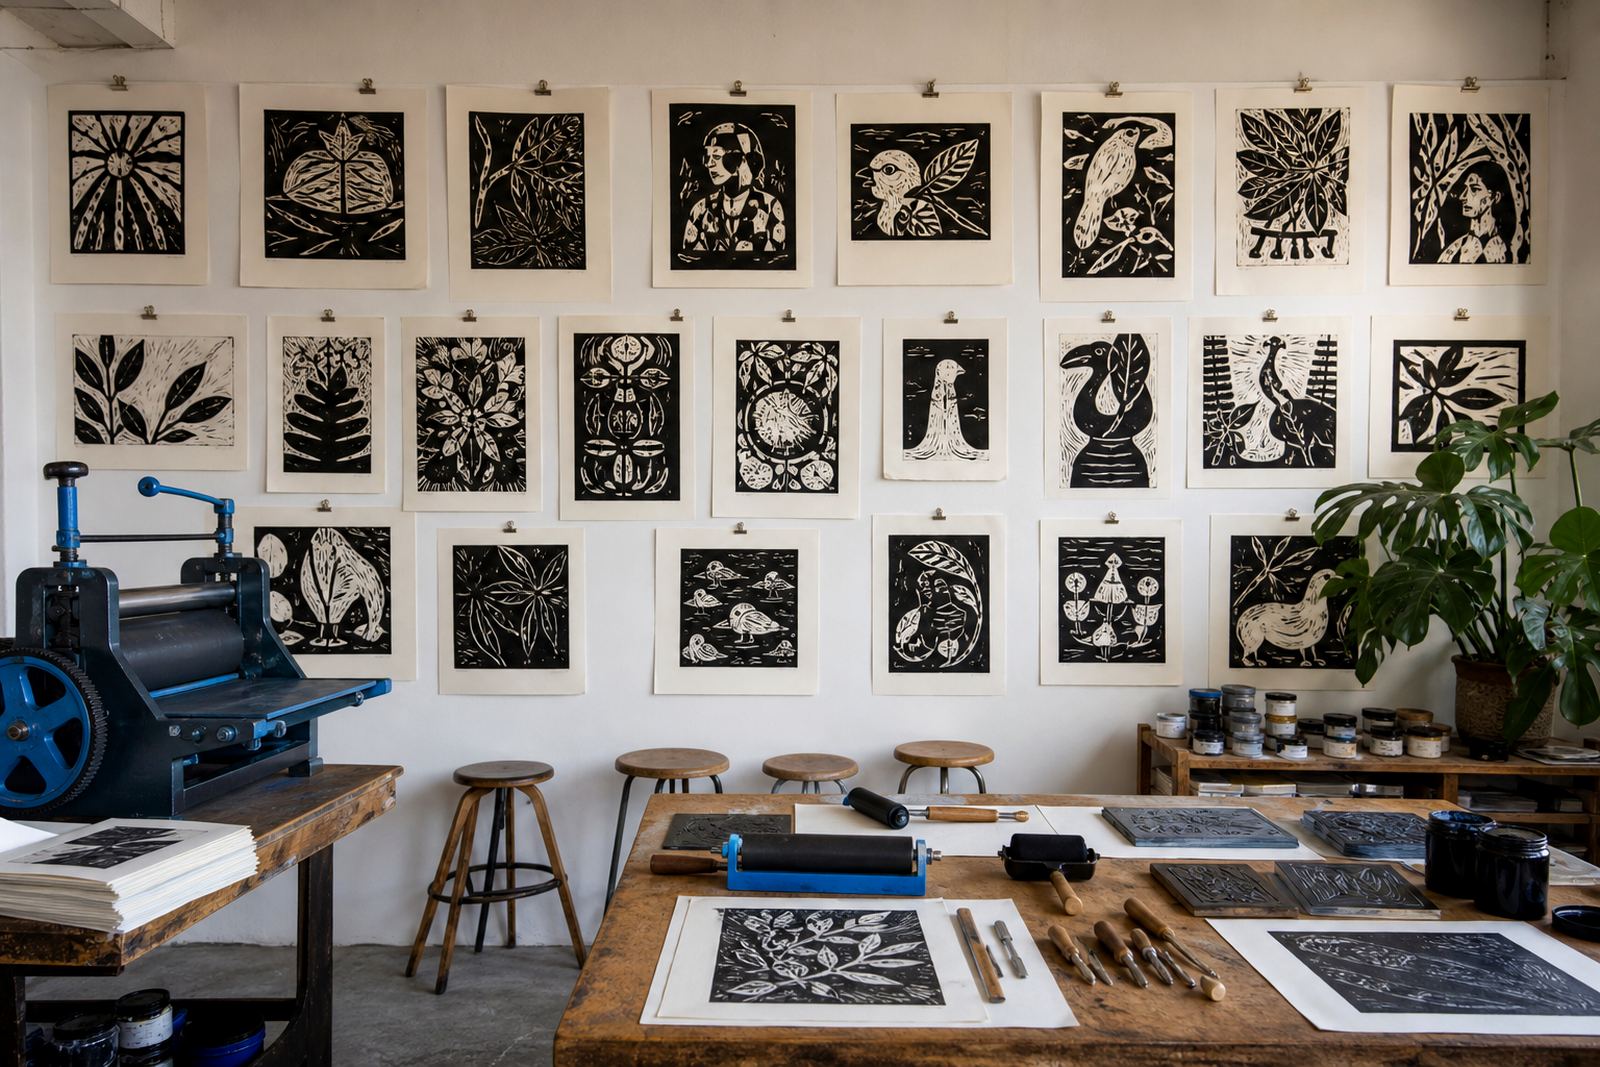
Studio Notes keeps the writing close to workshop reality. It stays close to the blade, the block, the paper and the pull of the print, so you can match the information to the work you are planning in Woodstock, at a school in Pretoria, or in a venue session in Durban.

Workshop questions

What is covered in Studio Notes?

Studio Notes covers linocut and block-print materials, carving tools, inks, papers, registration and the practical steps that shape a workshop or edition.

Who reads Studio Notes?

Adults, students, families, teachers and group organisers read them to compare workshop formats and learn the printmaking steps before a session.

Do you only teach linocut?

Linocut is the core, and sessions also cover other block printing, safe carving, hand printing, press printing and edition work.

Never carved a block before? Book a beginner seat or a group session.

Book a session