Draw the image you want to carve
Before any transfer method, the drawing needs to suit the block. A lino print is built from reversed marks, so text, directional lines and any important asymmetry need checking before the image touches the surface. A bold portrait, a leaf study or a street view of Woodstock can all work well, but busy detail should be edited down so the carving has room to breathe.
Soft-cut blocks and traditional lino behave a little differently. Softer material takes pencil marks and light pressure easily, while firmer lino may need a clearer tracing line. If the design has a strong black and white structure, think in terms of areas that will print and areas that will stay white. That decision makes the transfer easier and the carving safer.
- Flip any wording before you transfer it.
- Mark the main shapes first.
- Start with a simple first version that is easy to read from arm’s length.
- Leave clean margins so the brayer does not pick up stray marks.
Tracing paper gives the cleanest first map
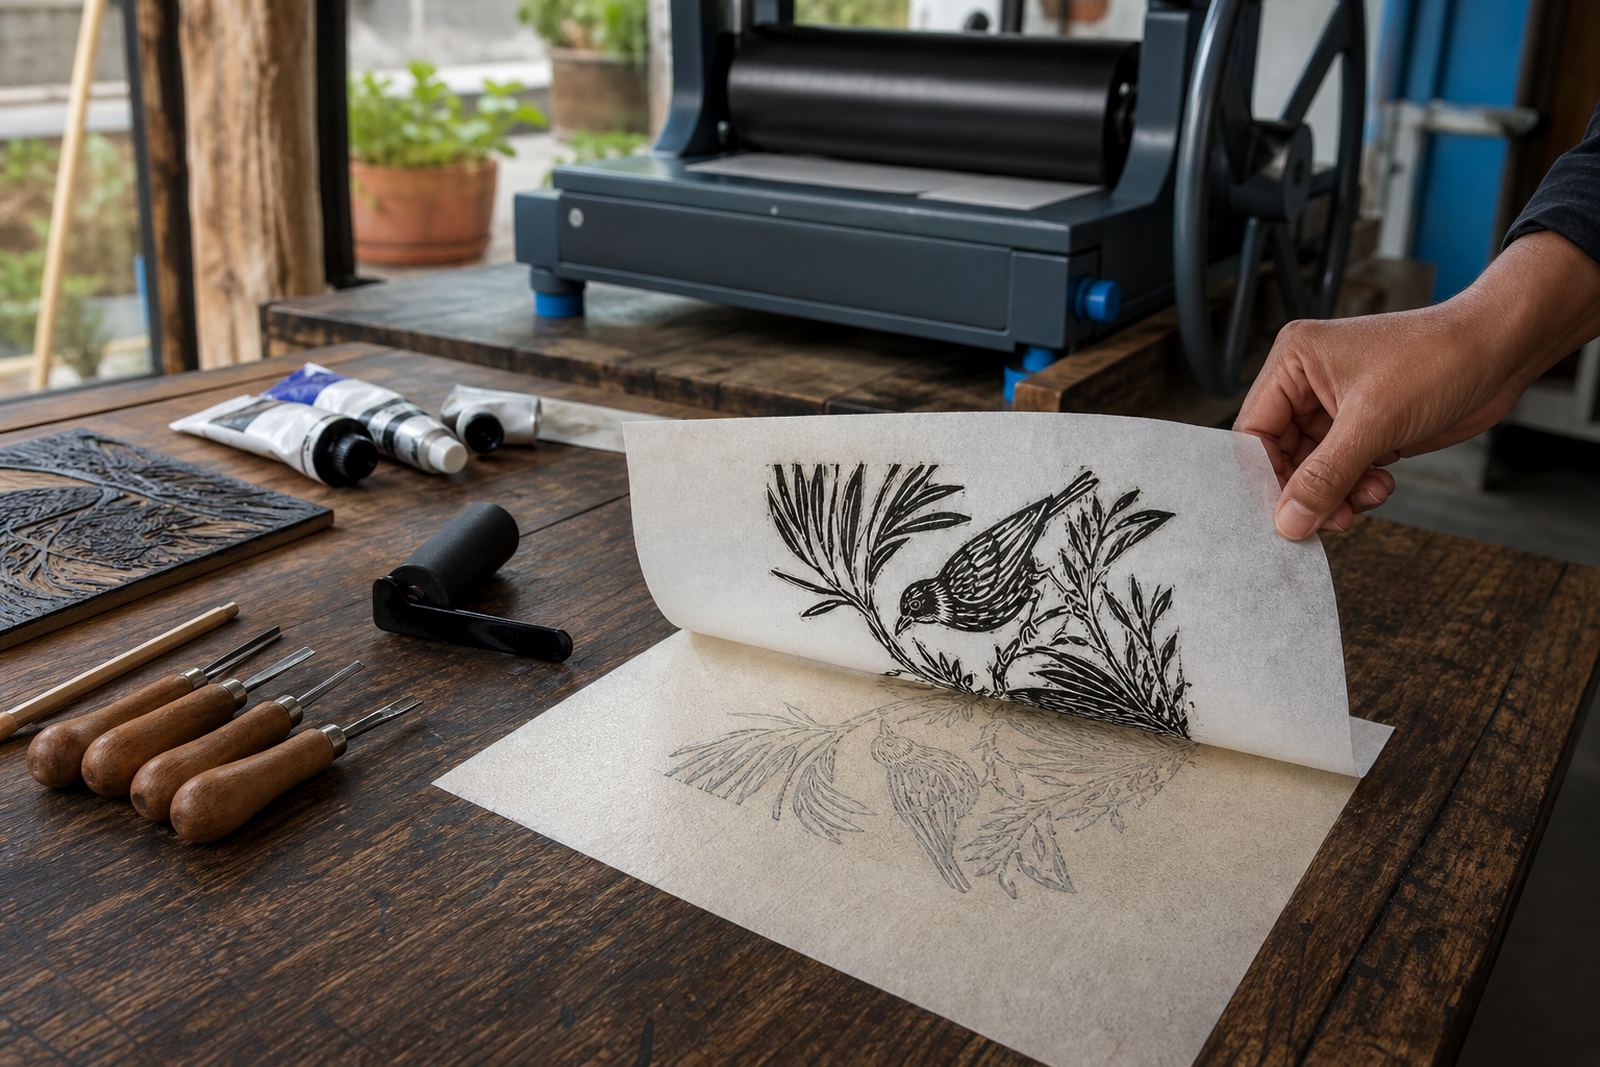
Tracing paper is still one of the most useful tools in a print studio. It lets you redraw the image with cleaner lines before moving it onto the block. Many students start with a photocopy or sketch, then trace only the useful parts: outlines, key shadows and the borders that define the edition size.
Once the tracing is ready, turn it face down on the lino and rub the back with a pencil, spoon or other smooth tool. The graphite transfers enough information to guide carving, and the line stays tidy if you press evenly. On pale lino the mark shows clearly. On darker or more textured blocks, a heavier trace may help.
- Work on a flat table so the paper does not shift.
- Use a hard pencil for a sharper transfer.
- Check the image from the front before lifting the tracing.
- Redraw any weak corners before carving starts.
Carbon or graphite transfer suits faster workshop work
When a class needs to move quickly, carbon paper or homemade graphite transfer can save time. Place the transfer sheet between the drawing and the block, then trace over the main lines with firm pressure. The result is useful for group sessions, school visits and studio classes where everyone is working from their own design and needs a practical route into carving.
This method works well for outlines, but it can leave a slightly heavy line. With a clear carving plan, those lines become a guide. In a Cape Town workshop with adults and students sharing tables, it helps to label each block edge and keep the artwork in the same direction from start to finish.
- Test the pressure on scrap paper first.
- Keep the drawing taped in place while tracing.
- Lift one corner to check that the image is showing clearly enough.
- Wipe the block lightly before carving, so loose graphite does not smear.
Mirror the image before it touches the block
Anything that reads from left to right must be reversed before transfer. That includes names, dates and signs in a scene. For a family session in Stellenbosch, a student might sketch a cafe frontage with lettering on a window, then discover the print reads backwards if the transfer stage was rushed. A quick mirror check avoids that problem.
There are easy ways to mirror an image. You can redraw it from the opposite side of tracing paper, use a reverse printout from a computer or simply flip the sketch over when the subject is simple. The safest habit is to hold the drawing up to a mirror before transferring. That one check often saves a whole block from an awkward mistake.
- Mirror every word, number and logo element.
- Check portraits for handed details like watches or earrings.
- Remember that symbols in a print face the opposite way.
- If the image is symmetrical, still check the small details.
Registration marks keep multi-colour work under control
Once the transfer is set, registration matters. If a print will use two or more blocks, or one block printed in stages, the paper needs the same position each time. A simple corner guide, pencil cross or taped stop on the press bed can keep the sheets aligned. In hand printing, even a small shift changes the image and may blur the edges of a second colour.
For edition printing, the transferred drawing should leave enough space for the margins and the paper edge. Water-based inks dry differently from oil-based inks, so the paper choice matters too. Smoother papers can handle fine detail, while more absorbent papers suit looser marks and a softer finish. The transfer should respect that choice.
- Mark the paper edge before the first pull.
- Keep the block orientation the same for every print.
- Use a test sheet to check alignment.
- Leave enough space around the image for a neat border.
A Woodstock example with paper, brayers and a press
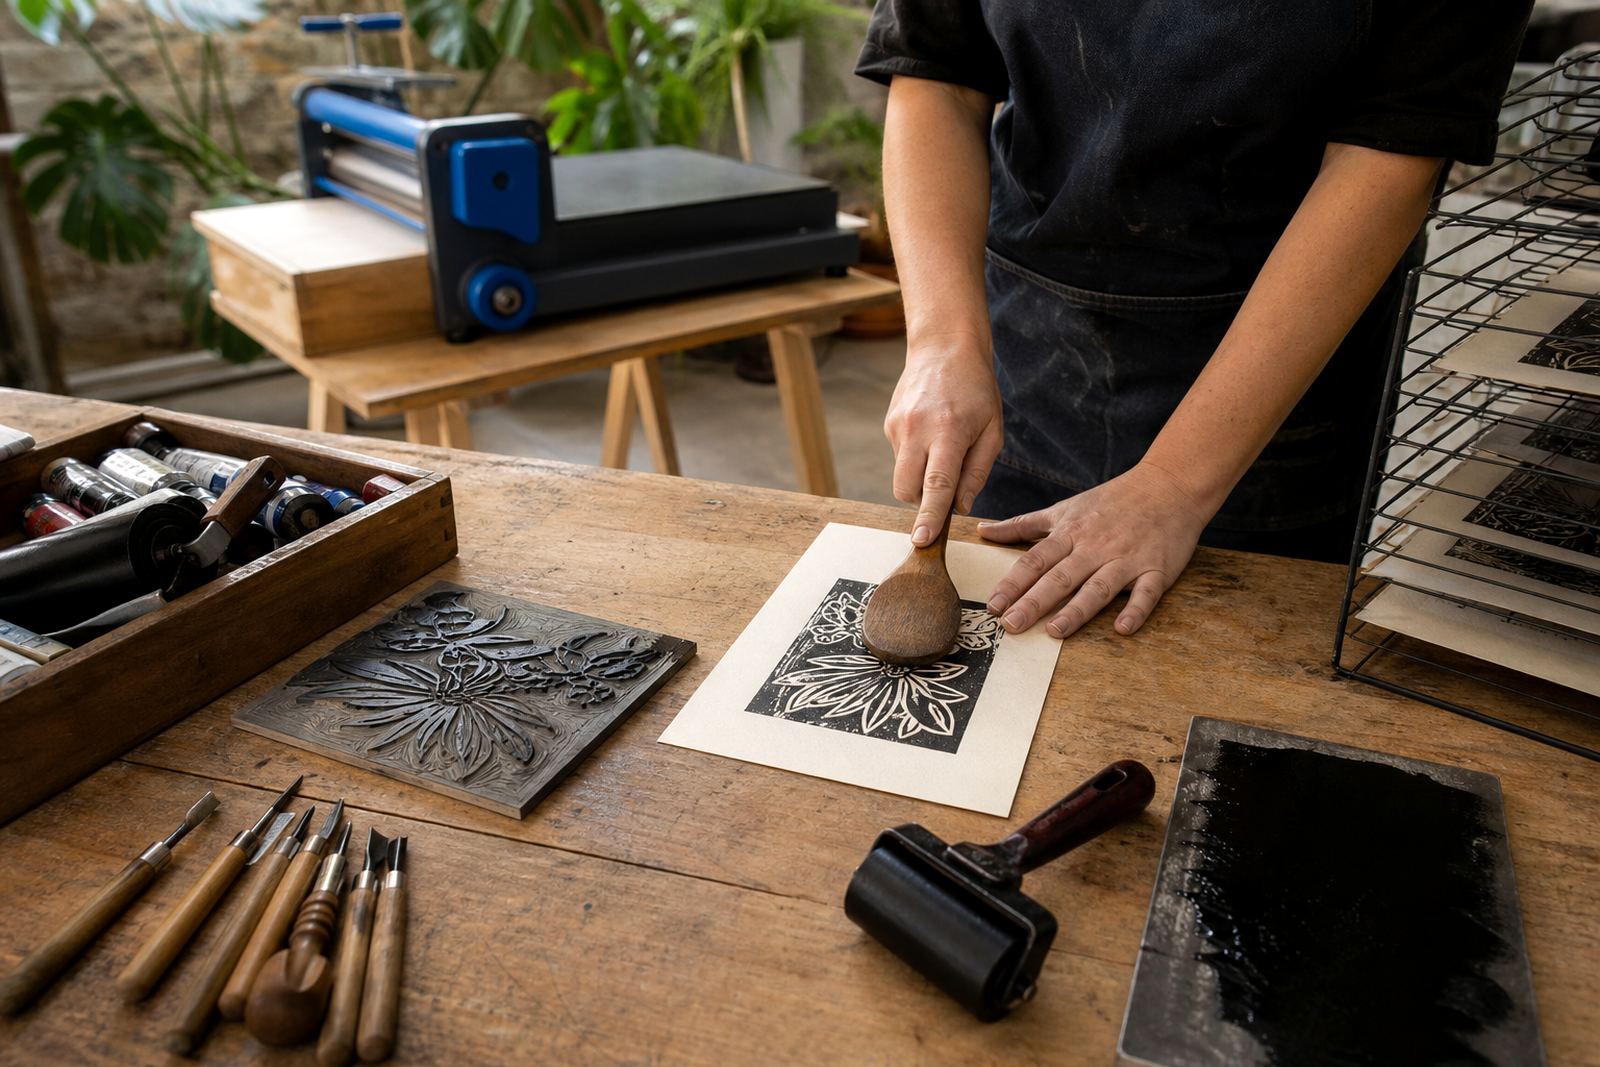
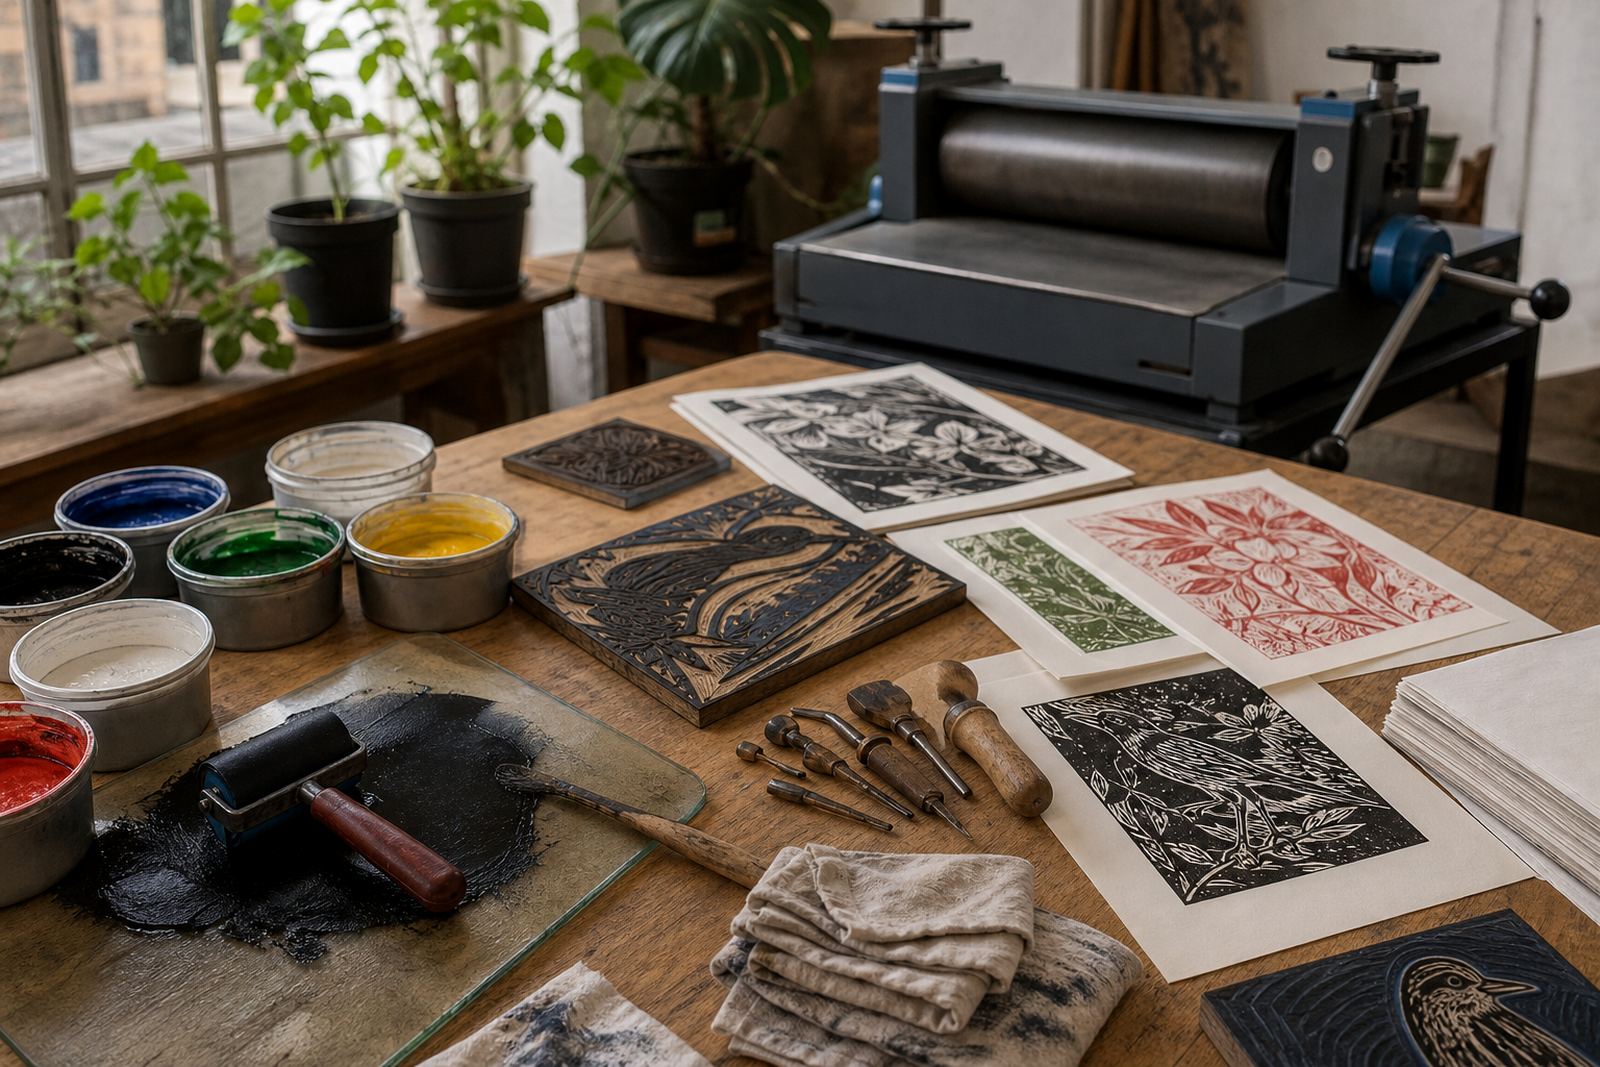
In a Woodstock studio, a beginner might arrive with a sketch of the Cape Flats skyline or a protea leaf, then transfer it to soft-cut block with tracing paper and pencil. The group would check the reverse image, mark the main shadows and carve with V-tools for lines and gouges for broader white spaces. A brayer spreads the ink evenly, then a baren or press prints the sheet by hand.
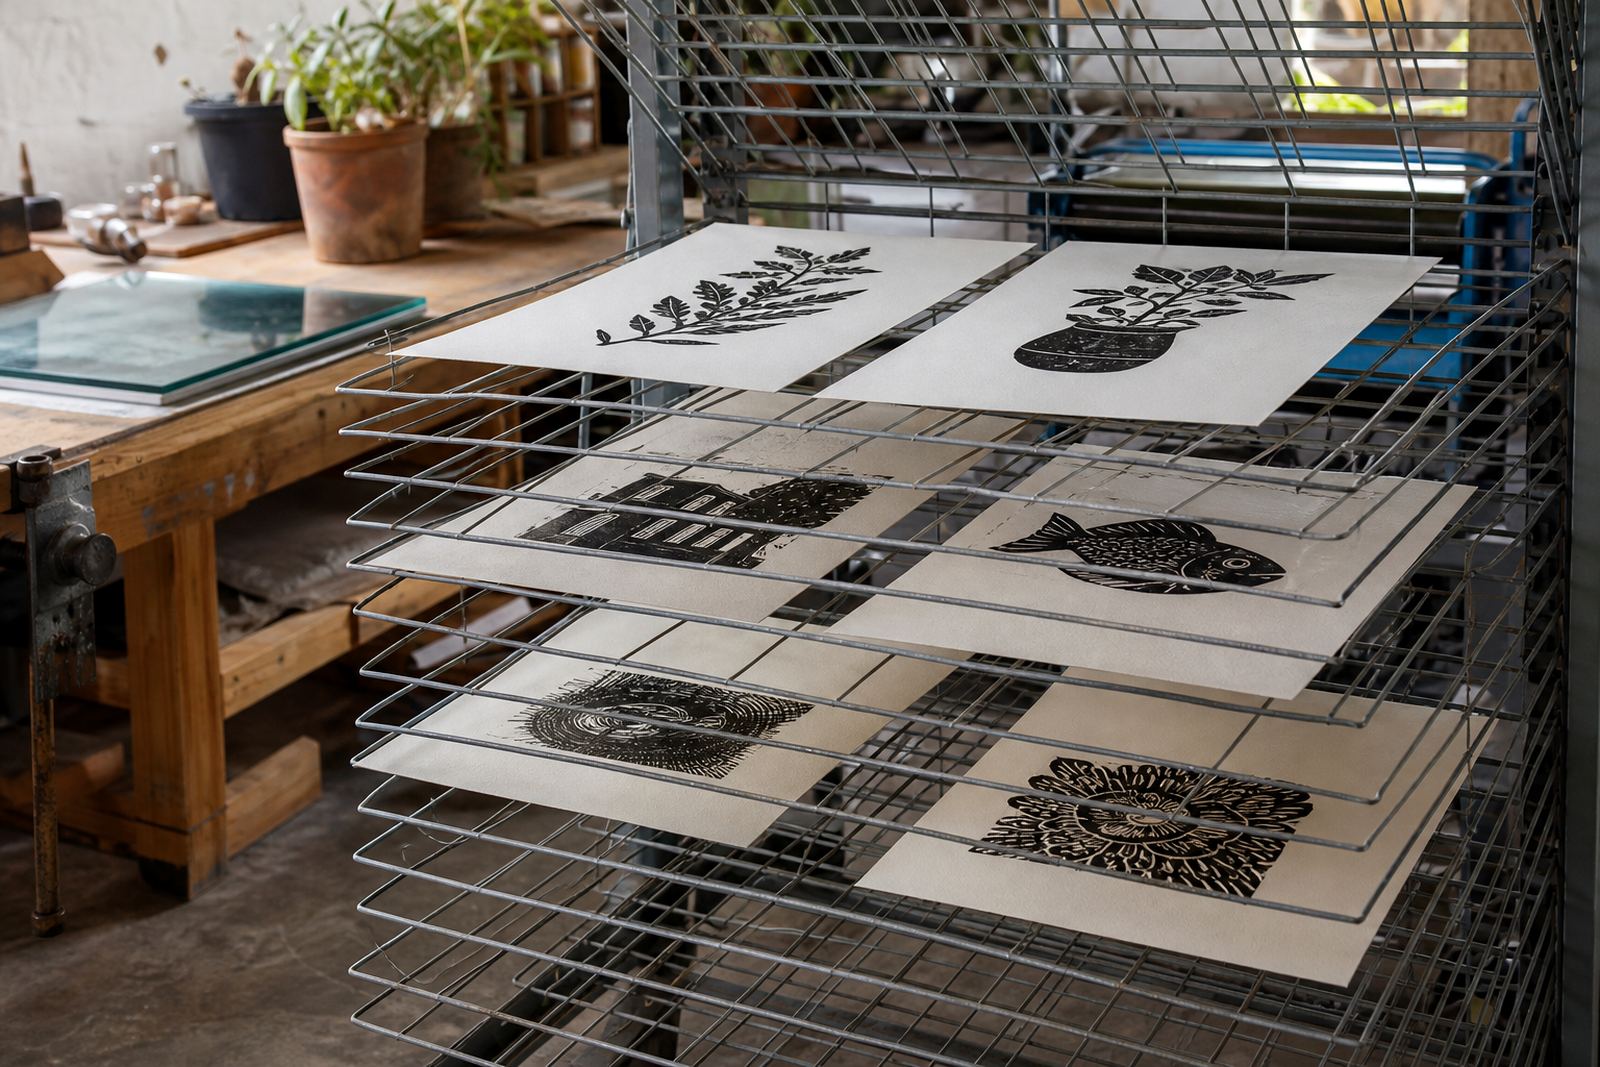
That process shows why transfer is part of the print. If the drawing is cramped, the carving feels tight. If the lines are too faint, the cutter has to guess. A clear transfer gives the print room to develop, whether the final edition is on cartridge paper, a heavier art paper or a sheet chosen for a school workshop.
- Use the transfer to plan line weight before carving.
- Keep the image balanced on the block surface.
- Match the paper to the pressure of the print method.
- Let the first pull show if the transfer needs tightening.
The transfer stage should help the carving, not trap it
The best way to move an image onto lino is the one that keeps the carving clear. Tracing paper gives accuracy, carbon paper gives speed, and a direct sketch can work when the design is loose and confident. Check that the block still makes sense after the first cut. If the drawing is clear and simple enough, the carving tools can do their job without confusion.
That is the point of a good workshop: a transfer that is useful. When the image is ready, the cutter can focus on the rhythm of the line, the pressure of the gouge and the quality of the final pull. The print then carries the drawing forward with less guesswork and a cleaner finish.
- Choose the transfer method that matches the subject.
- Protect the key shapes before any carving starts.
- Keep the block readable after the image is reversed.
- Plan for the print as well as the sketch.