The thin film that does the real work
When a brayer carries too much ink, the block starts to swim. Fine carved lines close up, soft edges blur and the print can pick up glossy lumps that show more on cotton rag paper than on cheaper sheets. The aim is a narrow, even film across the roller, with just enough tack to leave a clean transfer.
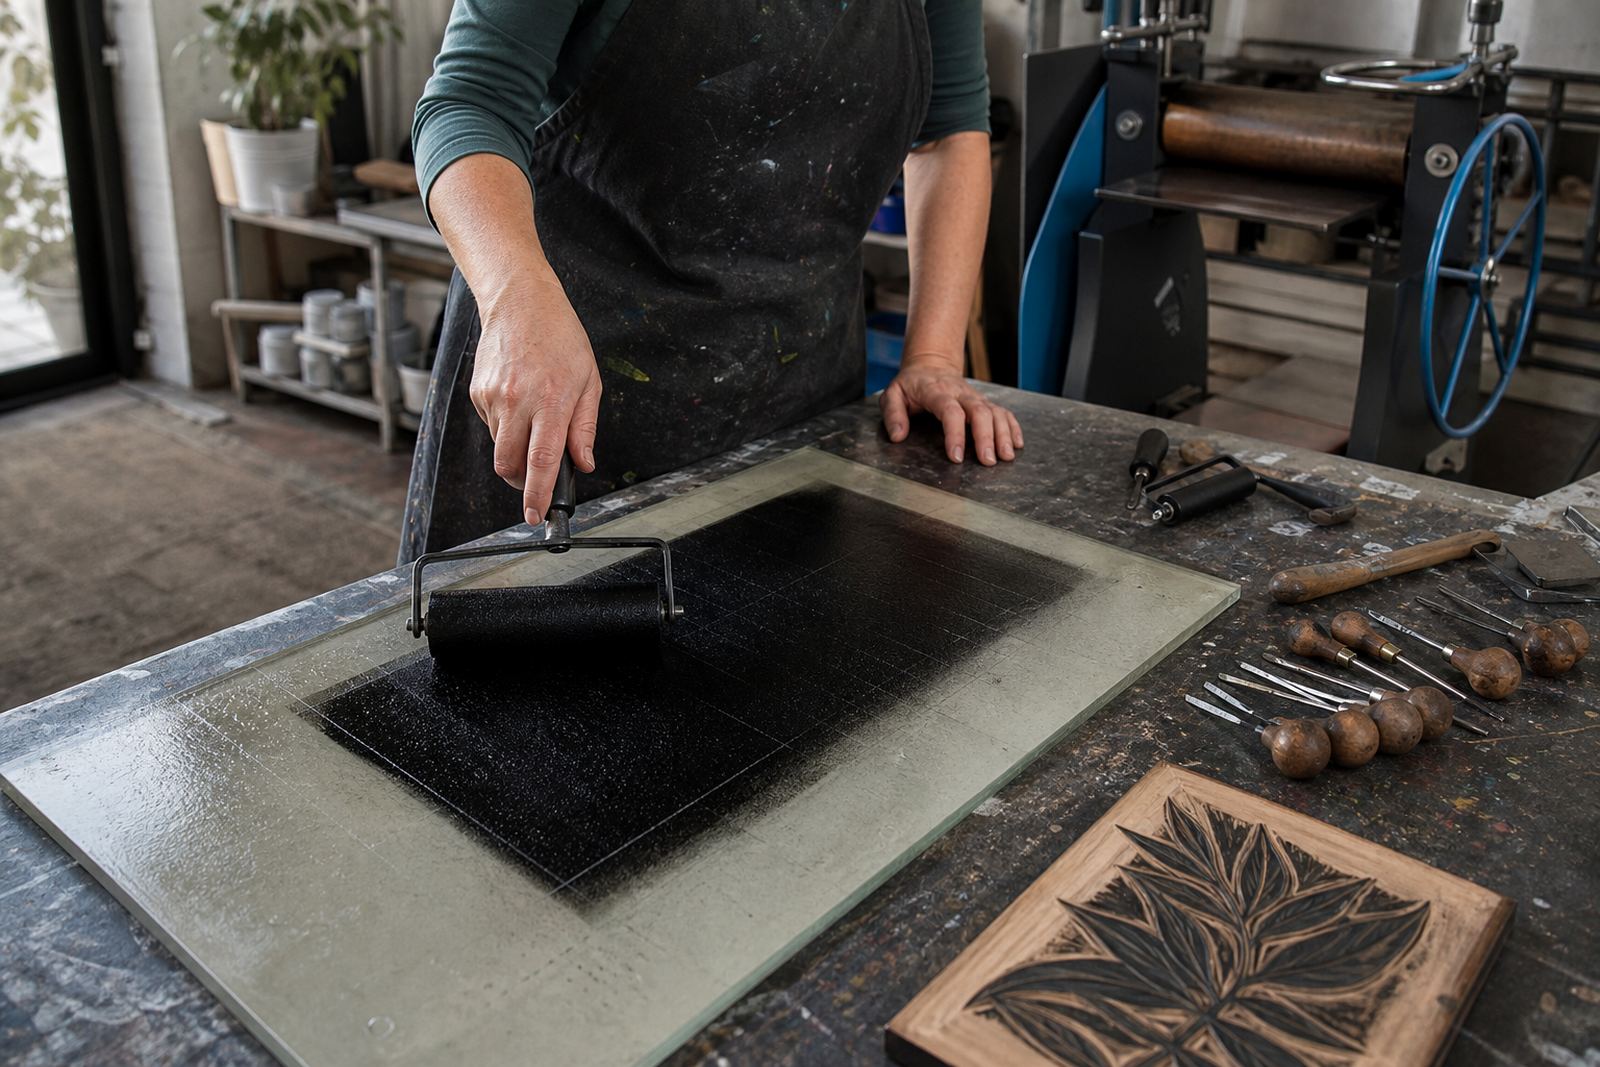
For lino and soft-cut blocks, the first pass on the slab should look almost dry. You roll back and forth until the ink sounds slightly sticky and the surface turns from wet shine to a soft, velvety gloss. That is usually the point where the roller is holding enough colour without flooding the relief.
A heavy hand wastes ink and paper. It also leaves the edges of a carved motif clogged, which matters when the image relies on sharp V-tool cuts or a shallow texture line. On a busy block, the difference between a good pull and a muddy one often starts before the paper touches the form.
What the roller should feel and sound like
Even loading is partly a sensory check. A well-loaded roller makes a gentle, dry whisper on the slab rather than a sticky slap. It should turn freely, with no ridges building up on the ends. If ink gathers there, the ends print darker and the middle can look starved.
- Start with a small bead of ink on the slab, then spread it wide.
- Roll until the film is uniform and no longer glossy-wet.
- Lift and check the roller ends for build-up.
- Reload in tiny amounts if the surface starts to drag.
- Keep the slab clean between colour changes so debris does not score the block.
Water-based inks usually need a lighter touch and quicker working time, especially in a warm Woodstock studio where the air can dry them fast. Oil-based block inks stay open longer, but they can tempt people into loading too generously. The same rule holds for both: a little more can be added, but too much ink means extra rolling, more cleanup and a less controlled print.
Matching load to the block you carved
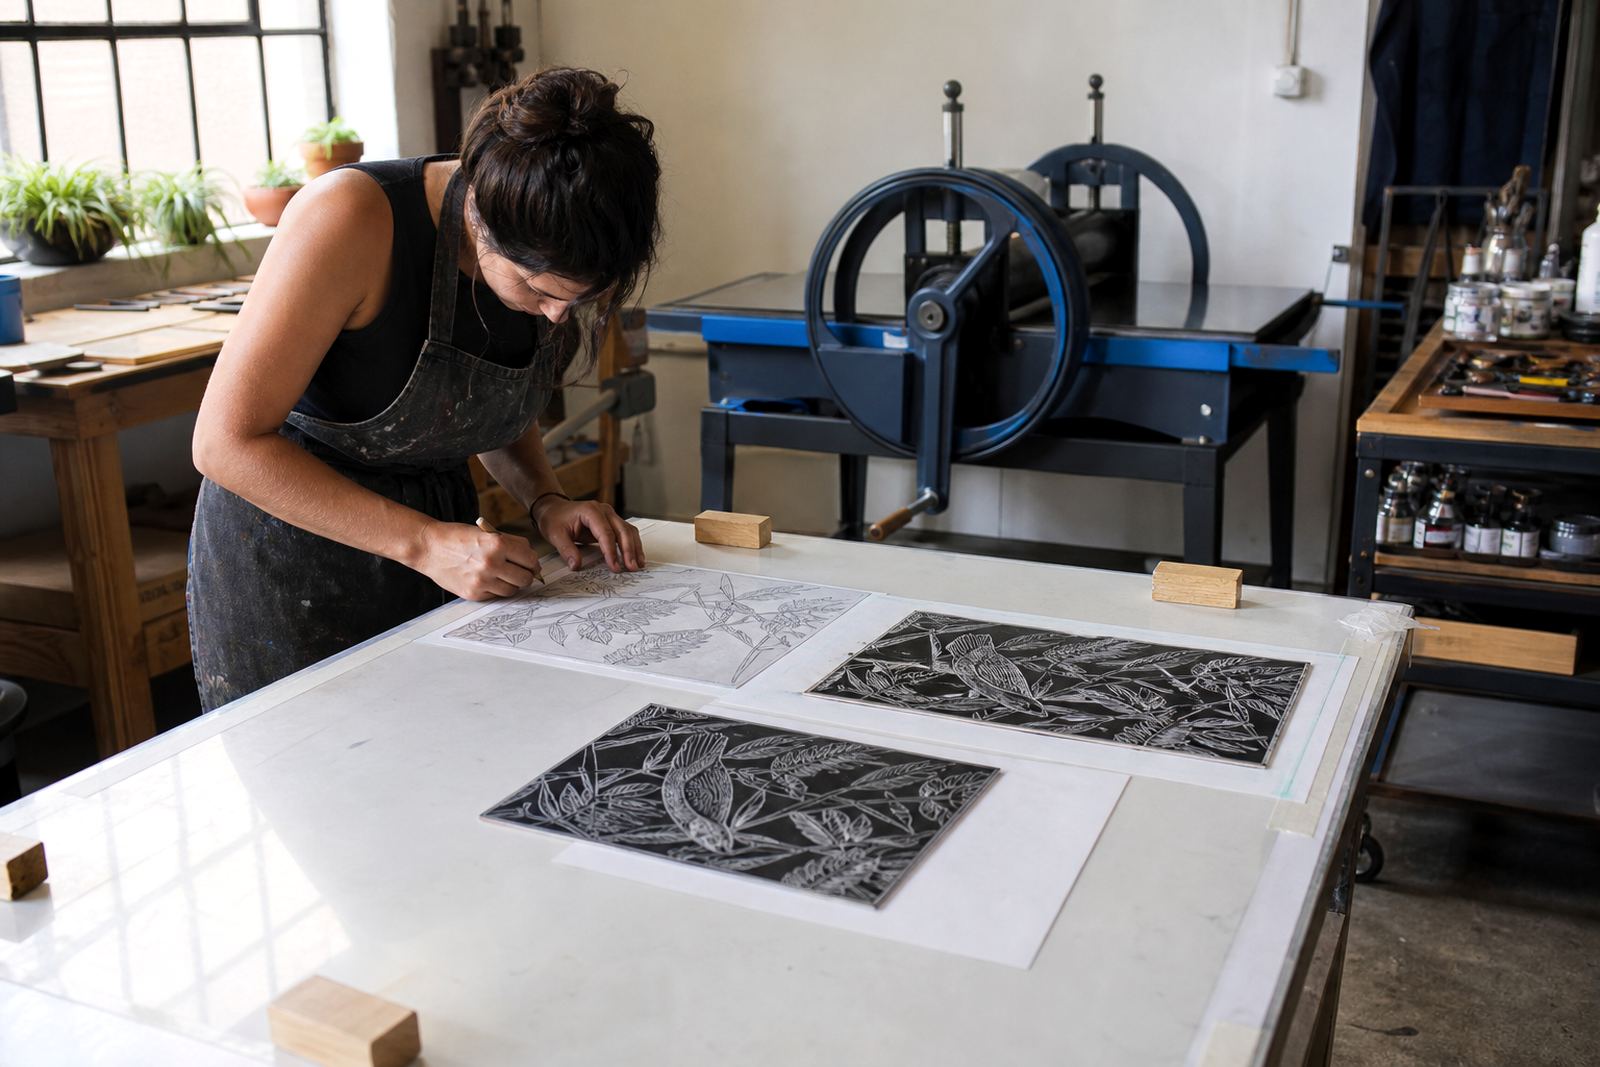
Not every carved block wants the same ink film. A broad design with open spaces can carry a touch more ink, while a tight image with fine line work needs a restrained roll. Soft-cut material tends to take ink more readily than harder lino, so students sometimes overfill it on the first pass and then lose detail in the print.
For registration, the loading has to stay consistent from one pull to the next. If the first print is light and the second is heavy, the edition starts to drift in tone even when the paper sits in the same place. In a school workshop, this is one of the first lessons we give before anyone prints a full set.
- Deep cuts need cleaner edges and less ink in the hollows.
- Open areas can carry a slightly fuller roll without trouble.
- Fine text or narrow marks need a lighter, more even coat.
- Registration marks only help if each pull is loaded the same way.
When a family session includes children and adults at the same table, the easy mistake is to think more ink makes the process simpler. It usually does the opposite. Controlled loading gives everyone a cleaner edition and less frustration at the press or under a baren.
Pressure and coverage
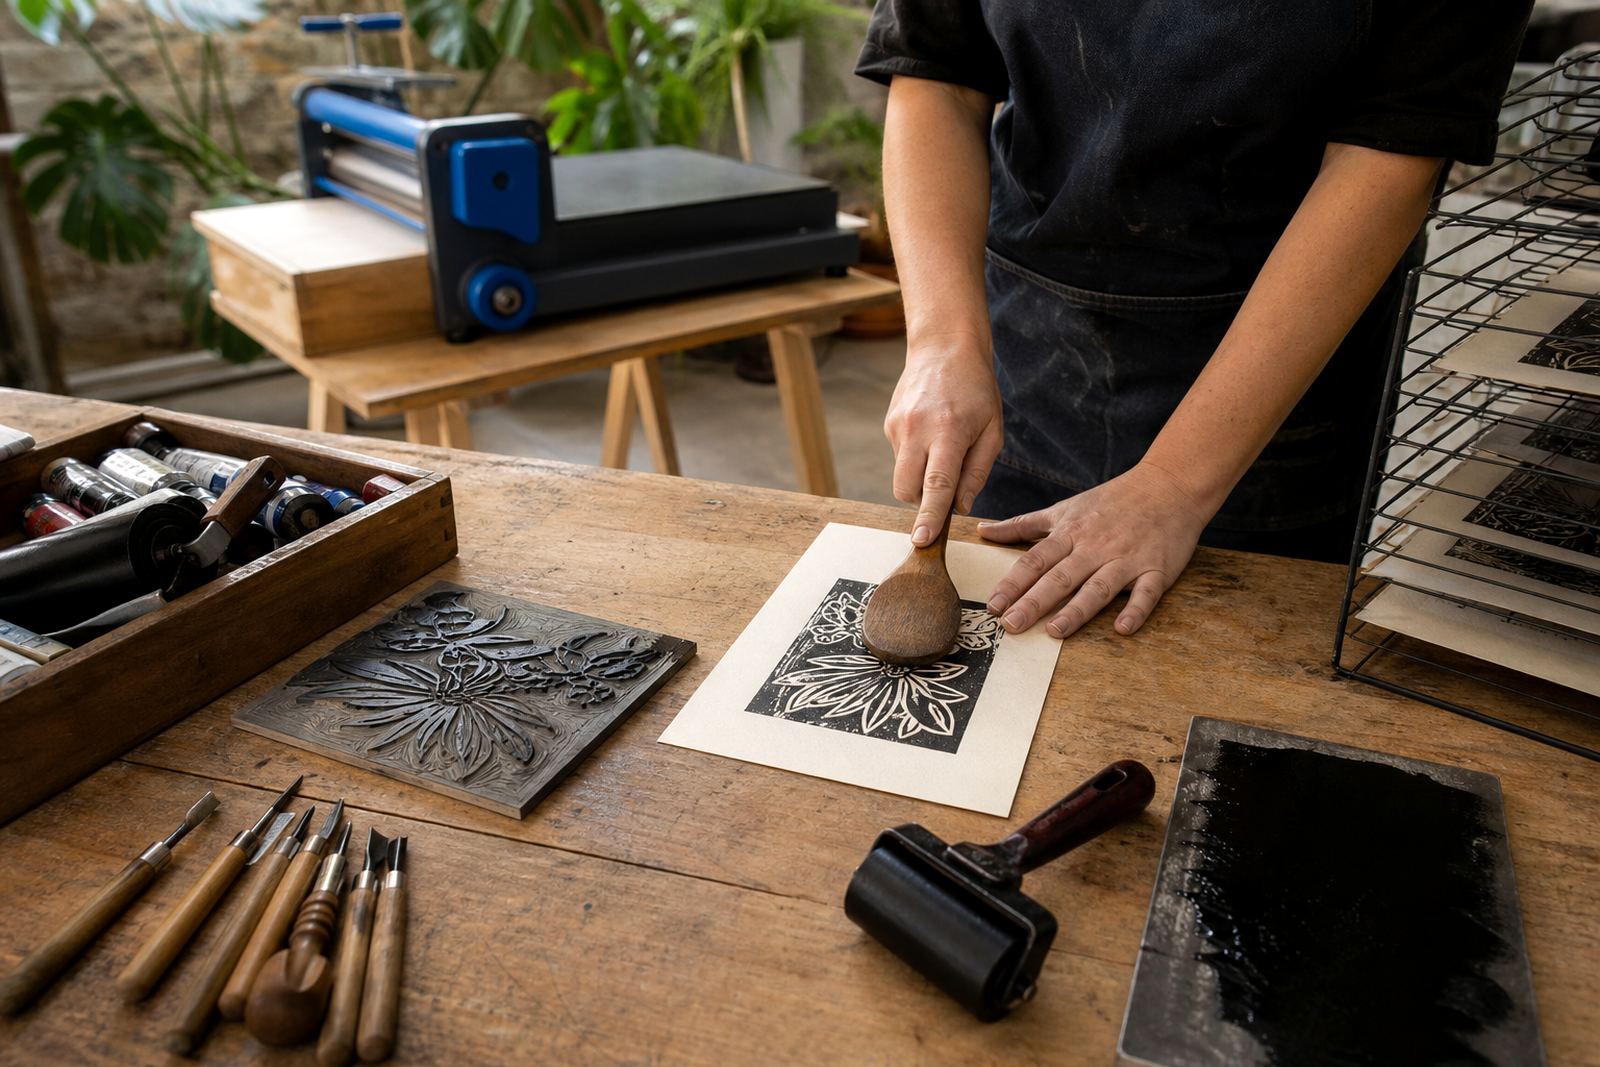
People often press harder when they see pale patches, but ink coverage is usually solved on the slab, not by leaning on the print. A brayer that is loaded well spreads ink across the relief. A press or baren then transfers that layer into the paper fibres without smearing the edges.
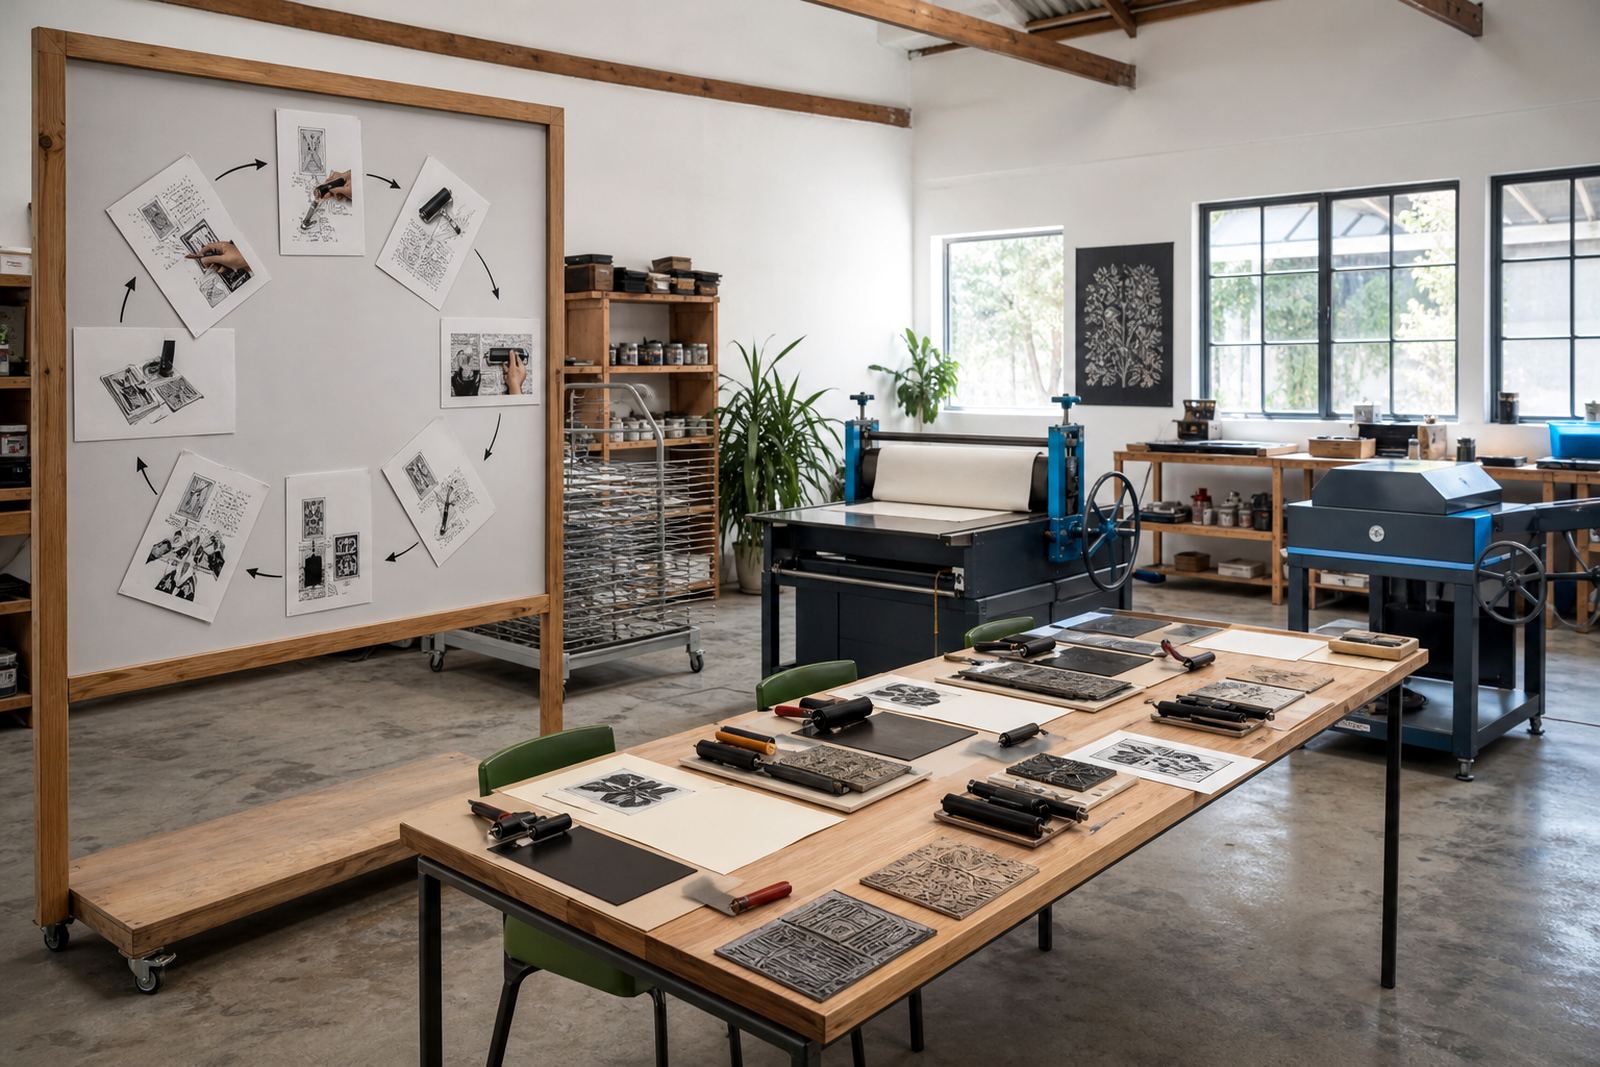
If the paper is too dry, too thin or poorly placed, the print can still look uneven. That is why edition printing starts with a repeatable rhythm: load, roll, place, press and lift in the same order every time. A steady method does the work.
In a studio session in Woodstock, we often use a small test strip before the main edition. It shows whether the roller needs a touch more ink or a few extra passes on the slab. That small check saves a lot of rework when students are printing for a class set or a school exhibition.
Papers, humidity and the Cape Town table
Paper choice changes how a loaded brayer behaves. A softer sheet may accept ink quickly and show every roller mark, while a heavier sheet can take a bit more pressure without losing detail. In Cape Town, coastal humidity also changes the pace of printing, especially when a water-based ink starts to dry at the edges before the block is ready.
That is one reason we keep paper cut, ink spread and registration close together in the room. Long pauses invite trouble. The roller can skin over, the block can pick up dust and the first print after a break can look different from the rest of the edition.
- Keep paper stacks flat and protected from dust.
- Check the roller ends before each new colour.
- Keep a scrap sheet nearby for quick test pulls.
- Work in short runs when the air is warm and dry.
For a group workshop in Bellville or Somerset West, these small habits support the carving. People remember the first clean pull, but that clean pull usually comes from careful ink handling long before the paper reaches the press.
A clean edition starts before the first pull
An even ink layer decides how solid the black areas look. A careful brayer load supports the lines you carved, the paper you chose and the edition you want to keep consistent. Once the ink film is even, the rest of the process becomes easier to read and easier to repeat.
That is why beginner sessions spend real time on the slab. Students who learn to recognise the sound, feel and look of a proper roll tend to print cleaner editions, whether they are making a single hand-pulled image or a small classroom set. The lesson stays useful long after the gouges are packed away.
At HandPrinter Art in Woodstock, we use that practice across private studio workshops, student print classes and school pop-ups. The aim is plain: steady ink, clear marks and an edition that holds together from the first pull to the last.