A blunt edge leaves a ragged trail
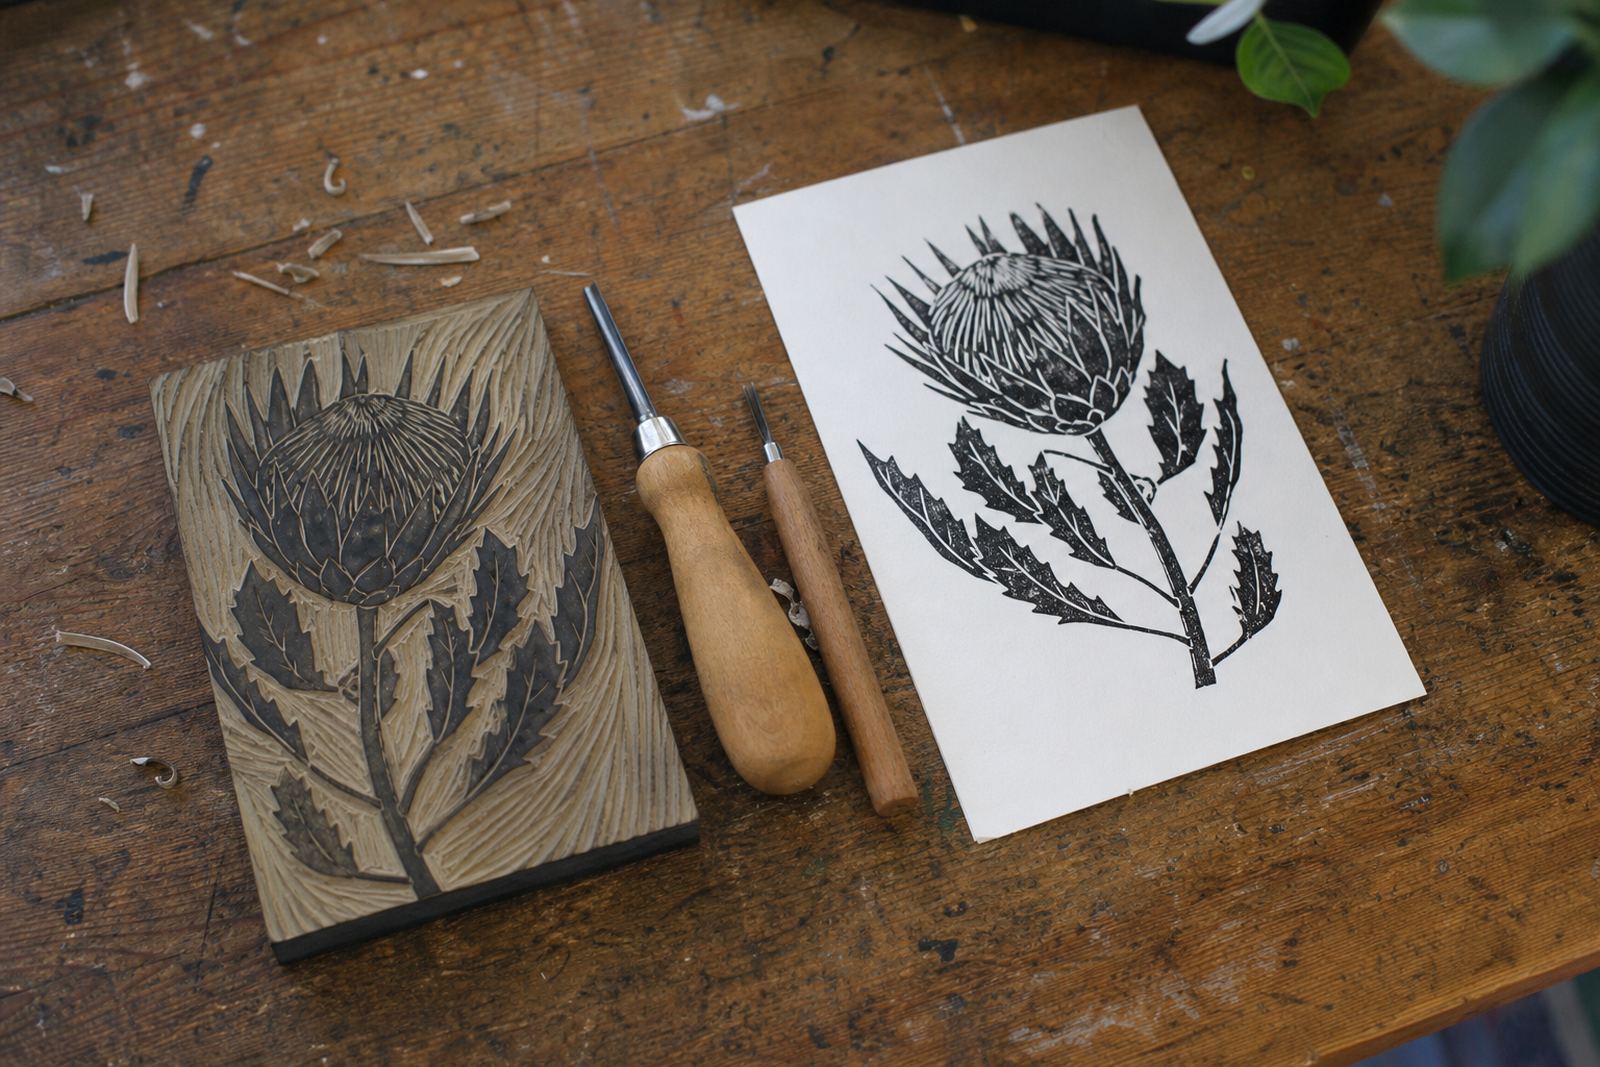
When a gouge starts tearing rather than shaving, the cut usually shows it first. The line looks fuzzy, the corners chip and the block can lift in little crumbs that make printing uneven. In linocut and block printing, that shows in the print, because the carved mark is the thing that carries the image.
Most dullness comes from ordinary use. A soft-cut block asks less effort than dense lino, but even a softer surface will wear the edge if the tool is pushed instead of guided. A V-tool that has lost its point can widen the cut in a clumsy way, while a U-shaped gouge with a tired edge may chatter across the surface instead of sinking in one smooth pass.
What a good sharpening edge needs to do
Test a sharpened blade with a clean cut in lino. A proper edge should meet the block cleanly, cut fibres or polymer evenly and leave the user in control. That matters when you are shaping hair, lettering, leaf veins or the tight inner turn of a printed motif.
For block work, the edge must suit the profile of the tool. A narrow V-tool needs both sides of the bevel to meet at a fine point, while a curved gouge needs its sweep kept even across the full lip. Too much metal removed and the tool loses strength. Too little attention and the edge never really recovers.
- Keep the bevel angle consistent from heel to point.
- Remove tiny nicks before they grow into visible tearing.
- Check the inner curve as well as the outer face of the blade.
- Finish with a smooth honing pass.
Tools, stones and the feel of the edge
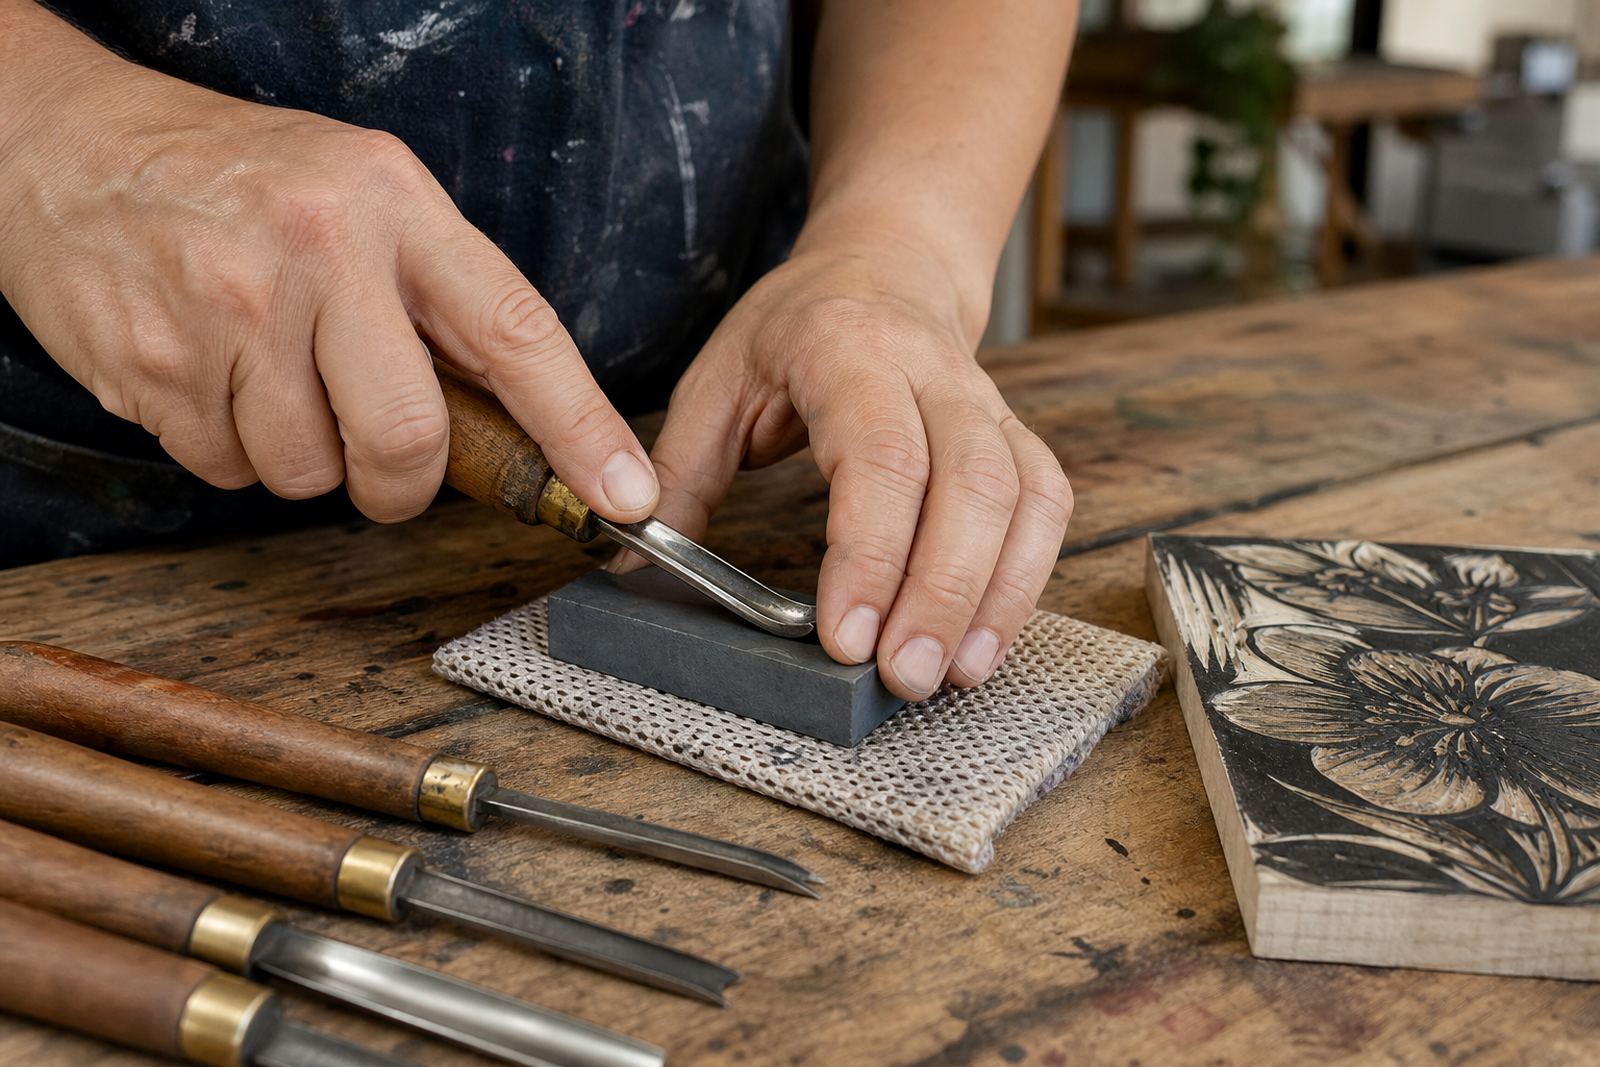
There are several ways to sharpen gouges, but the method should suit the steel and the shape. A coarse stone or abrasive system resets a damaged edge, then finer stones or honing slips refine it. Some printmakers use strops to restore the final bite before a session. Others work with shaped slips that follow the curve inside a gouge better than a flat surface can.
The important point is control. If the tool rocks on the sharpening surface, the edge becomes uneven and the cut follows that mistake. Slow strokes help, and so does checking the tool under a bright light. In our Woodstock studio, this kind of check is often what turns a frustrating first block into a clean second attempt, especially for students who are learning how the tool should feel before they start carving their image.
- Use a stable surface with enough grip.
- Match the sharpening surface to the tool profile.
- Inspect for burrs after each stage.
- Wipe the blade clean before the next cut.
A safer edge is a steadier hand
Sharp tools can still be safe tools, provided the carving habit is sound. A gouge that needs force is more likely to slip because the hand presses harder and the wrist loses its line. That is why clean sharpening matters before the block is even touched. The tool should glide with measured pressure.
Good posture and a well braced block also help. Keep the work at a height where the shoulders stay loose, and cut away from the hand that holds the block whenever possible. For family sessions and beginner groups, we also spend time on how to seat the blade, how to turn the block rather than twist the wrist, and how to stop when the edge no longer feels clean. That pause is part of the craft.
Registration and printing show the sharpening work
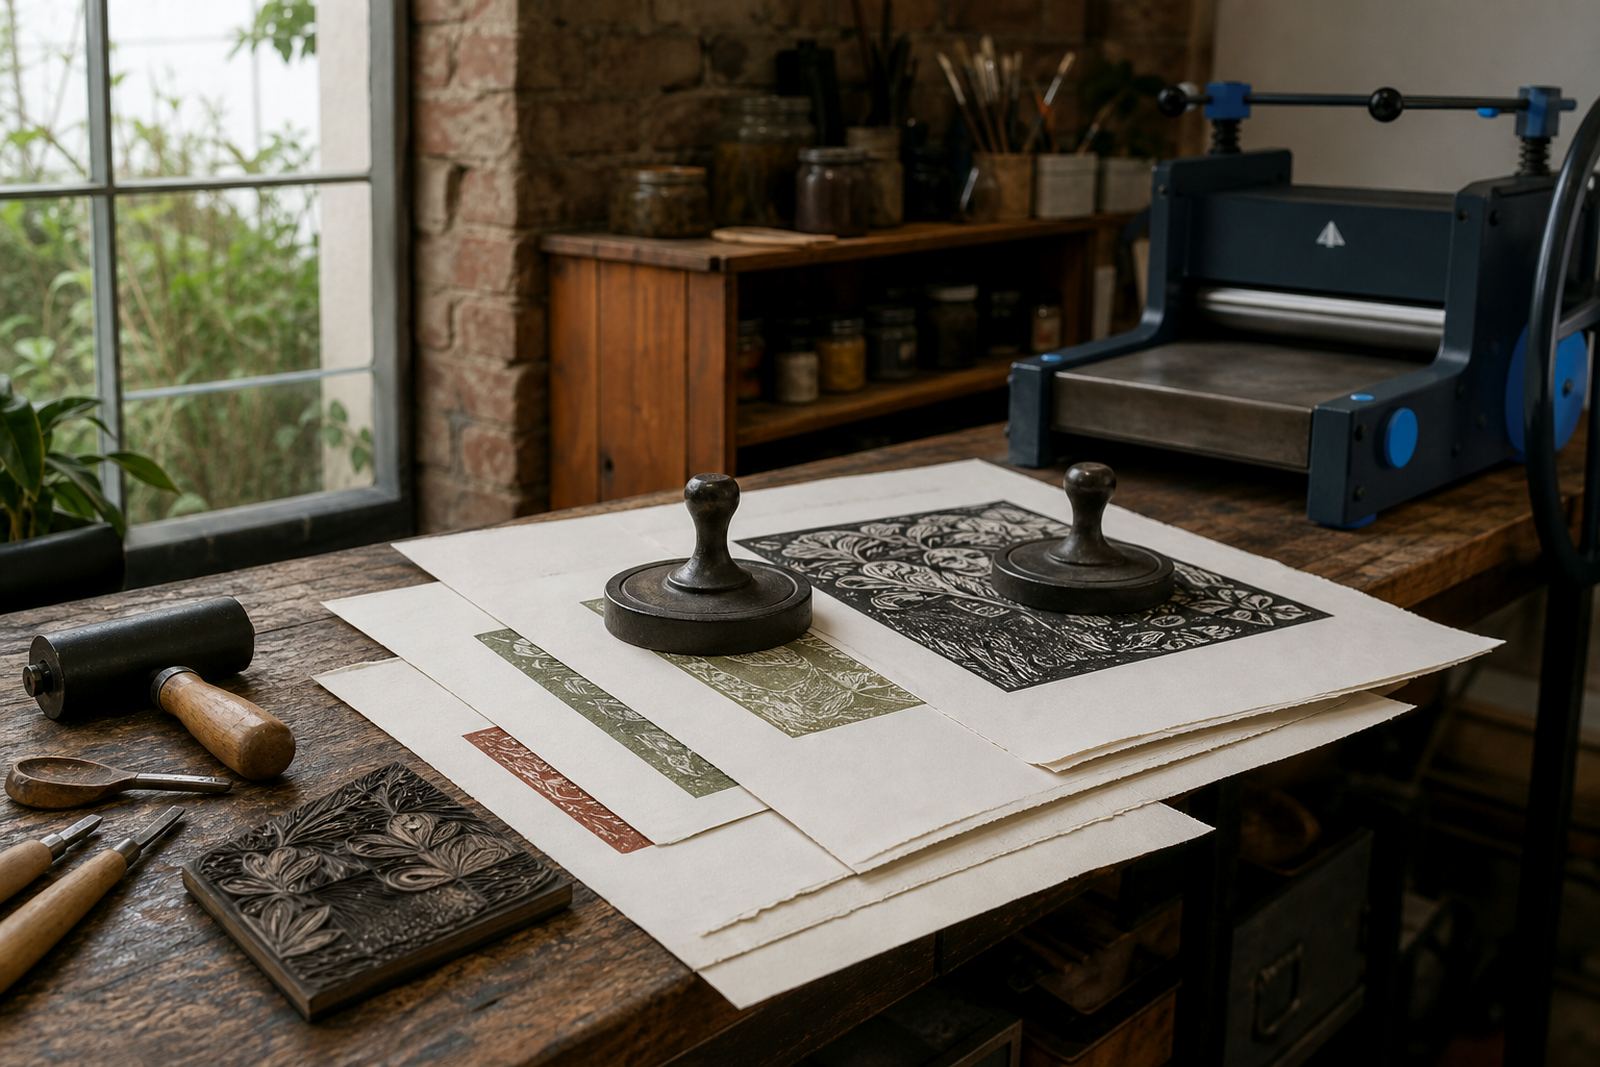
When a gouge is sharp, the print tells the story. The carved areas release ink more evenly, so registration marks, repeated layers and edition prints stay clearer from sheet to sheet. A blunt edge can still make a mark, but it often leaves raised fuzz that catches ink in the wrong places and makes the paper print muddy at the edges.
That shows up in both hand burnishing and press printing. With a brayer, a clean cut accepts ink in a controlled way. Under a baren or press, the image pulls more consistently because the block surface is tidy and the relief height stays true. This is especially useful with water-based inks on absorbent paper, though oil-based block inks also benefit from a block that has been trimmed neatly rather than chewed at by a tired blade.
A Woodstock example from the workshop table
In a recent workshop setting in Woodstock, a student brought a small soft-cut block that had started to crumble at one side of a leaf shape. The problem sat in the tool edge. The gouge had simply lost its edge, so the tool was pulling fibres instead of slicing them. After a careful hone and a slower cutting rhythm, the same leaf printed with a clearer contour and a smoother inner curve.
That kind of correction is common in studio sessions, school pop-up workshops and team groups. People often assume the block is at fault, but the tool is usually the first thing to inspect. If the gouge is sharpened properly, the carved line becomes more predictable and the print needs less rescue later at the inking stage.
- Look for tearing on the first few test cuts.
- Check whether the tool leaves a shiny smooth groove.
- Test the point on a spare offcut before the main block.
- Adjust pressure before you blame the paper or ink.
Keeping gouges ready for the next edition
Sharp tools are part of the rhythm of printmaking. They help the carver move from the first outline to the finished edition without fighting the block at every turn. For adults, students, families and teams, that difference is easy to see once the cut starts flowing. The line looks calmer, the block behaves better and the print carries more intention.
We keep that in mind in beginner carving sessions, edition print sessions and teacher skills workshops, where the aim is to make a print and understand what the tool is doing. A gouge does its best work when it is respected, sharpened carefully and used with a steady hand. That is the part people remember when the ink goes down cleanly and the paper lifts to show the image.