When a spoon does the work of a press
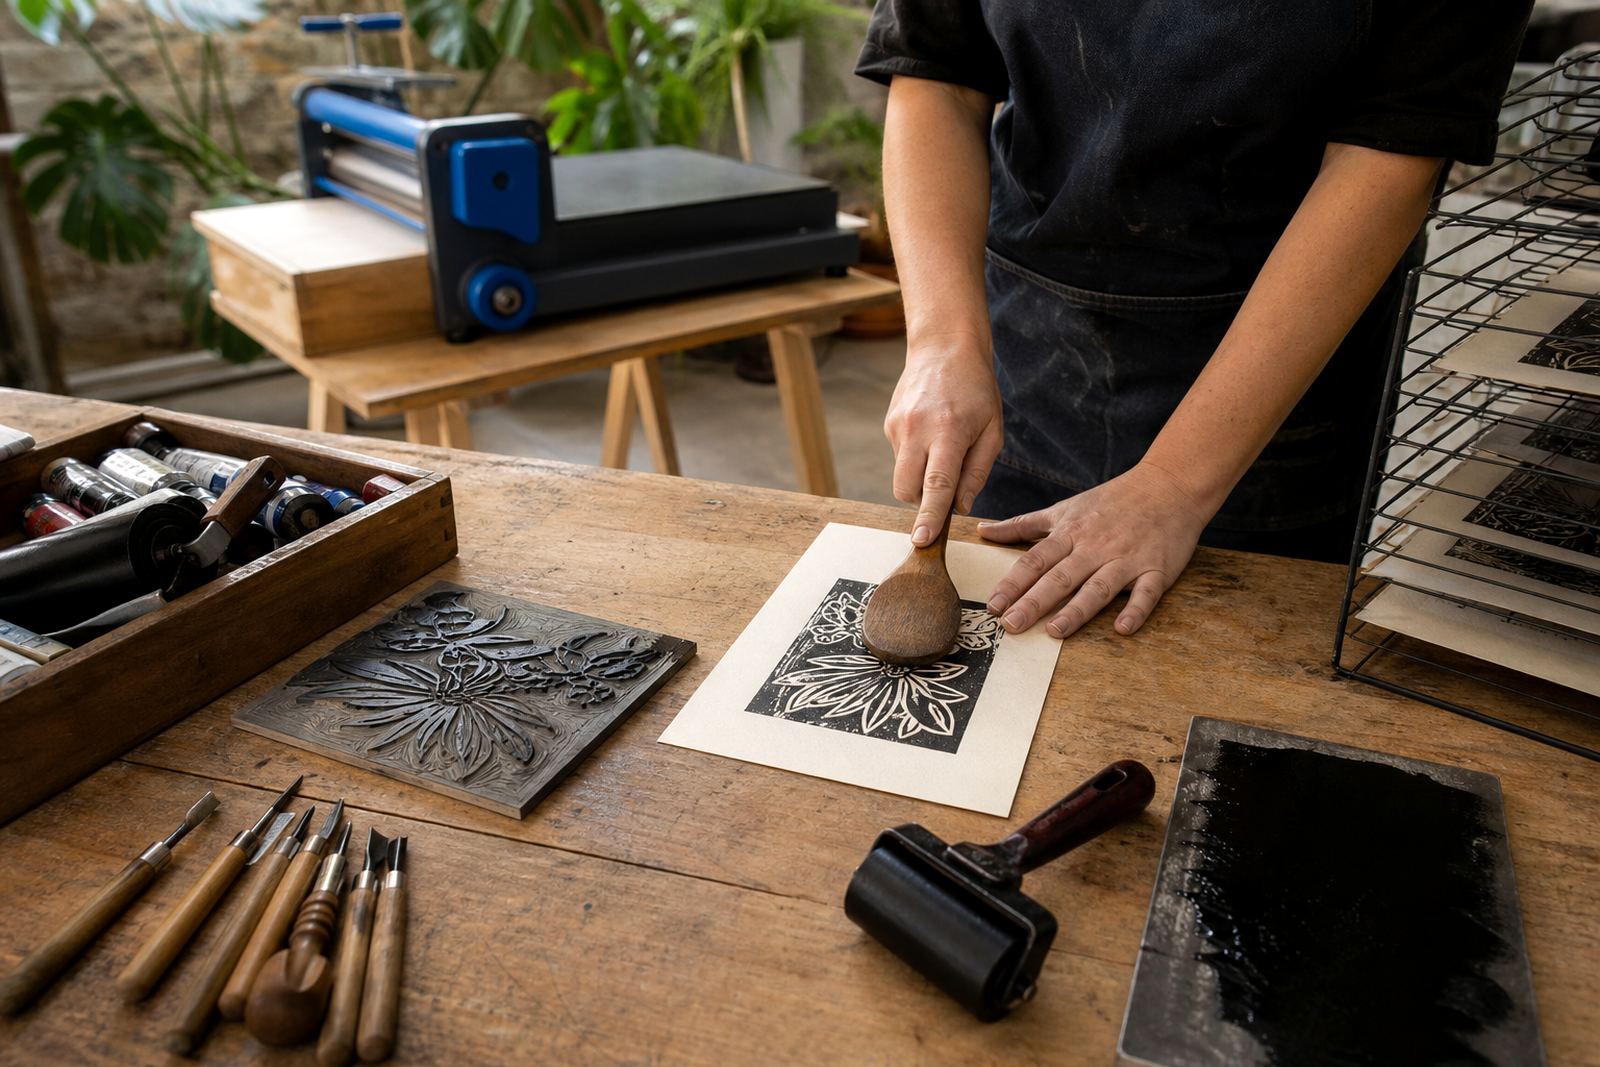
In small workshops, a metal spoon becomes a simple burnishing tool for proofing and for printing on a table where a press is not set up. It suits lino and soft-cut blocks well, especially when the carving is shallow to medium depth and the paper is not too heavy. Steady pressure works better than force. A spoon lets you feel the image moving from block to paper, which is useful for first timers and for class groups that need to work in turns.
For schools in Woodstock or a family class in a hall in Bellville, spoon printing also keeps the setup light. You can place the block on a firm board, tape the paper in position and work with a brayer, ink slab and a sheet of tracing paper or clean newsprint over the print area. That extra layer helps reduce scuffing as the spoon moves across the back of the sheet.
Paper, ink and the first pass
Beginners often underestimate the importance of paper choice. Softer printmaking papers release the image more easily under hand pressure, while heavier cotton papers may need longer burnishing and a firmer table. Damp paper can help with some oil-based inks, but too much moisture will blur fine lines and upset registration. In a Cape Town studio with cool coastal air, paper can hold a little curl, so keeping sheets flat under light weight is practical.
- Use a smooth paper for crisp line work.
- Test one proof before printing the full edition.
- Roll a thin, even ink film onto the block with a brayer.
- Keep the pressure consistent from corner to corner.
- Lift one edge first, then peel the sheet back slowly.
How to move a spoon without bruising the print
The best spoon action is small and controlled. Work in overlapping circles or short strokes, moving across the whole image rather than digging at one point. If the paper slides, the print can ghost or pick up a double edge, so a little masking tape or a registration guide on the board helps keep everything aligned. On larger sheets, print the central area first, then work outwards to the edges and corners.
Many workshops use the back of a stainless spoon because it gives a broad, slightly curved surface. The curve helps pressure spread across thicker paper, while the handle can be turned to reach narrow parts of a carved line. A polished spoon also reduces snagging on the paper fibres. If the image has fine hatch marks, keep the burnishing light and repeat the pass rather than pressing too hard at once.
Safe carving gives the spoon something to print
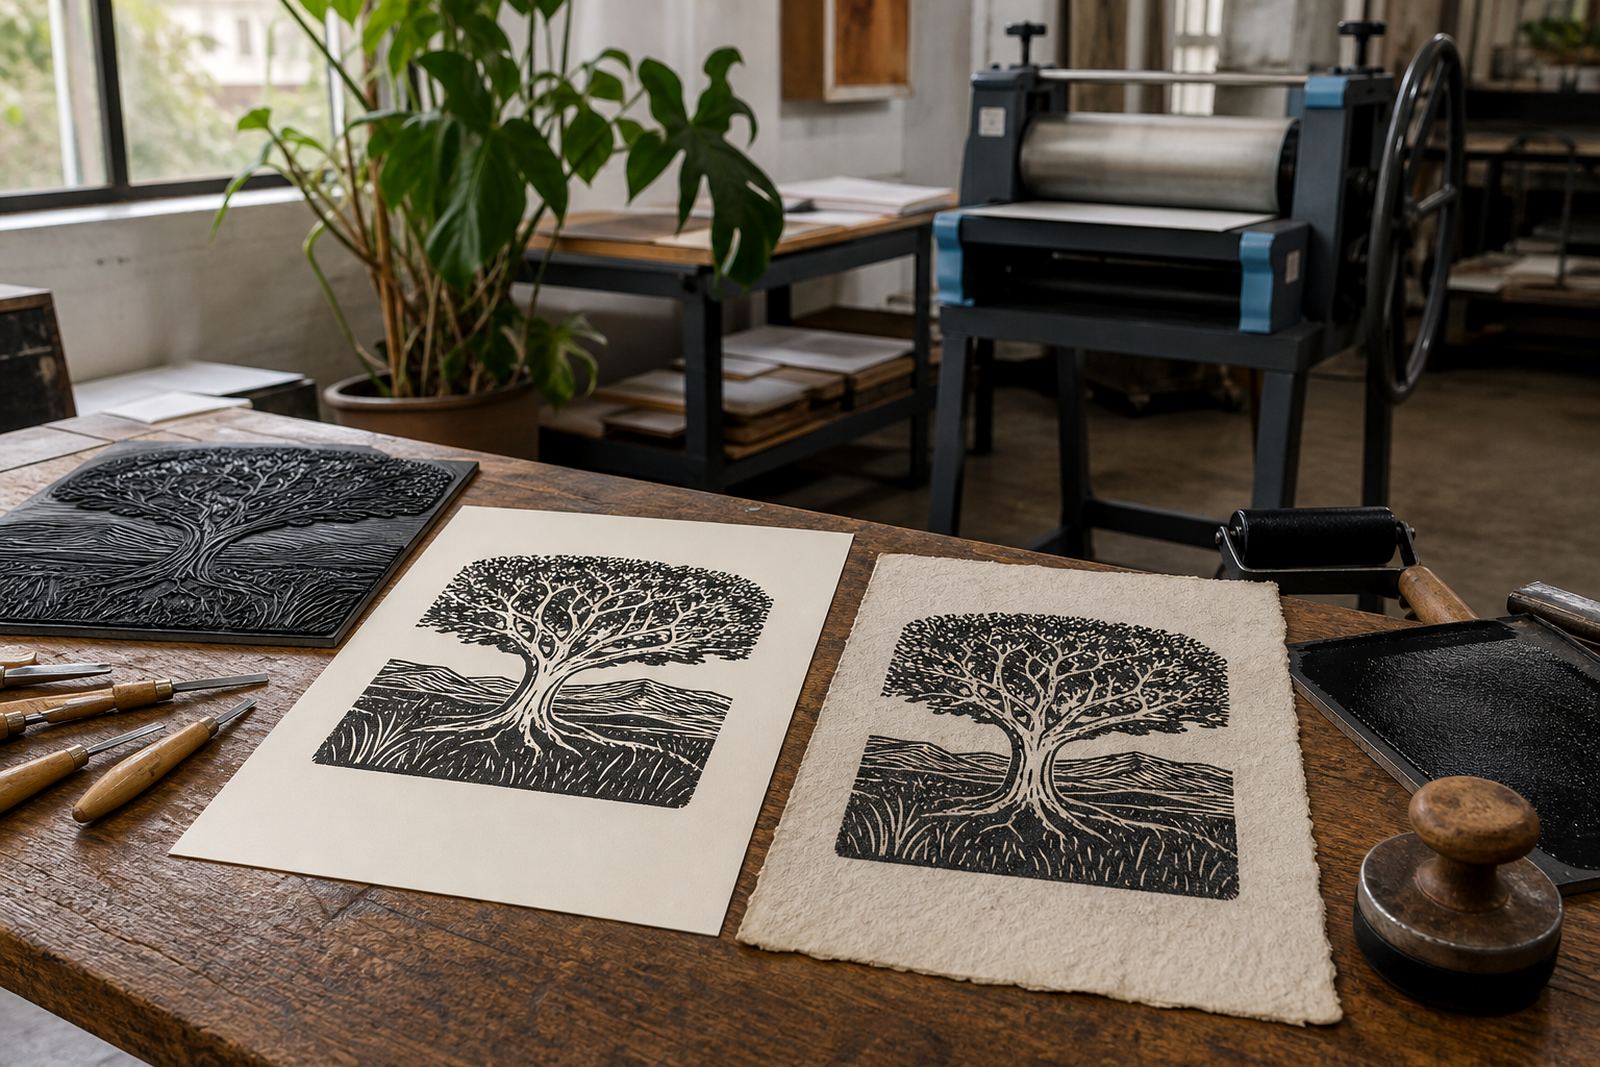
A spoon can only bring out what the block already holds. Good carving starts with clear cuts, clean edges and a block surface that is cut away far enough around the image. Gouges and V-tools each leave a different mark, and the right tool choice makes a visible difference when the print is burnished by hand. Linocut blocks usually give a sharper line, while soft-cut blocks can suit younger students or a first edition session where the cuts need to be easier on the hand.
- Keep fingers behind the cutting line at all times.
- Cut away from the body, not towards it.
- Use a stable board so the block does not shift.
- Clear loose scraps before inking the block.
- Check the image in reverse before printing text.
In a workshop, that care matters because the spoon will show every weak point in the block. If the cuts are uneven, the print may need several passes to cover the raised surface properly.
Edition control without a press in the room
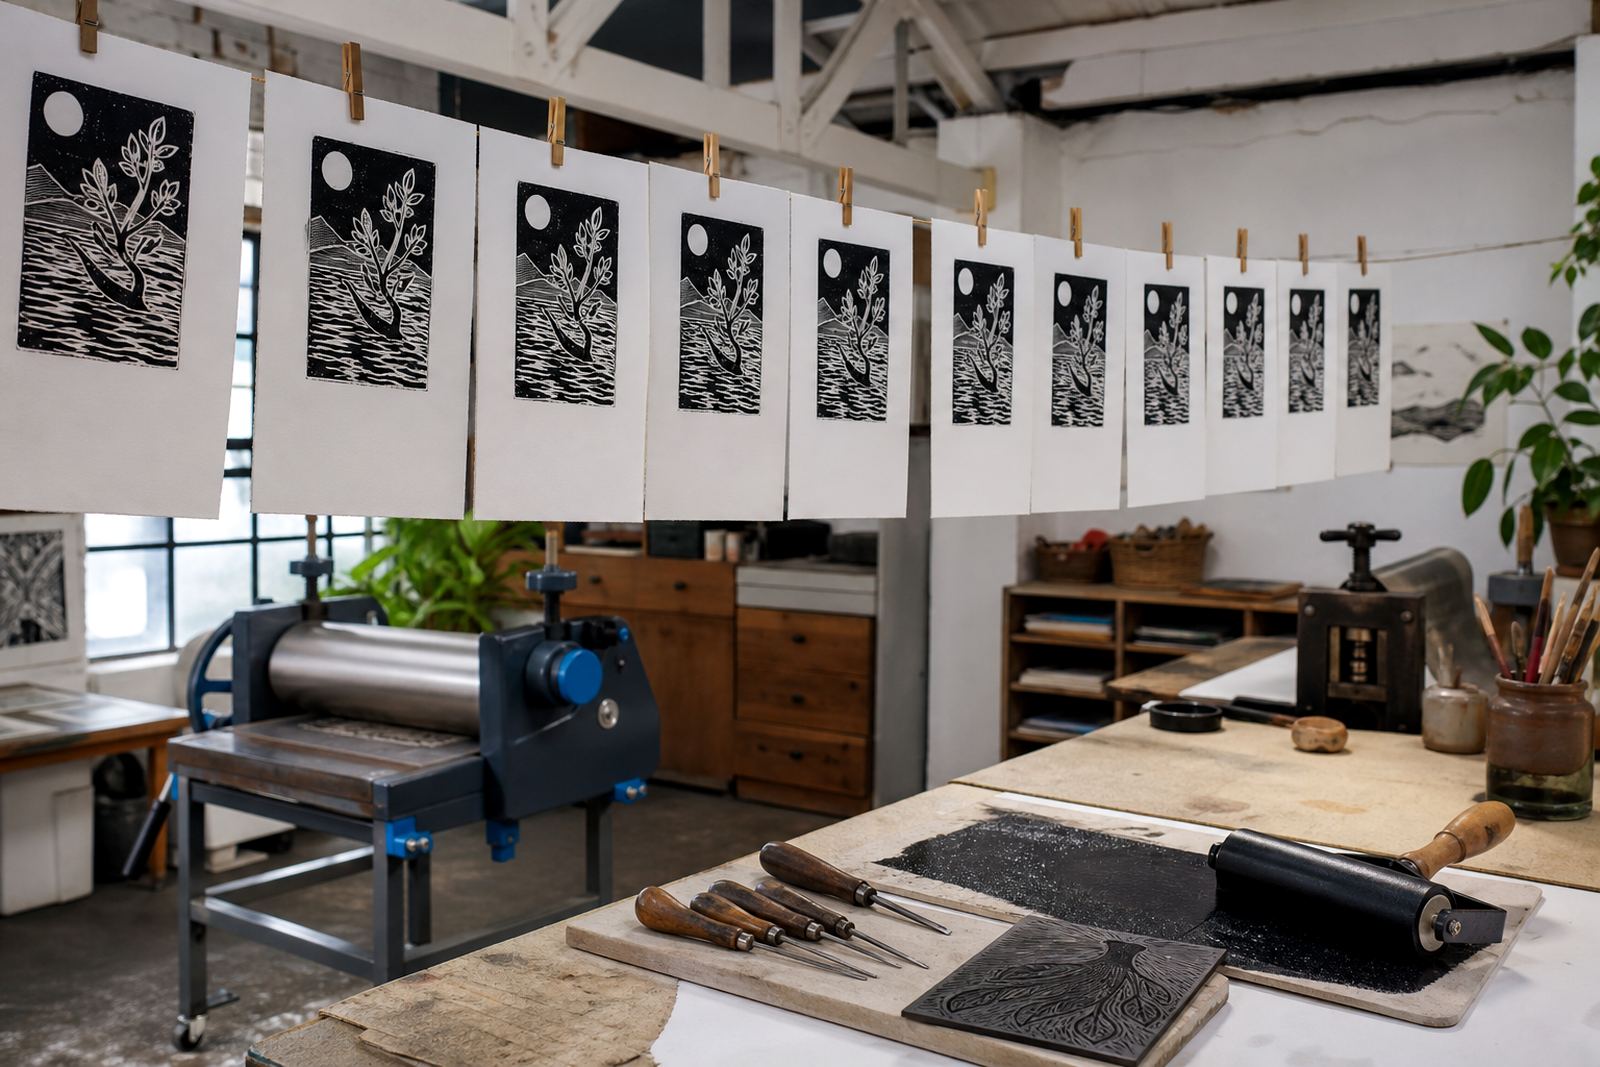
Spoon printing works well for small editions if the process is organised. Once the first proof is approved, keep the ink mix, paper placement and burnishing pattern the same for each sheet. Use registration marks or a corner stop, especially when printing two colours or when a block needs to land in the same spot over several sheets. Water-based inks are often easier for classroom use because they clean up neatly, while oil-based inks can give a longer working time and a denser surface on some papers.
At a pop-up workshop in Johannesburg, a group might split into inking, placement and burnishing roles so the edition stays steady. That kind of rotation helps with timing and keeps the first and last prints from drifting apart. When one person prints by spoon and another checks registration, the whole table learns how the edition holds together.
A Cape Town table method that works in practice
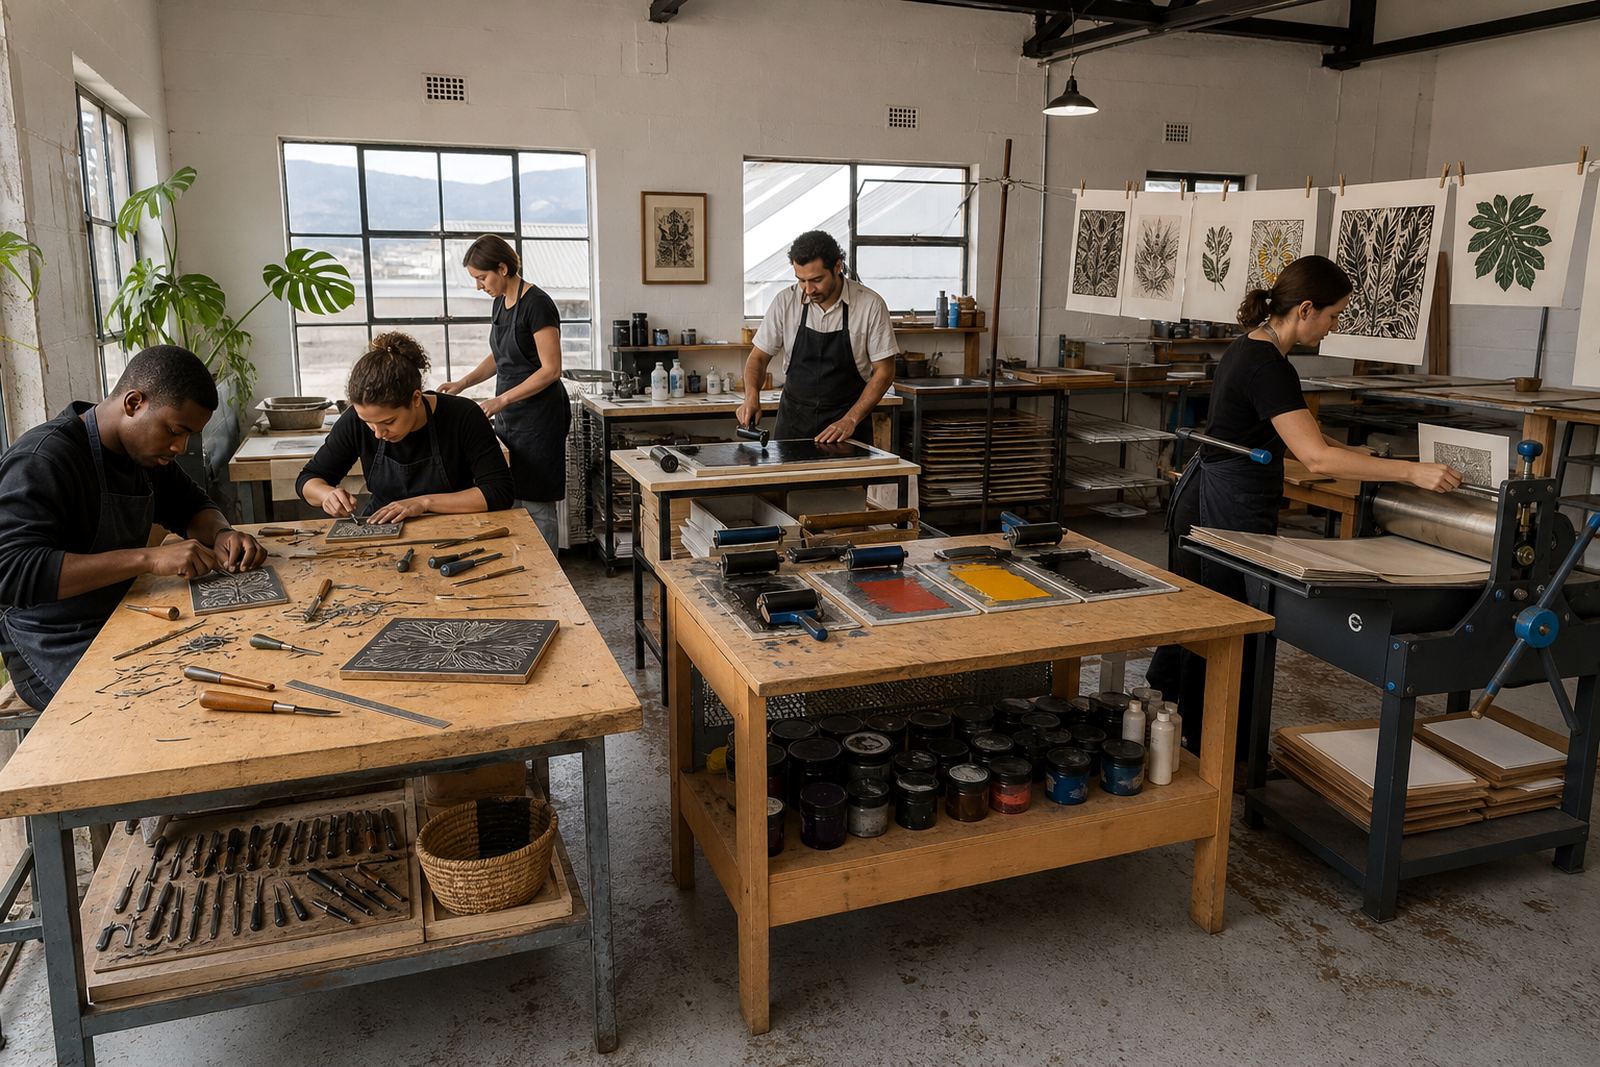
In Woodstock, where the studio may host adults in the morning and families later in the day, spoon burnishing is useful for quick setup and clean pack-down. A board, a block, a brayer, paper and a few spoons are enough for a strong hands-on session. Keep the bench in order Ink on the handle, dust on the paper or a loose cutting chip can mark the print in a way that shows only after the sheet is lifted.
A good local habit is to test paper curl against the room conditions before the session starts. Cape Town humidity shifts through the seasons, and paper that sits flat on one day may need extra weighting on another. In a school hall in Durban or a venue in Pretoria, the same method holds, but the paper may feel different under the spoon. That is part of the lesson, and it gives learners a proper sense of how printmaking changes from room to room.
For small workshops, spoon burnishing teaches control, patience and attention to detail with a kitchen spoon. When the carving is clean and the inking is even, the spoon can pull a print with a character all its own, and the result feels earned from the first cut to the last lift.