Set the room before handing out blocks
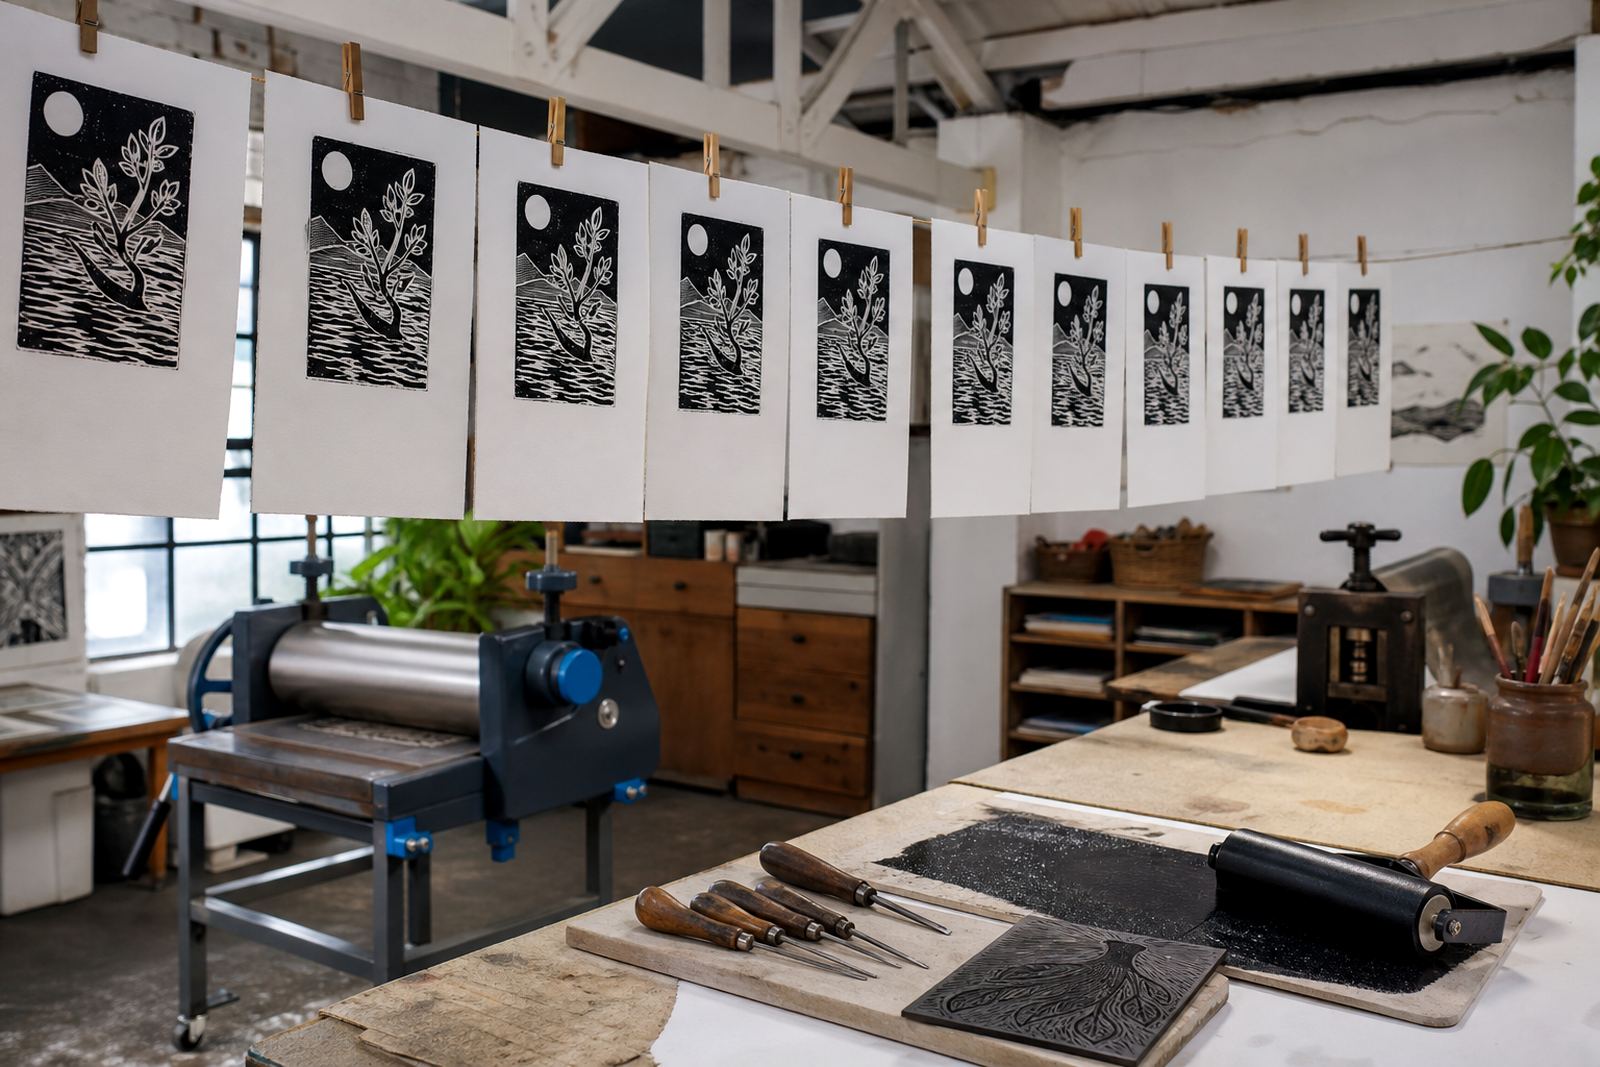
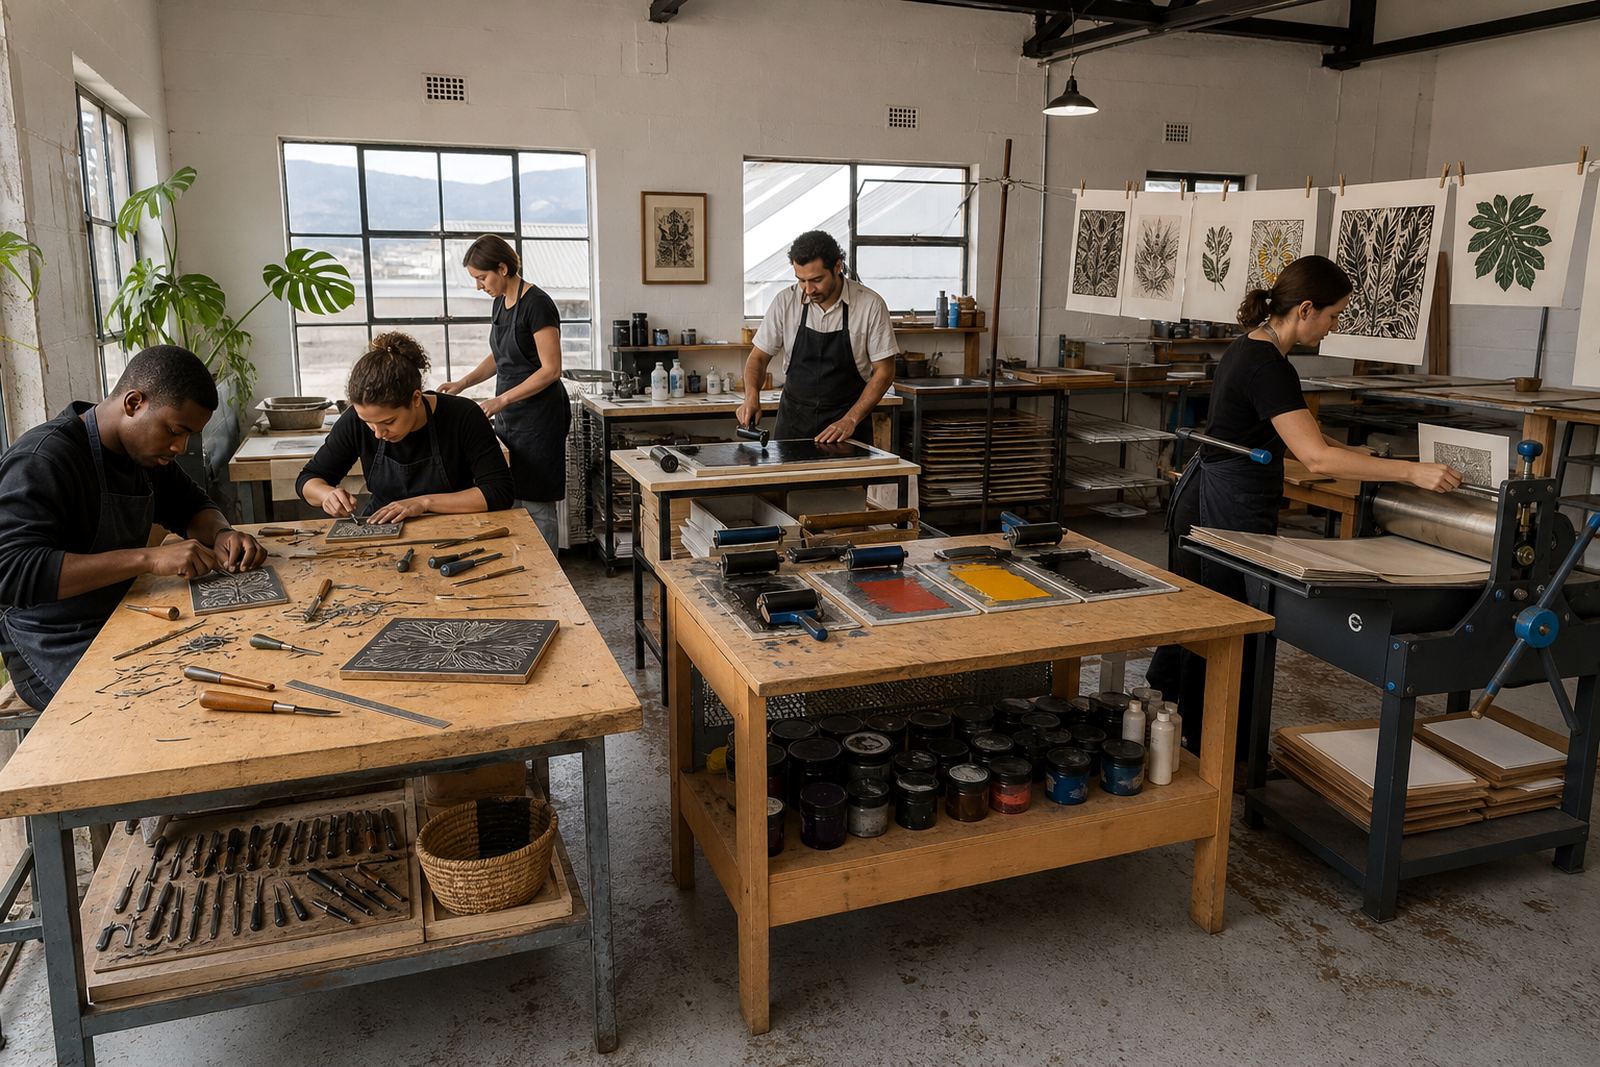
A classroom print setup works best when the space is planned around three zones: carving, inking and drying. If learners move in one direction, the session stays calm and the tables stay clear. In a school hall in Woodstock or a venue in Stellenbosch, that usually means one long table for block carving, one area for rolling ink, and a separate line for prints that need to dry flat.
Linocut and soft-cut block printing need enough elbow room for rulers, pencils, cutting mats and blocks. A crowded table leads to crossed hands and bumped tools. Keep the brayers, baren, paper stacks and waste cloths in defined spots so the group can work without asking where each item lives. A small label on each tray helps more than people expect.
- Set carving tools apart from ink trays.
- Keep paper stacks flat and away from water.
- Mark a drying zone before the first proof is printed.
- Leave a clear walking path between tables.
Tools that earn their place on the table
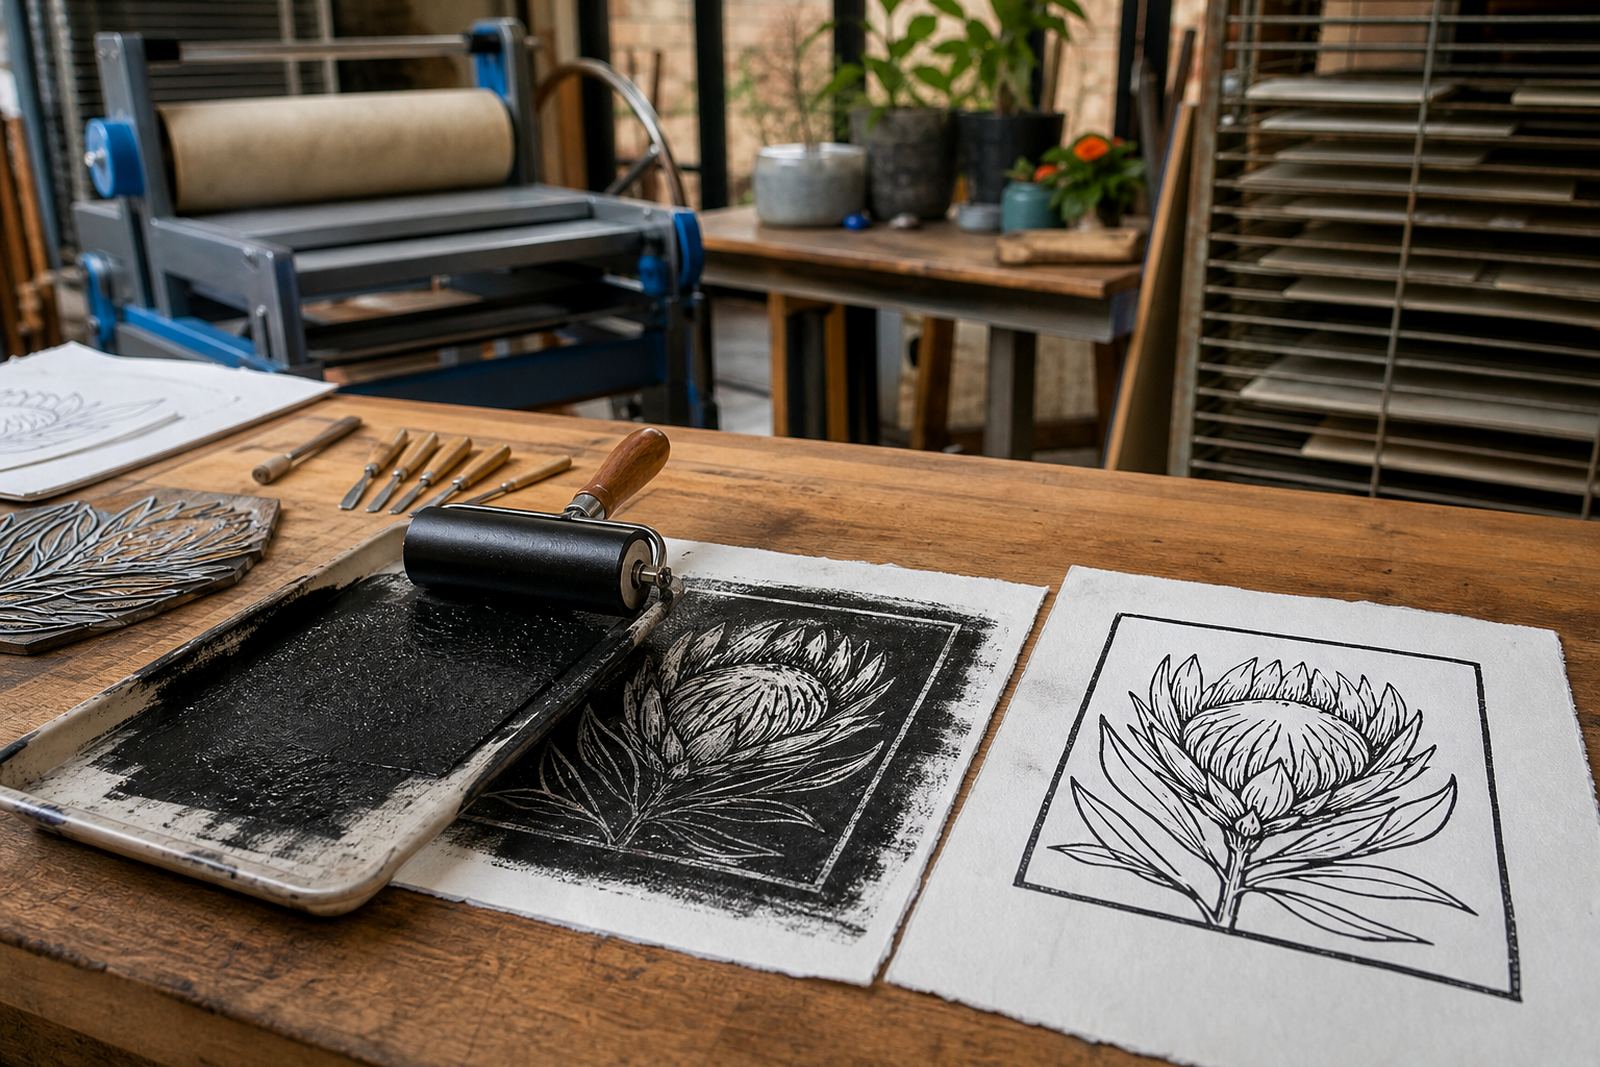
For a school print session, the tool kit should feel light and practical. Lino blocks and soft-cut blocks both work well for first-time printmaking. Soft-cut gives learners a gentler surface for clean lines, while lino asks for a firmer hand and rewards steady pressure. Gouges and V-tools cover most line work, from broad cuts to fine texture, and each tool should be matched to the learner's grip and experience.
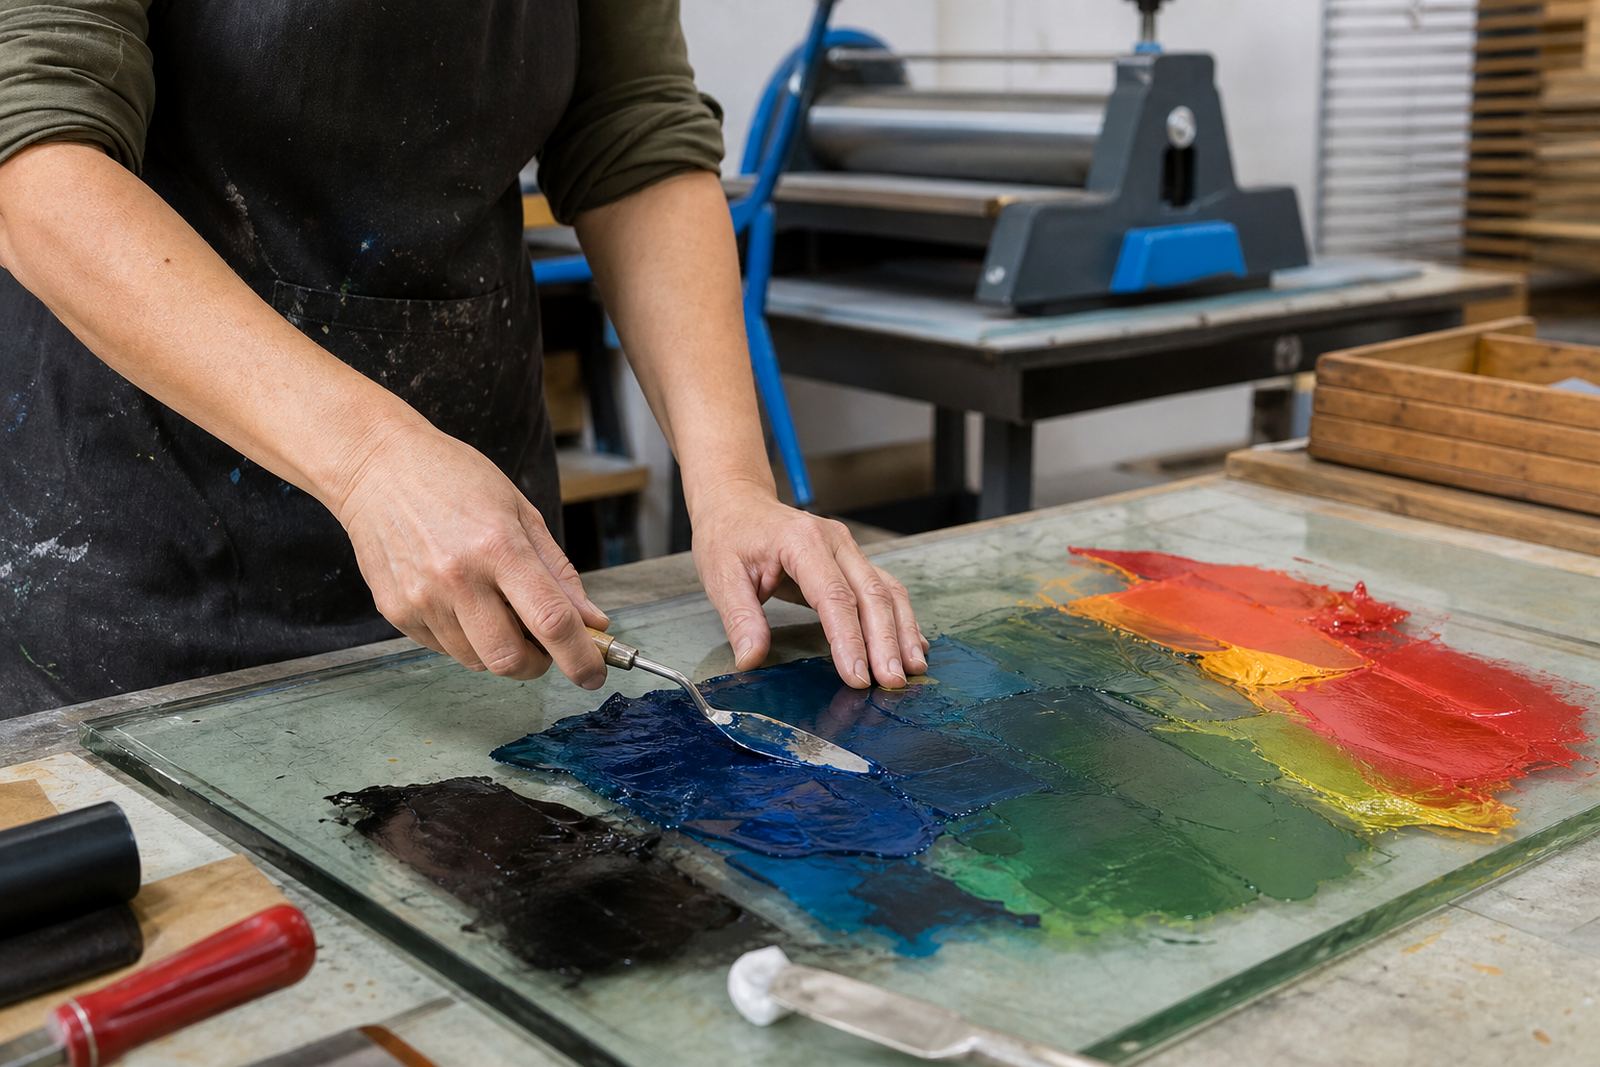
Brayers need a firm, even roll so the ink sits across the block without flooding the carved lines. Water-based block inks are useful for younger groups and shorter sessions because they are easier to handle at the table. Oil-based block inks suit editions and give a different working feel, but they need stricter control around paper, cloths and clean-up. A press can be part of the session where the room allows it, while a baren keeps hand printing direct and immediate.
- Use cutting mats that stay steady under the block.
- Choose a brayer width that matches the block size.
- Keep spare cloths for wiped hands and tool handles.
- Lay out test paper for proof pulls before final sheets.
Carving rules that keep the pace safe
Safe carving gives each person a clear rhythm, and the session still moves along. The block should stay flat on the table, the non-cutting hand should stay behind the line of the tool, and the cuts should move away from the body. Learners often rush when they want a strong image, so the first reminder is usually to carve less at once and check the mark on a scrap sheet before cutting deeper.
For a class with younger students or mixed experience, soft-cut blocks reduce the strain on hands that are still learning control. Older learners can move into lino and handle more detailed carving, especially where fine white lines or repeated pattern are needed. In a Cape Town school with a full morning schedule, a good setup allows each learner to carve, roll ink and print without leaving tools scattered between stations.
- One tool at a time on each carving mat.
- Blade covers or capped storage when tools are not in use.
- Paper test cuts before starting the final image.
- Teacher or facilitator checks before first ink is rolled.
Ink, paper and registration need their own order
Ink behaves differently once it meets paper, so the classroom needs a fixed order. First the block is rolled, then the paper is placed, then the print is pressed and lifted cleanly. If the group is making editions, registration marks keep each sheet in the same position, which matters when a class is printing a two-colour image or repeating a border design. Without registration, a neat image can drift off-centre very quickly.
Paper choice matters too. A light cartridge sheet is fine for simple school demos, while a stronger printmaking paper is better when the edition needs repeated handling. The paper should lie flat before printing and stay stacked in one direction, otherwise the corners pick up ink and the images get marked. A tidy paper line is one of the easiest ways to keep a room moving well.
In Durban, where the air can carry a bit more humidity, paper can curl faster than people expect. Keeping sheets flat under a board or in a closed stack helps the edition stay predictable from first pull to last.
Movement flow in the room makes the difference
Most classroom problems are really movement problems. A learner reaches for a brayer while someone else is carrying a wet print, or the drying table sits too close to the ink station and one sleeve catches a fresh sheet. The answer is to map the route before the session begins. People should know where to collect tools, where to carve, where to ink and where to place completed prints.
That same planning helps when the group is large. In a school pop-up workshop, a facilitator can keep one side of the room for carving while another section handles proofing and final prints. A teacher skills workshop often benefits from this even more, because staff can see how the stations work in practice and adapt the flow to their own classroom. Any classroom works if carving, inking and drying each get their own corner.
- One entrance point for tools and one return point for used items.
- Drying sheets stacked away from table edges.
- A separate place for finished work to rest flat.
- Space for the facilitator to move between tables without weaving through chairs.
A Woodstock example that travels well
In our Woodstock base, a school print session often starts with a simple one-colour block so the group can learn the full process without rushing. Learners sketch, transfer the design, carve a soft-cut or lino block, roll a thin film of block ink, then make a proof print before pulling the edition. Once the steps are clear, the room settles into a steady rhythm and the table work feels easier for everyone.
That setup travels well to Bellville, Somerset West or a venue further afield because the method stays the same even when the room changes. A pop-up class at a school in Pretoria may need a different table layout, while a family session in Johannesburg might need smaller blocks and more space between stations. The principle does not shift: keep the tools visible, the path clear and the prints flat.
For teams planning a venue setup service, the useful question is how the room can carry the work without confusion. When carving, inking and drying each have their own place, the class feels organised and the prints come out cleaner.
A clean finish carries the same weight as the first cut
A school print session also needs ten minutes at the end for cleaning, stacking and packing away. Tools need to be cleaned, brayers wiped, inks sealed and blocks labelled so each edition can be counted or reprinted later. If the class has made multiple versions, the prints should be sorted while they are still easy to separate, not left in one stack where wet edges stick together.
That final stage also gives space to talk about editioning, proof prints and the small differences that appear from one pull to the next. Those details help learners understand why printmaking is both repetitive and expressive at the same time. A clean end to the session makes the next one easier to set up, and the room is ready for the next group without a scramble.