Start with a block that can carry the repeat
A small carving can make a repeat pattern. One well thought-out lino or soft-cut block can carry a whole sheet if the motif has a clear edge and enough space around it. Decide the shape of the repeat unit before you draw anything on it. Square, rectangle, half-drop and mirrored repeats all behave differently once the ink goes on.
In a studio session, we usually begin with a small drawing that can survive being printed many times. Thin lines can look elegant on a proof, but they can vanish after a few pulls if the cut is too fine. Larger fields of black or colour help the pattern read from a distance, while small cuts add rhythm close up.
For beginners, soft-cut blocks are often easier to manage than harder lino. The material gives a little under the gouge, which helps when you are learning pressure and angle. A neat repeat starts with a block that is simple enough to carve safely, then detailed enough to stay interesting across a page or a textile sample.
Carving for rhythm across a run
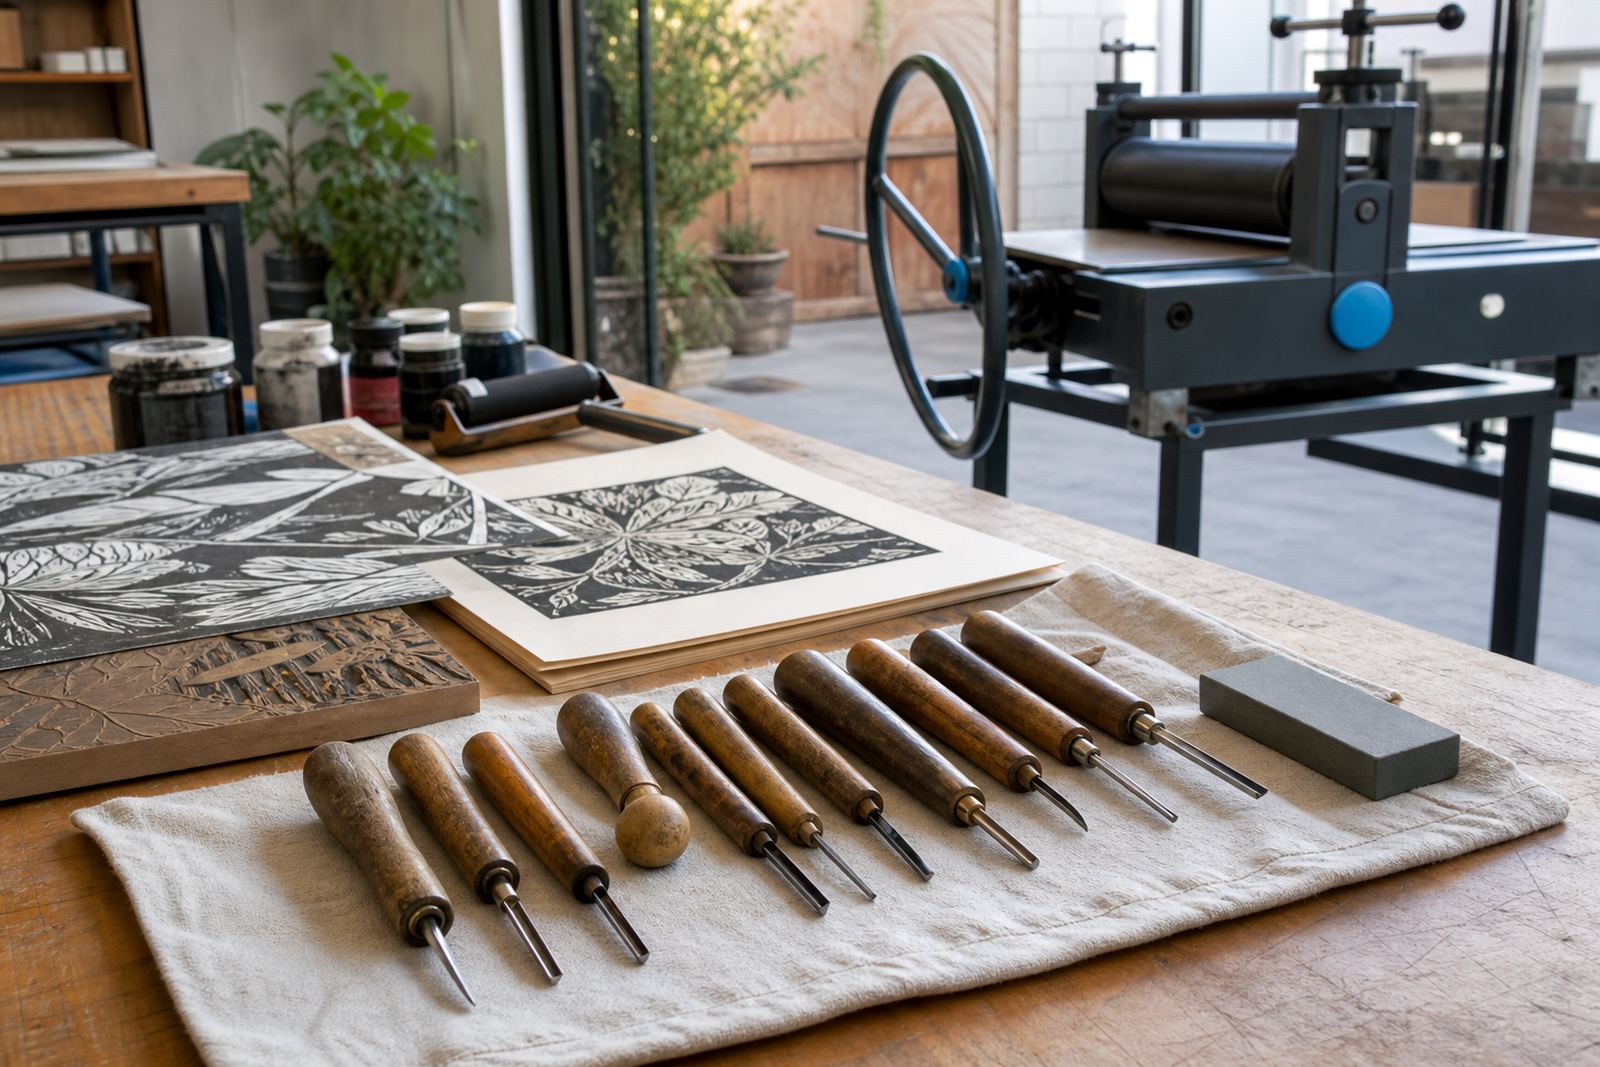
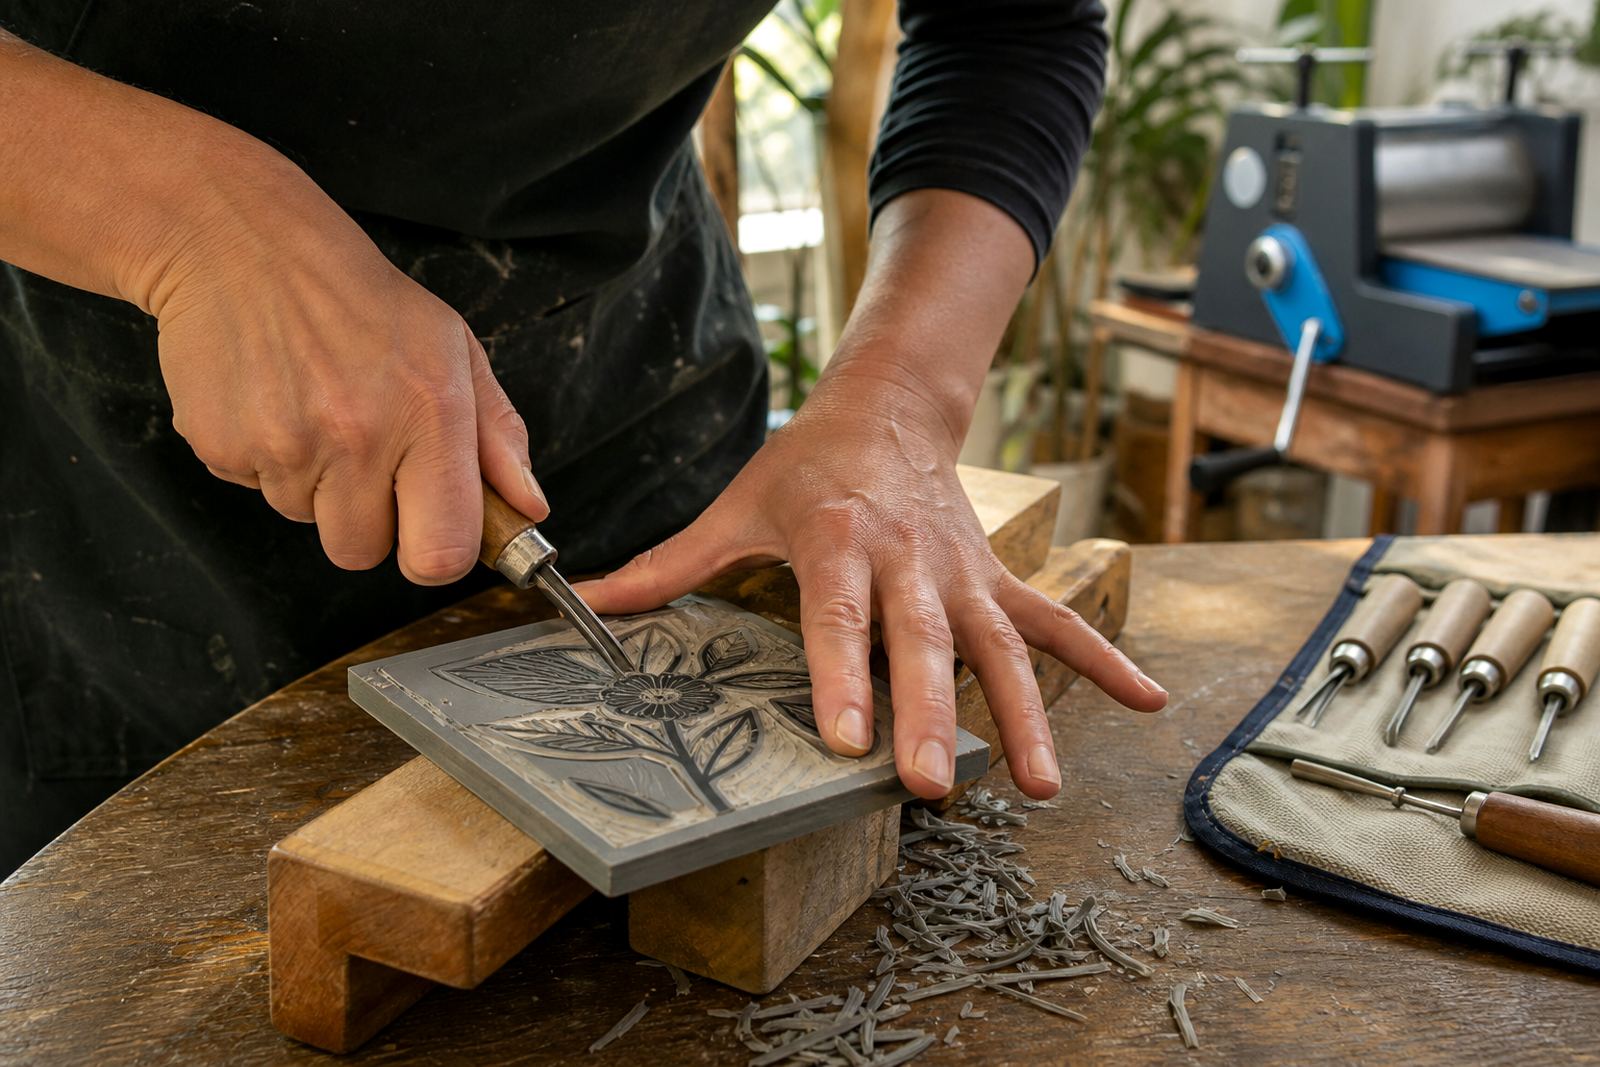
When a motif is meant to echo across a sheet, every line matters. A stray notch on one corner can show up across the print, so the carving stage calls for patience. V-tools suit crisp channels and fine outlines, while wider gouges open softer passages of white that can stop the pattern from feeling heavy.
Safe carving matters in every class. The block sits firmly on the bench, the tool moves away from the hand, and the cut follows the direction of the grain or surface. That habit keeps the work steady and also improves the finish of the motif. A repeat design should feel controlled, but not stiff.
- Keep a margin on every side of the motif.
- Leave some areas uncut so the eye can pause.
- Test one corner before carving the full block.
- Use light pencil notes for registration marks.
- Check that the block can join edge to edge.
In a family print session, this part often surprises people. They expect the same image to copy itself exactly, yet the charm of hand printing lies in small shifts. A repeat can still be precise even when each impression carries its own slight pressure mark or ink texture.
Ink choice changes the feel of the pattern
Water-based and oil-based block inks both have a place in repeat work. Water-based ink is useful for quick studio handling and easier clean-up, while oil-based ink can give a richer body on certain papers. The key is to match the ink to the paper, the block and the final use of the print.
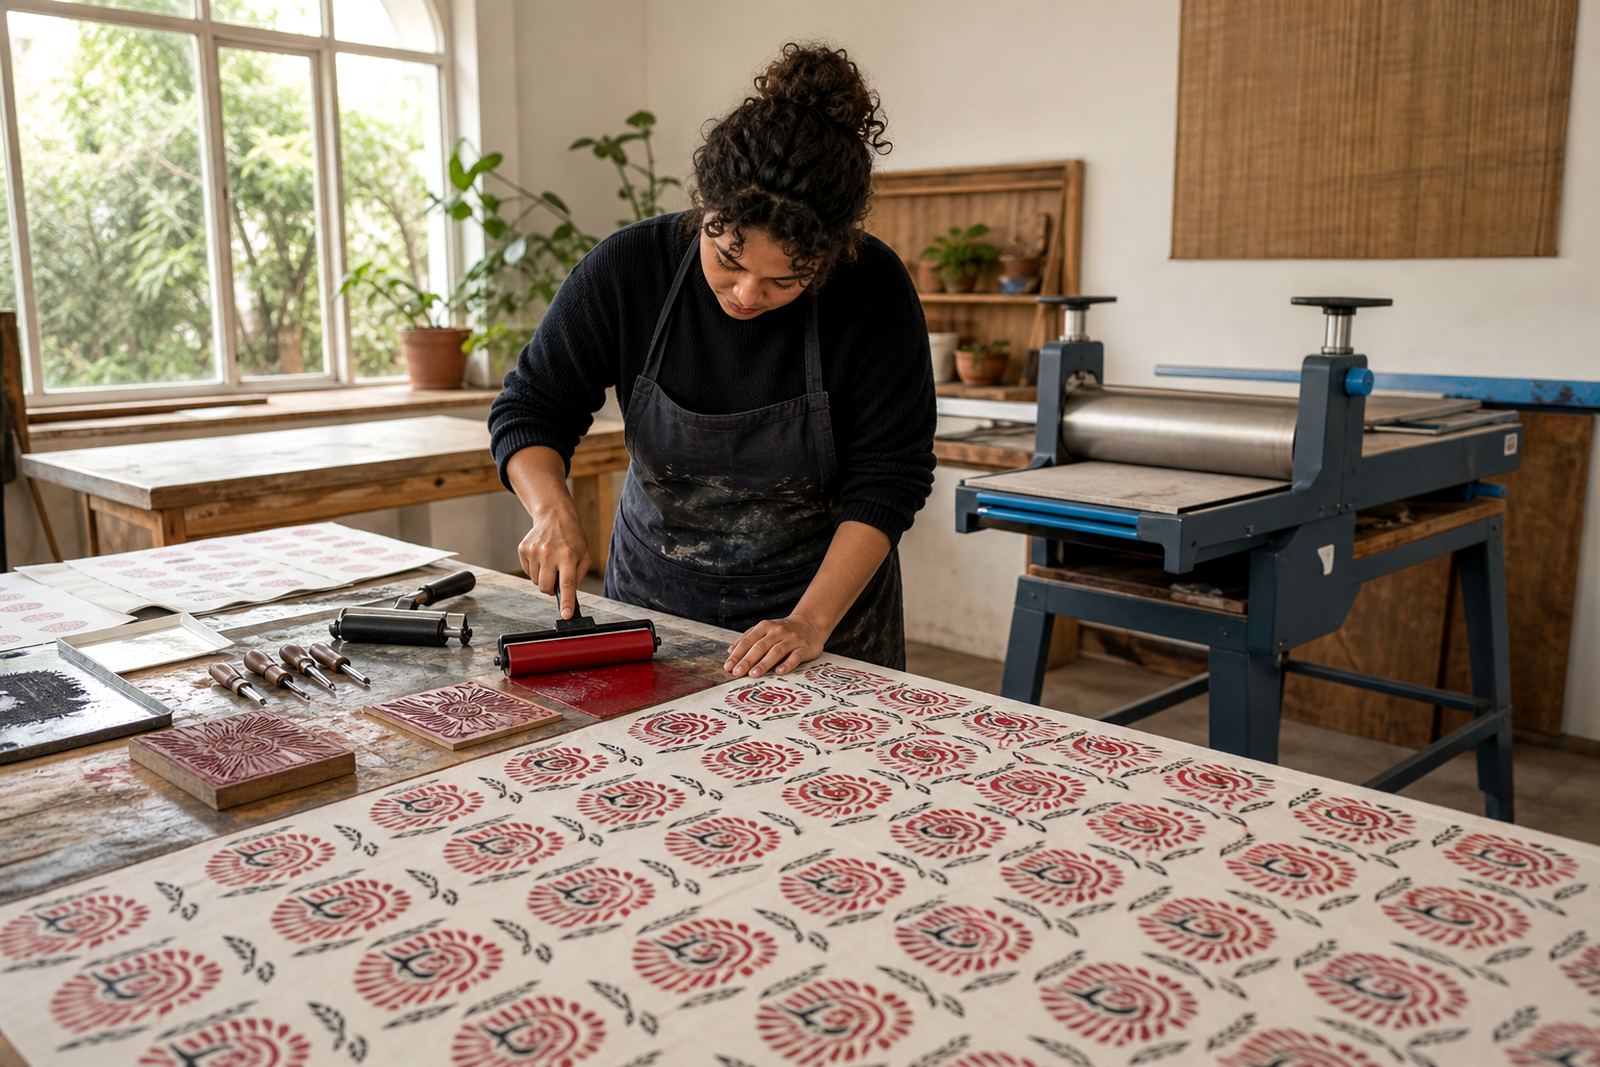
For a repeat pattern, ink needs to be rolled out evenly on the brayer. Too much ink fills fine cuts and blurs the edges. Too little leaves patchy areas that break the rhythm of the design. The aim is a thin, even film that sits on the raised surface without flooding the carved channels.
Paper choice matters too. Smooth papers can show cleaner edges, while slightly textured sheets give a softer look and absorb the impression in a different way. In a Durban workshop, the humidity can change how long a sheet stays open before it starts to curl, so the paper has to be handled with care. In Cape Town, the same repeat may behave differently on a drier day, especially with thinner sheets.
- Test the ink on scrap paper before a full run.
- Roll the brayer in several directions for even coverage.
- Keep printed sheets flat under light weight.
- Separate wet prints with clean interleaves where needed.
- Match the paper weight to the amount of pressure you use.
Registration keeps the pattern lined up
Once the first print is pulled, registration becomes the quiet part of the job that holds everything together. A repeat pattern may depend on matching corners, aligning a border, or placing each unit on a grid so the eye does not drift. A small change can alter the design’s overall mood.
In press printing, registration can be built with stops or guides that keep the sheet in the same position for each pull. In hand printing, the same discipline comes from pencil marks, corner blocks or a marked base board. The method may be simple, but it has to be consistent from the first proof to the final edition.
The baren gives more hand pressure in a direct way, while the press offers a steadier pull across a larger sheet. Both methods can make strong repeats if the block is carved with the repeat in mind. A good print technician will watch the margins, the alignment of the motif and the pressure on the paper rather than chasing perfect sameness.
From one block to a full edition
A repeat pattern is often tested as a proof before it becomes an edition. That first proof shows whether the motif joins up, whether the edges feel balanced and whether the colour carries enough weight across the sheet. If the repeat is for a wallpaper study, wrapping paper sample or a teaching project, the edition needs to feel planned from the start.
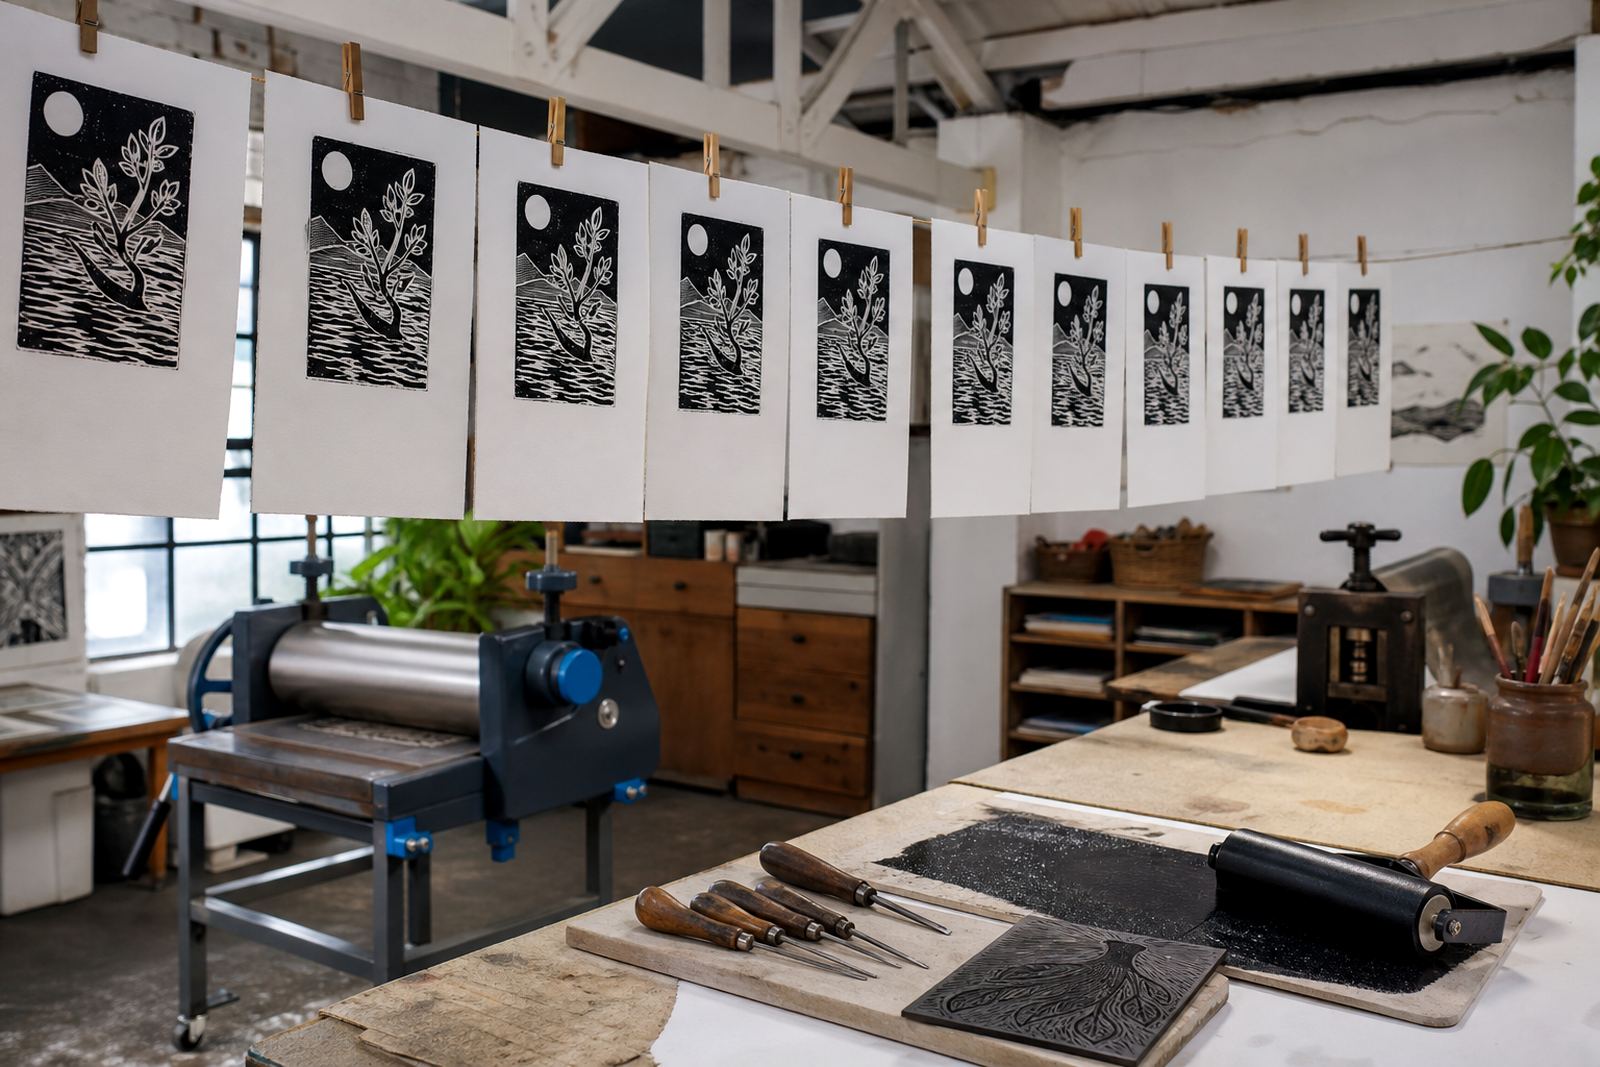
Edition printing is part rhythm, part record keeping. Each sheet needs the same care, but each impression can still show slight hand-made variation. That slight variation gives a repeat pattern life as it moves across many sheets. A clean edition also needs dry sheets counted and stacked in order so the sequence stays clear.
At our Woodstock base, a student group might carve one block and then use it in different colourways, each one shifting the mood of the same repeat. One pass may stay close to the original drawing, while another uses a stronger border or a reversed ink field. The structure stays the same, but the surface changes with each decision.
What a repeat pattern session usually covers
Our repeat-pattern classes are built for adults, students, families and teams who want a practical printmaking session without the fuss. A workshop can move from sketch to carved block, then into registration, inking and printing. The pace depends on the group, but the order of the work stays familiar.
We often cover the following points during a session:
- Choosing a motif that can repeat without crowding the page.
- Transferring the drawing to lino or soft-cut block.
- Carving with gouges and V-tools safely and cleanly.
- Rolling ink with a brayer for even coverage.
- Printing by hand with a baren or using a press.
- Checking alignment, spacing and edition consistency.
For schools and venue sessions in Stellenbosch, Johannesburg, Pretoria, Bellville and Somerset West, the same practical structure works well because it travels easily. The equipment is compact, the printing method is clear, and the result can be taken home or shown in a class display. When a pattern lands properly, people see how one carved block can set up a whole field of movement across the page.