Why oil-based ink changes the print day
Oil-based block ink behaves differently from water-based ink from the first roll out. It stays open for longer, so the carved block can be inked, checked and adjusted before the print is pulled. That extra working time matters when a group is learning registration, or when a student wants to move a pale passage a touch darker without rushing the next impression.
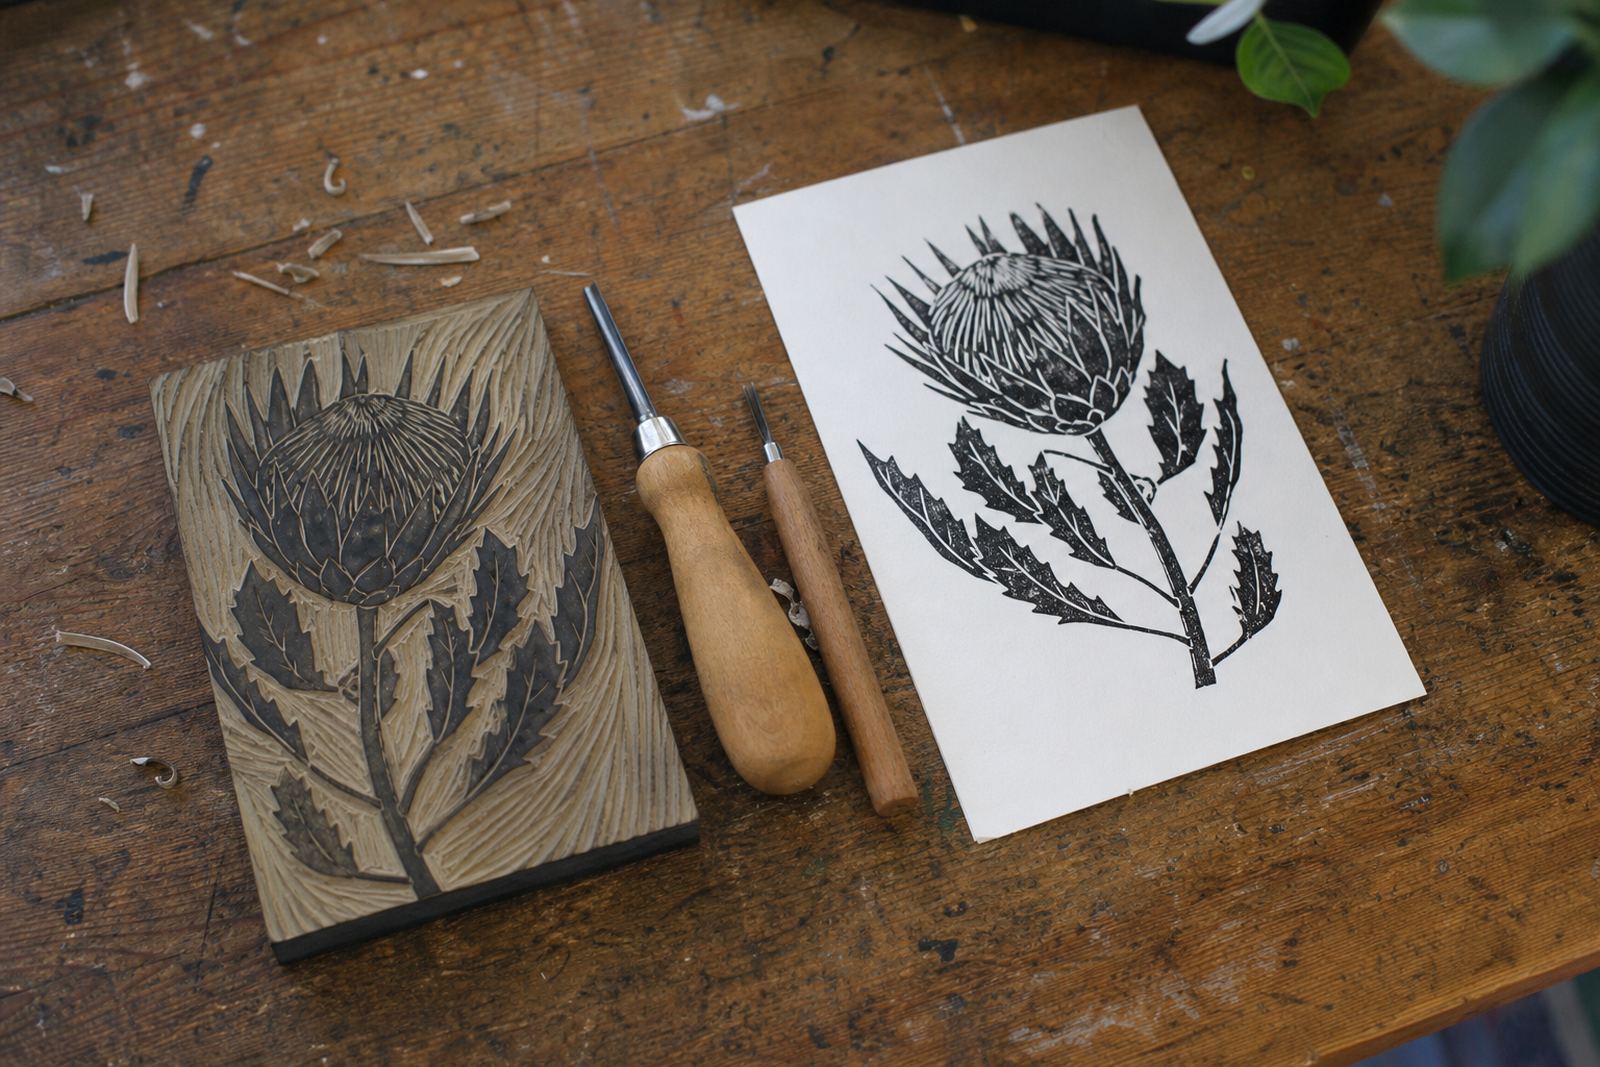
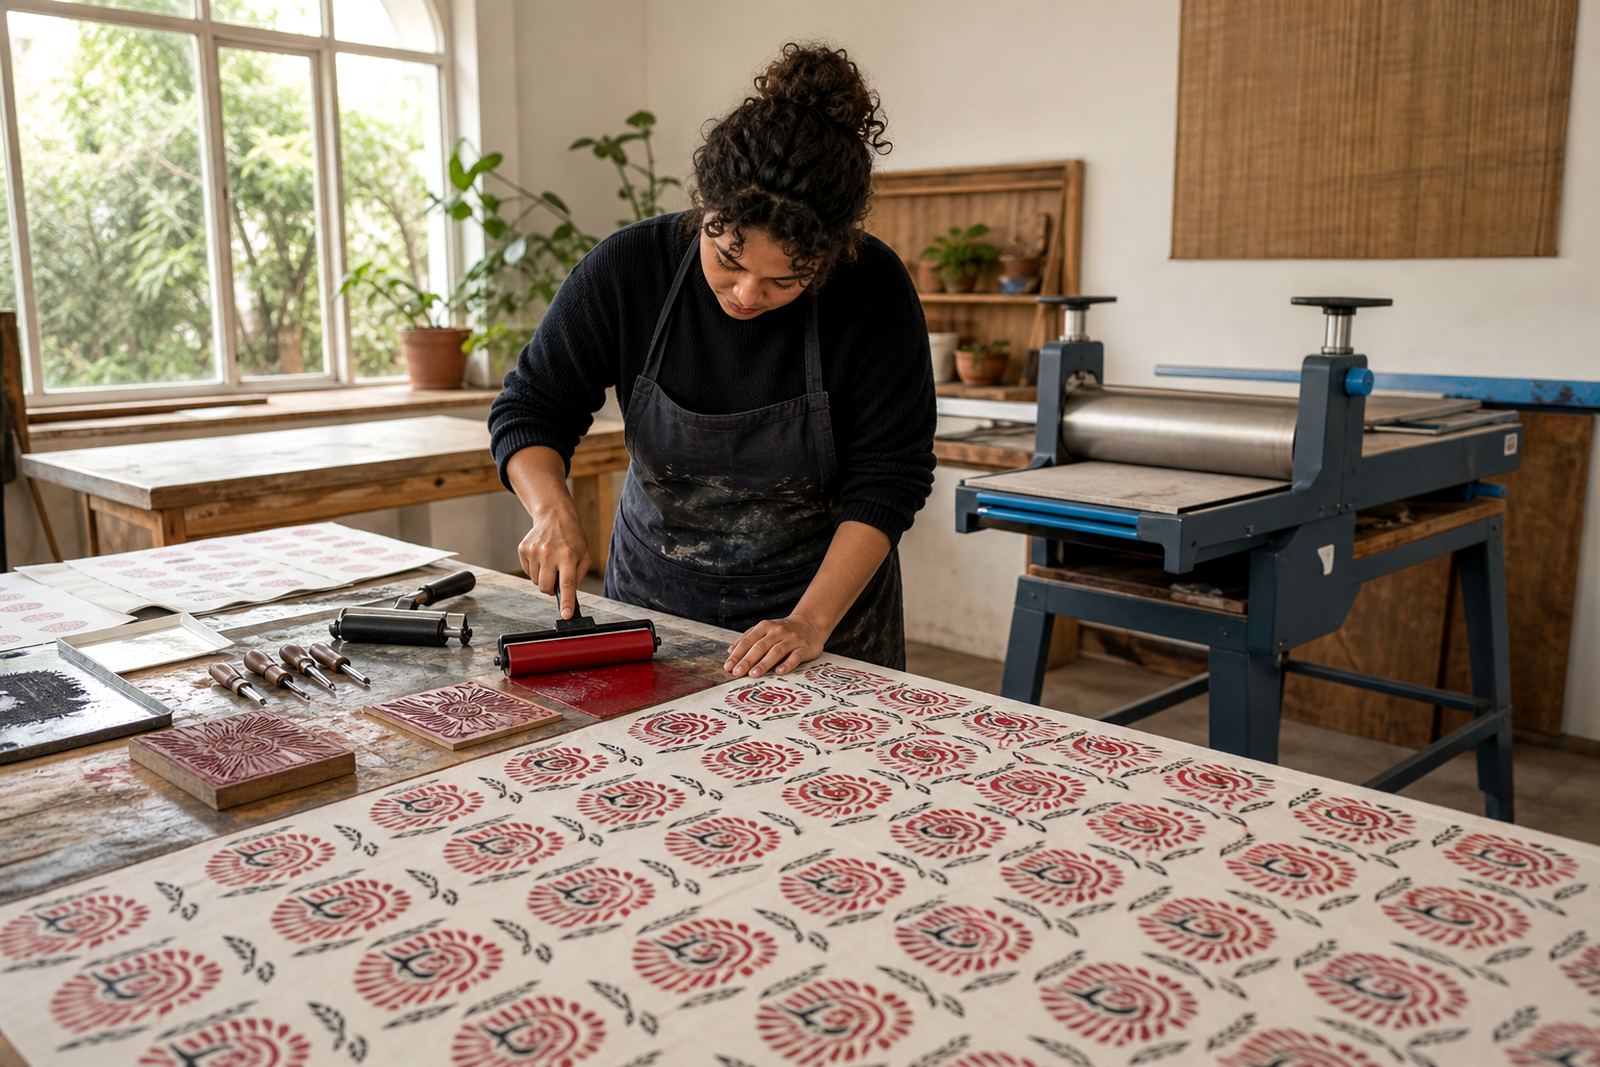
In a workshop setting, the main benefit is control. The ink sits on the raised surface of a lino or soft-cut block, then transfers through pressure from a baren or press. Because it does not dry fast on the brayer or plate, the instructor can keep the rhythm steady across a table of people working at different speeds. The trade-off is patience on the back end, since prints need a proper drying space and careful handling after the pull.
The handling window on the table
Oil-based ink is often chosen when the surface of the print needs a richer, slightly more even film. It can hold line well, especially on bold carving with V-tools and gouges where the cut marks are meant to stay crisp. It also suits edition work where a run of prints needs to look consistent from the first sheet to the last.
- It rolls smoothly across the block without drying too fast on the brayer.
- It gives more time for checking coverage before paper touches the block.
- It can hold dense blacks and saturated colour with a firm finish.
- It asks for clean hands, clean paper, and a sensible drying area.
- It is less forgiving of smudging if a print is stacked too early.
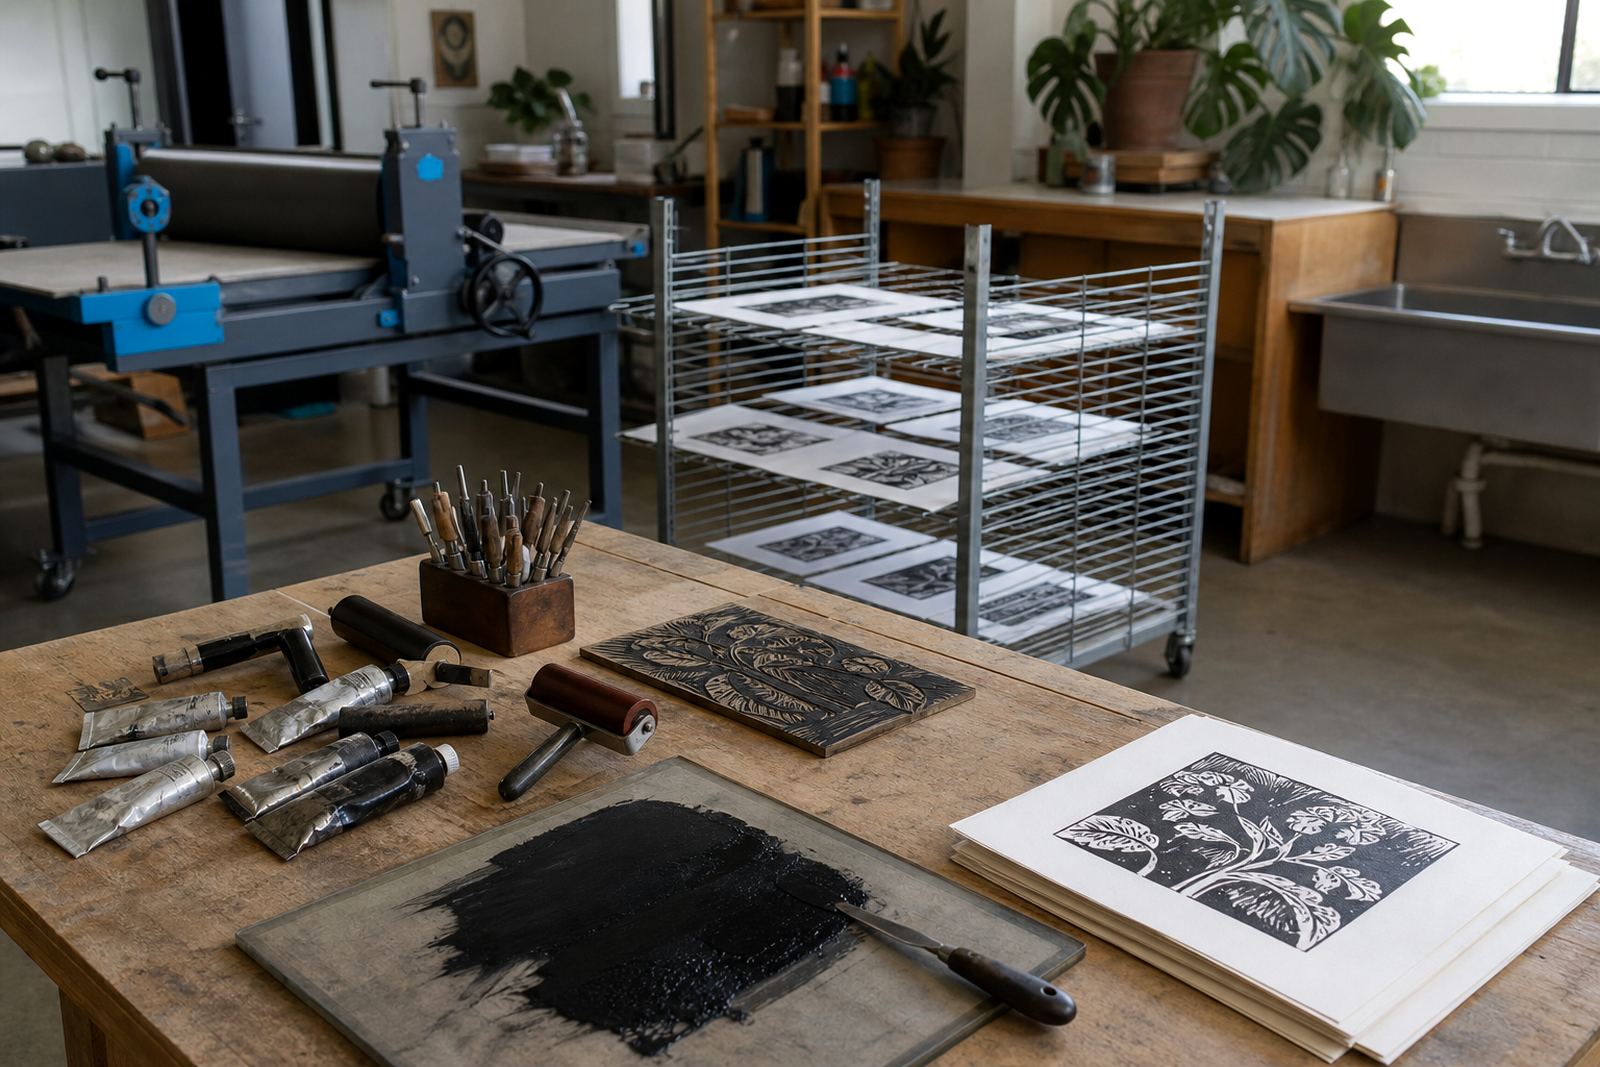
At a studio table, that means the printer needs to think ahead. Paper should be cut and ready, registration marks should be clear, and the printed sheets need space to rest flat. If a group is printing at a school venue in Stellenbosch or Durban, the setup usually needs more room than a quick demonstration with water-based ink, because the printed work cannot be packed away immediately.
Drying time and the real waiting game
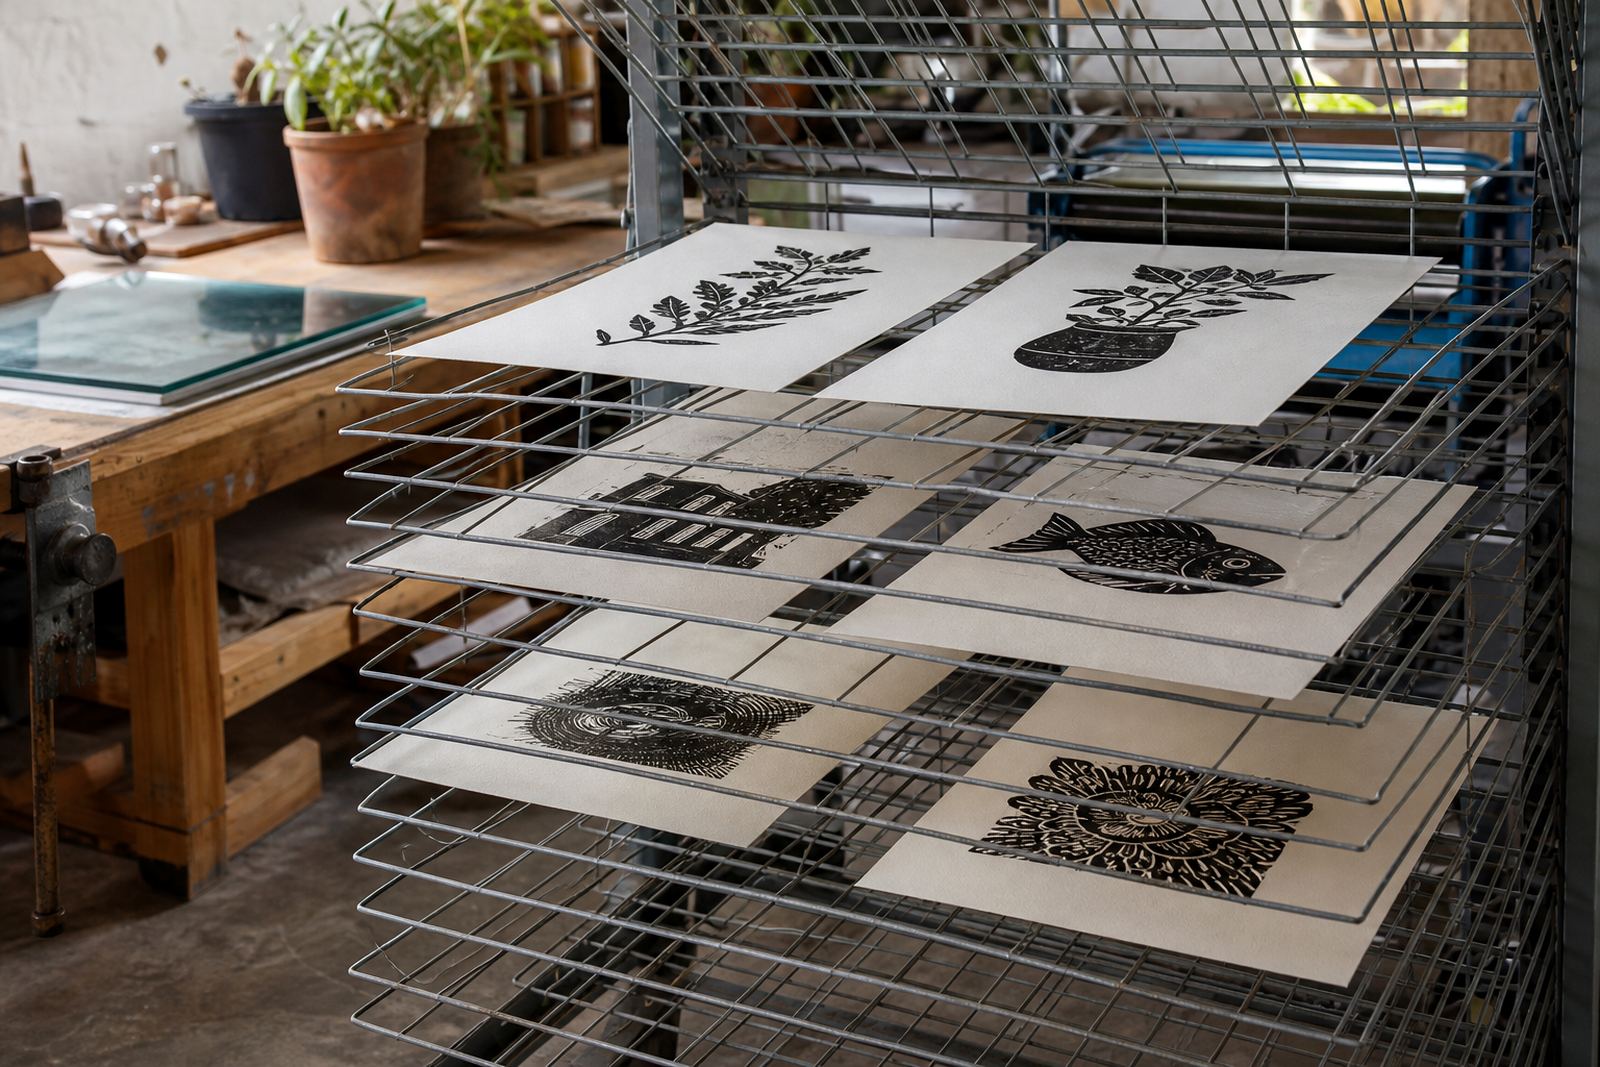
The biggest practical difference with oil-based block inks is drying time. The surface may feel set enough to move the sheet carefully, but the print can still mark if it is stacked or rubbed too soon. On thick paper, or with a heavy layer of ink, drying can stretch out longer than beginners expect. Humid coastal air near Cape Town or Durban can slow things further, so the studio plan has to allow for that.
For edition printing, this slower pace works well when the work is organised. Sheets can be laid flat on drying racks or separated with clean board. A workshop leader will usually explain why the first print from a block sometimes looks slightly wetter than the last, because the pressure, room temperature and amount of ink on the roller all matter. That is normal, and it is part of learning to read the print rather than chase a single perfect result.
Finish, sheen and the look of the line
Oil-based inks often leave a finish that feels fuller on the paper, with a modest sheen depending on the paper and the amount of ink used. This can make carved line stand out clearly, especially in monochrome work where the black carries the whole image. On textured papers, the ink may sit differently across the surface, leaving a softer edge in the paper grain and a stronger edge where the block pressed firmly.
That finish suits prints that are meant to be kept, framed or issued as numbered editions. In a student class, it also helps participants see how small changes in inking alter the result. A slightly drier roller can give a textured print, while a fuller roll can create a dense field with fewer skipped marks. The lesson is judgement, which is where linocut starts to get interesting.
What changes in a workshop setup
Oil-based ink asks for a tidy working method. Gloves may be used, but the bigger point is discipline around the table. Inks are handled in small amounts, tools are kept separate from clean paper, and the block is checked before each pull. The same care helps whether the group is a family session, a teacher workshop or a team building class in Johannesburg.
- Keep the ink slab clean so colour stays true from one pull to the next.
- Use a small amount of ink first, then add more only if the block needs it.
- Plan drying space before the first sheet is printed.
- Mark registration carefully when the edition needs repeatable placement.
- Use papers suited to the pressure of hand pulling or press printing.
At HandPrinter Art, this is the part that often changes how people think about printmaking. A block can make a whole run of images. It can hold a repeatable process, but only if the room, tools and paper are set up with some care.
A Cape Town example from the studio floor
On a busy workshop morning in Woodstock, a group may start with carving a simple shape on lino, then move to inking with oil-based block ink for the final edition. One person may be using a baren, while another sends the same block through a press. The image changes slightly from hand to hand, but the printed line stays clear because the ink has enough body to sit on the block without running.
That kind of session shows why oil-based ink is often chosen for more finished work. It gives room for conversation, adjustment and repeat pulls without the block drying out halfway through. For schools and venue sessions across Cape Town, Stellenbosch and Pretoria, it is especially useful when the group wants a print that can be dried and handled with care after the workshop rather than rushed into a bag before it has set.
Our team treats the ink as part of the teaching. Once people see how the finish changes with pressure, paper and drying time, the process makes sense in a practical way. The print stops being a single moment and becomes a sequence that can be managed with discipline.