Cut depth, gouges and a clean edge
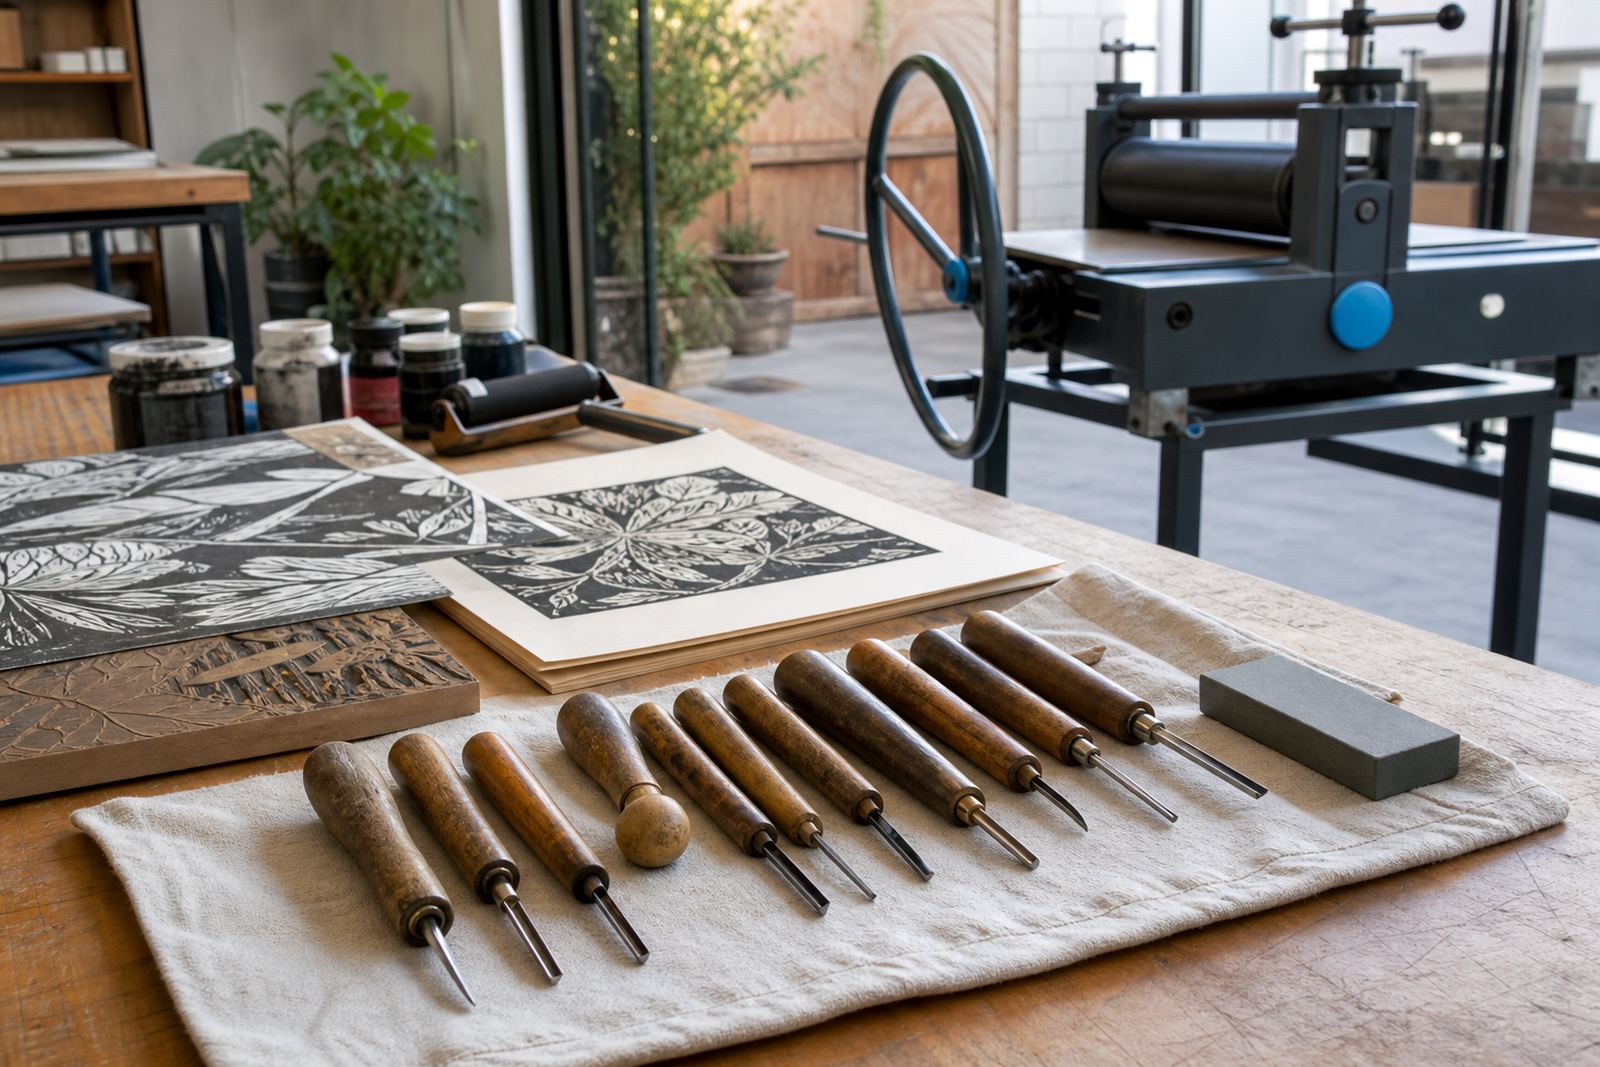
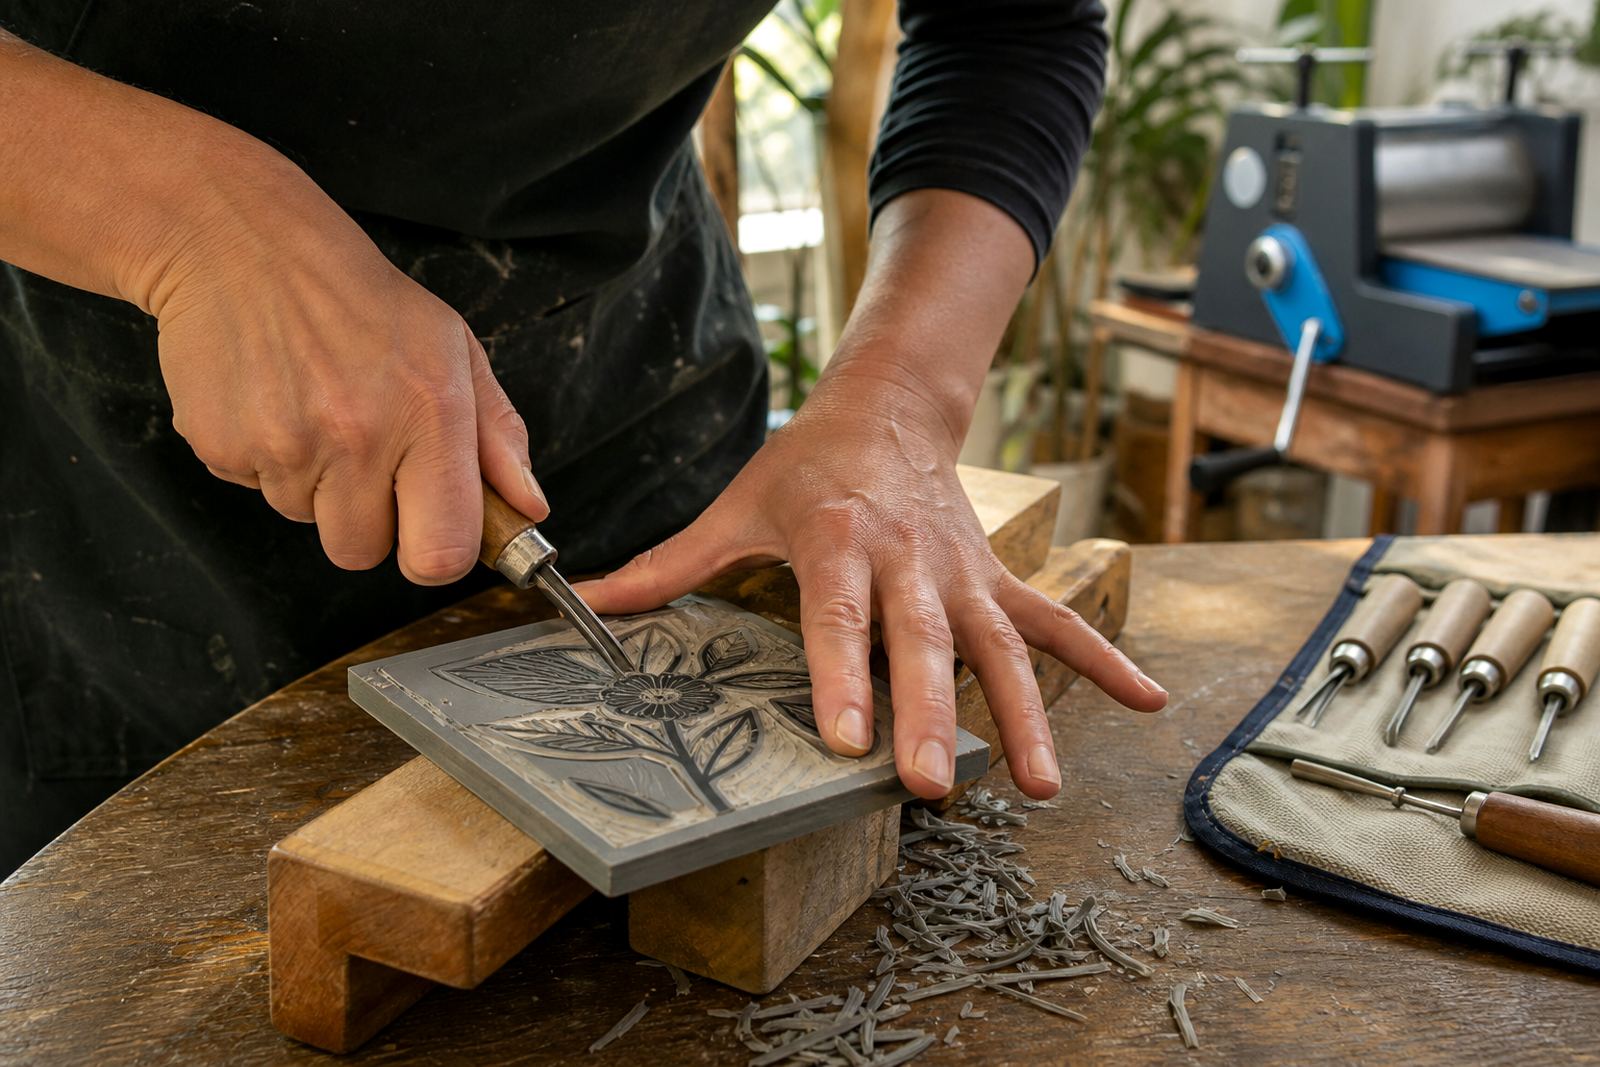
Proofing is the easiest way to see how the block was cut. V-tools leave different marks from wider gouges, and those marks behave differently once the brayer rolls across the surface. A deep V can hold a sharp white line, while a broader cut may need a second pass to open the shape properly.
For beginners, the proof often shows a safe cut that could be bolder, which is normal at this stage. Linocut and soft-cut blocks respond well to a bit more carving, followed by another test print. A proof lets you adjust without guessing, and without committing to a full edition too soon.
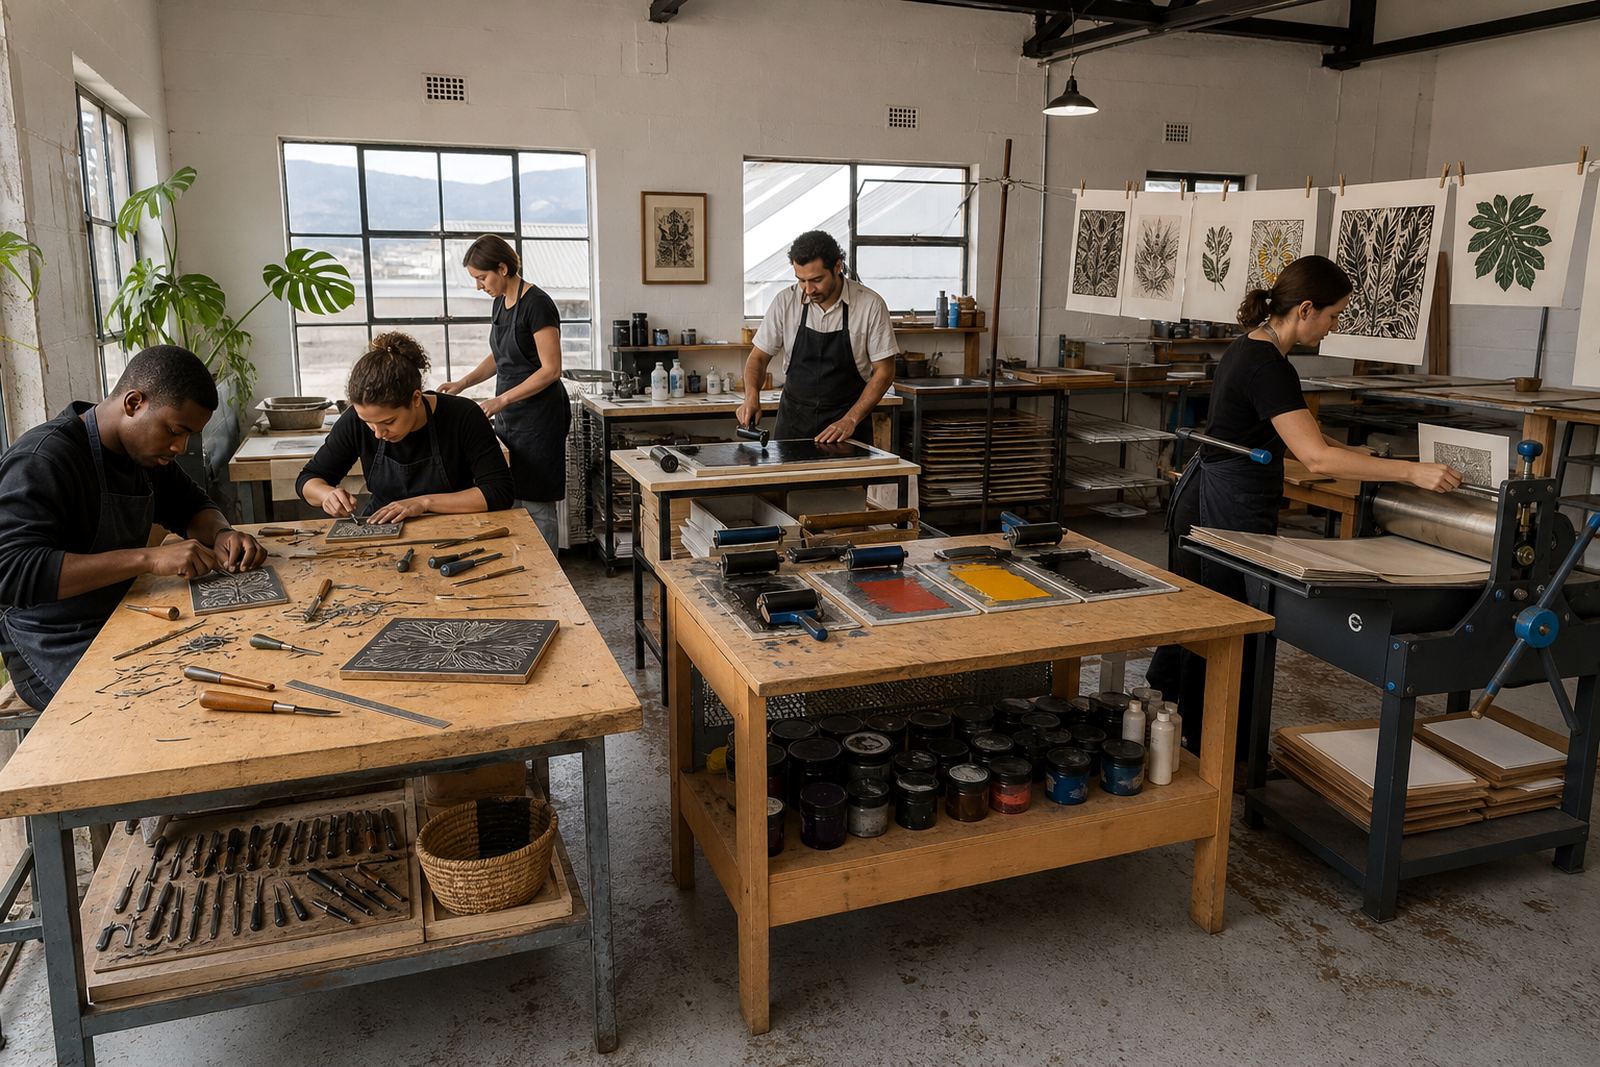
On a busy workshop floor in Woodstock, a group might carve a small bird, a leaf, or a portrait silhouette. The first proof usually shows where fingers hesitated and where the blade moved with confidence. That read helps the next cut feel deliberate rather than nervous.
Composition reads differently once paper is involved
A design that looks balanced on screen or on tracing paper can change once it meets cotton rag, cartridge, or printmaking paper. Proofs show how the image sits on the page, whether the border feels crowded, and whether the print needs more breathing room at the edges. Even the grain of the paper can alter the final impression.
Students and families also learn to place the block, leave margins and picture the final sheet before the press or baren comes in. The proof makes that lesson immediate.
When a class in Stellenbosch prints a flower block, the image may drift slightly to one side on the first sheet. That is often a registration issue, but sometimes it is simply the composition asking for a stronger centre. A proof helps separate those two problems.
What a proof session teaches the room
Proofing slows everyone down in a useful way. It gives the group a shared sheet to study, compare and improve. In a family print session, children can see how a tiny cut changes a leaf vein or a shell shape. In a team building session, the proof becomes a practical point of discussion, because each mark has a visible cause.
That is also why proofing suits schools. Teachers can use it to show planning, correction and patience in one activity. A first print is valuable because it gives the class something specific to fix. The next sheet often carries those changes clearly, and the room can see the block maturing in real time.
In Cape Town, where humidity can change how paper sits and curls, proofing also helps the studio judge how long to let sheets rest before the next pull. A paper that feels stable at the start of a morning class may behave differently after lunch, especially near the coast.
Final editions need the proof to stand beside them
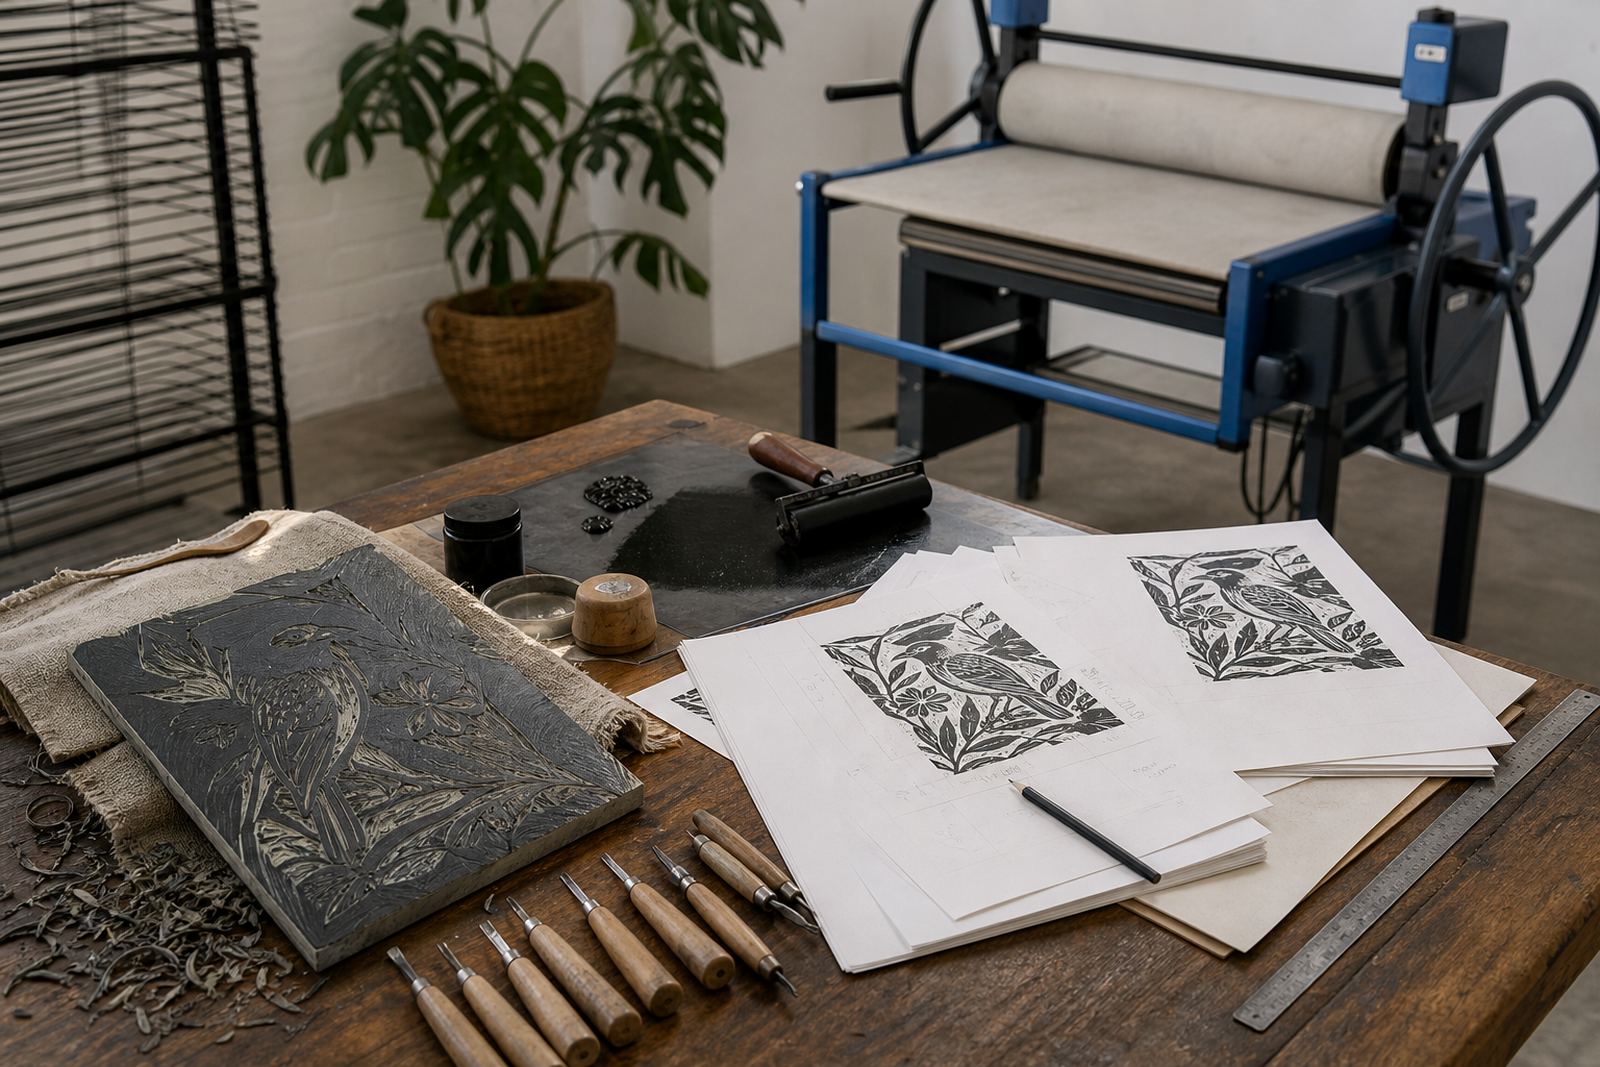
An edition is only as steady as the proof that shaped it. Once the image is approved, the final run depends on the same pressure, the same inking habit, and the same placement each time. The proof sets the standard. It becomes the reference sheet for colour, line strength and overall balance.
That is where a print technician earns their keep, by watching for small shifts across the run. A little more ink can soften a line, a little less can starve the image, and one careless lift can spoil a clean margin. Proofs help prevent that drift by giving the team a clear target to return to.
Whether the session is in Woodstock, at a school in Durban, or in a venue setup in Pretoria, the same principle holds. Proof first, assess carefully, then print the edition with purpose. A finished linocut is usually stronger because the proof did its quiet work first.