What a U-gouge does once the block is on the table
A U-gouge has a rounded cutting edge, so it takes out a wider, softer channel than a V-tool. In linocut and soft-cut work that shape is useful when you want to clear background areas, lift out side spaces around a motif, or make a line that reads as broad and fluid on the paper.
For beginners, the rounded profile is often easier to read than a sharp point. The tool shows where it is travelling and the cut can be steered in short passes. That matters when a block is still full of tiny decisions, because one heavy push can remove detail the design needs.
- Best for clearing mid-sized spaces around the image
- Useful for curved marks, petals, leaves, waves and fabric folds
- Helps create a softer edge than a V-tool
- Works well before final cleaning cuts are added
Choosing the right width for the mark you want
U-gouges come in different widths and sweeps. A narrow U-gouge behaves more like a line tool, while a wider one clears more ground with each pass. In a studio session, that choice changes how the block feels in the hand and how the printed shape sits on the page.
For a first block, many people do better with one medium U-gouge and one finer tool for detail. A broad tool can open the spaces around a bold shape, then a smaller gouge can tidy the edges near the line. That balance is especially useful in school workshops and family sessions where the aim is to keep the block readable.
- Smaller U-gouges suit tighter curves and short channels
- Wider U-gouges clear larger flats without chopping the surface
- Match the tool to the paper size and image scale
- Keep one size for clearing and one for shaping
Safe carving starts with stance, grip and a patient block
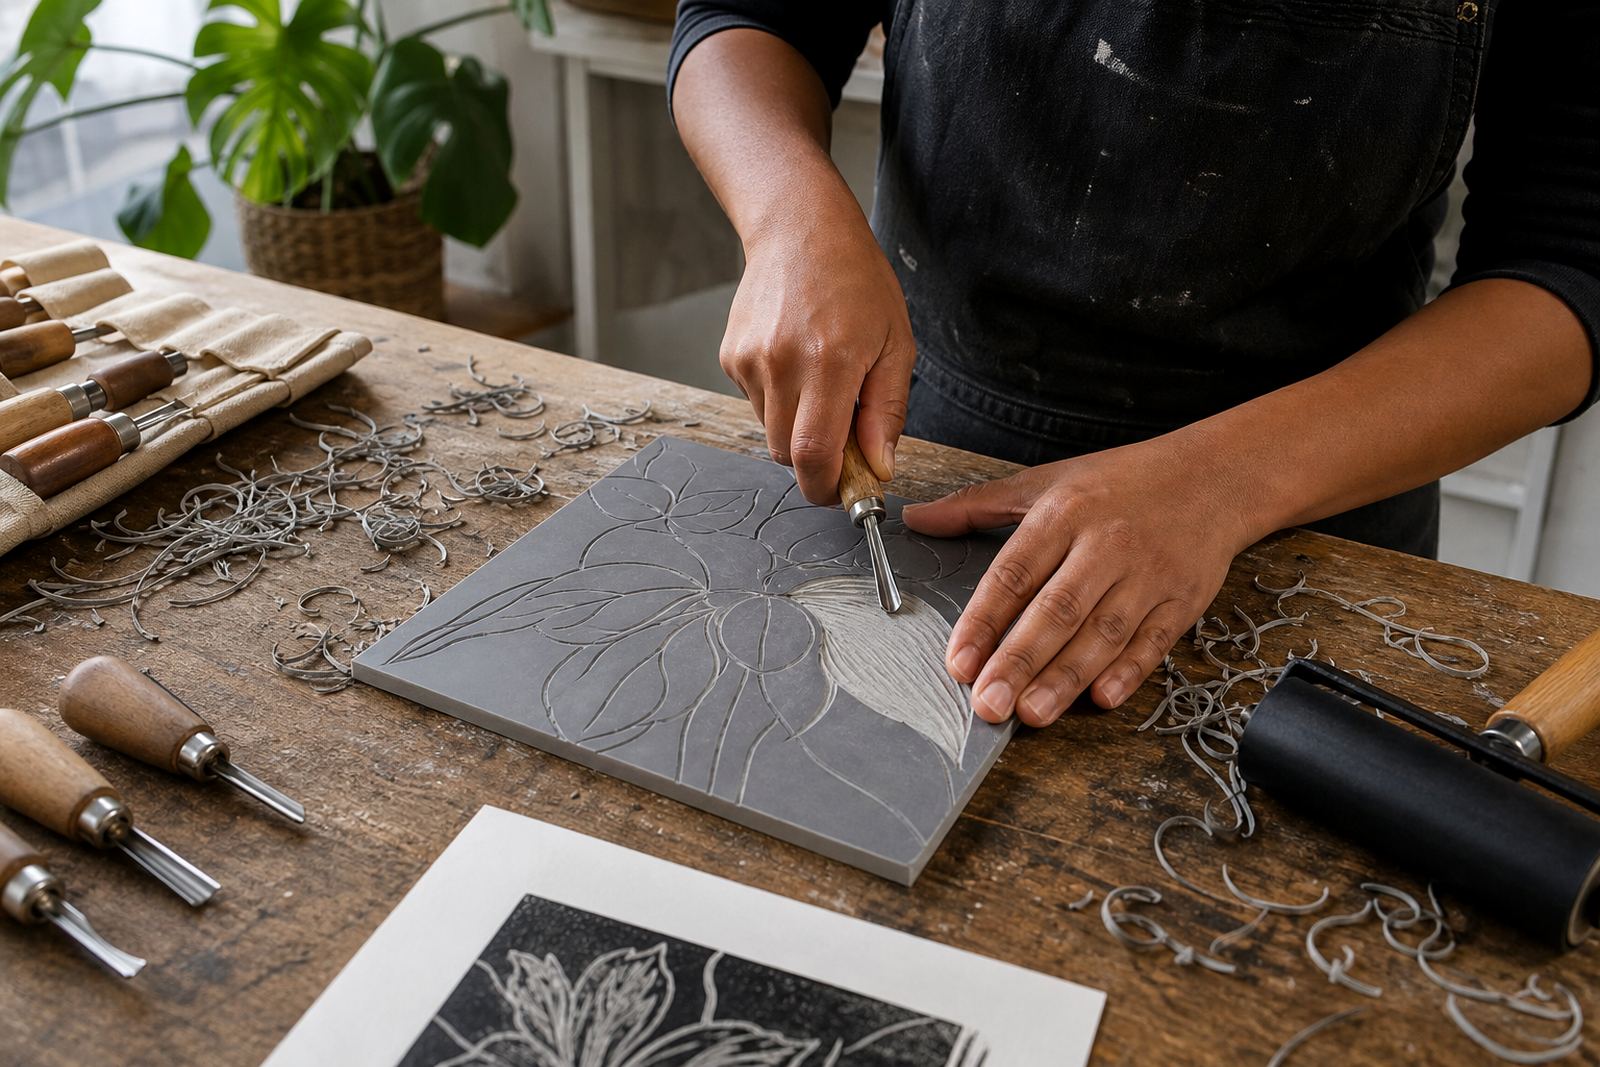
Rounded gouges still need respect. The block should be braced flat on a firm table, with the free hand kept well behind the cutting edge. A short controlled stroke is safer than a long, forceful one, and the cut is easier to guide when the body leans slightly over the work instead of reaching at arm’s length.
Fresh lino and soft-cut boards can be forgiving, but they still punish rushed hands. In our Woodstock studio, students are shown how to turn the block instead of twisting the wrist through an awkward curve. That one habit reduces slips and keeps the channel consistent from one end to the other.
- Keep the block stable before each cut
- Use short passes when the shape turns tightly
- Turn the block to follow a curve, do not force the wrist
- Clear chips from the cut so the gouge stays visible
How rounded channels behave under ink and paper
The shape cut by a U-gouge changes the way ink sits on the block. A broader channel leaves more open space, so the printed area becomes cleaner and the image gains stronger contrast. When water-based or oil-based block inks are rolled out with a brayer, those open spaces stay free of unwanted smudges if the block has been cut deeply enough.
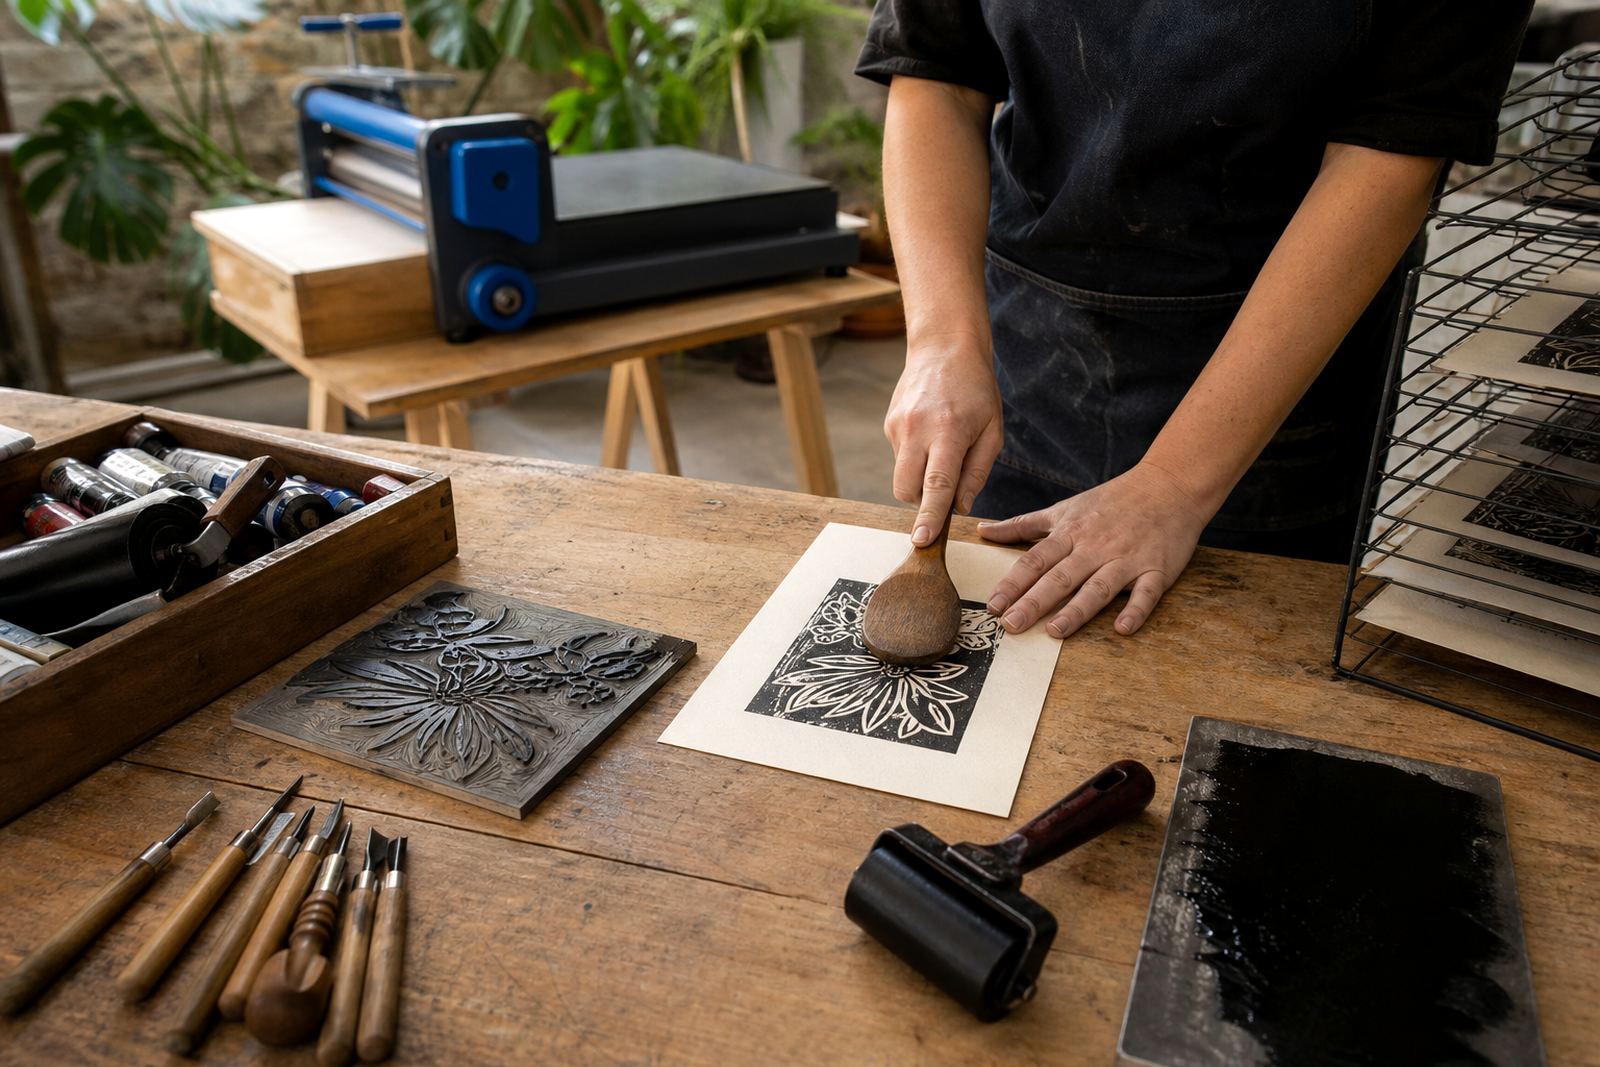
Print pressure also matters. On a baren, the raised areas press steadily into the paper and the wider recesses stay white. On a press, that same carved depth can give a crisp impression across a small edition, provided the registration is steady and the paper is chosen with enough strength for the image.
In practice, a U-gouge is often the tool that makes a print feel calm. The cut supports the structure that the rest of the edition depends on.
Registration, editions and the choices that keep a print consistent
When several prints need to match, the carved block has to behave predictably. U-gouges help by making repeatable spaces that hold the image shape from pull to pull. If the channel depth changes too much, ink may sit differently at the edges, so keep a steady hand.
Registration marks are part of that discipline. In a studio workshop we show how the paper sits against the marks, how the block is placed for a second colour, and how the print is checked before the full edition continues. That process is simple to say and slow to learn, because clean alignment leaves no room for guessing.
- Use the same carving depth across repeated shapes
- Check paper placement before each colour layer
- Set the edition sequence upfront
- Set aside test pulls before the final set
A Cape Town workshop example that shows the tool at work
At a Saturday session in Woodstock, a small group was carving leaf forms for a two-colour print. The first cut with a U-gouge opened the background between the veins, then a finer tool sharpened the stem and edge marks. By the time the block reached the brayer stage, the image held its shape without looking crowded.
That same method works in schools, at family sessions and in pop-up workshops around Cape Town, Stellenbosch, Johannesburg, Pretoria and Durban. The setting changes, but the logic stays practical: clear the block, print a test, adjust the cut, then carry on until the edition sits where it should.
For many first-time printers, the U-gouge is the tool that makes the block feel manageable. It clears space without losing character, and it gives the printmaker enough control to move from a rough idea to a finished hand-pulled sheet.
When to reach for a U-gouge instead of another tool
A U-gouge is a good choice when the mark needs volume rather than a sharp incision. It suits rounded petals, broad leaf gaps, cloud shapes, textured fields and the open spaces around text. If the image needs a clean knife-like edge, a V-tool may work better, but if the goal is to clear and soften, the U-gouge usually wins.
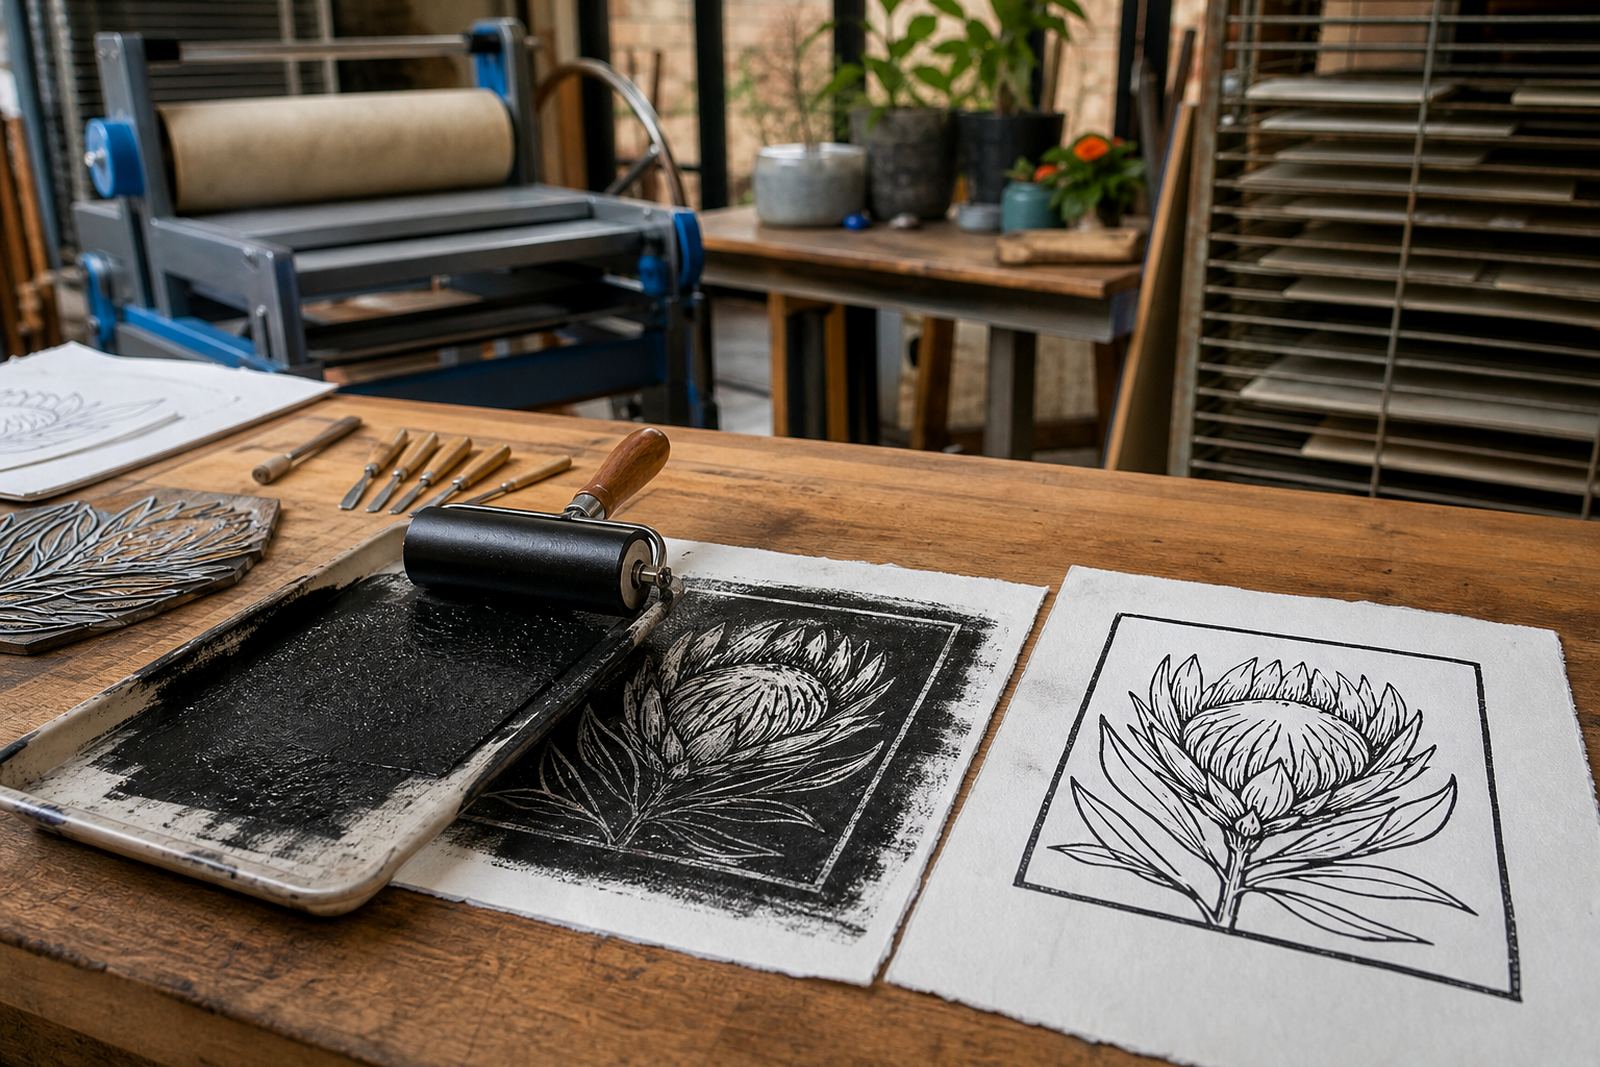
In beginner carving sessions, we often pair it with a brayer, a small set of papers and a short printing demo so the cut can be seen in context. Once the ink hits the block you can see what the U-gouge did, because its broad channels set the rhythm of the print.
- Choose a U-gouge for broader carved channels
- Use it where the print needs open breathing room
- Shift to finer tools when the edge must be sharp
- Check the impression before deciding on more cutting