Raised areas, carved areas and the image in reverse
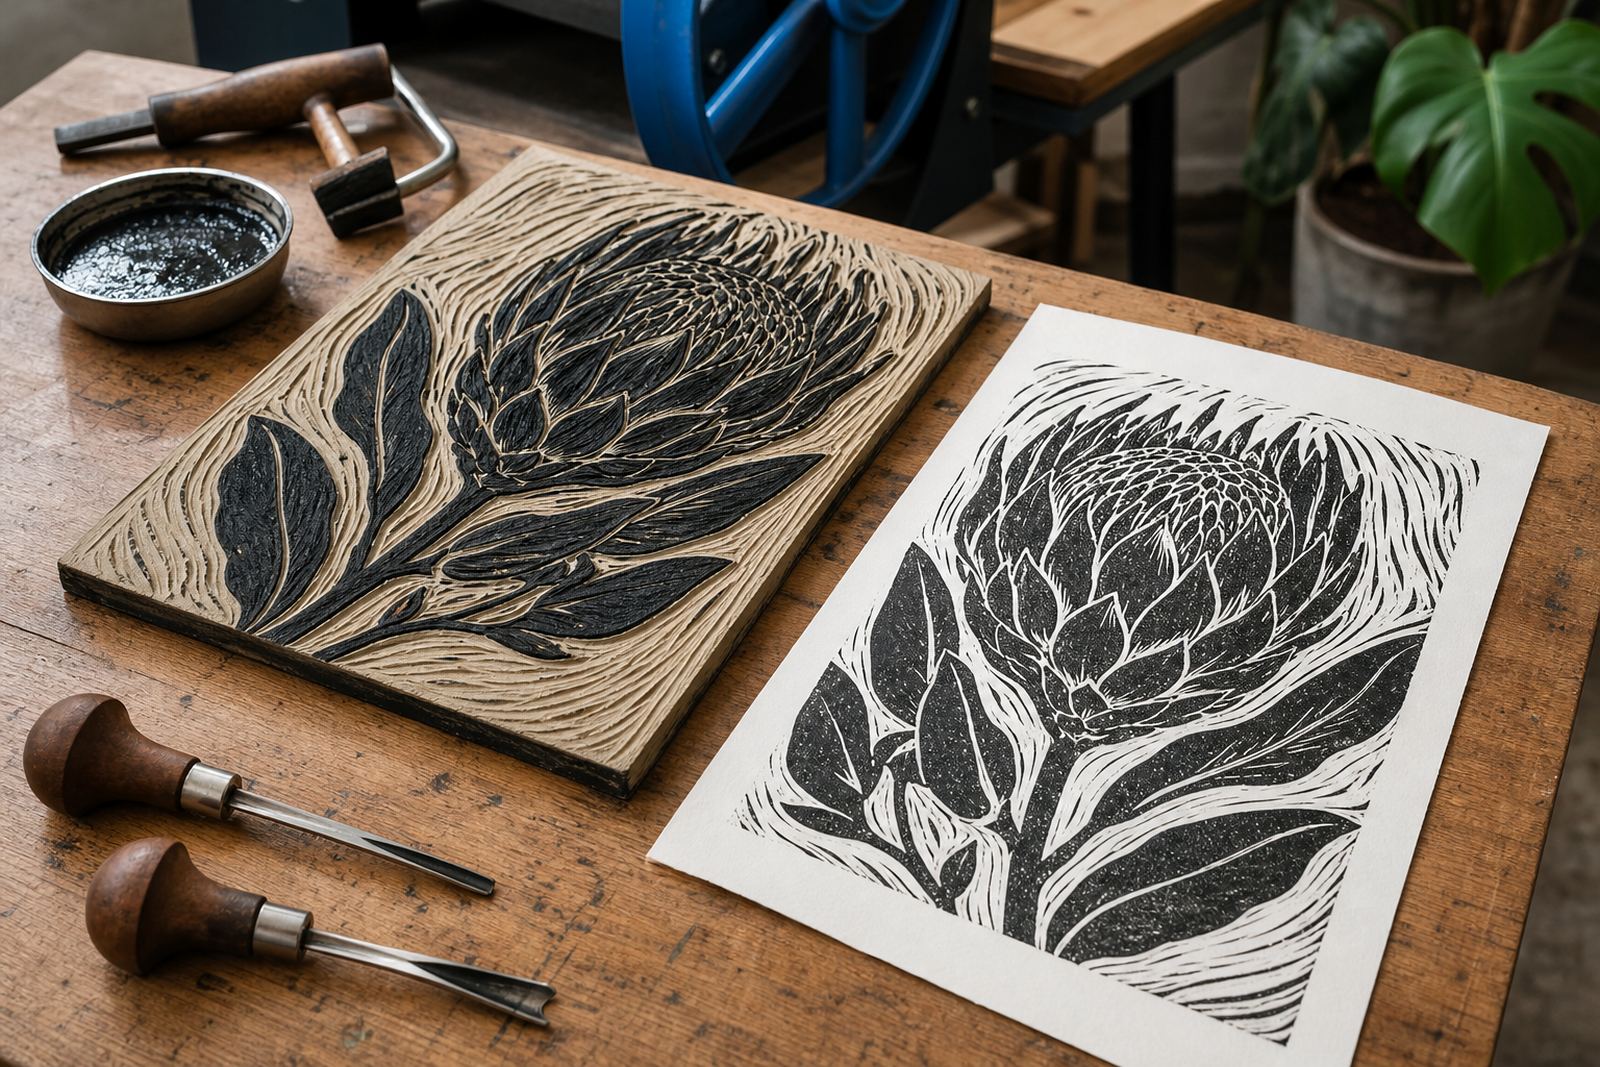
Block printing is a relief process, which means the raised parts of the block print and the cut-away parts stay white or open. What you draw on the block must be thought through in reverse, especially for text, directional marks and any image that depends on a clear left to right reading.
Linocut usually uses linoleum mounted on a backing, while soft-cut blocks are lighter and easier to handle for first-time carvers. Both can hold fine marks when the cutting is controlled, though the material reacts differently to the gouges and V-tools used on the surface.
- Raised surface takes the ink
- Cut channels stay free of ink
- Mirror the design before carving
- Test the layout before the final cut
Tools that shape the block, not the hand
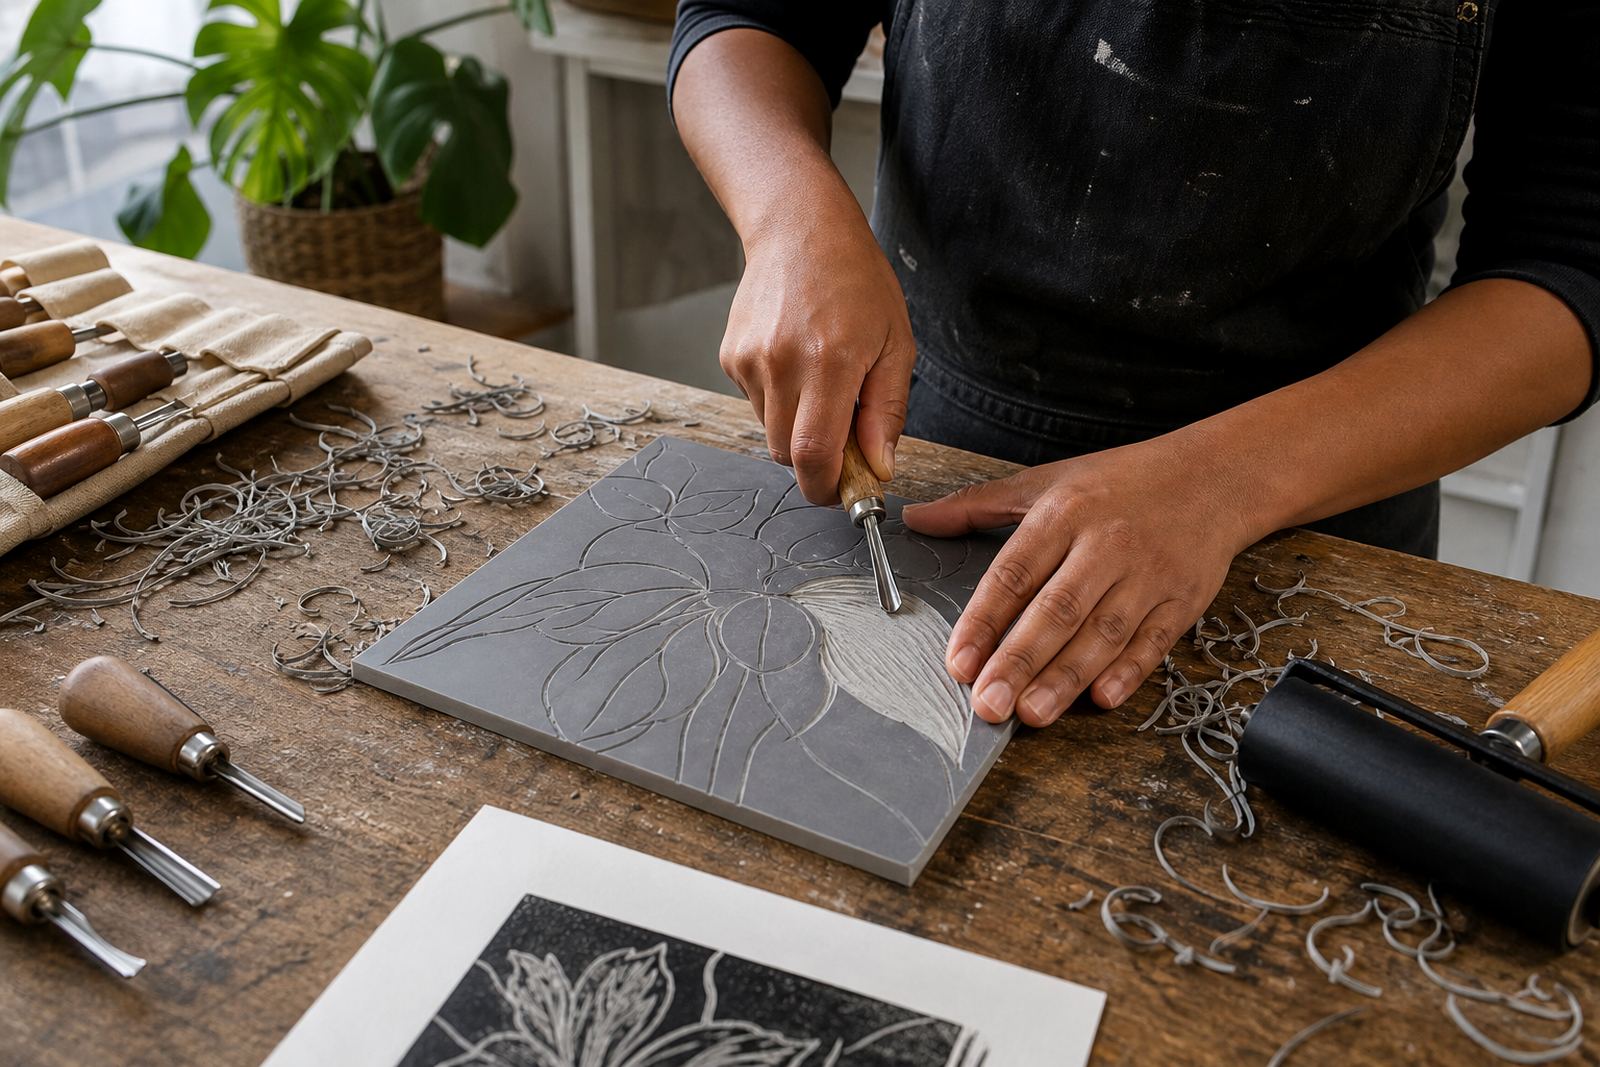
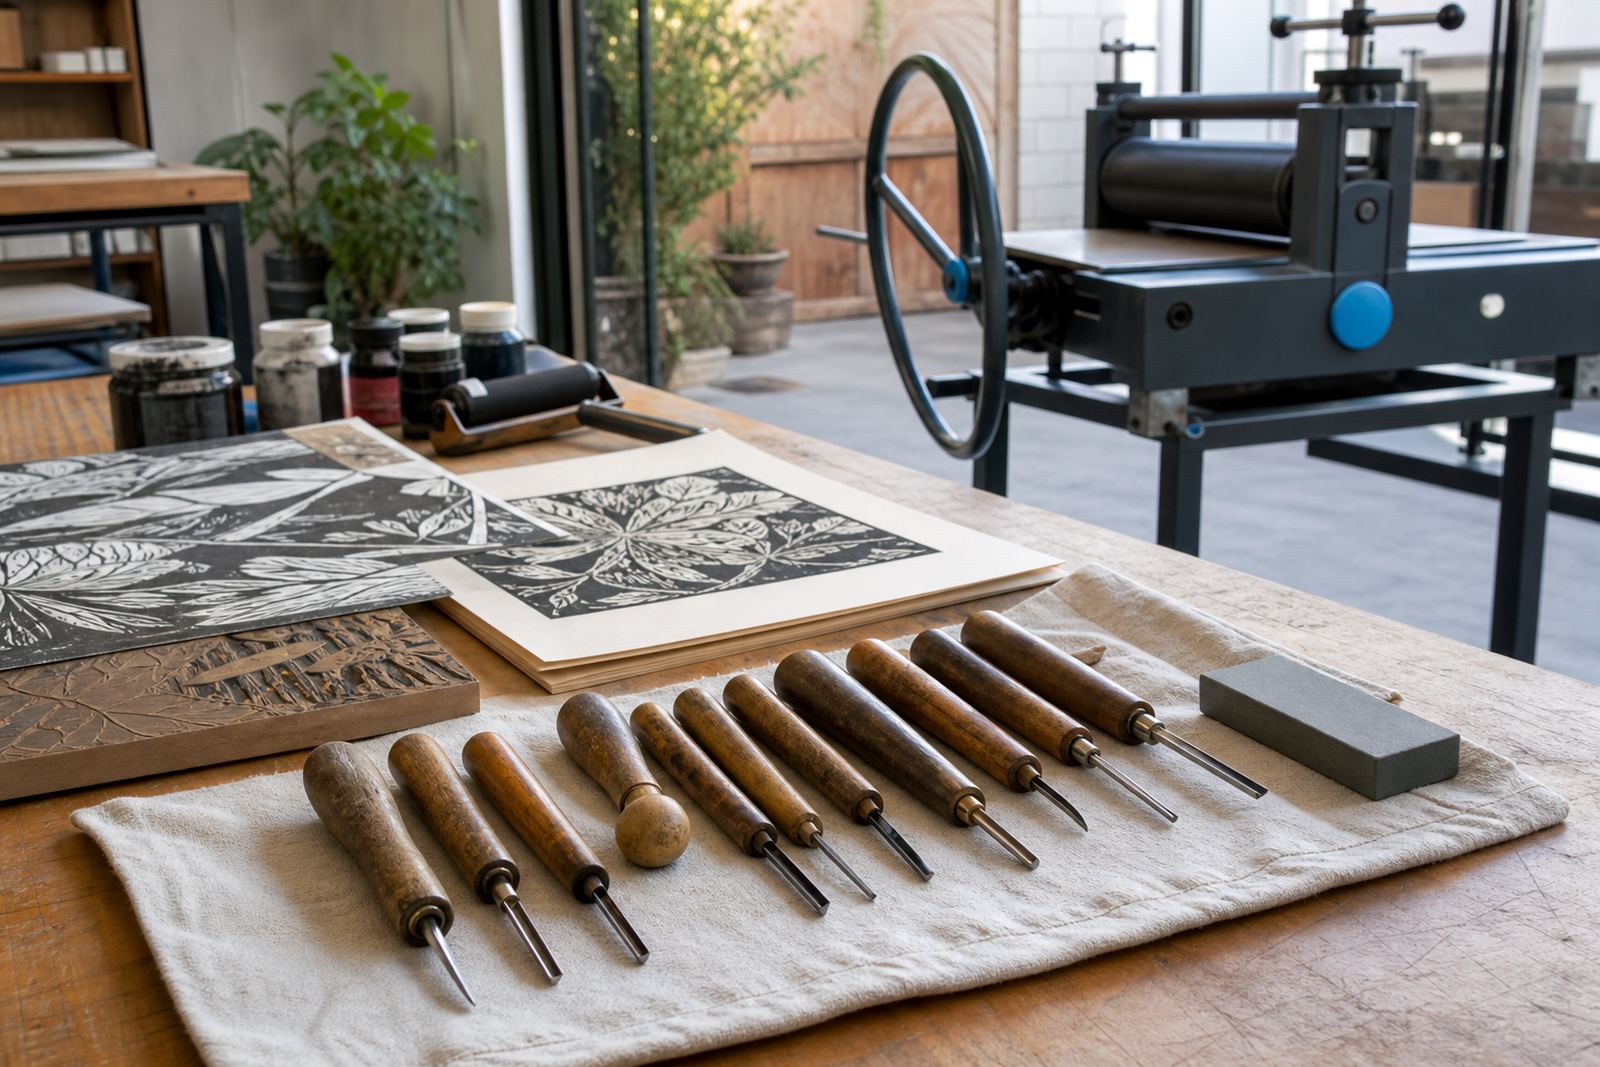
A safe carving session begins with the right grip, a steady cutting angle and a clean, uncluttered table. Gouges remove broader areas, while V-tools make narrow lines, hair detail and small texture marks that can carry a print from plain to lively without making the block crowded.
For beginners, the main habit is control. Short cuts are easier to manage than long forced strokes, and the block should be secured so it does not slip as the tool moves through the surface. That matters in a room full of school groups or a family session where a mix of ages are learning together.
- Keep fingers behind the cutting line
- Work from larger cuts to finer marks
- Use a bench hook or slip-resistant base
- Clear away loose shavings as you go
Ink on the roller, not in the grooves
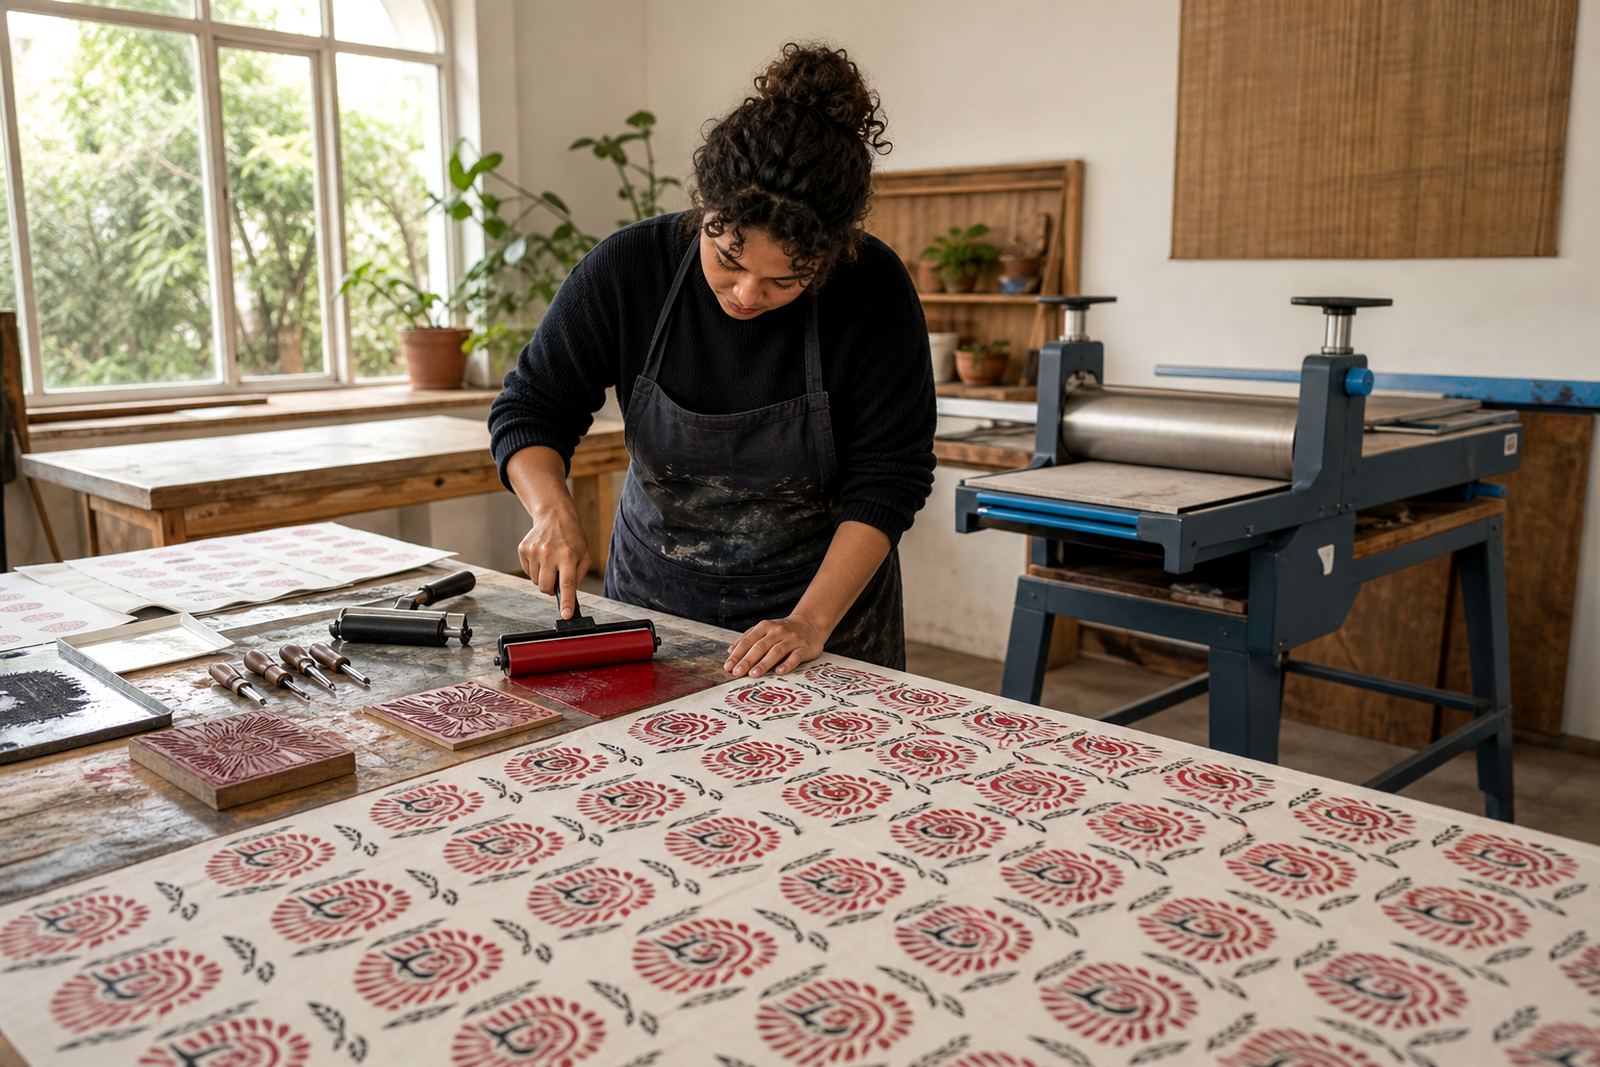
Once the block is carved, ink is rolled onto the raised areas with a brayer. Water-based block inks are common for workshop settings because they clean up more easily, while oil-based block inks give a different handling feel and can suit longer sessions where the surface needs slower drying.
The amount of ink matters. Too little and the print looks broken or dry, too much and fine detail can fill in. A good roll sounds tacky rather than wet, and the block should show an even sheen on the raised parts only. The cut lines must stay open so the paper takes the image clearly.
- Roll ink to an even film
- Check the corners of the block
- Keep the carved recesses clean
- Adjust pressure if the print looks patchy
Paper, pressure and the moment the sheet lifts
Paper choice changes the final look. Smooth paper gives crisp detail, while softer or textured papers can hold a warmer surface and a more handmade finish. In Cape Town, where coastal humidity can affect drying time, the paper may need a little more space between printed sheets so they do not mark one another.
Pressure can come from a baren, a spoon, or a press. Hand burnishing works well for smaller editions and teaching sessions because it shows how pressure moves across the whole block. A press printing demo makes the same point with more force and a flatter result, which is useful when students want to compare hand pressure to mechanical pressure.
- Match the paper to the block detail
- Apply pressure across the full image
- Lift one corner first, then peel back
- Let prints dry flat and separated
Registration keeps the image steady through every layer
When a print uses more than one colour, registration keeps each pass aligned. That can be done with corner guides, registration marks or a fixed board, depending on the size of the block and the number of sheets being printed. Even one small shift can push a border or second colour out of place.
This is the part that often changes a class from casual making to real print practice. Students begin to notice how a printed edition is built. In a workshop setting, that lesson is often clearer than a long explanation because the paper either lands correctly or it does not.
- Mark the paper before the first pull
- Keep the block in the same position
- Test alignment on scrap sheets first
- Watch the margins on every colour pass
What an edition means in a workshop room
An edition is a planned set of prints pulled from the same block or group of blocks. A good run looks consistent while each sheet still shows the hand. Small hand differences are part of the process, but the image should hold together across the set.
In a studio session in Woodstock, a group might carve a simple shape, roll ink, print a first proof and then make the corrections that sharpen the final edition. Families often enjoy this part because each person sees the same image arrive in a slightly different way, depending on pressure, paper and the amount of ink carried on the roller.
That is also where a local example becomes useful. A school group from Bellville may start with soft-cut blocks and bold shapes, while a team booking from Johannesburg might prefer a cleaner two-colour image that can be finished within one session. The method stays the same, but the pace and image choice change with the group.