Clean off the ink before it dries
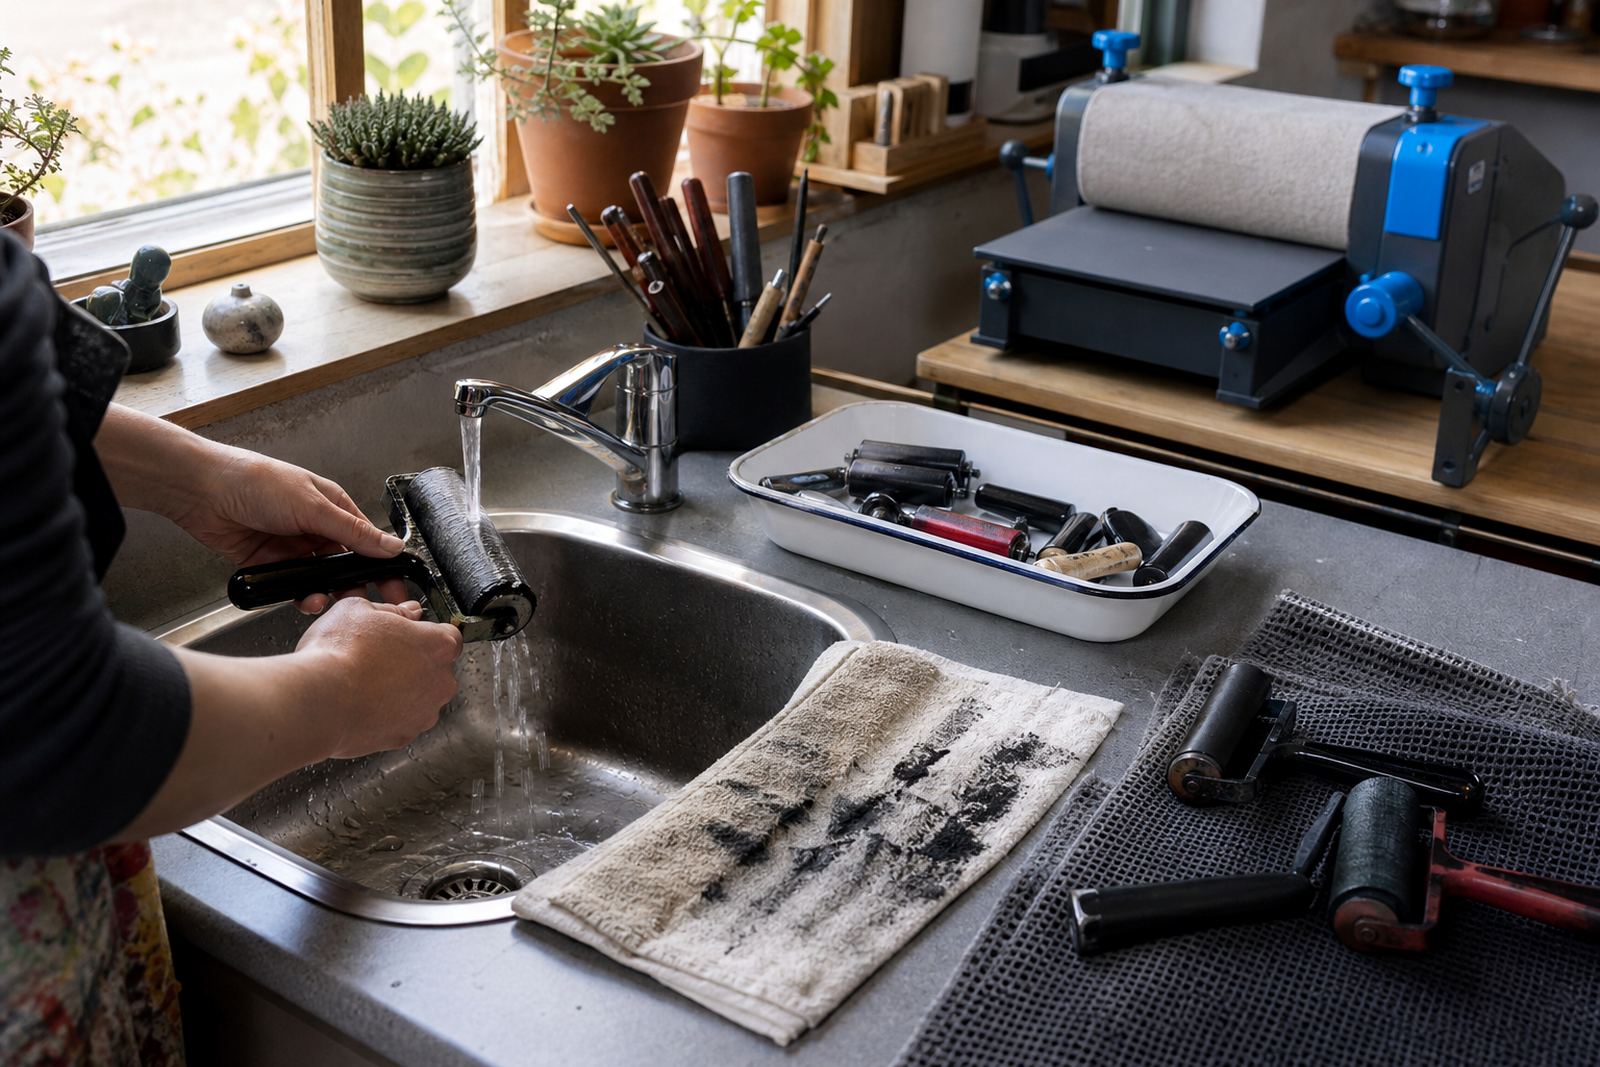
Fresh ink is always easier to lift than dried ink, so cleaning begins as soon as the session ends. Roll out the last film of ink on scrap newsprint or packaging paper first, then wipe the roller with a soft rag before any washing starts. That small step keeps pigments from setting into the rubber or soft cover and it reduces the scraping that can leave a brayer patchy.
In a Woodstock studio after a school workshop, this matters because several people may have used the same table, press bed and inking station. A brayer left with dried water-based ink on the edges can pick up dust by the next class and the roller then drags grit across paper or block surface.
Clean the brayer using the right method for the ink type
Water-based inks are usually the quickest to clear. A damp cloth, mild soap and clean water are enough for most studio clean-ups, though the handle and the roller edge still need a proper wipe. Oil-based block inks need more patience, because the binder clings to the roller and the grooves around the ends can hold residue.
- For water-based ink, wipe first, wash second and dry fully.
- For oil-based ink, use a suitable cleaner sparingly, then follow with soap and water where the roller material allows it.
- Do not soak the brayer overnight unless the maker of the tool has said that is safe.
- Keep solvents away from paper towels that will be stored near printed editions.
A clean roller feels even under the hand and leaves no streaks in the next pull.
Watch the ends, the handle and the seam line
Most people wipe the middle of the roller and forget the edges. Those ends collect dried ink, paper dust and sometimes bits of tape from registration markers or working notes. If the ends stay dirty, the roller can wobble slightly and the print starts showing uneven pressure at the margins.
Check the seam line if the brayer has one. A shallow joint can trap pigment and dust, especially in a studio where soft-cut blocks, masking tape and paper trimmings are moving around the table. A small brush or folded cloth helps clean the line without digging at the roller surface.
- Lift stuck ink from the ends with a damp cloth wrapped around a fingertip.
- Wipe the handle where hands have transferred oil and pigment.
- Let the rubber dry right through, then hang the brayer so the roller touches nothing.
Storing it dry is more important than many people realise
A clean brayer can still fail early if it is stored badly. Sunlight, heat and pressure against other tools can deform the roller surface over time. In Cape Town coastal air, even a workshop cupboard can hold a bit of moisture, so the tool should be kept in a place where it can dry fully and not pick up sticky dust.
Brayers left with weight pressing on the roller may develop a flat mark. That mark shows up when you roll ink onto a block, because the contact becomes uneven and the printed area can show a lighter band. A simple shelf, a hook or a flat tray with enough space between tools helps avoid that problem.
- Store the roller where sun does not hit it directly, and keep it clear of hot windows.
- Leave enough space so the brayer is not squeezed by cutters or gouges.
- Store it only after the surface feels fully dry.
Clean tools protect the next edition
In linocut, the edition depends on repeatable pressure and even inking. A brayer with dried residue can create specks, lines or dry patches that were not part of the block carving at all. Whoever cleans the brayer is also protecting the consistency of the print run.
When students print a first edition, they often notice that the cleanest roller gives the truest colour laydown. A smooth brayer also helps when printing with a baren or a press, because the ink film transfers more evenly to the paper. In family or team sessions, this is usually the point where people see that good cleaning is part of printmaking.
A small studio routine for busy print days
At the end of a session, use the same sequence every time so no one leaves a roller half-cleaned on the table. Rags should go straight into a washing tub or bin, depending on the ink used, and the brayer should be checked before the next group arrives. That routine is especially useful at pop-up classes in schools or venues, where equipment has to move between tables and packing crates.
- Scrape excess ink off onto scrap paper.
- Wipe the roller, ends and handle.
- Wash water-based ink off with water and oil-based ink with a vegetable oil rag.
- Dry fully before packing away.
- Check the roller surface for nicks, dents or shiny stuck patches.
A brayer in good condition rolls with less effort, which helps when students are learning pressure control on lino or soft-cut blocks. It also keeps the studio moving without those awkward pauses where everyone waits for one sticky tool to behave.