Where the V-tool earns its place in the cut
A V-tool removes a thin wedge of material, so the mark carries a sharp centre and two clean shoulders. That shape works well when a print needs edges that feel drawn rather than carved out in broad strokes. In a workshop, people often notice that one pass with a V-tool can say more than three wider cuts with a gouge.
For linocut, the tool is useful on lino and softer carving blocks where detail matters. It can suggest strands of hair, reed lines, cracks in pavement, leaf veins, stitching and lettering that must hold together after printing. The trick is to use it with intent, for the lines it cuts best.
Planning line direction before the blade touches the block
Line direction affects how the eye moves across the print. A curved V-cut around a face gives softness, while a straight set of cuts can build structure into a roofline, fence or shadow edge. In a carving plan, the line should support the image instead of decorating it after the fact.
At a studio table in Woodstock, we often lay a sketch over the block and mark only the cuts that earn their place. That slows the job in a good way. It also stops the common mistake of overcutting the surface and leaving no clean relationship between printed area and white paper.
- Use the V-tool for detail that must read from a distance.
- Keep wider gouges for open spaces and main shapes.
- Let the block show one clear direction of light.
- Leave breathing room around fine marks so they do not clog with ink.
Safe carving habits that keep the mark under control
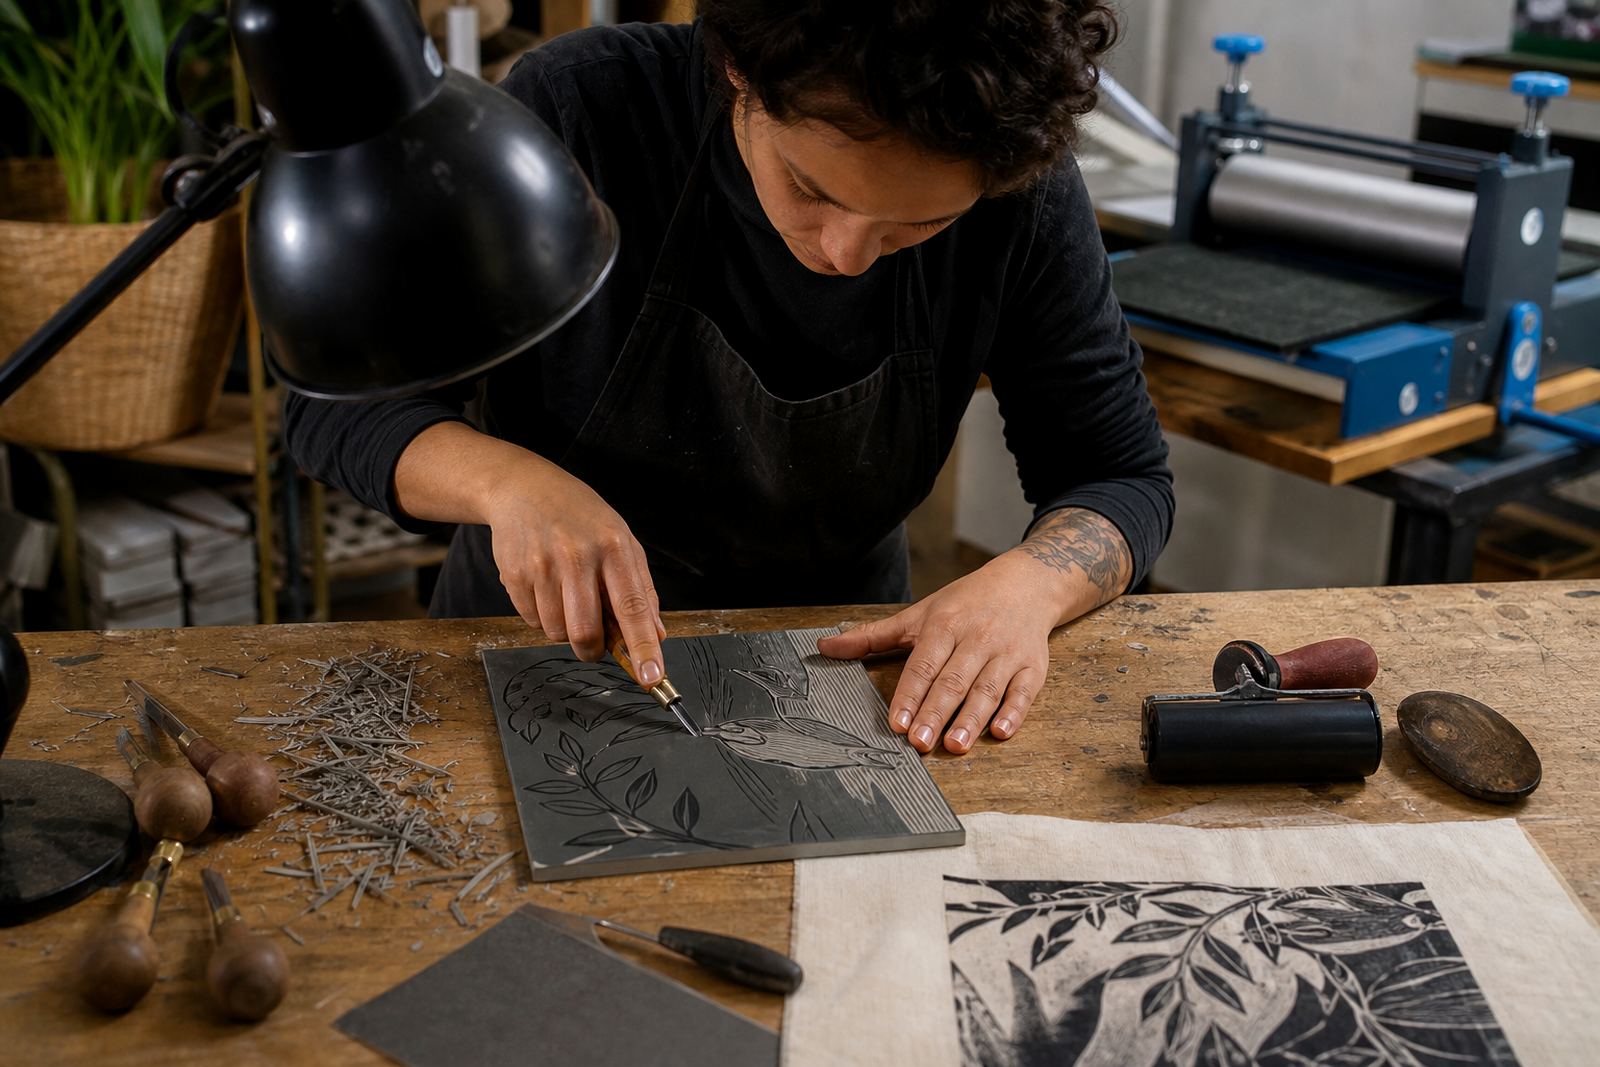
Safe carving means bracing the block, cutting away from the body and keeping the free hand clear of the blade path. A bench hook or a non-slip mat helps the block stay where it should, which matters when the V-tool bites quickly into soft-cut material.
Fresh gouges make cleaner lines with less pressure, and a dull point tends to skid or tear the edge of the cut. In adult workshops and school sessions, we show how shallow passes build a better line than one forceful thrust. That approach gives more control on a small detail area and reduces the chance of chattering along the surface.
Ink, pressure and the way fine lines hold up in print
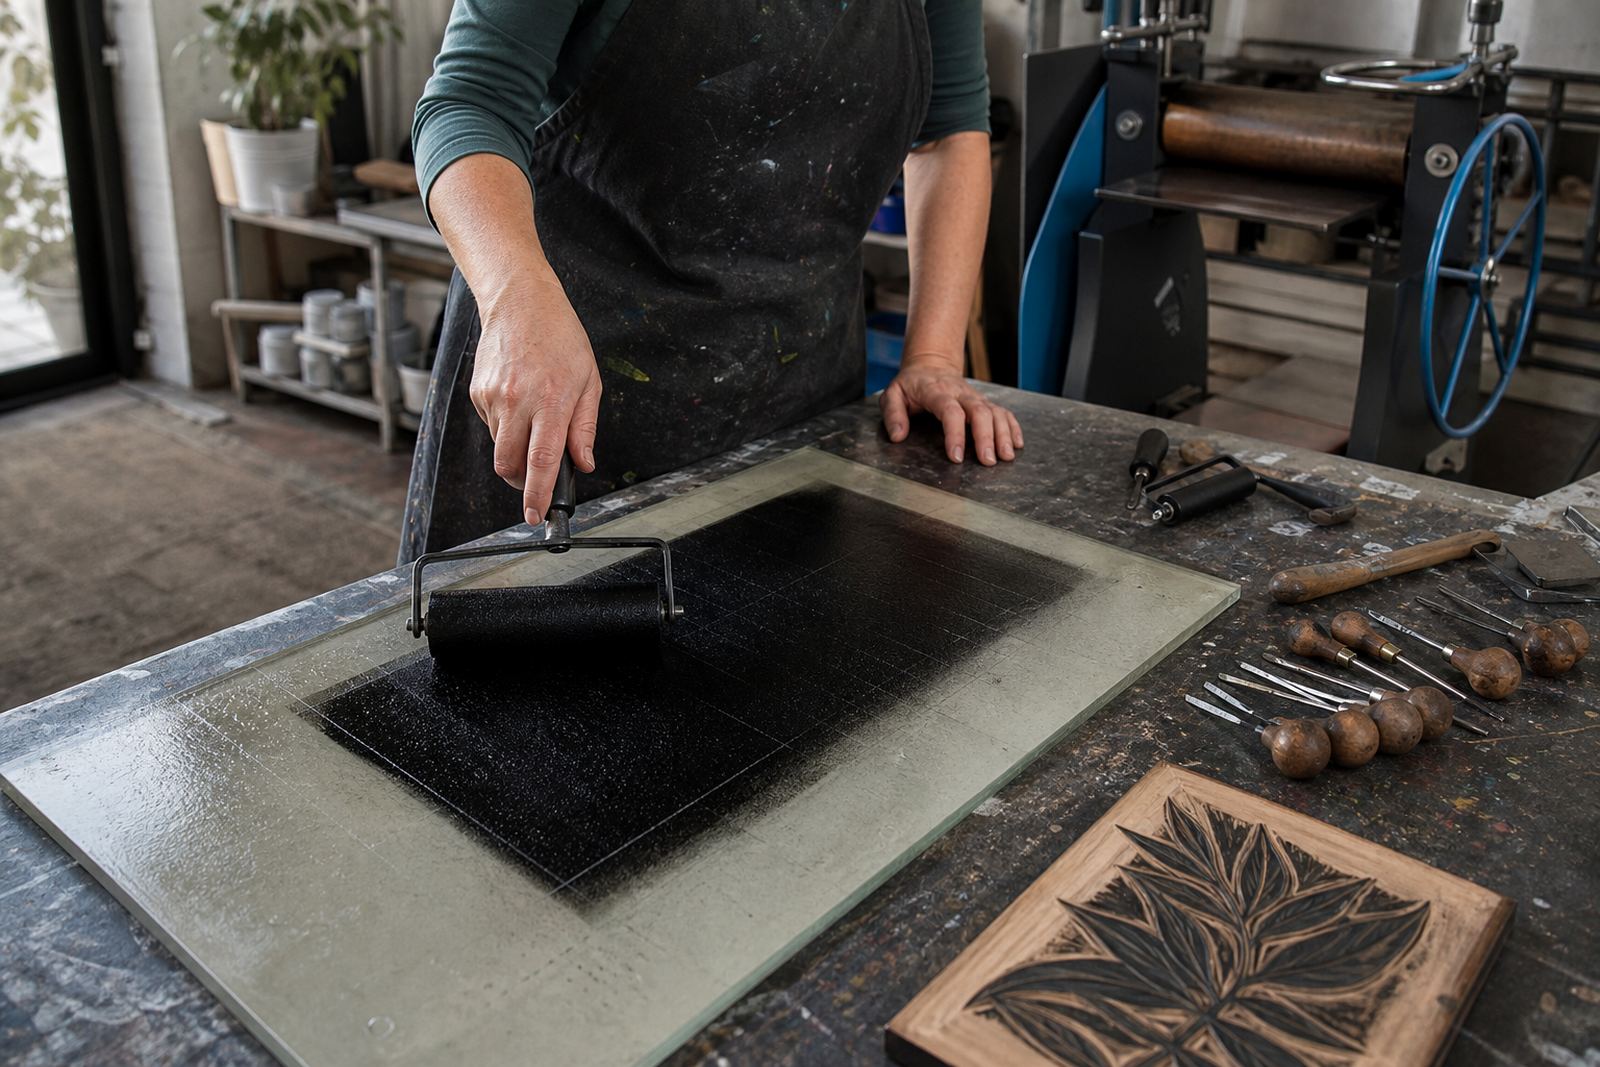
Fine V-tool marks behave differently under water-based and oil-based block inks. A thick roll can fill the groove and soften the line, while a slimmer roll preserves the edge and keeps the mark visible. The pressure used in baren printing or press printing also changes how much detail transfers to paper.
On damp paper, a carved line may print a little fuller than expected, especially if the block has shallow cuts nearby. On dry paper, the line can stay crisp but need stronger pressure for a complete pull. Registration matters too, because the smallest shift can blur a line that was carefully carved for a second colour or an overprint.
- Roll ink evenly, then back off if the lines begin to fill.
- Test one proof before committing to the edition.
- Check the paper weight against the amount of detail.
- Keep registration marks simple and easy to read.
A Woodstock example: one block, many textures
A common workshop exercise starts with a local street scene. The block might hold zinc fence lines, hanging cables, a row of windows and a tree trunk with rough bark. A V-tool can separate each surface so the print reads as different textures instead of one busy mass. In Cape Town light, where shadows change quickly, those carved marks help the image carry shape.
When the same block is printed at a pop-up session in Stellenbosch or Durban, the method stays the same even if the paper and humidity shift the result. Some papers drink ink quickly and some hold the edge longer. That is why students learn to proof, adjust the pressure and decide where the line needs to stay sharp and where a softer mark is better.
Building an edition without flattening the detail
Edition printing asks for consistency, but a V-tool line can still look lively from print to print if the block is cleaned well and the inking stays even. Small differences in hand pressure, paper placement and ink load are part of hand printing. What matters is keeping the carved structure clear enough that each impression belongs to the same set.
For families, students and team groups, that lesson lands quickly. The line carries the rhythm of the image. Once people see how one tool can shape movement, texture and direction in a single pass, they start carving with more confidence and less hesitation.