Fresh off the press, not ready to stack
A print that has just left the baren or press still carries wet ink on the surface and often a little pressure moisture in the paper too. Even when the image looks clean, the layer can shift if another sheet touches it before the ink has settled.
For linocut and soft-cut block work, the first job is to move each print to a clear drying area without rubbing the image face against anything. Use both hands, support the sheet from below and keep the printed surface open to the air. If the paper is heavy or lightly damp from the session, let it rest flat before any stacking or trimming.
Flat drying beats clever shortcuts
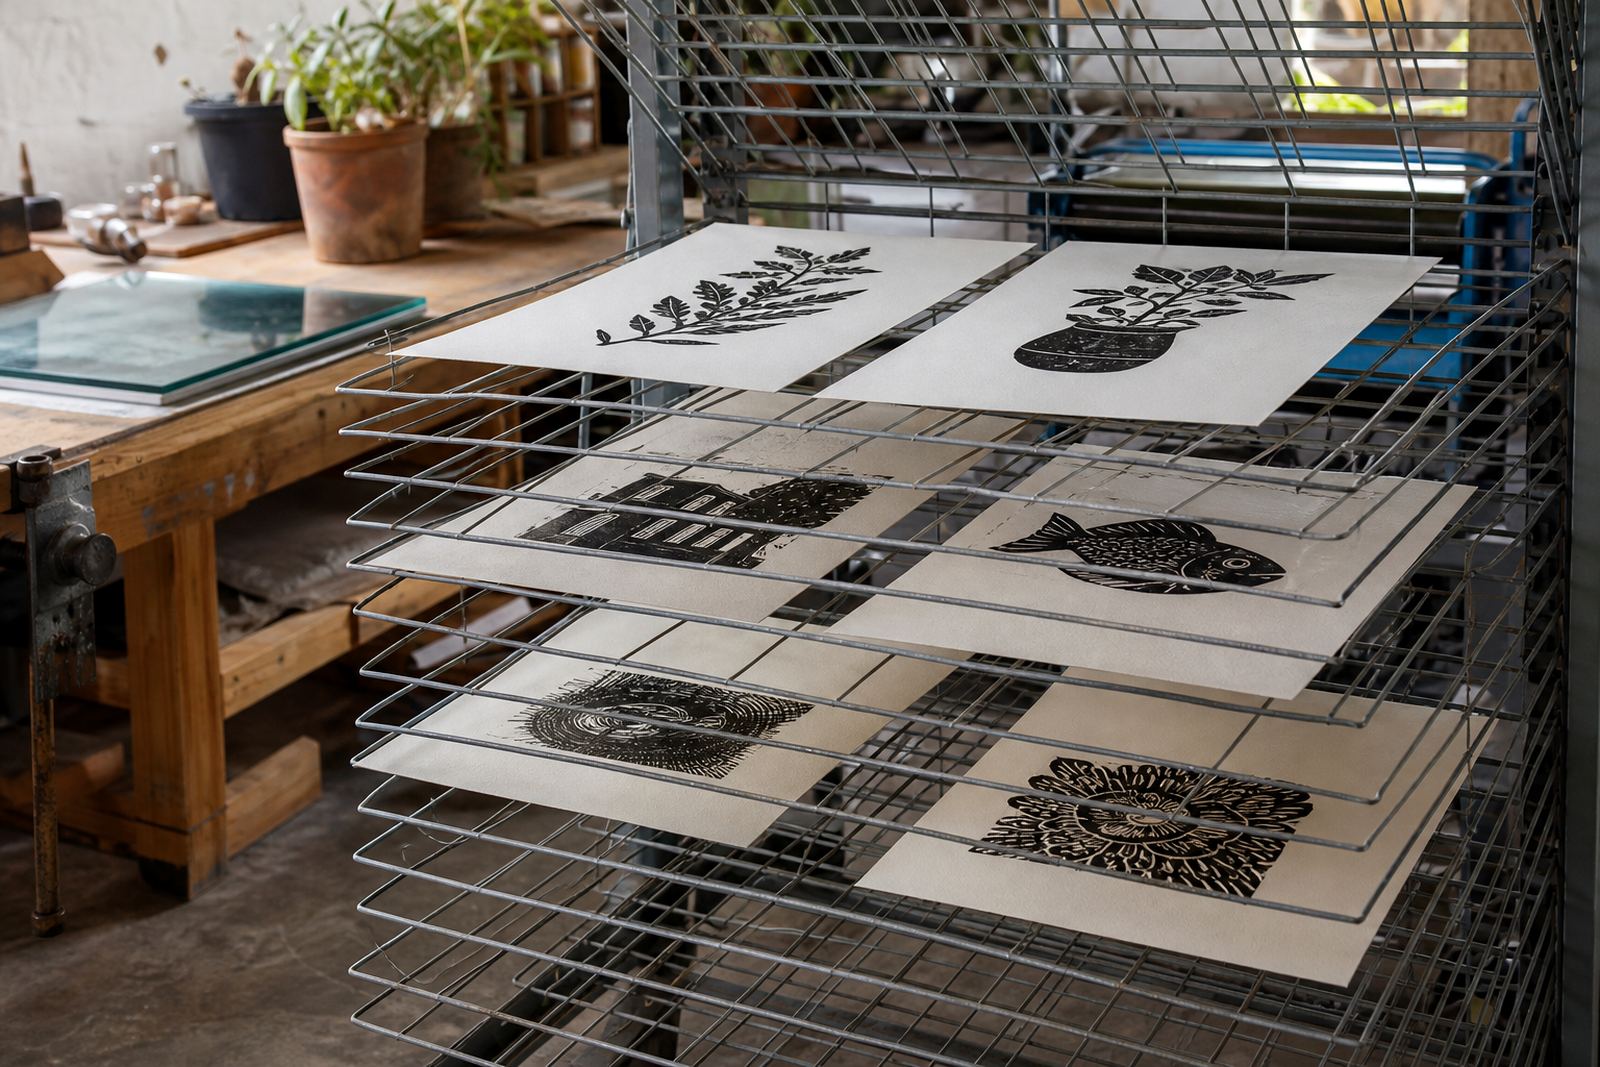
Most block prints dry best on a clean flat surface where air can pass around the sheet. A table covered with kraft paper, unprinted newsprint or clean blotting paper works well in a studio, as long as it stays dust free and away from splashes.
Hang drying can work for smaller sheets, but only when the print is dry enough to hold its shape and the clips sit outside the image area. Families making prints at a Woodstock workshop usually do better with flat trays or boards, especially when younger hands are moving between carving, inking and the drying table.
- Leave a small gap between prints so the edges do not touch.
- Keep the printed side facing up until the surface loses its tack.
- Place a clean sheet over the stack only after the ink has settled.
How to stop offset marks from a wet edition
Offset marks happen when a printed surface touches another sheet, a sleeve or even the underside of a board too early. Water-based block inks can stay open for a while, while some oil-based block inks hold a tacky feel longer and need more patience before handling.
Registration also matters once you start edition printing. If the paper shifts while it dries, a second pass or another colour layer may no longer line up. Keep each edition in order, separate the test pulls from the final set, and never slide a drying sheet sideways across another one.
- Use interleaving paper only when the print has lost most of its tack.
- Do not stack warm prints from a press run too soon.
- Mark the back of each sheet lightly so the edition stays in sequence.
Paper, humidity and the Cape coast
In Cape Town and surrounding coastal areas, paper can react to humidity faster than people expect. A soft paper may curl at the corners, while a heavier cotton sheet can hold a little moisture and stay vulnerable for longer. That is normal, but it means the drying setup has to suit the day.
For a studio session in Woodstock, we would keep the prints away from open windows if sea air is moving through the room, but still allow enough ventilation for the ink film to settle. In a dry inland venue in Johannesburg or Pretoria, the air may speed things up yet dust can settle on a fresh print, so a clean cover nearby helps.
Small tools that help the drying stage
A simple rig is enough to dry hand-printed work properly. A few ordinary items make the process easier and keep the edition tidy while the prints settle.
- Drying boards or flat trays for individual sheets
- Clean blotting paper or newsprint for gentle support
- Weights placed off the image area if a slight curl needs flattening
- Labels for edition numbers, title and paper type on the reverse
If a print was made with a baren and hand pressure, the paper may show a slight emboss around the image. That surface should be left alone until the sheet is fully dry, because rubbing can flatten the detail and leave a glossy patch where the ink has not settled evenly.
A simple routine for workshops and schools
In a mixed group setting, drying works best when it is built into the lesson. One table can hold the clean sheets, another can carry the prints that have already been pressed, and a third can stay open for cutting and inking. That split keeps elbows, sleeves and art materials from crossing paths.
A school pop-up in Stellenbosch or Durban often uses quick drying steps between demonstration pulls. Students can place each print face up, label the back and move on to carving the next block while the earlier sheets rest. For family sessions, a teacher or studio coordinator can show how to handle a print from the edge only, which helps even when excited hands want to check the image too soon.
When to flatten, trim and pack
Once the print is properly dry, it can be flattened if needed under clean paper and light weight. Do not rush trimming or sleeve packing, especially on a fresh edition where the surface still feels soft in one corner and dry in another. If the paper has cockled from damp ink or a heavy press impression, give it time before final presentation.
For edition print sessions, we usually keep test sheets separate until the whole set is dry and assessed. That makes it easier to check registration, edge quality and any slight colour shifts. A careful drying stage protects the work you have already pulled by hand, and it keeps the finished set looking like one edition rather than a pile of separate moments.