How an over-inked block usually shows itself
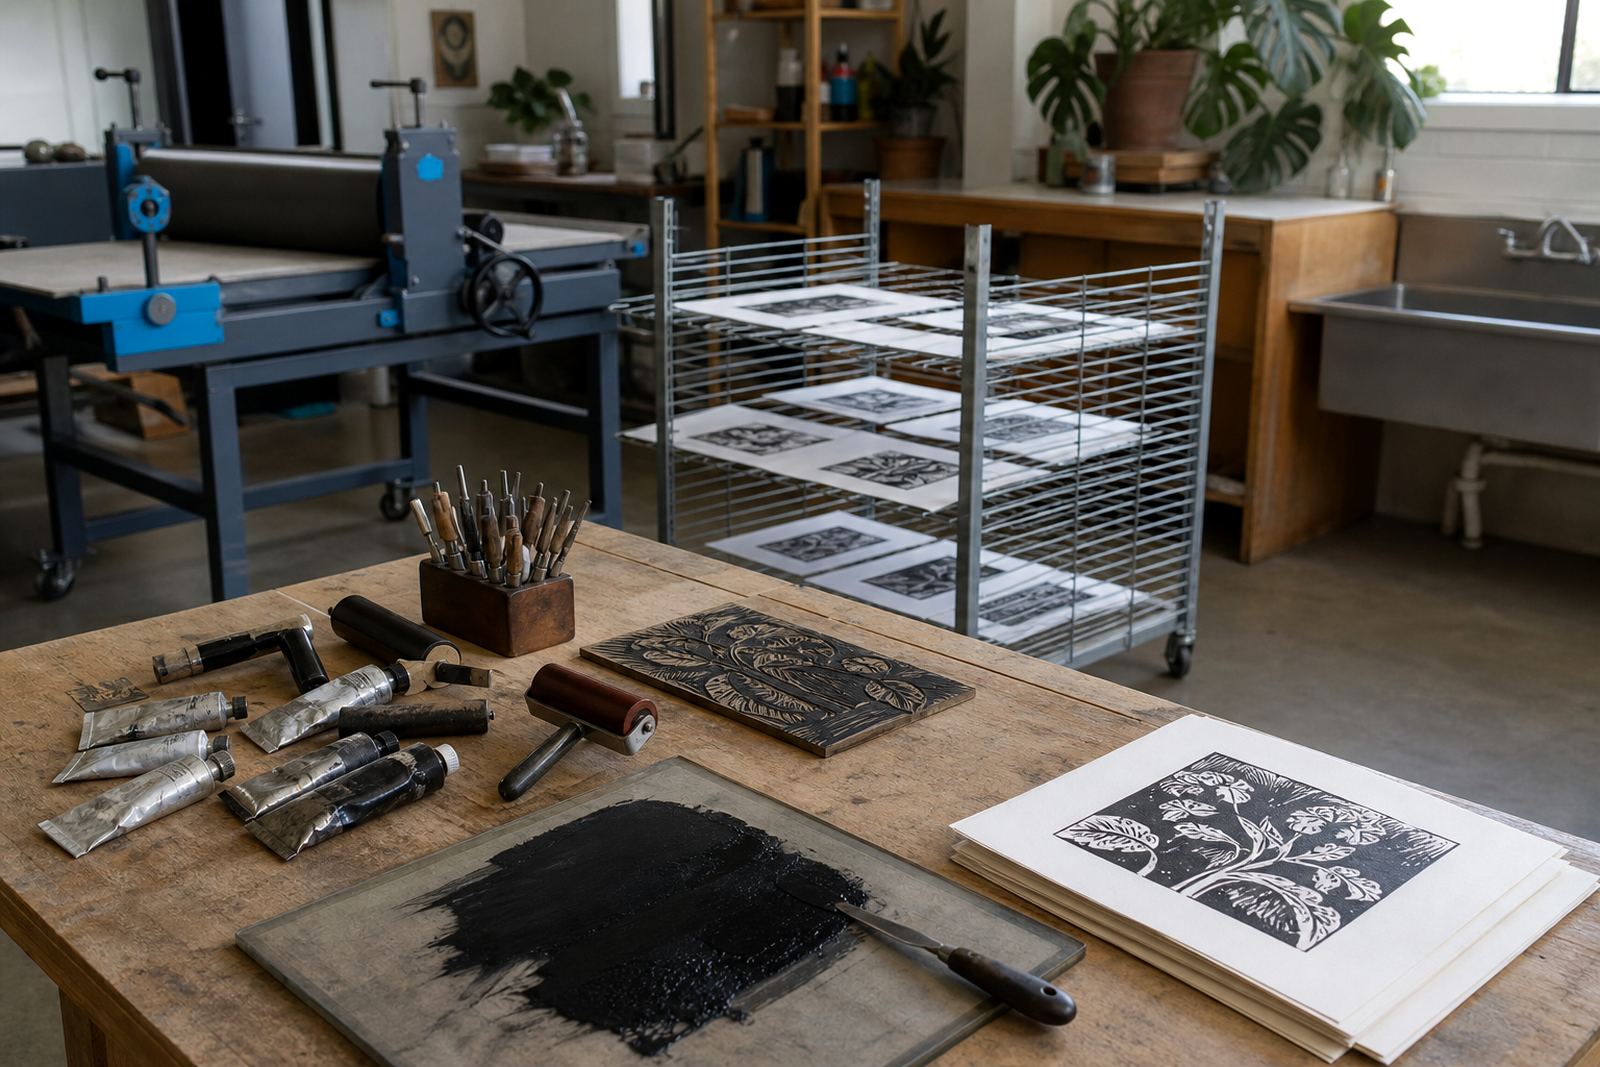
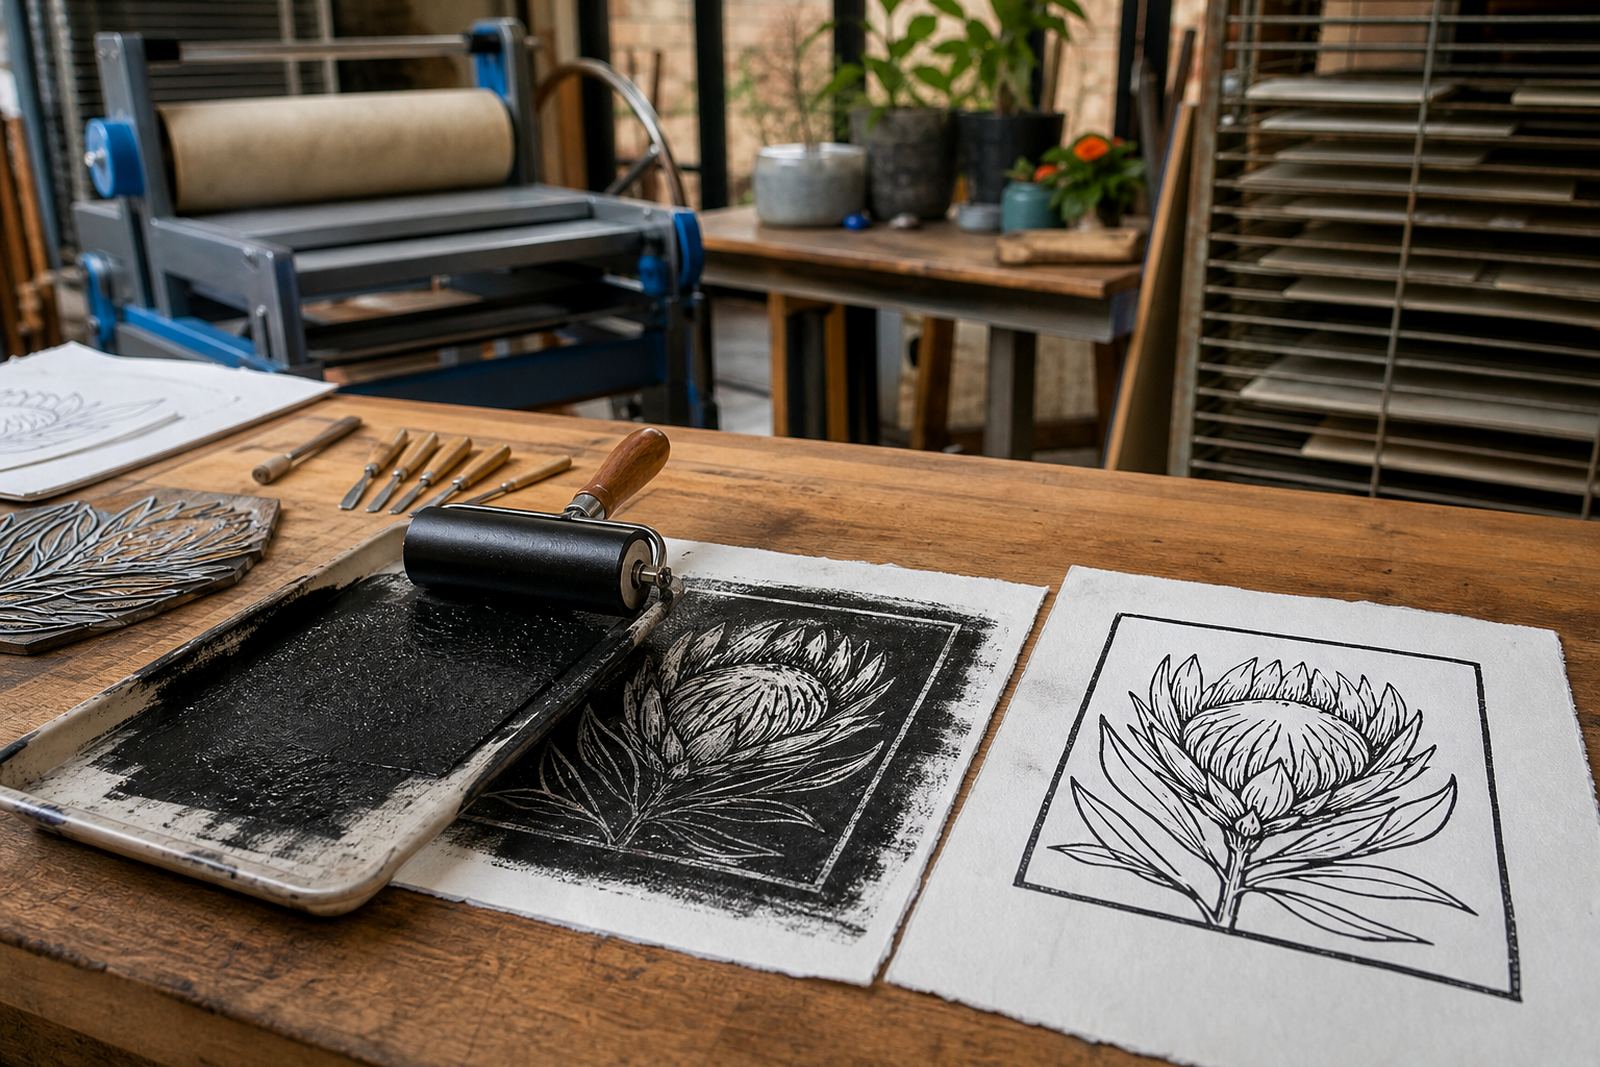
Filled-in lines and a shiny, bumpy black usually show up once the sheet dries. A blocked-up edge, soft corners on a letterform, or a grey haze where white paper should show are all clues that the surface is carrying too much ink. In a workshop in Woodstock or a school hall in Pretoria, the same problem turns up for beginners and more experienced printers alike, especially when the ink has been rolled on with too many passes.
On lino and soft-cut blocks, the carved recesses should stay open and the raised areas should carry the print. When the face looks shiny, tacky or almost wet before printing, it is usually overloaded. The image can also lose contrast because the ink spreads beyond the carved line and fills the detail.
Check the block before you print the whole edition
A quick look under good light saves paper. Tilt the block and watch where the sheen sits. If the surface reflects heavily from edge to edge, there is likely more ink than the block can hold. A clean test pull on scrap paper will show whether the detail is crisp or smudged at the corners.
- Wipe the block edges if ink has spread past the image area.
- Lift a little ink from the roller with newsprint or scrap card.
- Inspect carved lines for fill before the next pull.
- Use a fresh test sheet when changing pressure or paper.
At a family session in Cape Town, a child may press harder with a baren and a parent may add more ink to make the image darker. The result can be a crowded print. Slowing the process and checking the block between pulls gives you a clearer read on what is happening.
Getting the roller to carry the right amount
The brayer should feel evenly loaded. When the ink is spread evenly on the roller, it makes a soft hiss across the plate or glass and leaves a fine, even layer on the block. If the roller leaves ridges, blobs or shiny streaks, there is too much ink on it.
Water-based and oil-based block inks behave differently, but both need a measured touch. Water-based ink can dry fast on a warm day in Johannesburg, while oil-based ink may stay open longer and tempt a printer to keep rolling until the block floods. Use a lighter roll and fewer passes, and leave the extra force out.
- Roll out the ink until the surface looks velvety, not glossy.
- Reload the brayer with small amounts rather than one heavy scoop.
- Keep the roller moving in different directions for an even film.
- Test on scrap before returning to the edition paper.
Pressure can make a flooded print worse
Ink that is already heavy on the block will spread further when pressure is too high. A press bed set too tight can push the image into the paper grain and blur the carved detail. With hand burnishing, the same thing can happen if the baren is worked too hard over one area and left too long on another.
Pressure should support the image. Press printing asks for a balanced stack of paper and blankets, while hand printing depends on steady circles and even coverage. If one corner prints darker than the rest, adjust the pressure there first.
In a studio class in Stellenbosch, a print can look strong at first and then turn muddy after the second pull because the press settings were left unchanged. The fix is usually a smaller correction than people expect. A little less pressure, a cleaner roller and a fresh pull on the right paper often sorts it out.
Clearing the surface without damaging the cut
When a block is overloaded, wiping it back is safer than trying to print through the mess. Use a clean rag, a gentle scraper if needed, and a careful hand around the carved channels. The aim is to remove the extra film while leaving the intended image intact.
Gouges and V-tools leave different marks in the block, and those marks need space to stay readable. If ink has pushed into those cuts, clean them before the next edition. A soft brush can help lift pigment from fine lines, especially on detailed work with lettering or small patterns.
- Clean the raised surface first, then inspect the carved recesses.
- Do not flood the block with fresh ink to cover a mistake.
- Use scrap paper to lift surplus ink from flat areas.
- Check corners and borders where build-up often starts.
A Woodstock workshop example that travels well
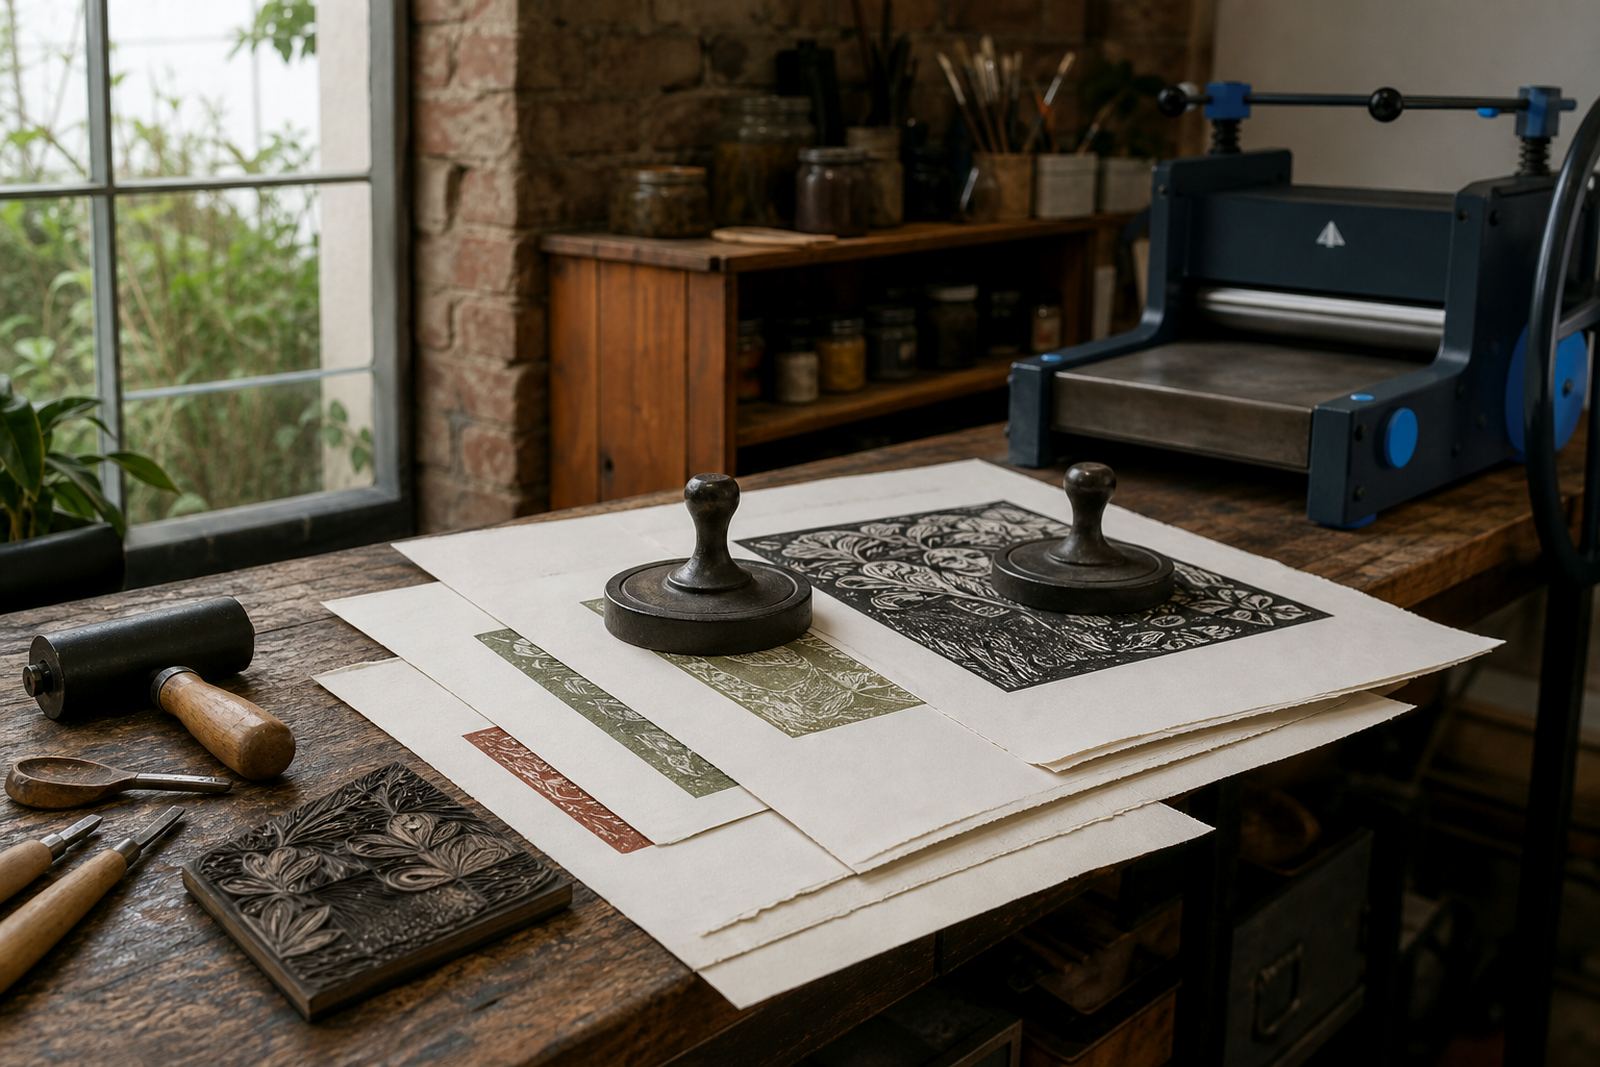
In a small Woodstock session, a learner making a two-colour linocut found that the first layer printed cleanly but the second layer buried the line work. The cause sat in the inking. The second colour had been rolled on too thick and the paper was pressed harder than the first pass. Once the ink was thinned and the pressure eased, the outline returned and the layer sat more neatly on top.
That same lesson carries into school pop-up workshops in Durban or venue sessions in Bellville. A busy room, warm air and eager hands can all push the ink a touch too far. Keeping one test sheet aside and checking it before every edition run helps prevent a whole stack from going off.
For team groups, the best habit is to assign one person to the roller, one to the paper and one to watch the first proof. It keeps the process calm and makes over-inking easier to catch before the run moves on.
Holding the edition together after a correction
Once the ink level is back under control, keep the next prints consistent. Register the paper with the same corner marks each time, watch the pressure pattern and compare every proof against the approved sheet. A clean edition depends on repetition that is steady rather than rushed.
When a block has been over-inked, the next few pulls can drift if the printer starts adjusting too many things at once. Change one part of the process, print a test, then decide on the next step. That approach protects the paper, the block and the rest of the edition.
In linocut and block printing, control often feels quieter than people expect. The image sharpens when the roller is lighter, the block is cleaner and the pressure suits the paper. That is what brings the impression under control.