Start with one strong shape, not a busy scene
A family session runs smoother when the first image can be read from across the table. A fish, leaf, shell, bird, house or simple Cape flower gives everyone a clear place to start, and it suits both lino and soft-cut blocks. Children and adults can work with the same subject while choosing different levels of detail, which keeps the room together without forcing one drawing style on everybody.
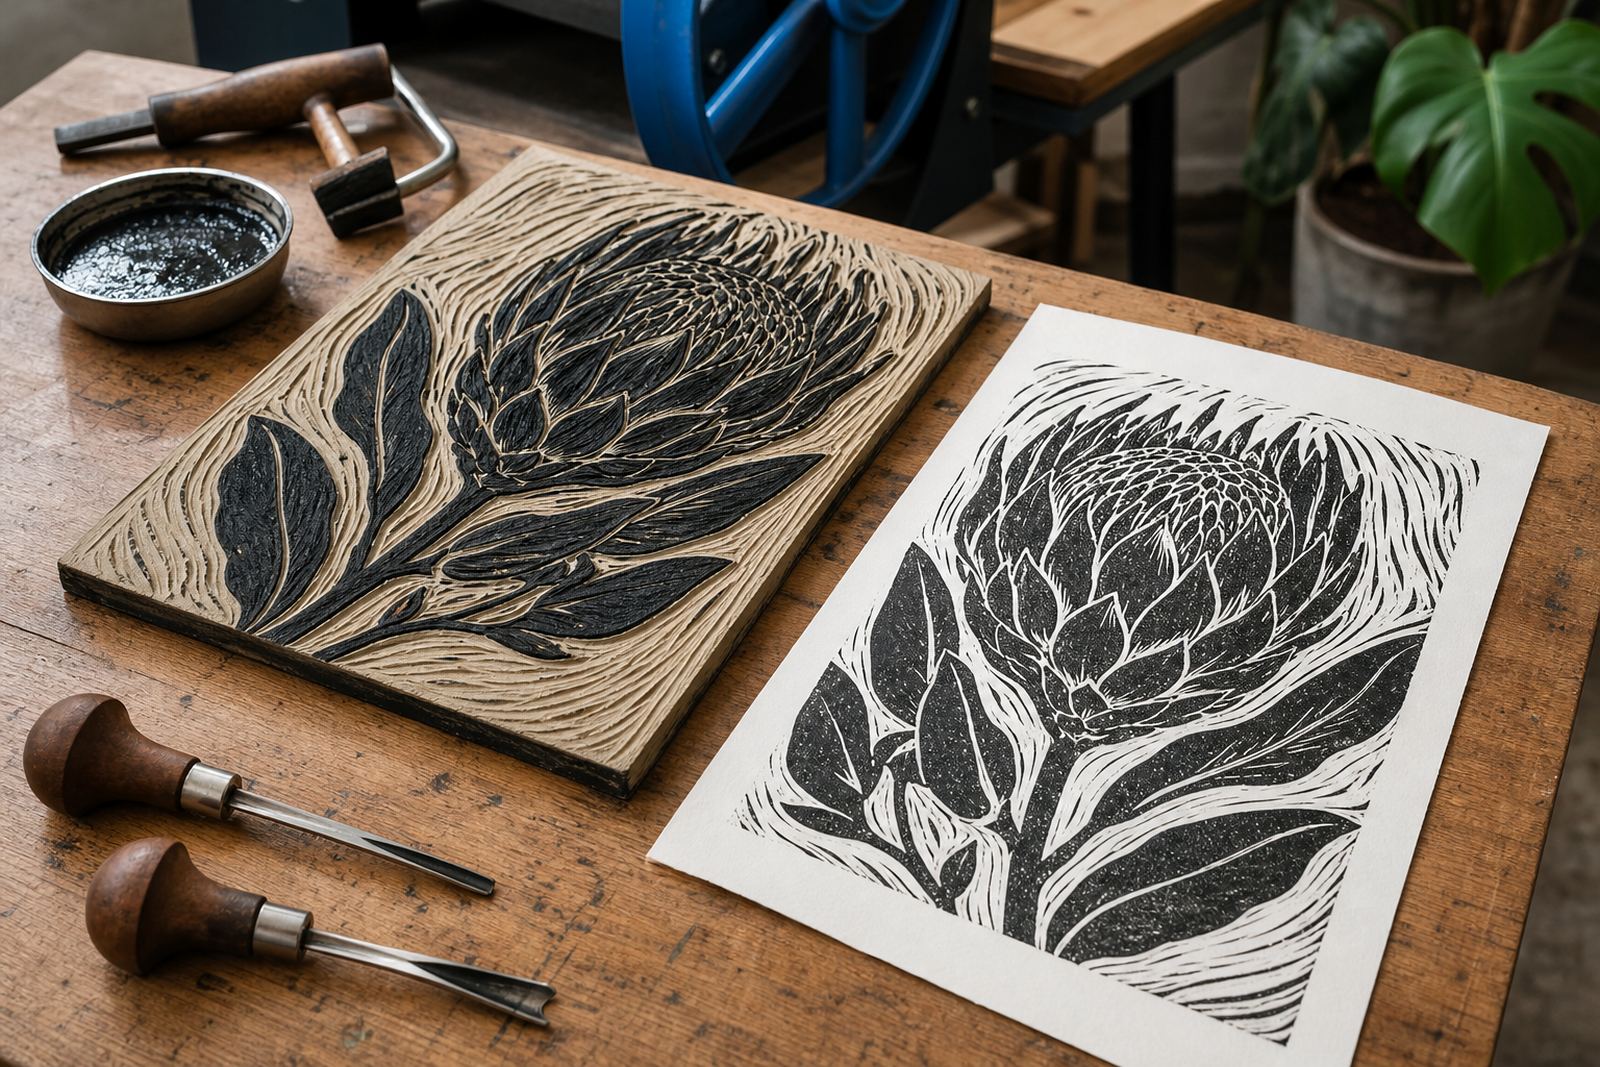
Bold shapes print well by hand because the carved areas stay open and the relief lines hold the ink. In a family group, that matters. A strong outline, one or two pattern areas, and a clear background are usually enough for a finished print that feels complete.
- One animal or plant keeps the image readable.
- Large shapes are easier to carve safely with gouges and V-tools.
- Simple outlines make inking more even with a brayer.
- Fewer small cuts help younger hands work with confidence.
Themes that suit mixed ages without losing character
Family print ideas work best when the theme has room for variation. A table of coastal shells can become a set of different marks and textures. A Cape townhouse or street scene can be reduced to windows, roofs and door shapes. Even a food theme, like mielie cobs, citrus or bread, can print well if the main forms stay large and the details stay spare.
We often steer families toward subjects that let each person add one clear layer. One person can carve the outline, another can fill pattern, and someone else can decide on the final paper colour. That keeps the session practical, and it also helps the edition feel connected across the whole group.
- Coastal shells and fish suit textured backgrounds.
- Leaves and seed pods print well on cream or soft grey paper.
- Houses, windows and fences work for a more graphic look.
- Plants from local gardens give children a subject they recognise.
How to split the work at one table
Family sessions move better when the work is shared in stages. One person sketches, another transfers the shape, and the carving can be divided between adults and older children where the block allows it. A younger child may prefer making texture marks or choosing paper, while a parent handles the final roll of ink or the baren. That way nobody is waiting too long for their turn.
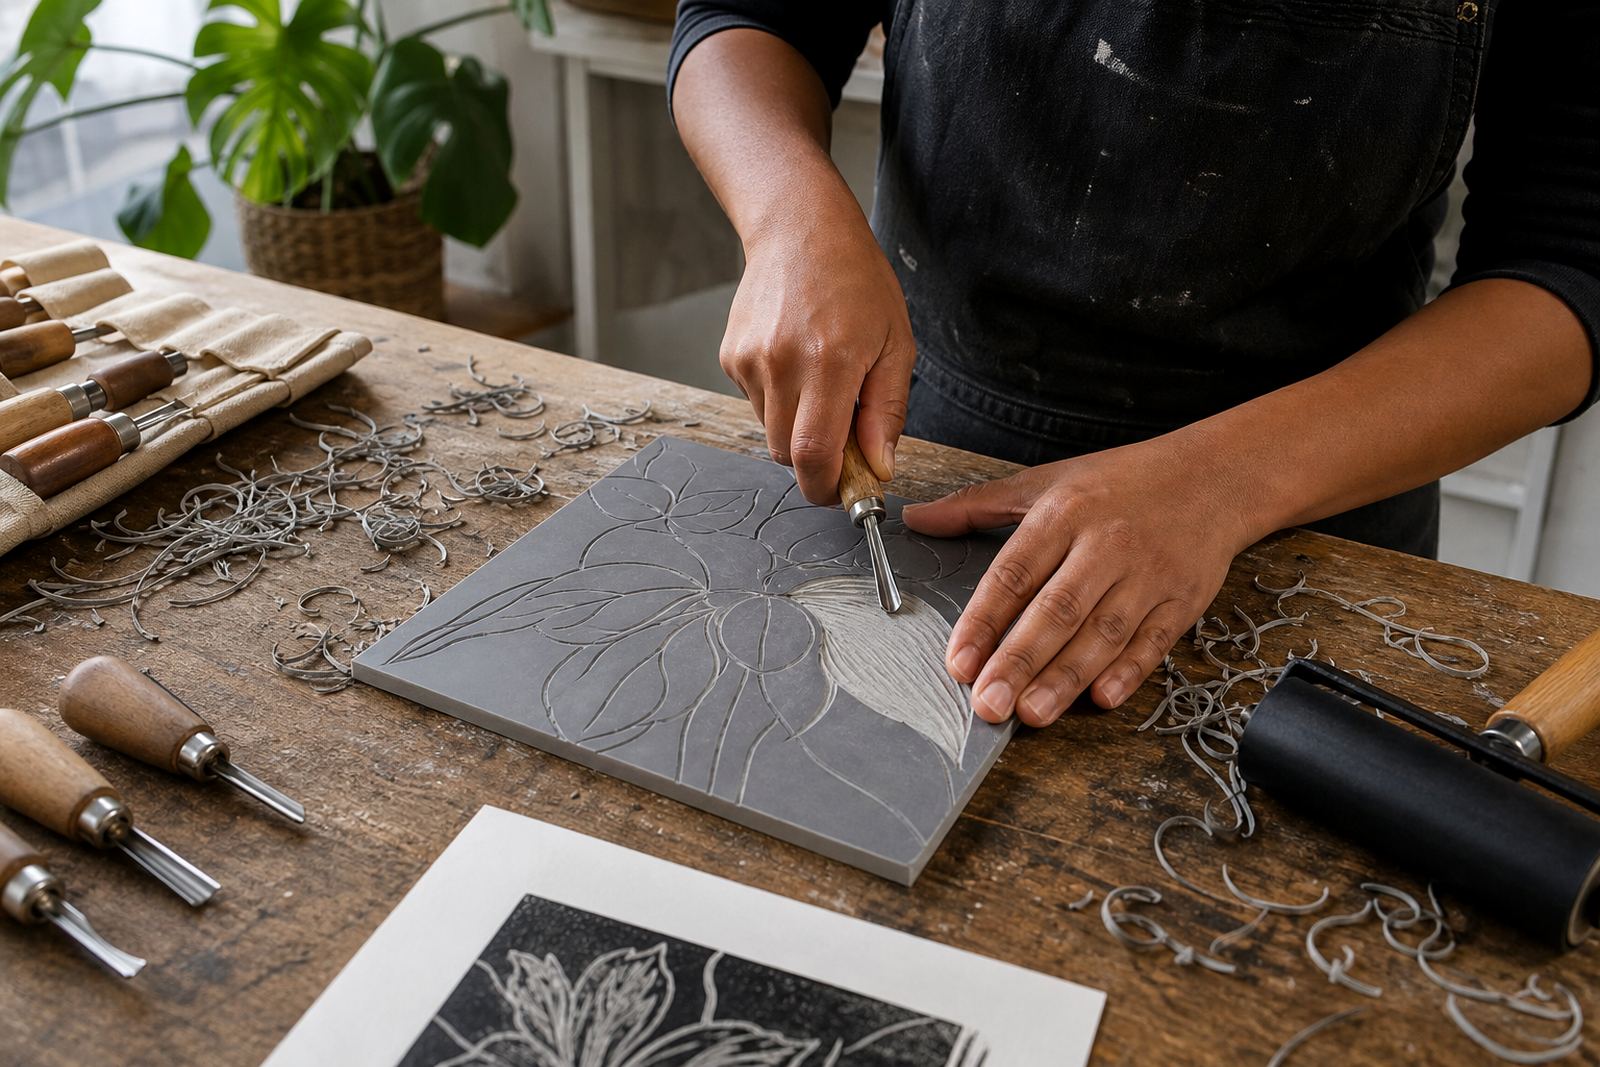
With lino or soft-cut blocks, the tools need care and attention. Gouges and V-tools should move away from the hand, with the block held flat and steady. Once the carving is done, the inking stage gives everyone a visible reward. Brayers load the ink, registration marks help keep the paper aligned, and the print reveals whether a line needs more bite or less pressure.
- Sketch before carving so the block stays clear.
- Use a towel or mat under the block for grip.
- Children enjoy a first block with one big shape and a few lines.
- Assign one person to paper handling and alignment.
Paper, colour and ink choices that keep things clean
Family prints often look best when the colour plan stays narrow. Two inks are usually enough. A dark line on pale paper gives strong contrast, while a second colour can lift a leaf, roof or pattern. Water-based block inks suit shorter sessions and easier clean-up, while oil-based block inks give a different feel and can hold a richer surface. Pick the ink for the paper you have, the time left to dry and the surface you want.
Paper weight matters too. Light paper can buckle under too much pressure, especially if the ink is heavy or the press is set too tight. A slightly heavier sheet gives a cleaner pull, and it also handles repeated printing better when the family wants an edition rather than one-off sheets. In a humid Cape Town studio, store and handle paper with care.
- Use one main colour and one accent if the group is mixed age.
- Test the pressure on a proof sheet before printing the full set.
- Keep tissues and wipes ready for quick clean-up between pulls.
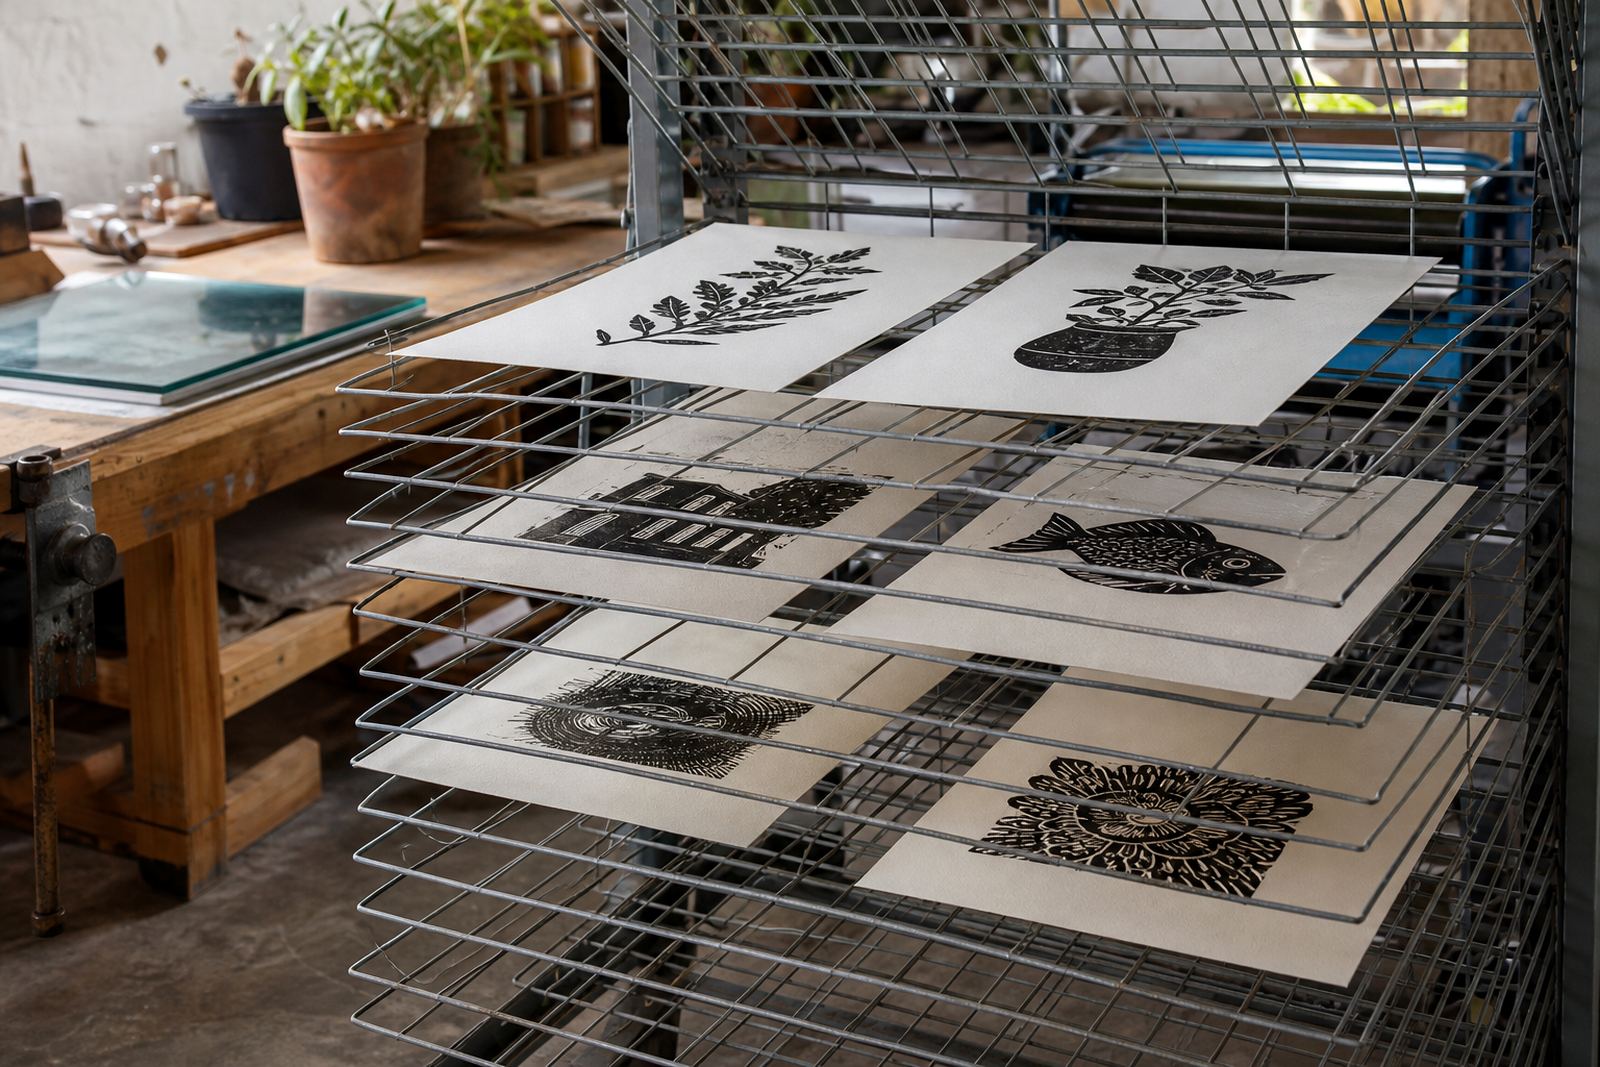
- Let the paper rest flat after printing so the ink settles evenly.
Edition ideas that feel finished
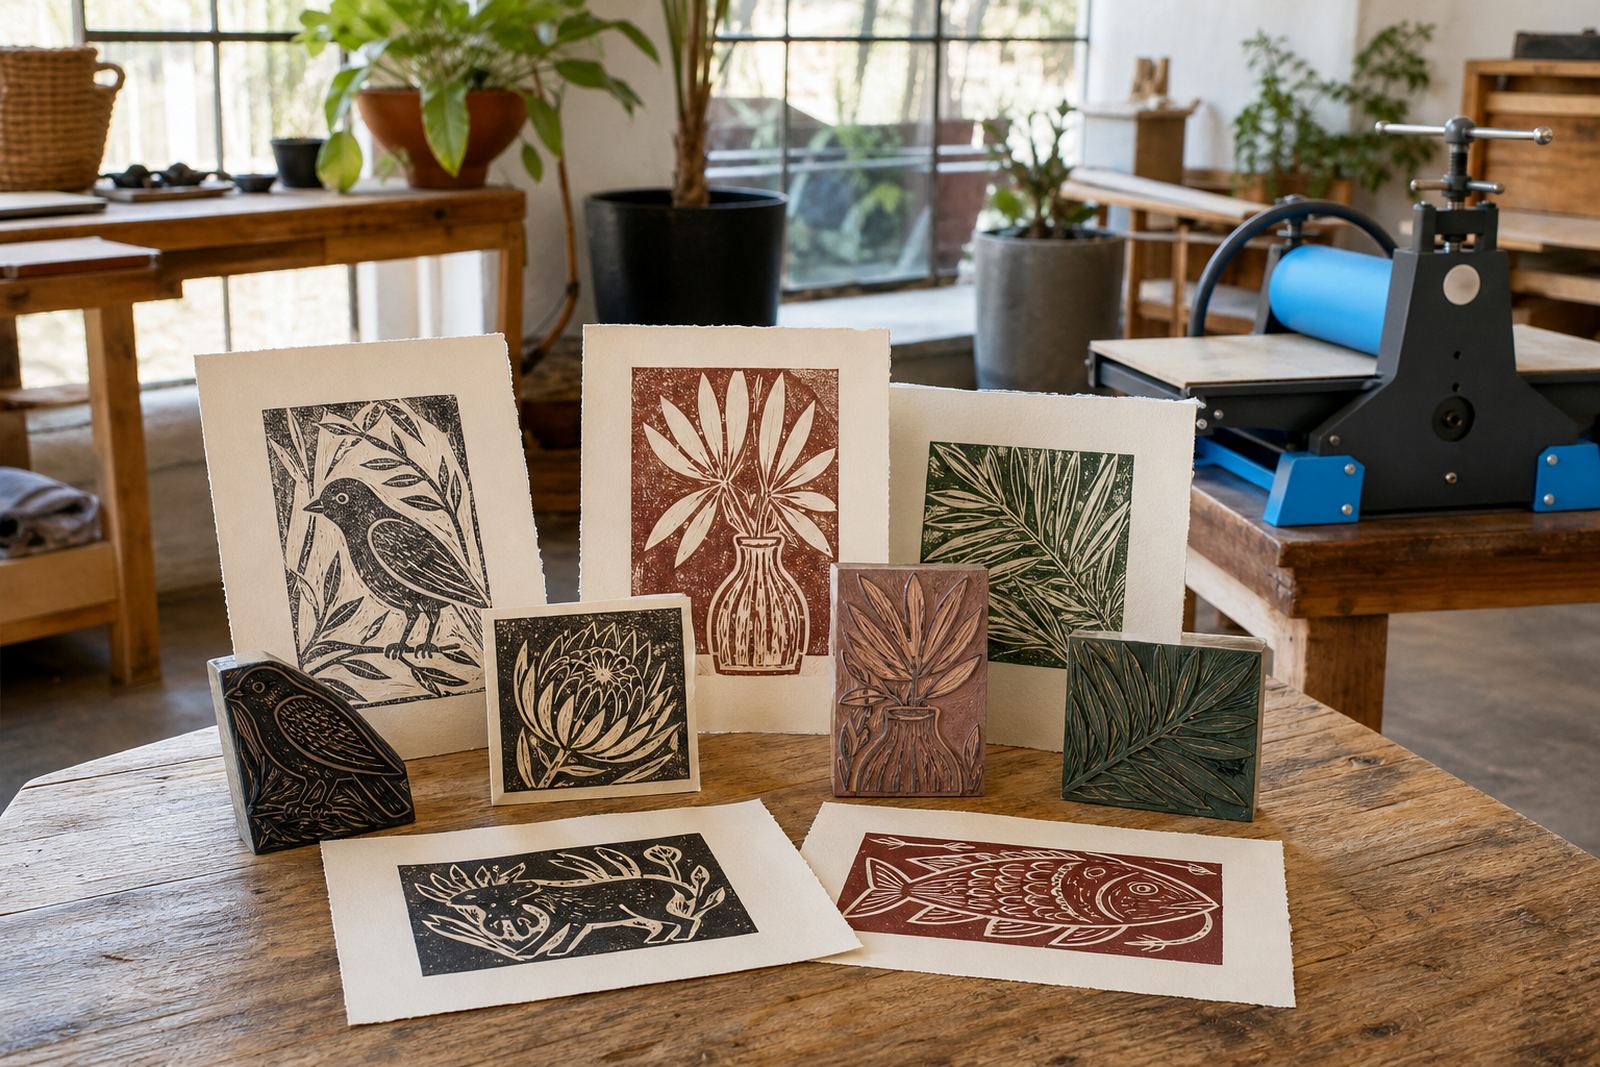
A small edition can feel special. Four, six or eight prints can be enough for a family set, provided the image is clear and the registration stays steady. A family might print one shared edition, then make small colour changes on individual sheets. That gives everyone a personal version without turning the workshop into a long production run.
Press printing and hand printing both have a place here. A press can give a firmer impression, while a baren or hand rubbing keeps the process direct and visible. For families, that mix is useful because it shows how pressure changes the result. One print may be crisp and sharp, another softer and more textured, and both can be worth keeping.
- Keep the edition number modest for a family pace.
- Sign and date each print only after it has dried enough.
- Make one proof to settle the layout before the full run.
- Choose a paper size that fits the block with a margin around it.
A Woodstock workshop example that keeps everyone involved
In our Woodstock studio, a family group might begin with a simple Cape bird, a protea leaf, or a lighthouse shape tied to the coast. The drawing stays bold, the carving stays manageable, and the printing stage lets each person take a turn. A parent can hold the paper steady, a child can roll the ink, and an older sibling can help with the baren. The finished sheets often look strongest when the group sticks to one idea and lets the marks carry the energy.
That same structure also travels well for pop-up sessions in Stellenbosch, Johannesburg, Pretoria or Durban. A family print works best when the tools are familiar, the subject is local, and the final edition can dry without fuss. Whether the session is in a studio, at a school or at a venue, the best prints usually come from clear shapes and a calm table.