

Choose the format that fits the making
Some people want a first carve with close guidance, others need a larger group session, and schools often need a setup that travels well. The workshop range covers private studio time, pop-up classes, family sessions, team groups and teacher-focused training, each arranged around the same core printmaking process.
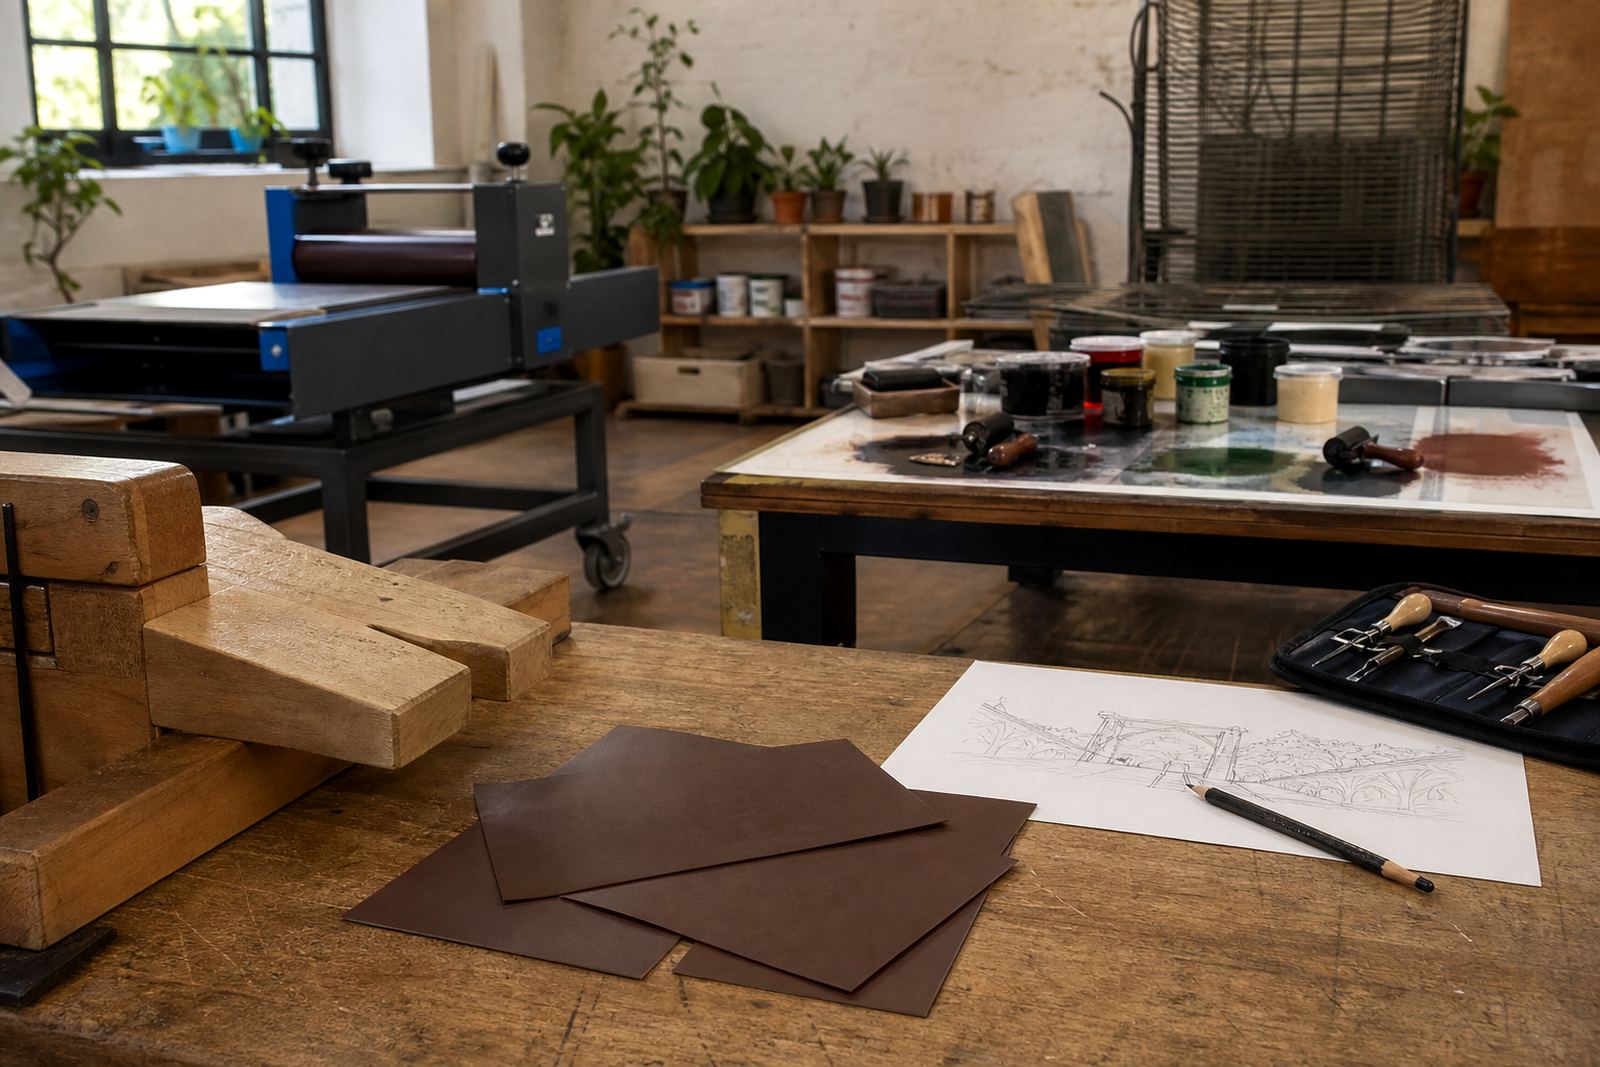
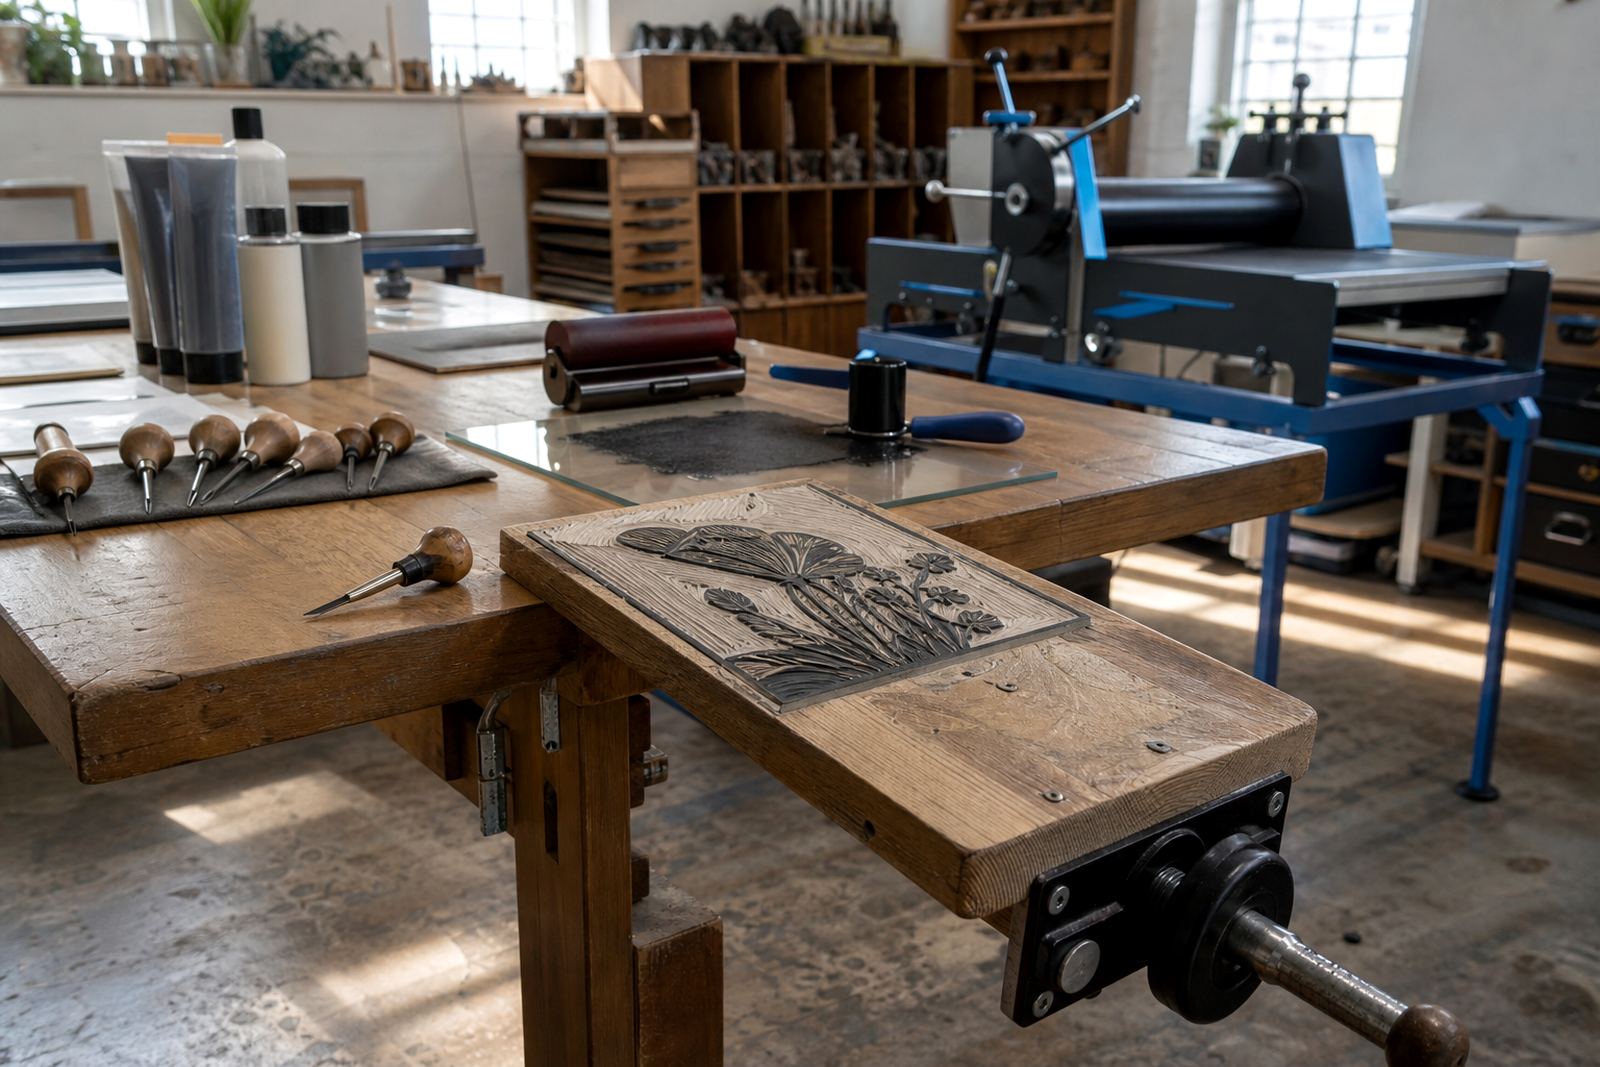
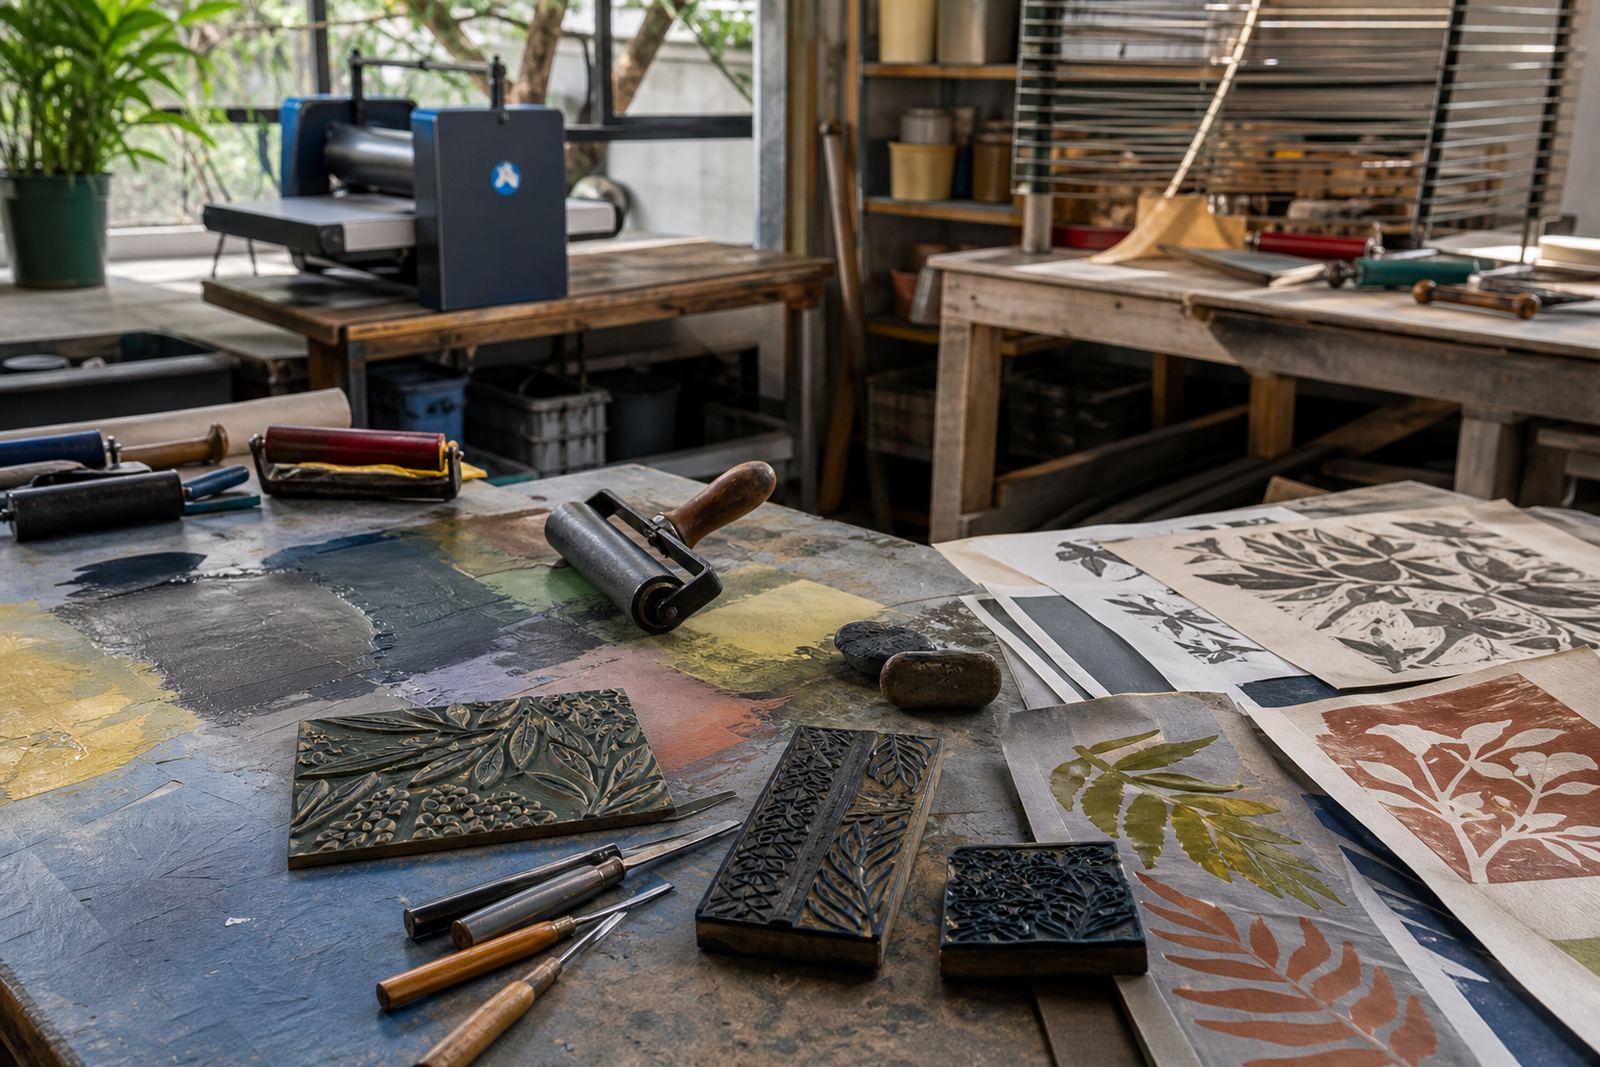
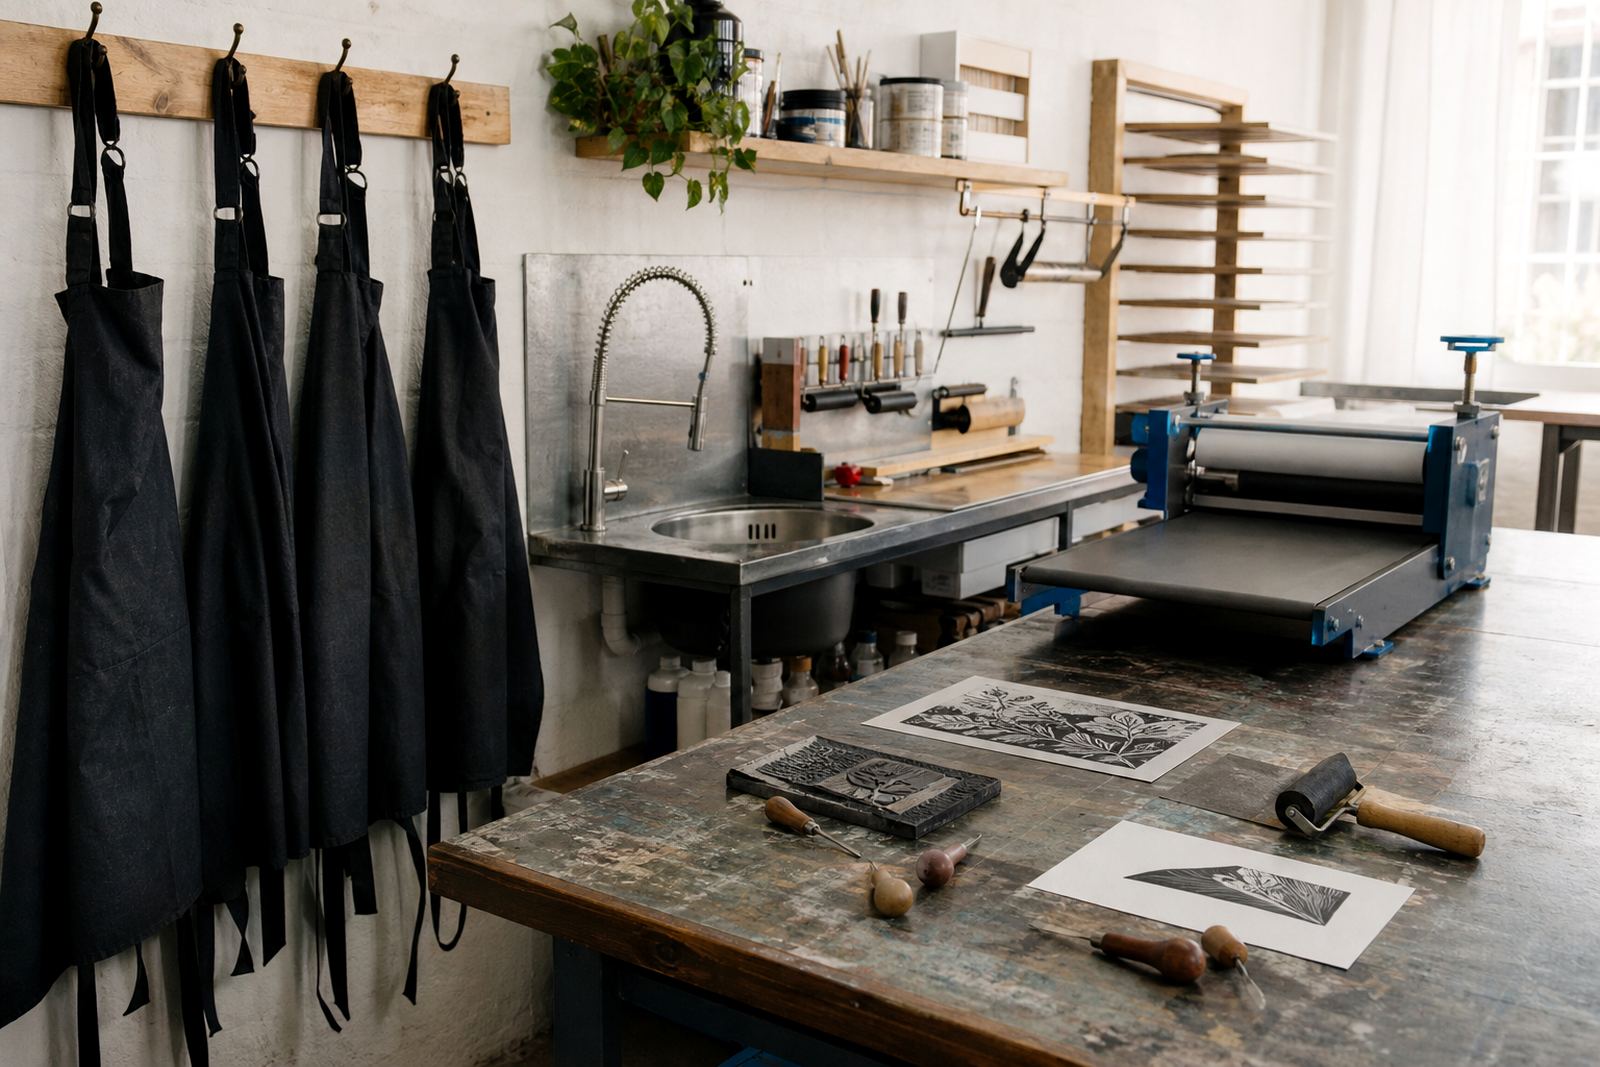
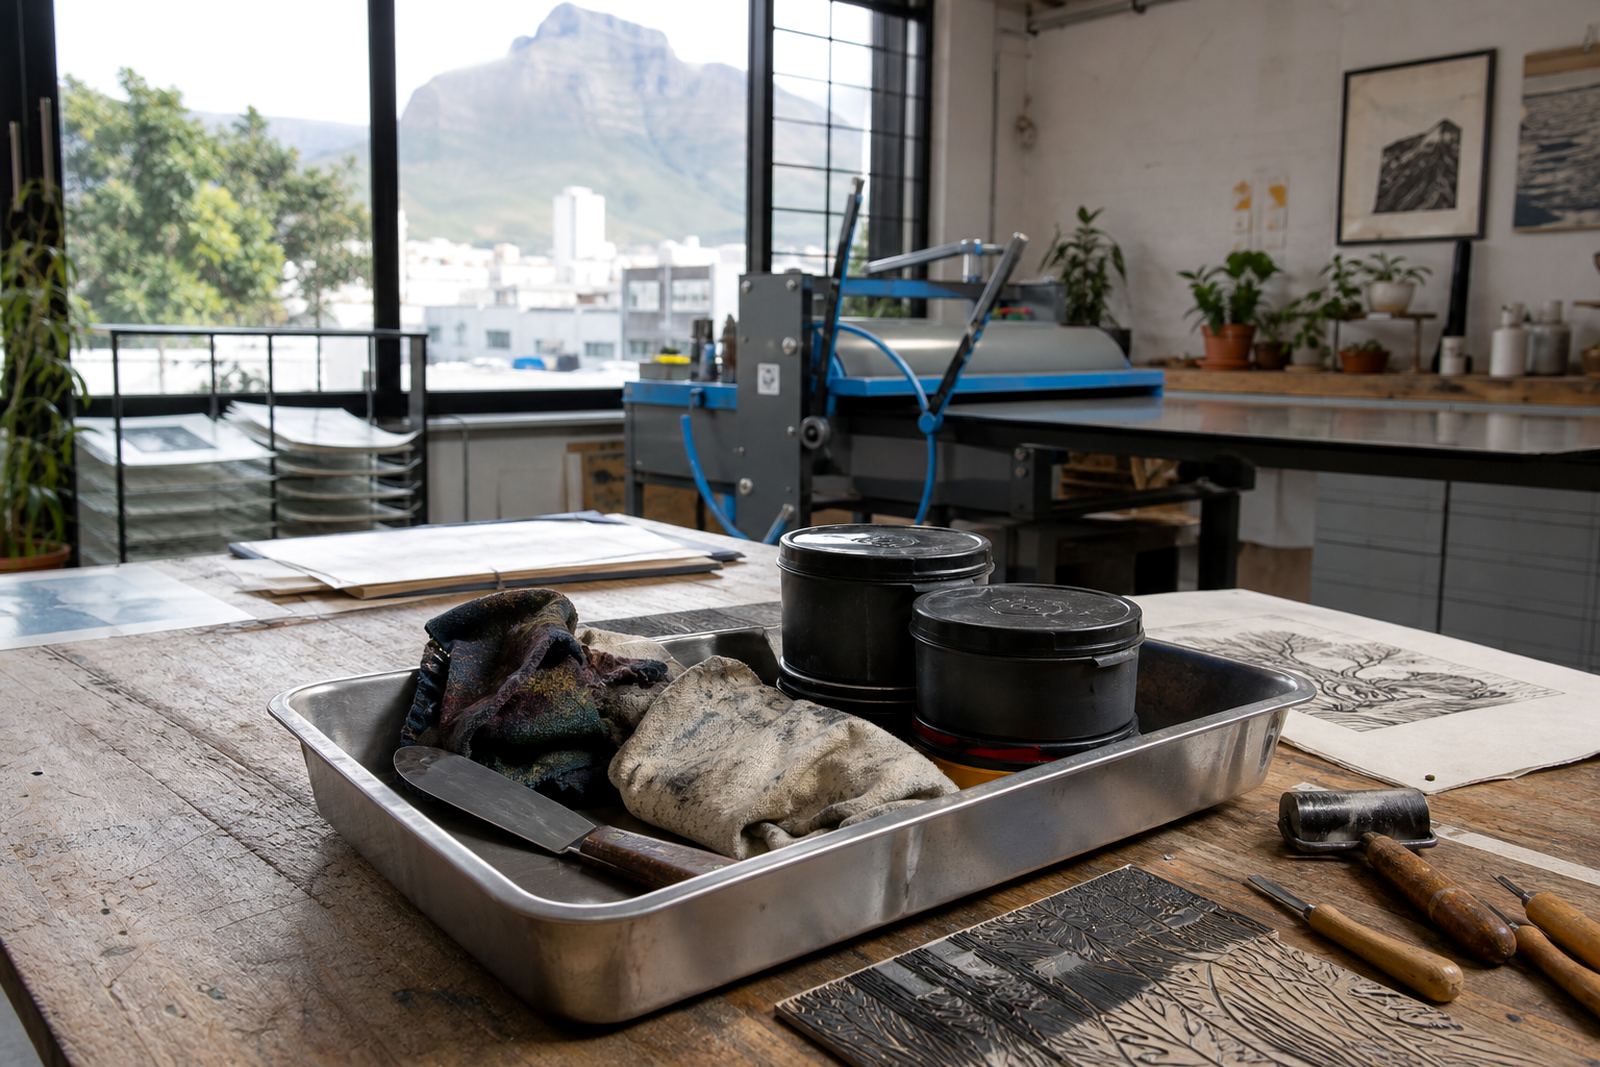
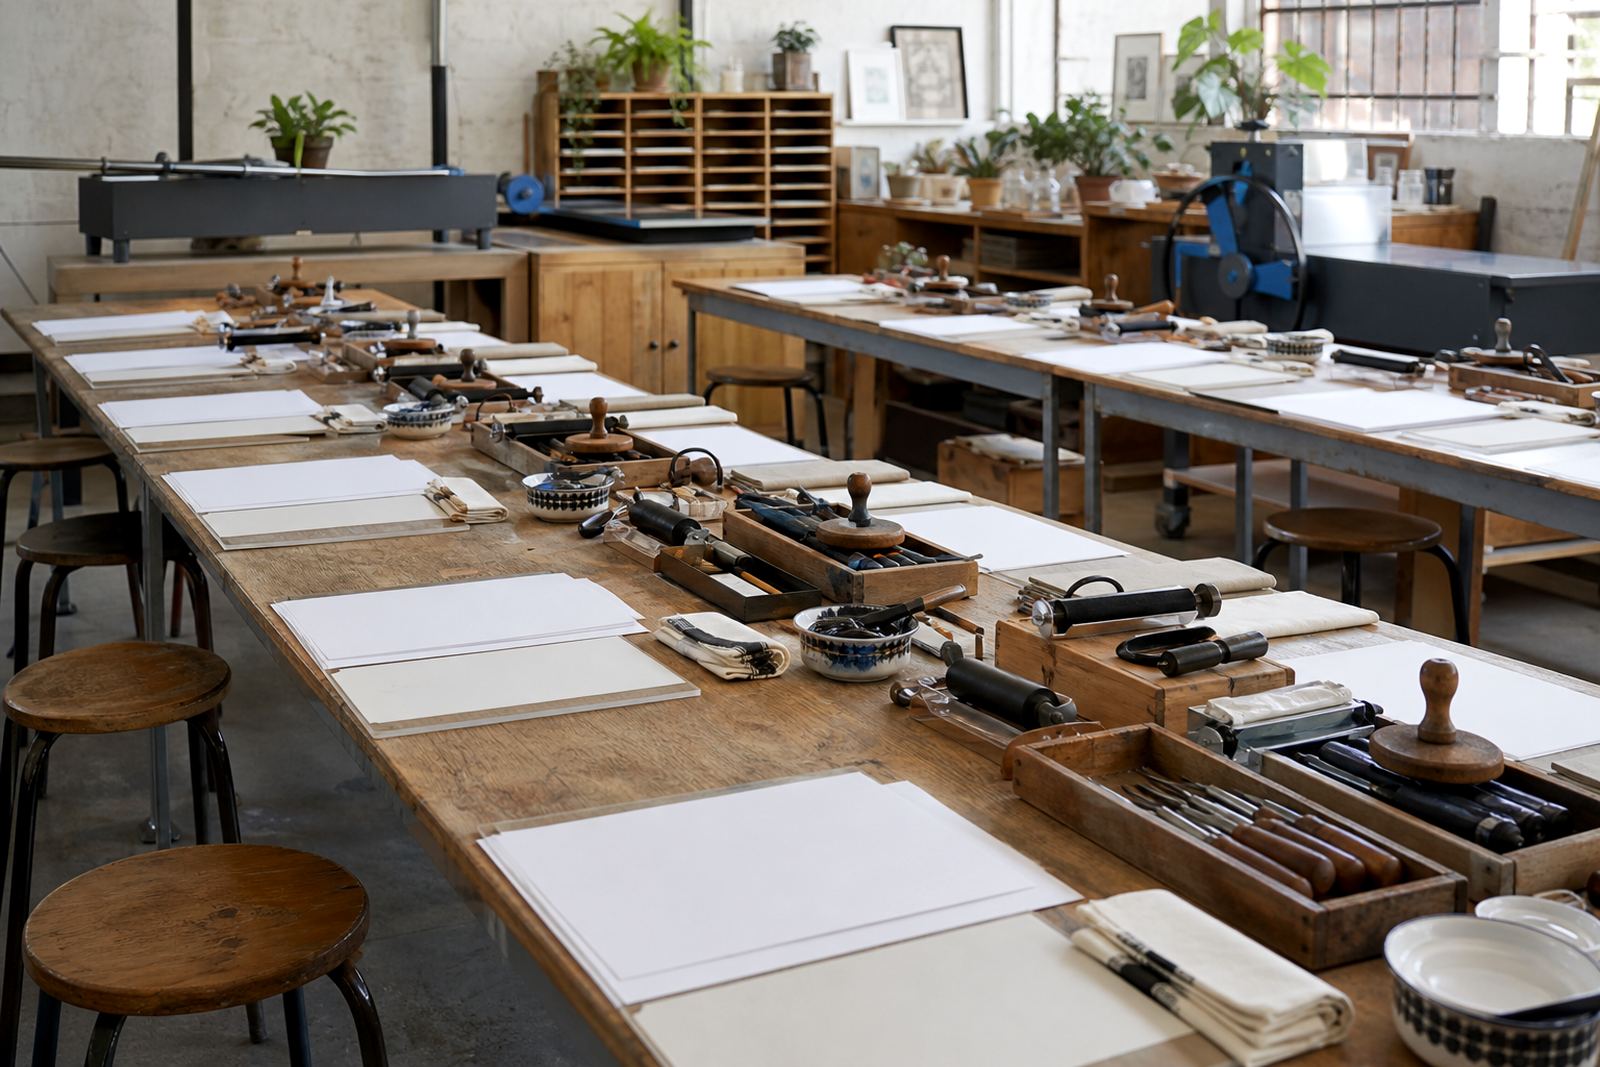
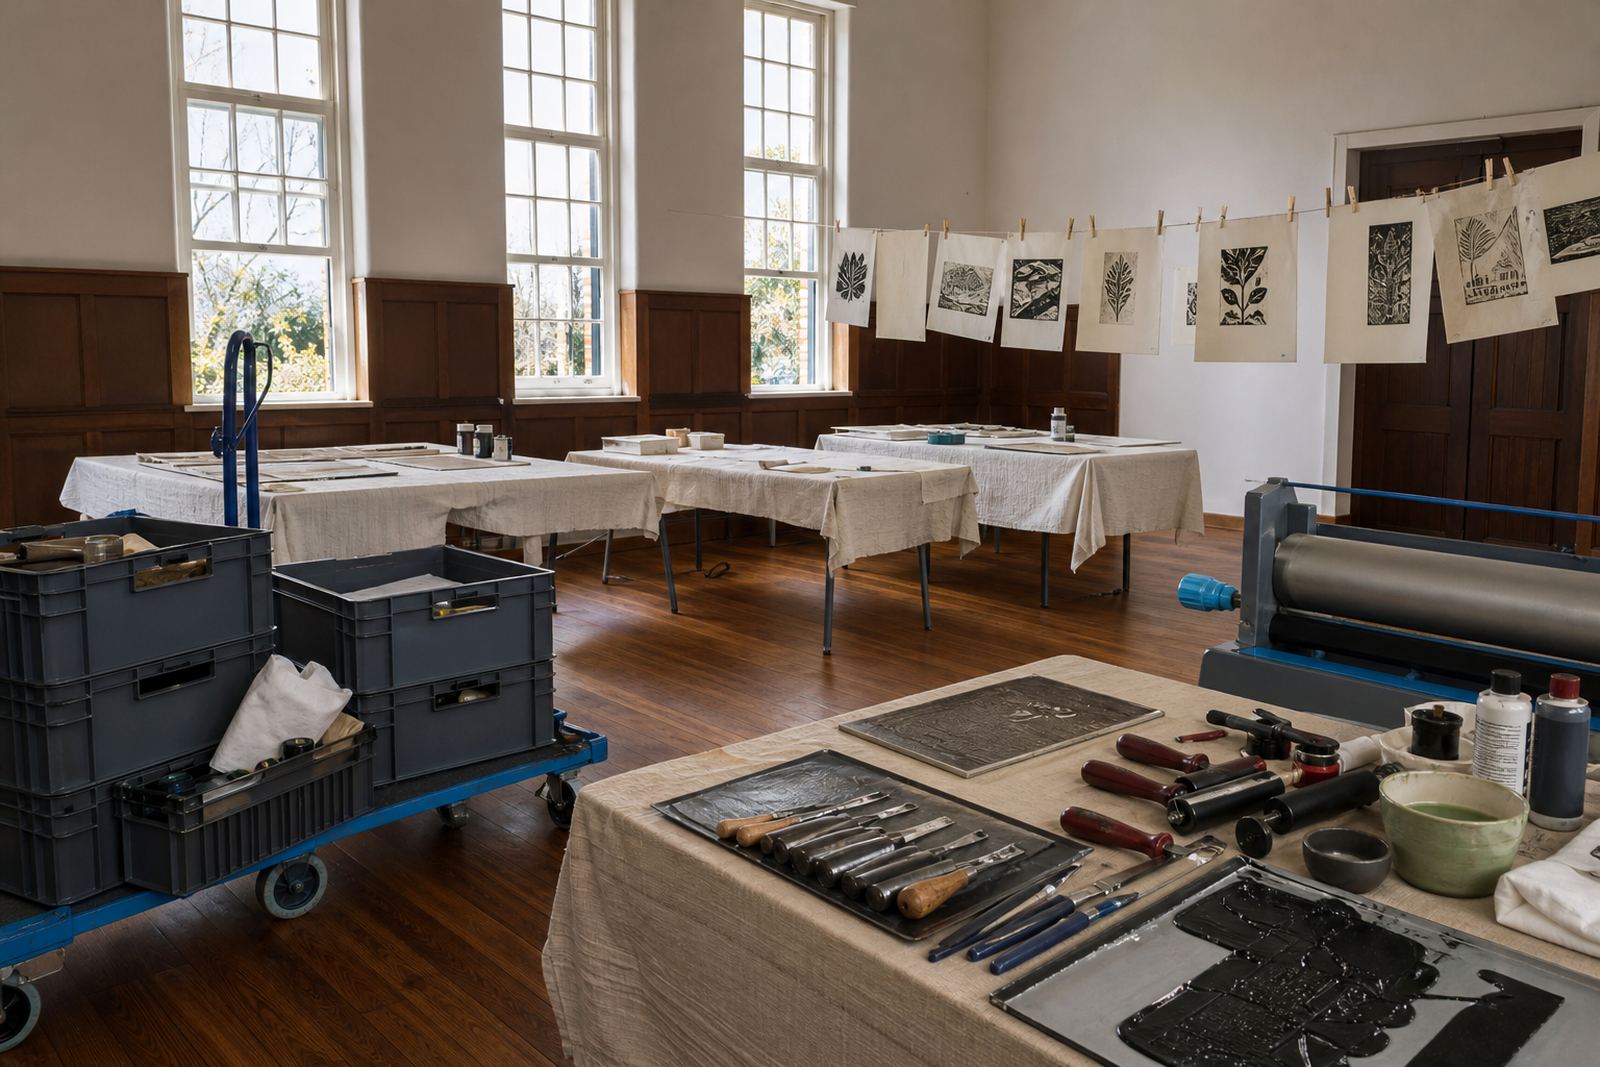
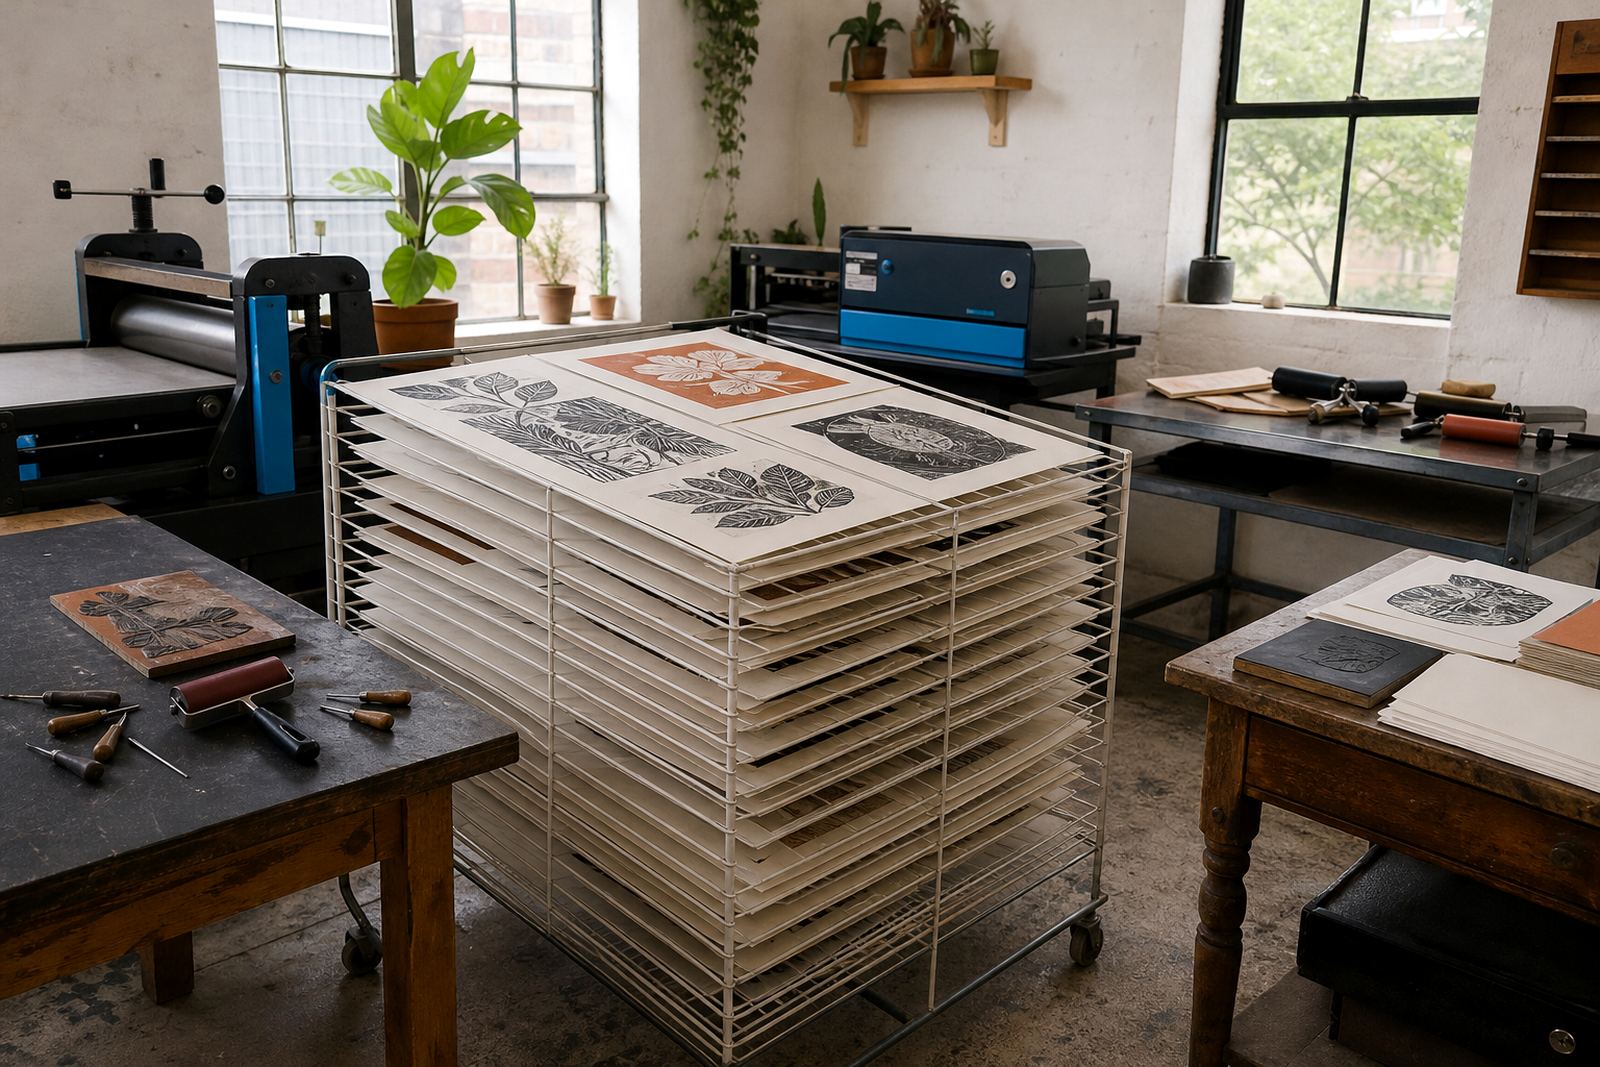
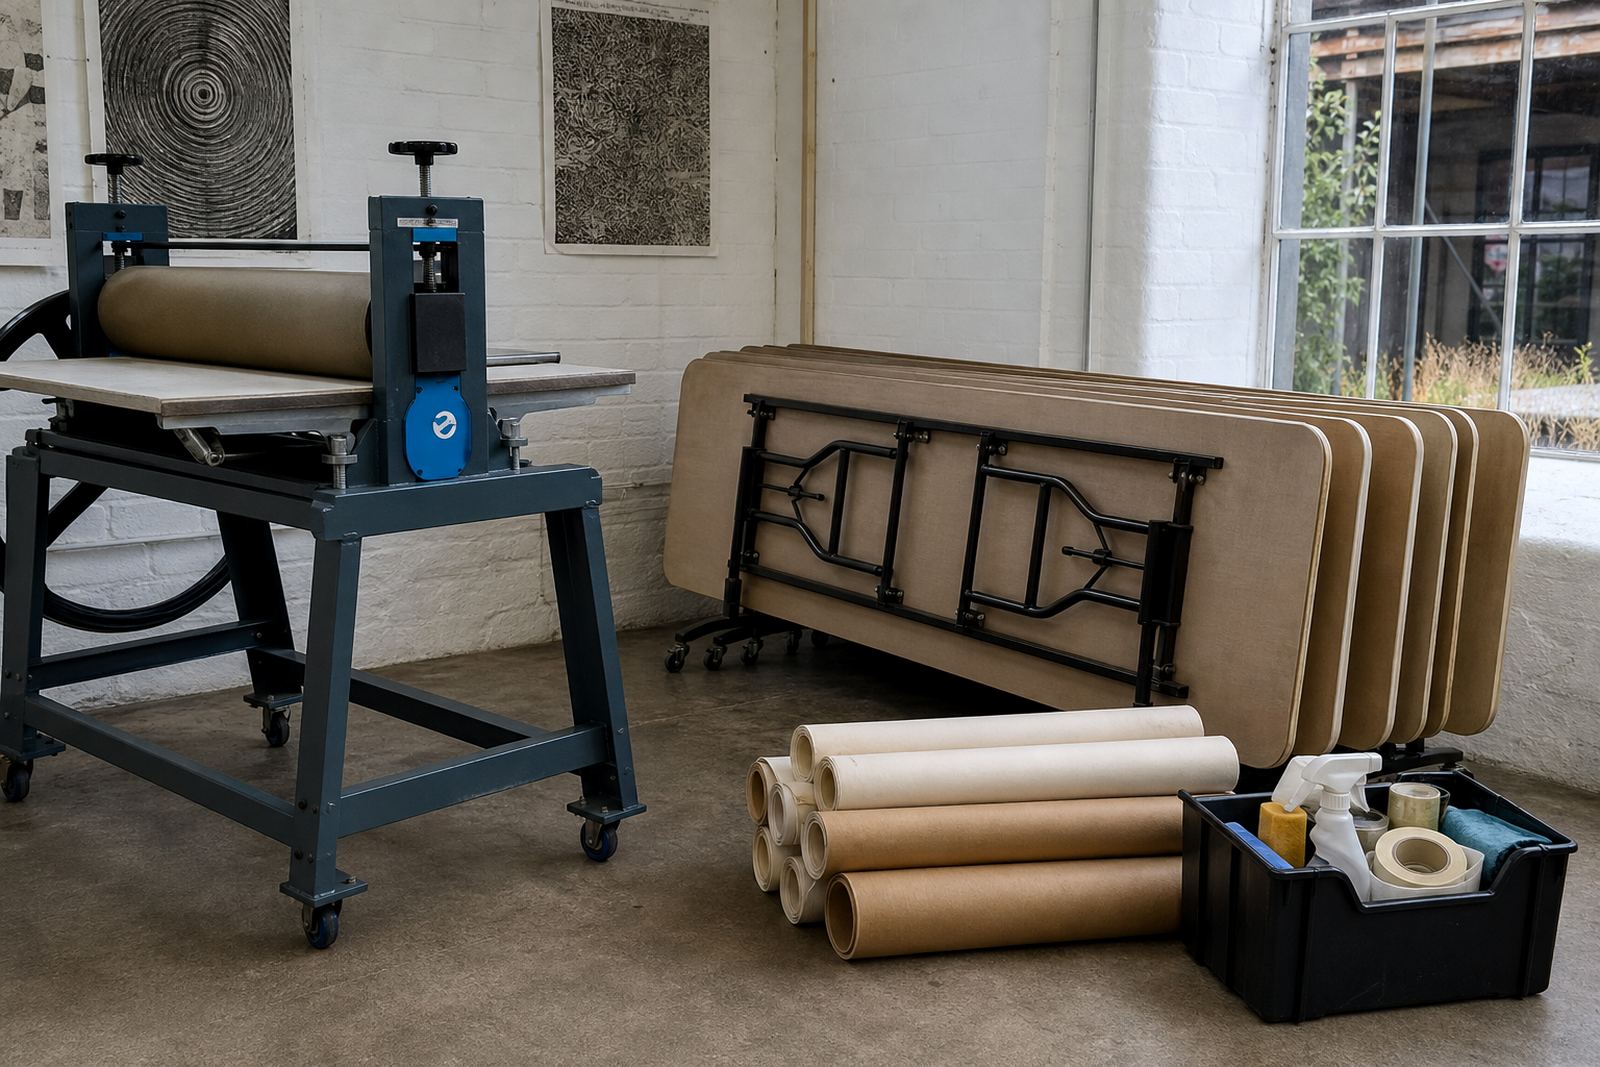
Woodstock studio sessions work well when you want table space, proper drying room and a press setup nearby. Pop-up sessions suit schools, venues and offices where the materials are brought in and the room is set up for carving, inking and printing.
- Private Studio Workshop for focused instruction
- School Pop-Up Workshop for classrooms and hall venues
- Team Building Session for shared printmaking
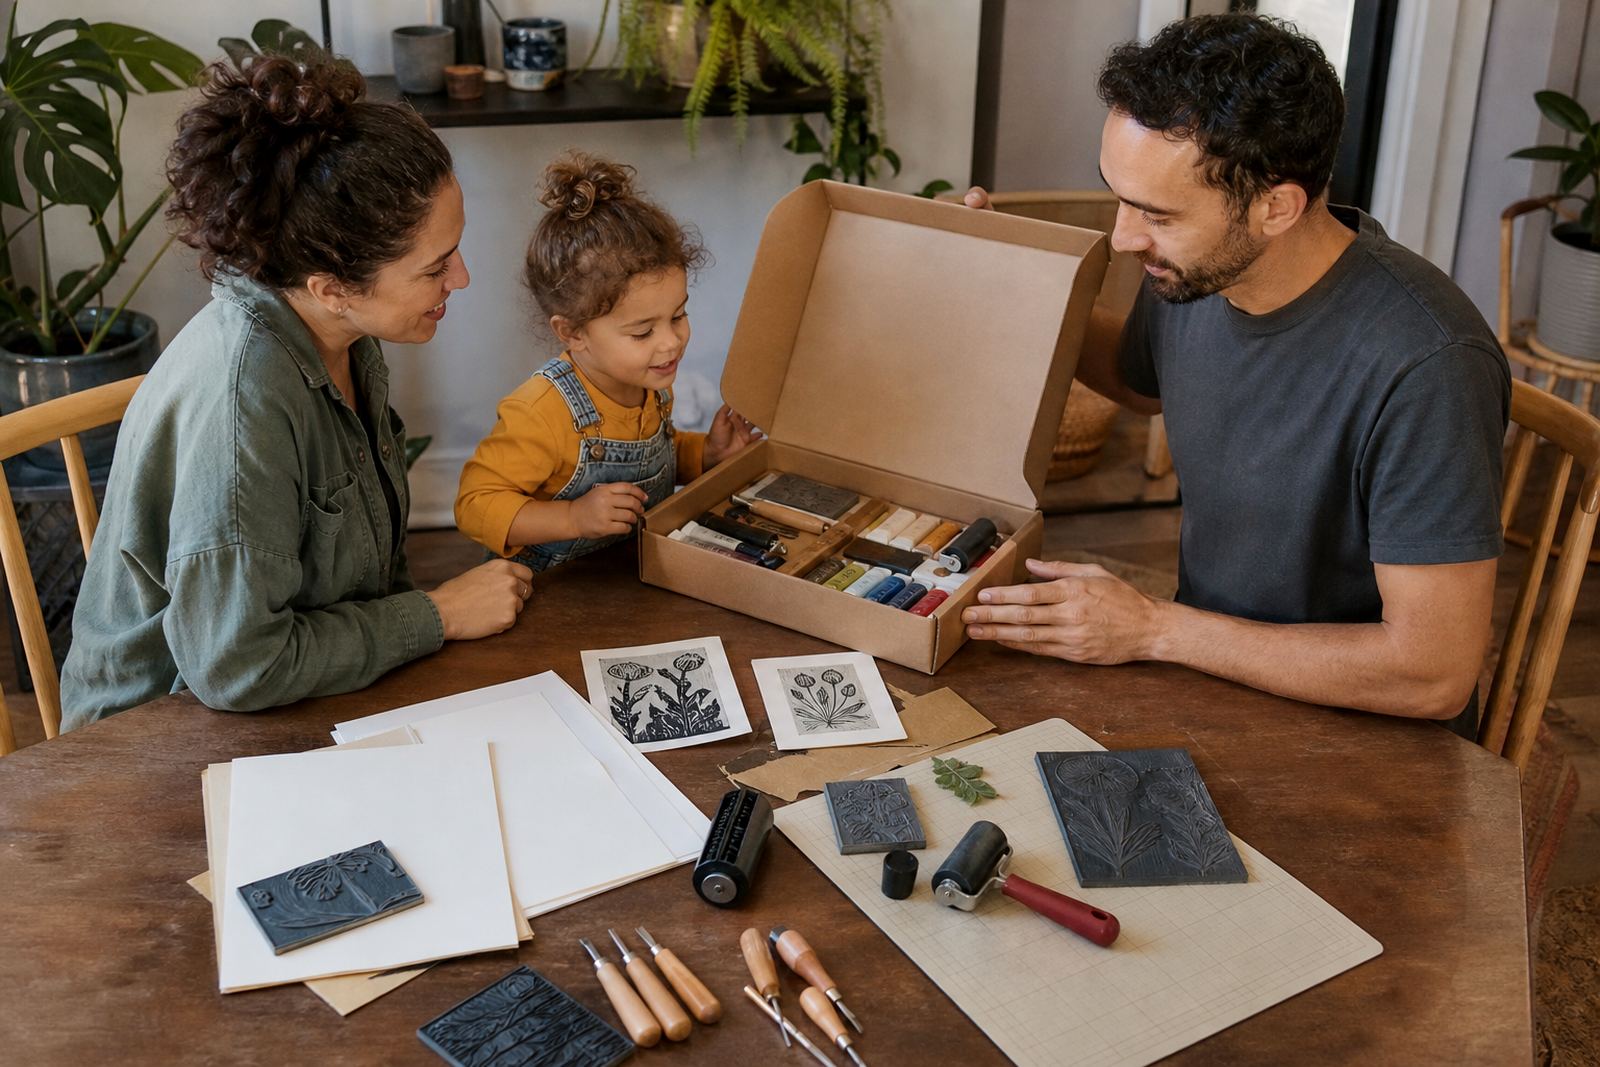
- Family Print Session for mixed ages with careful guidance
What begins on the carving table
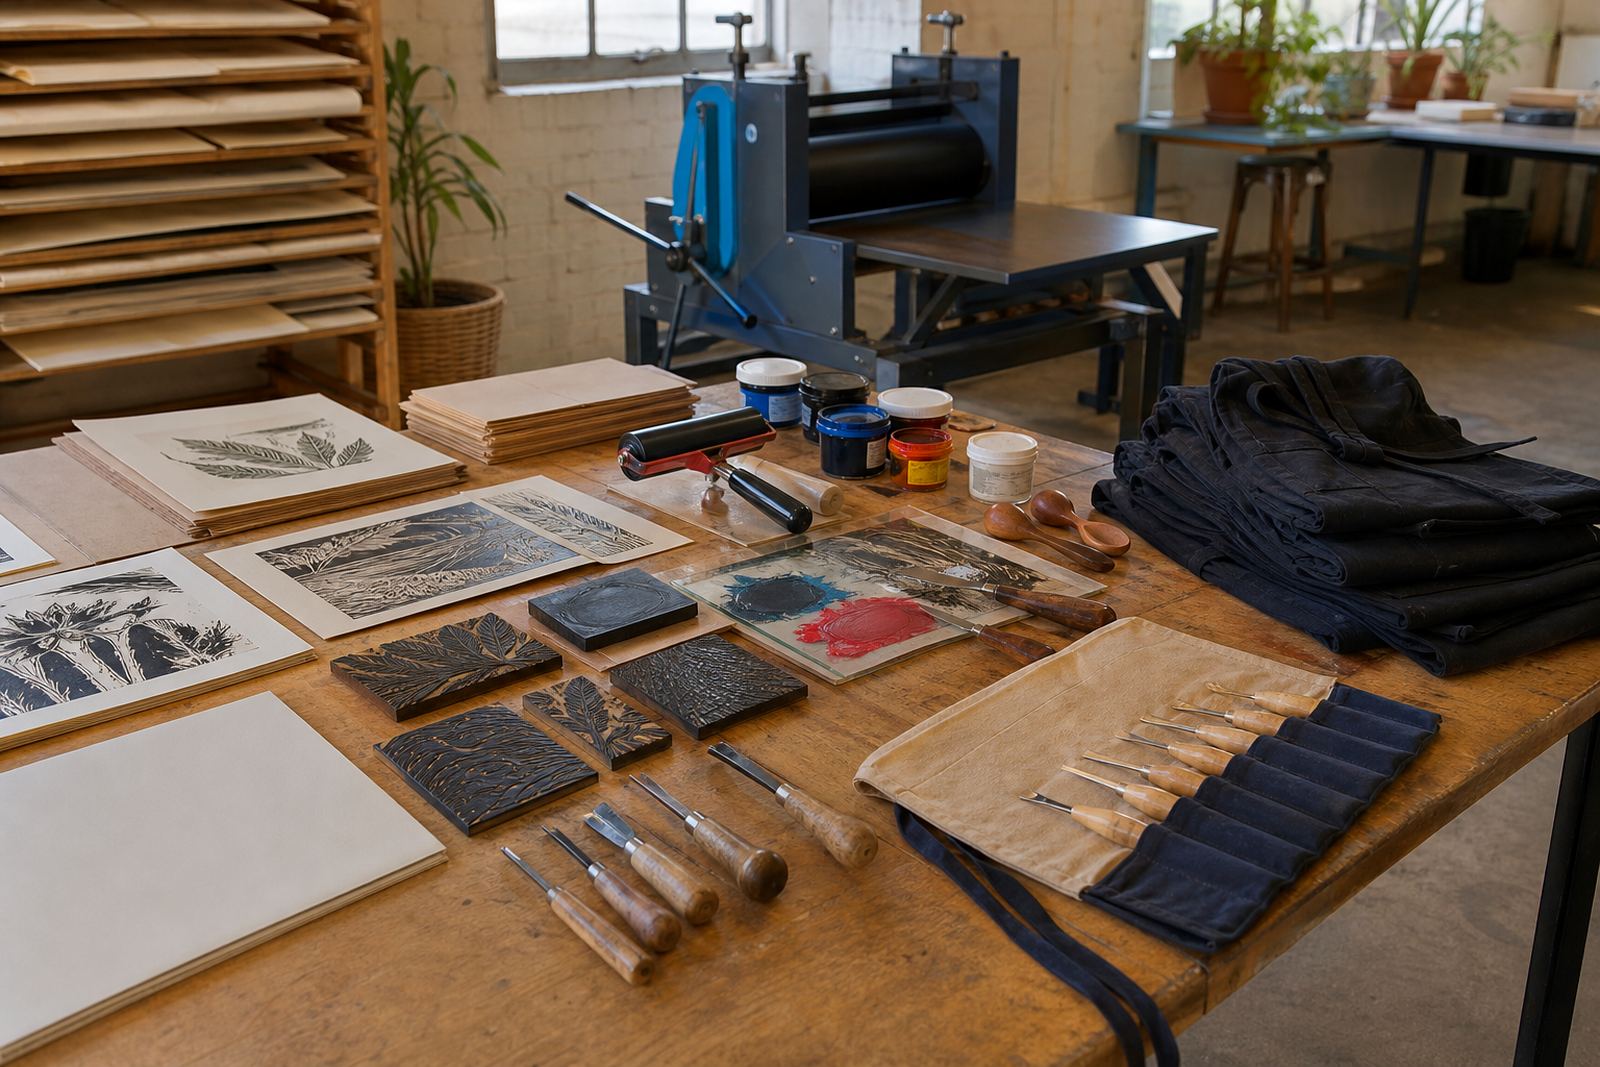
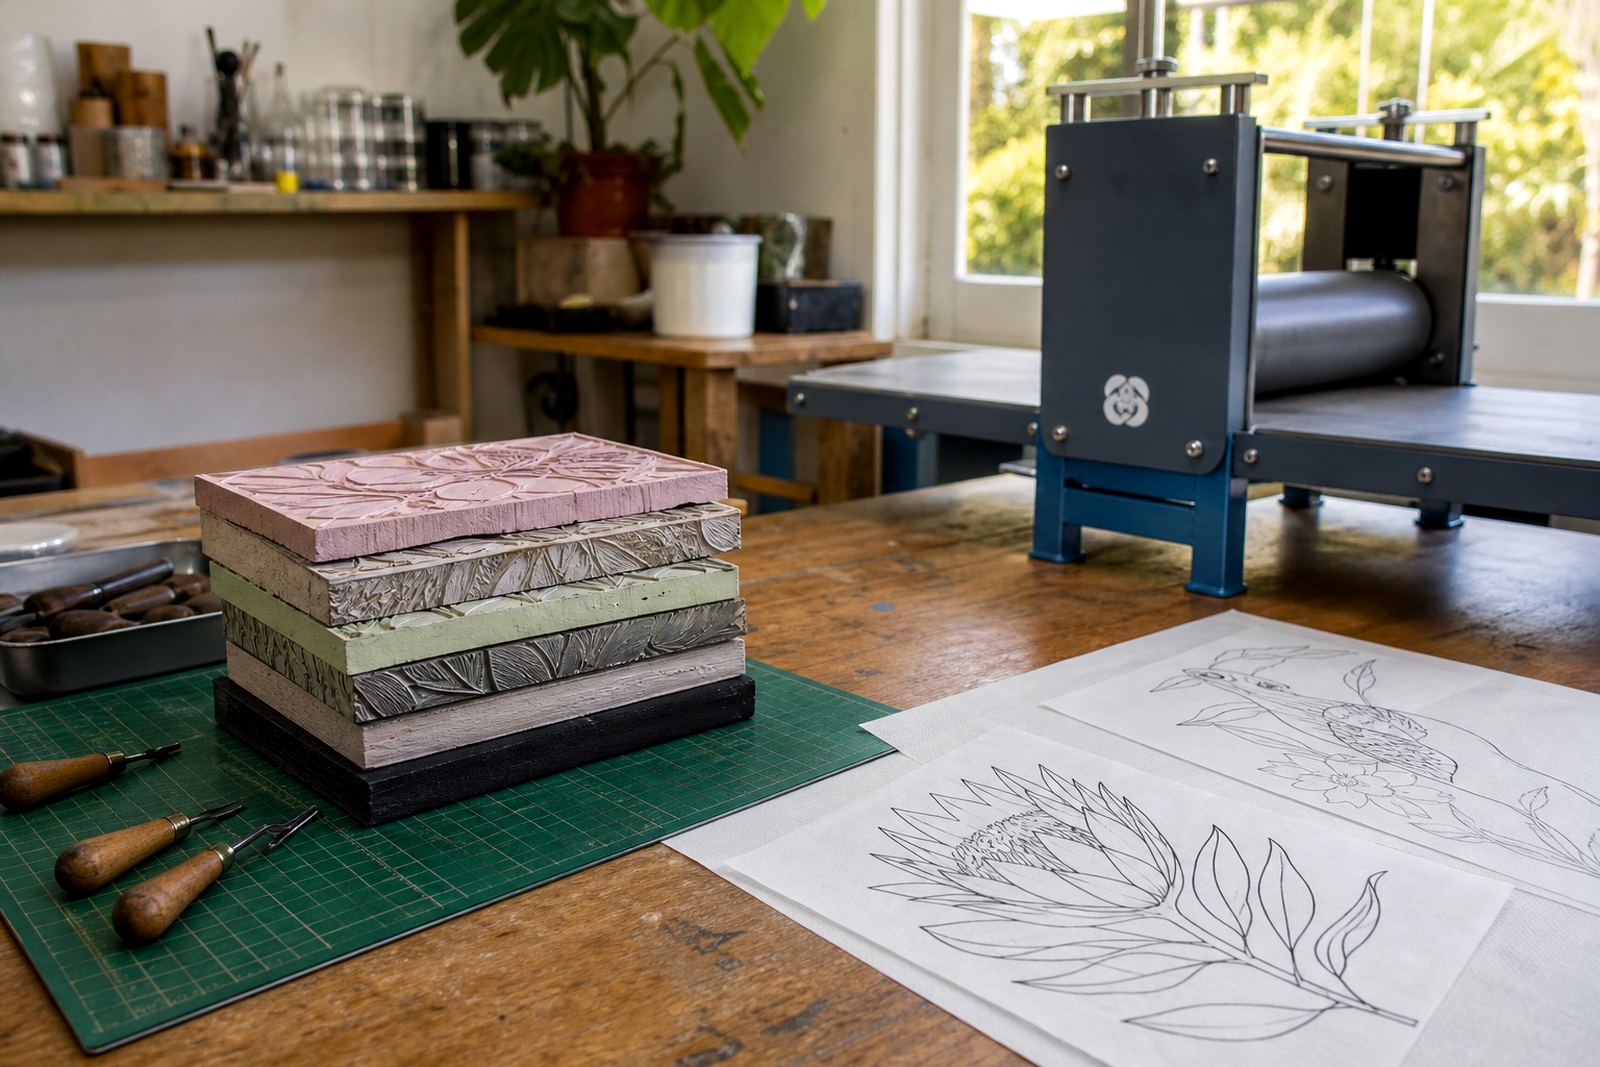
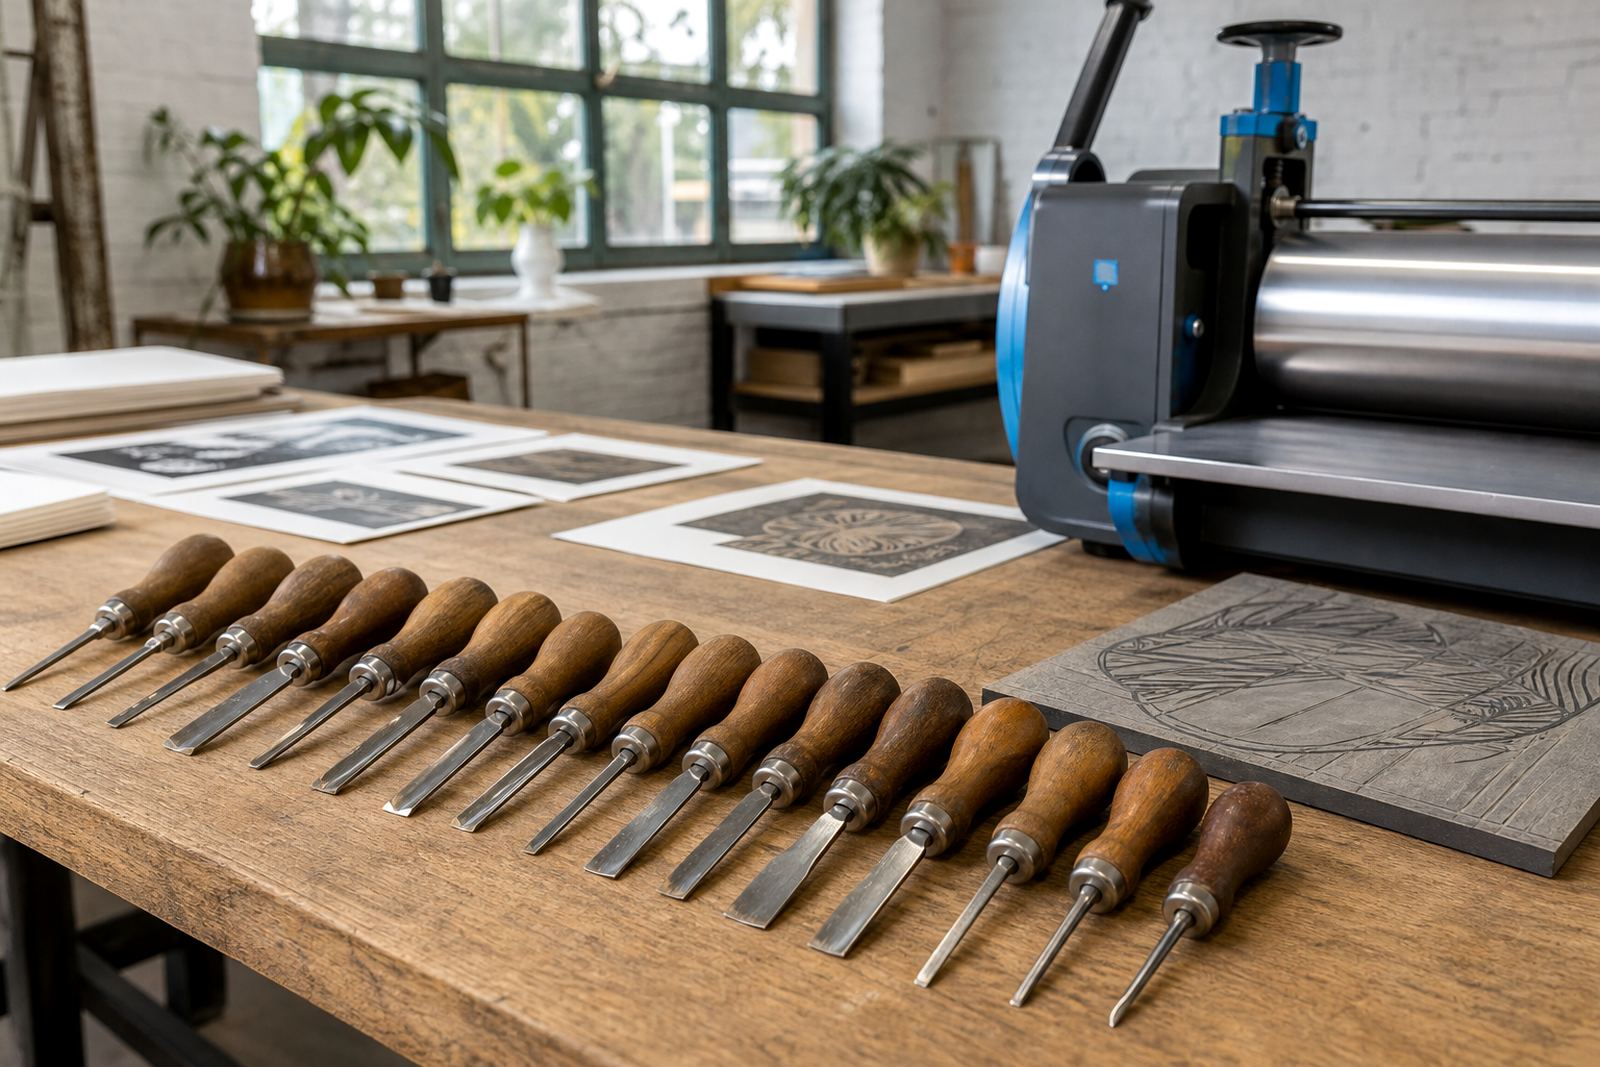
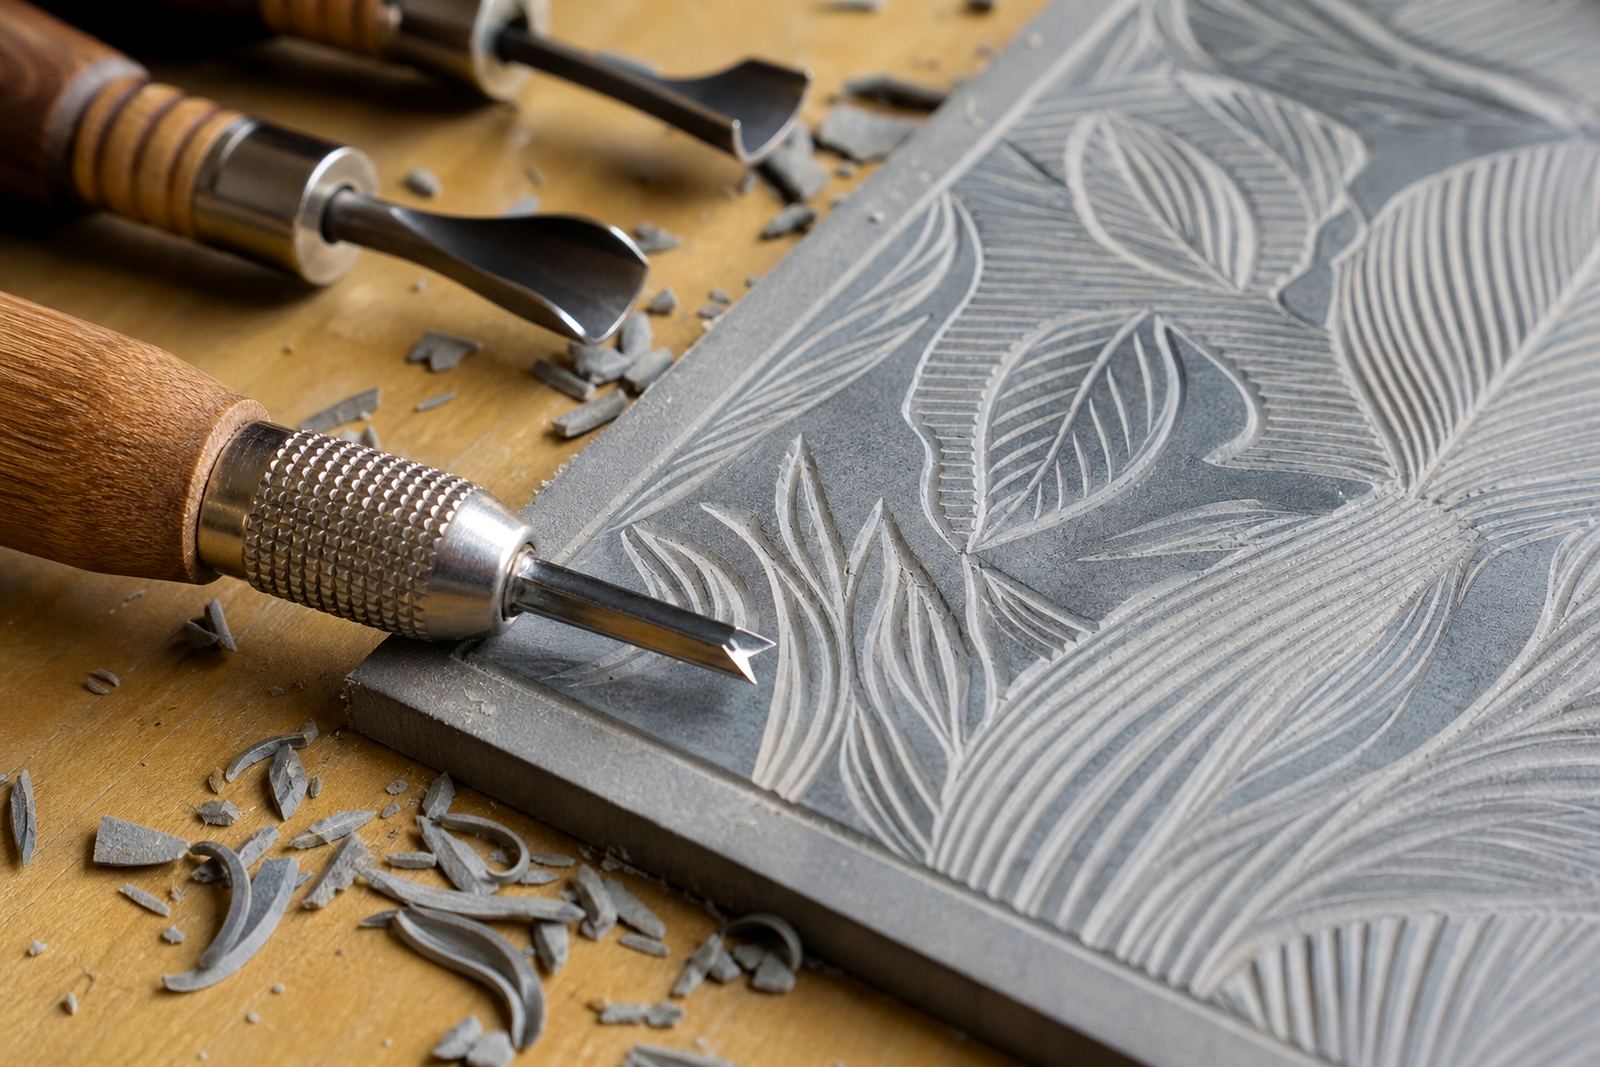
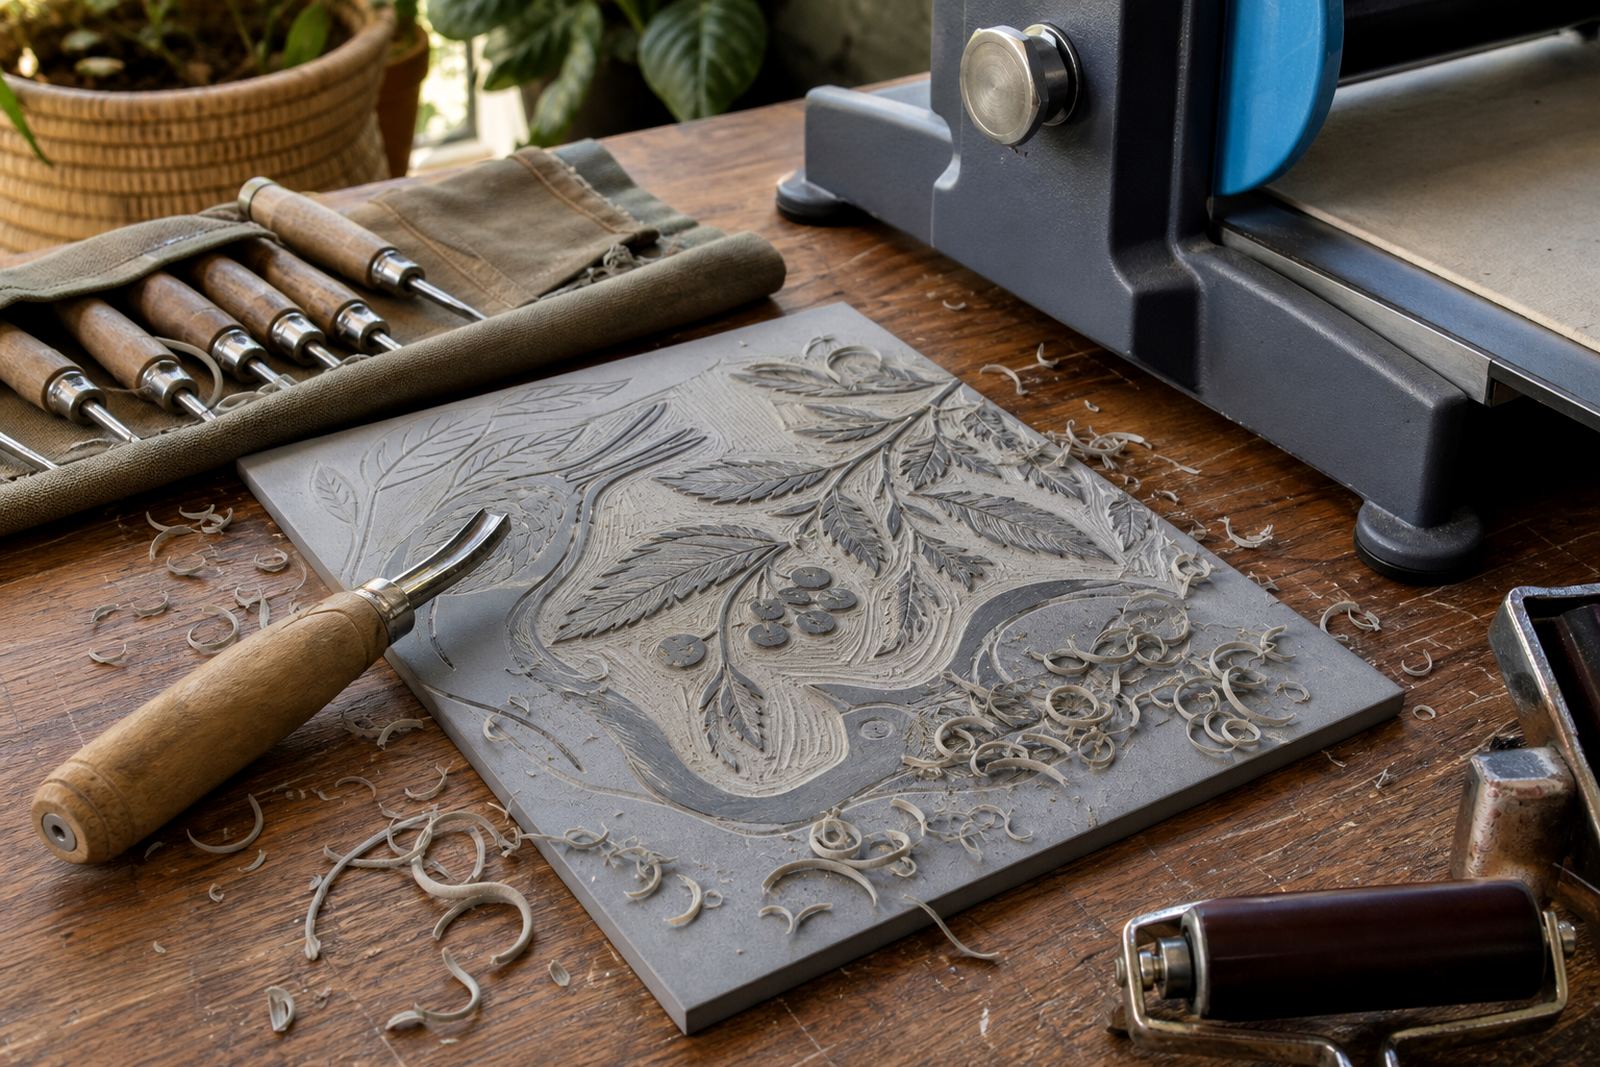
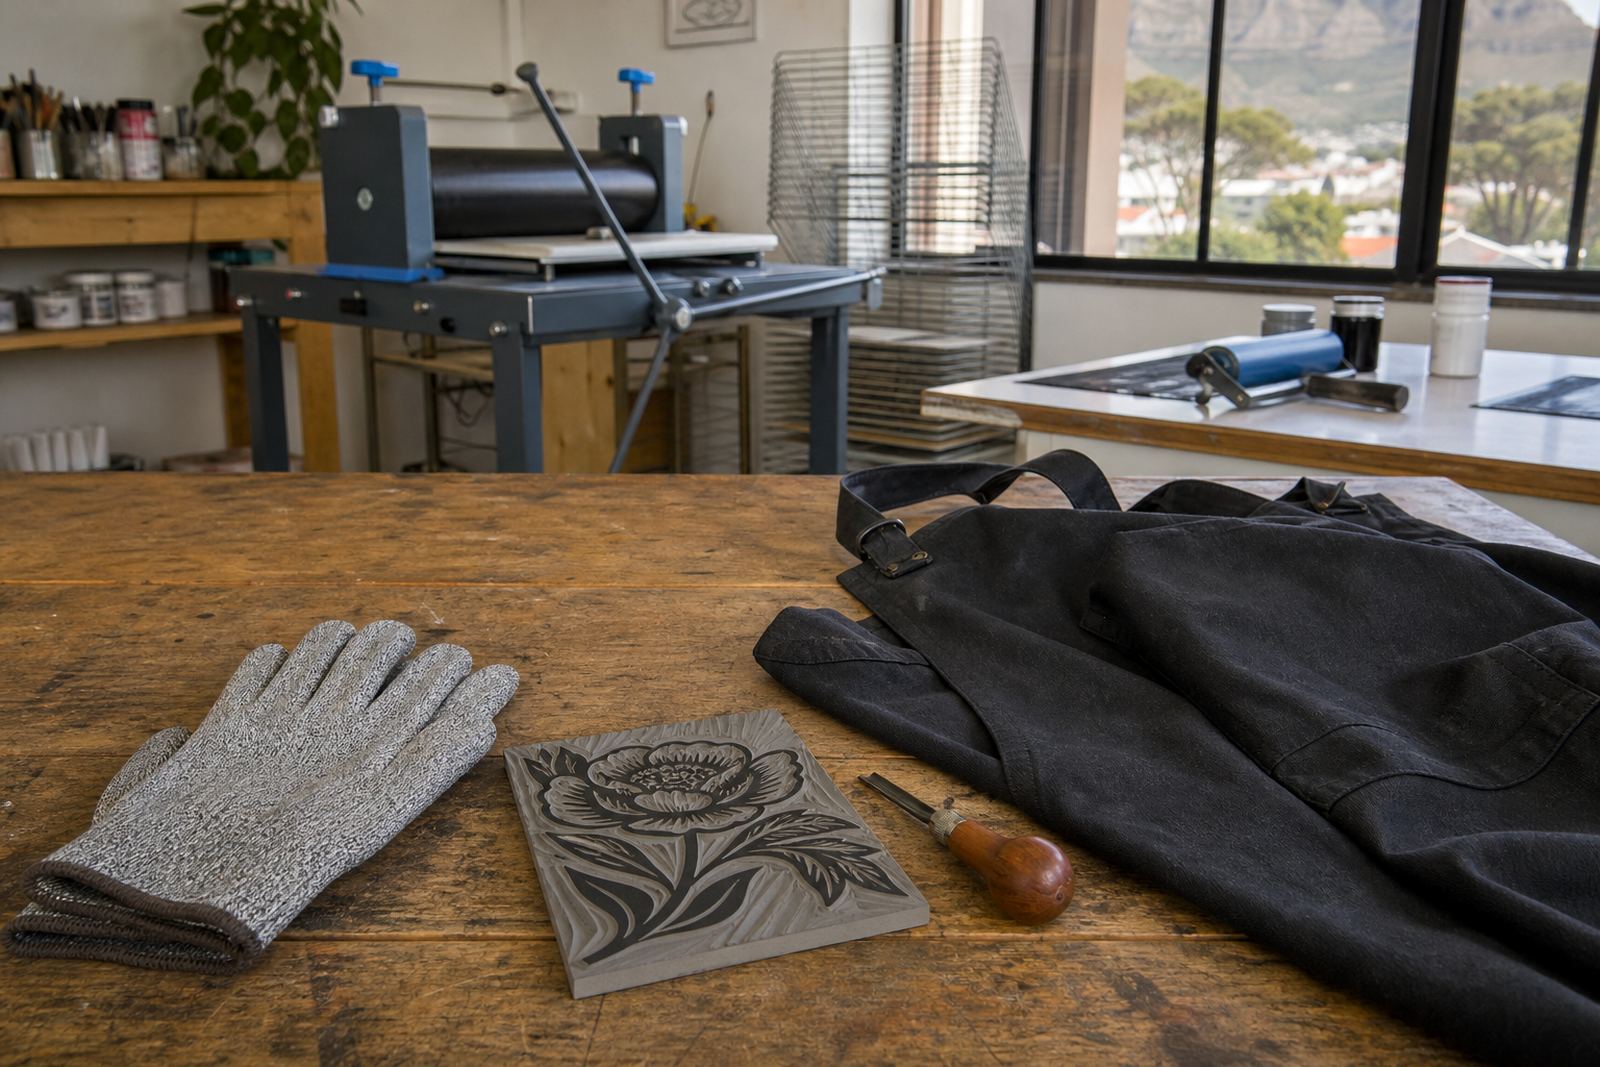
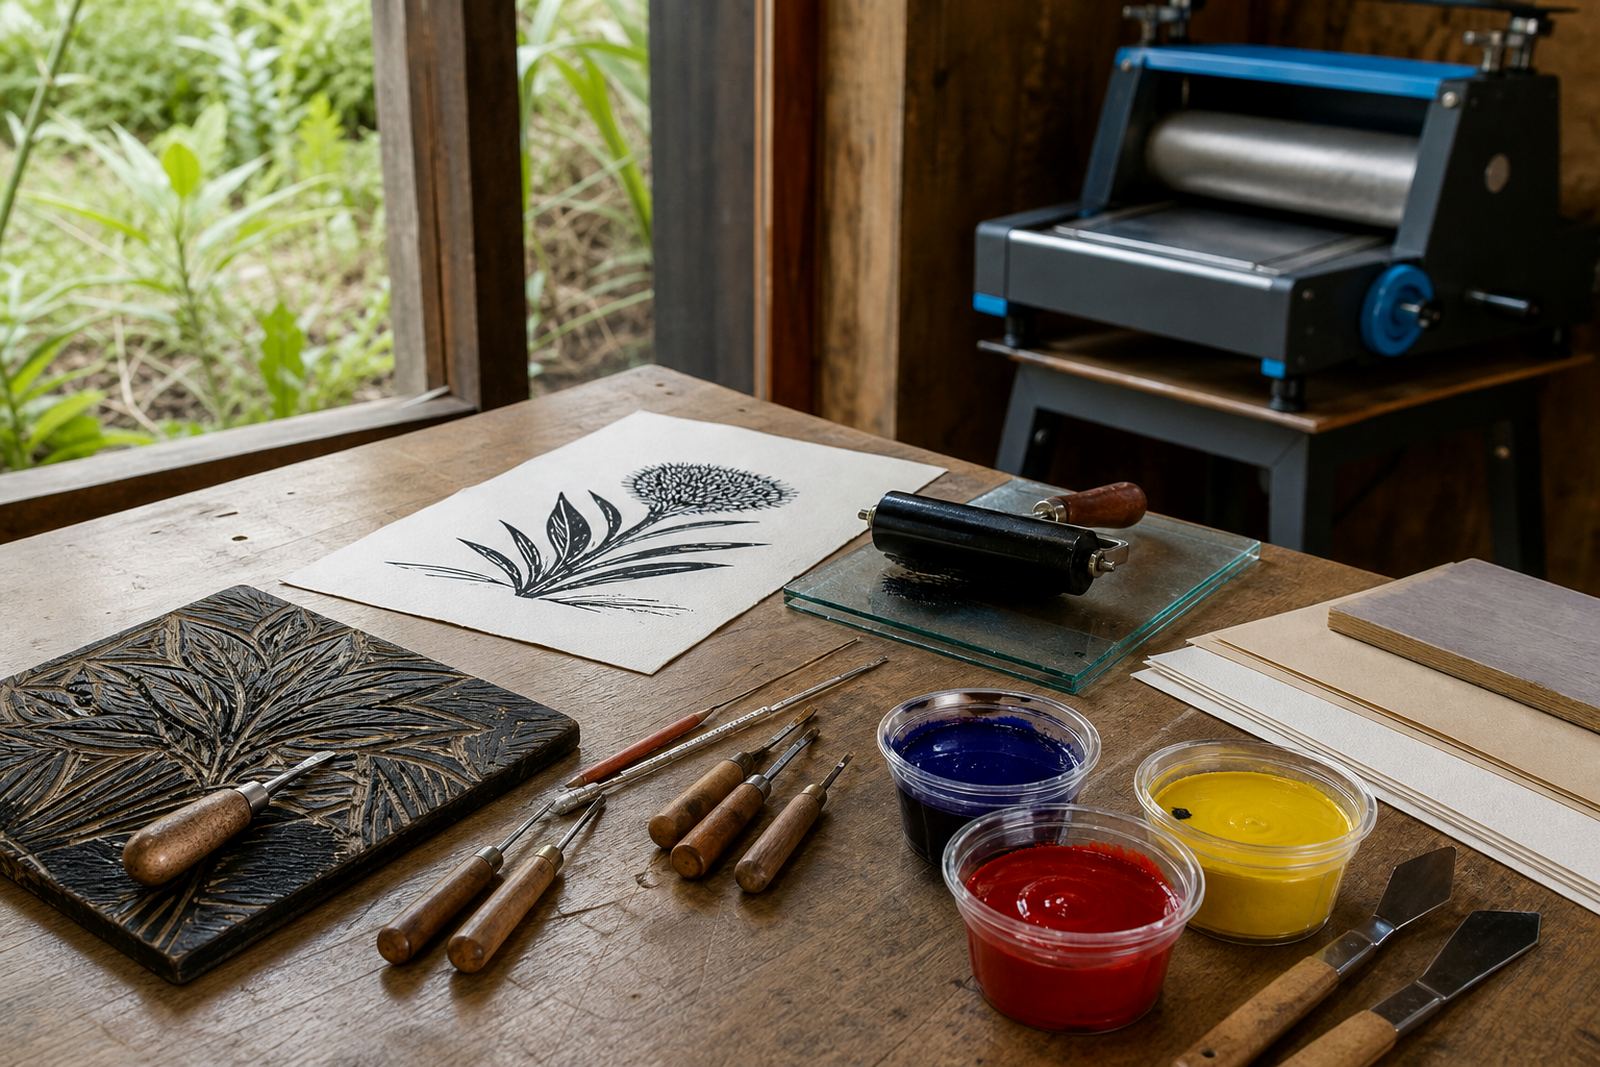
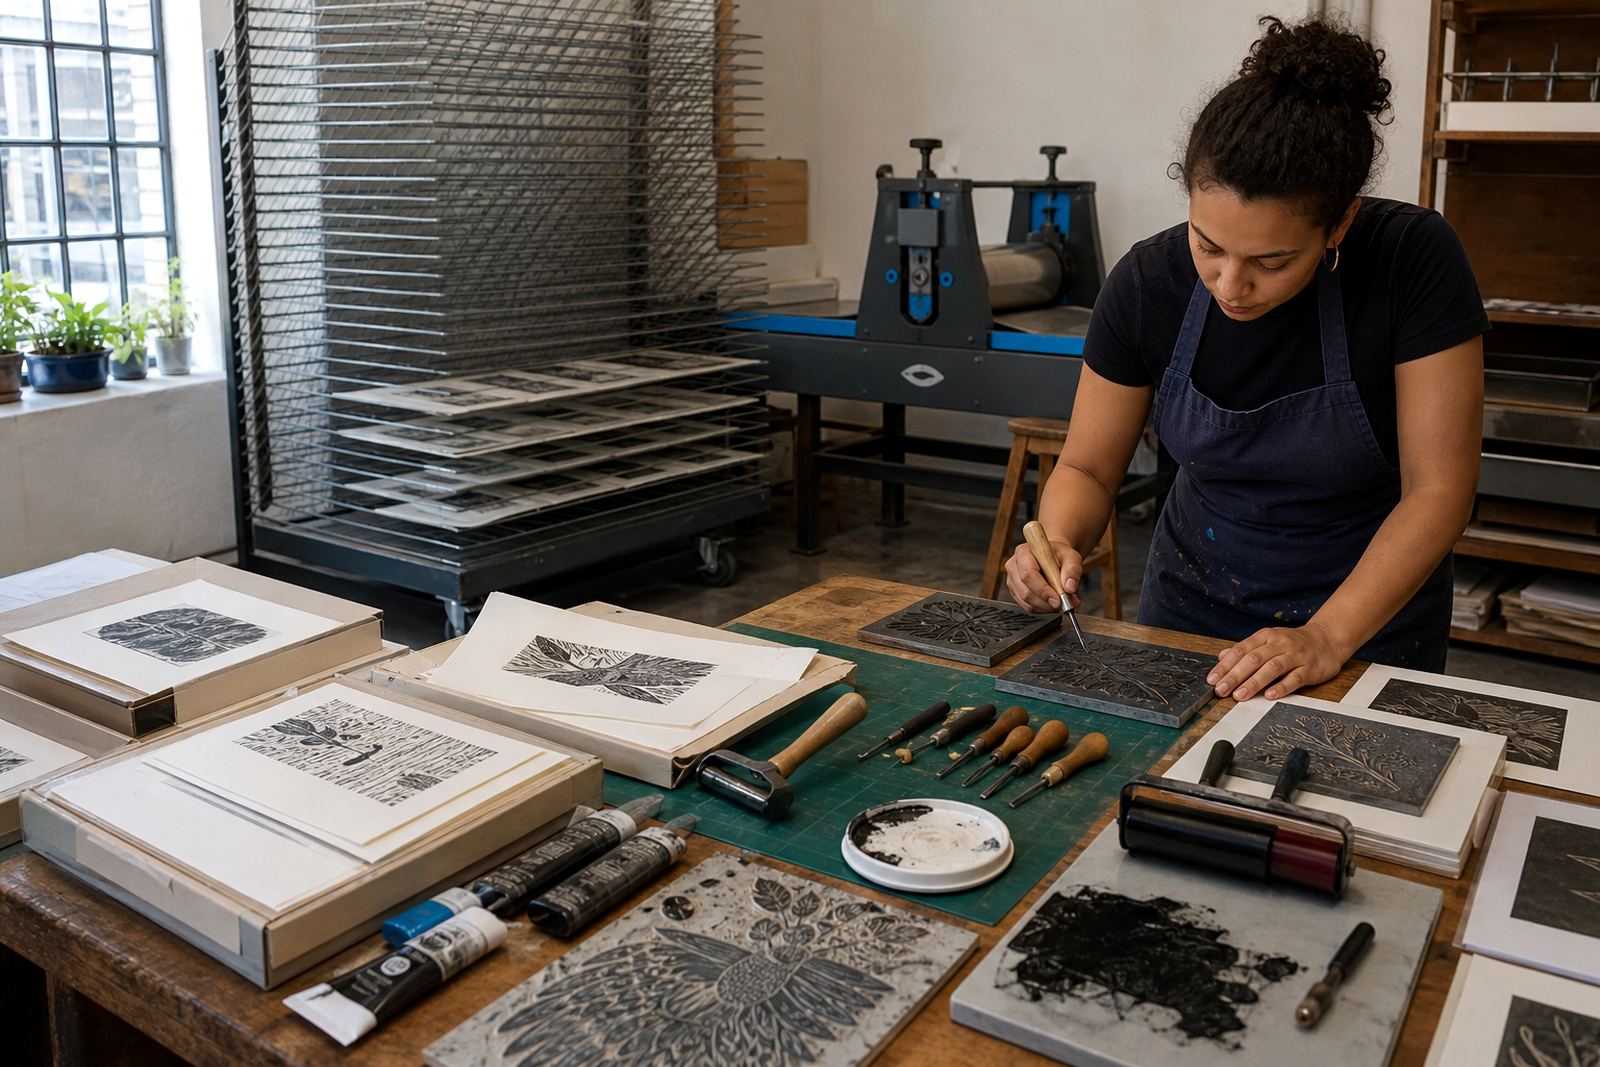
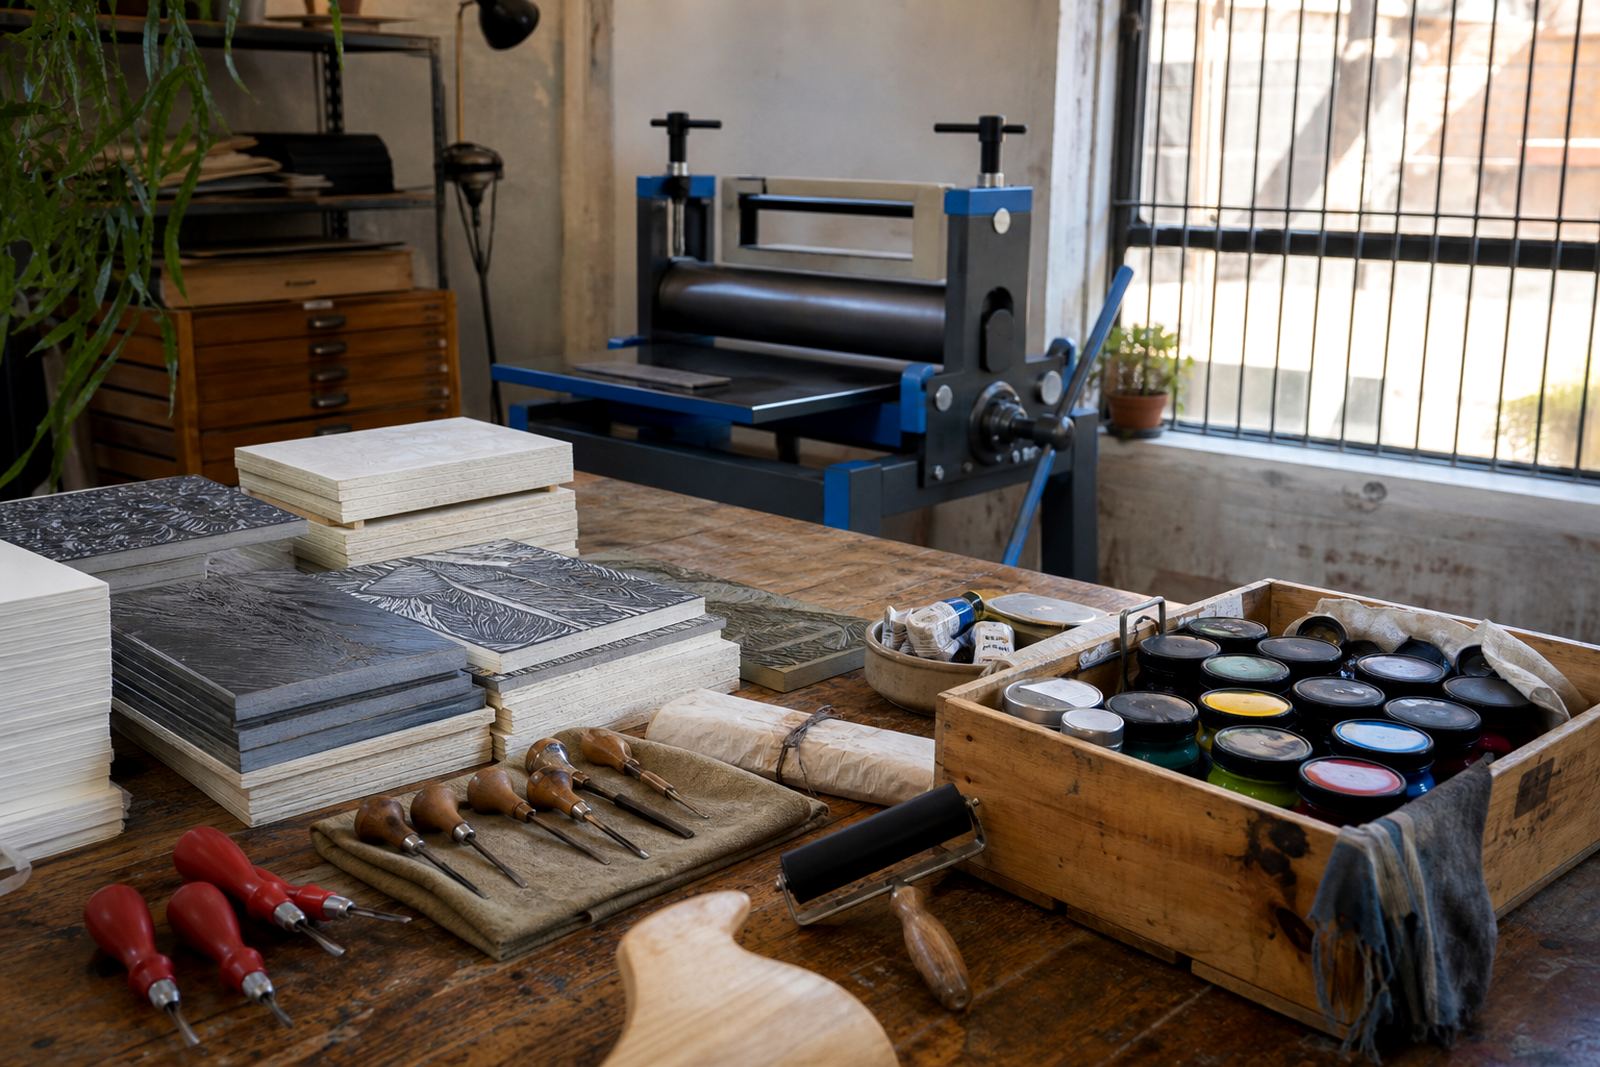
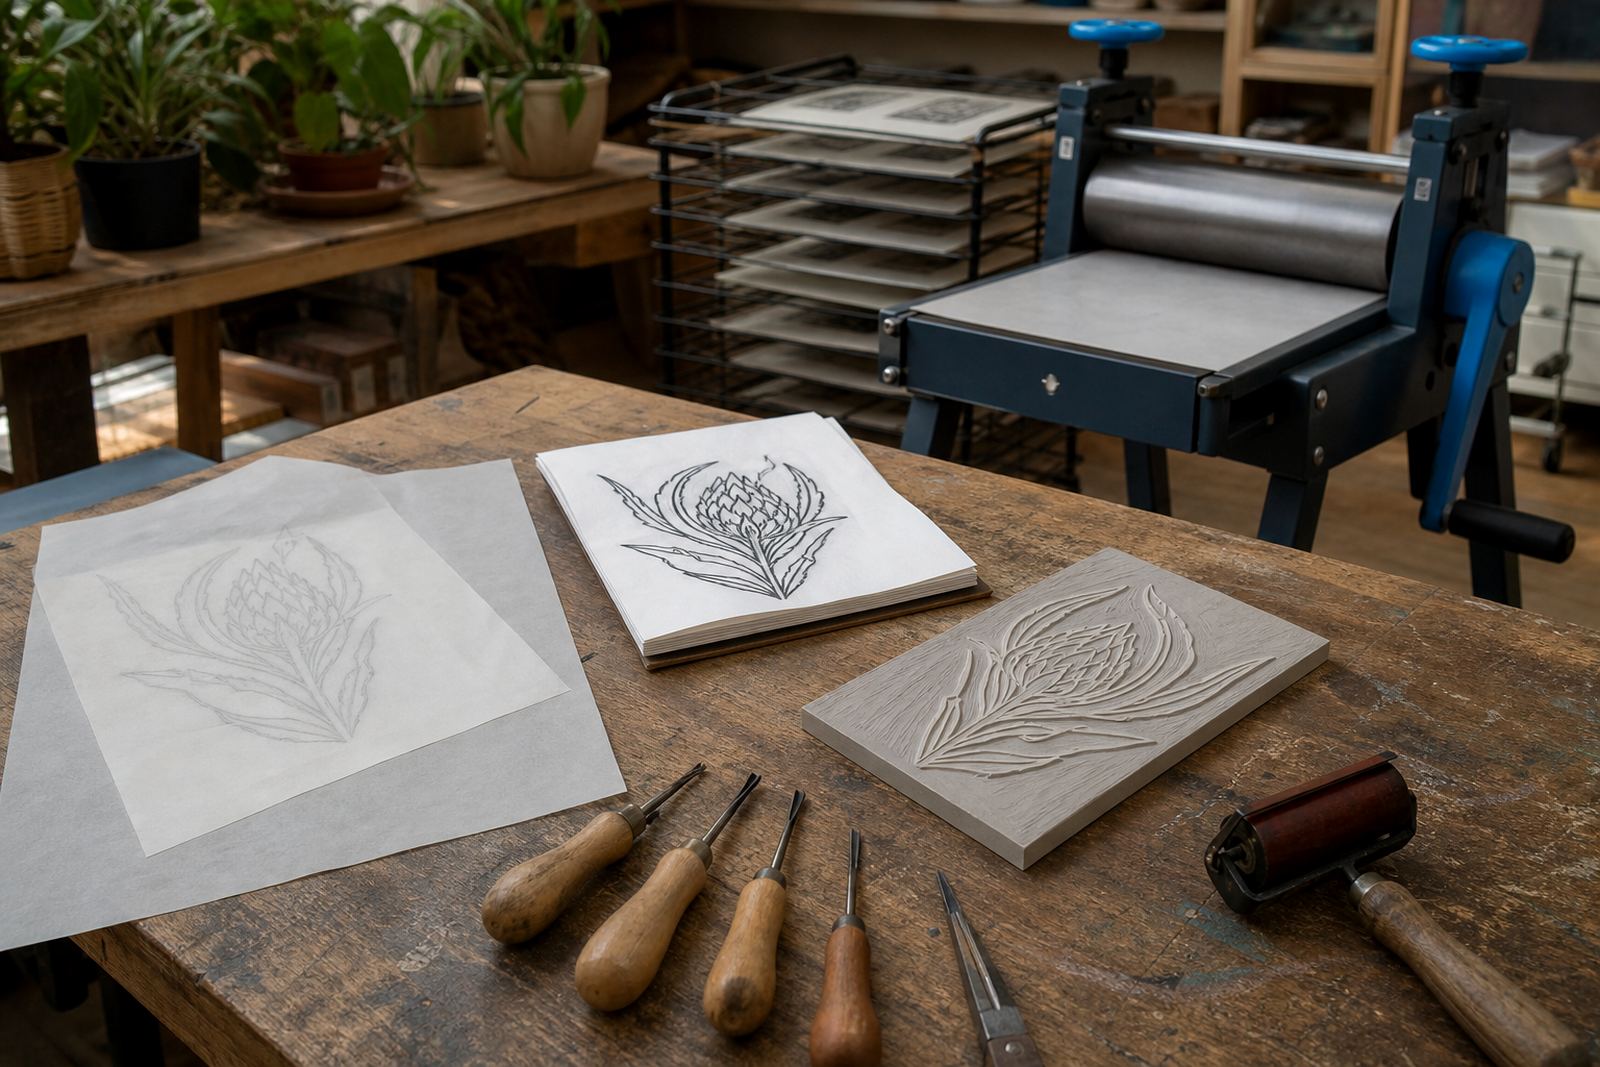
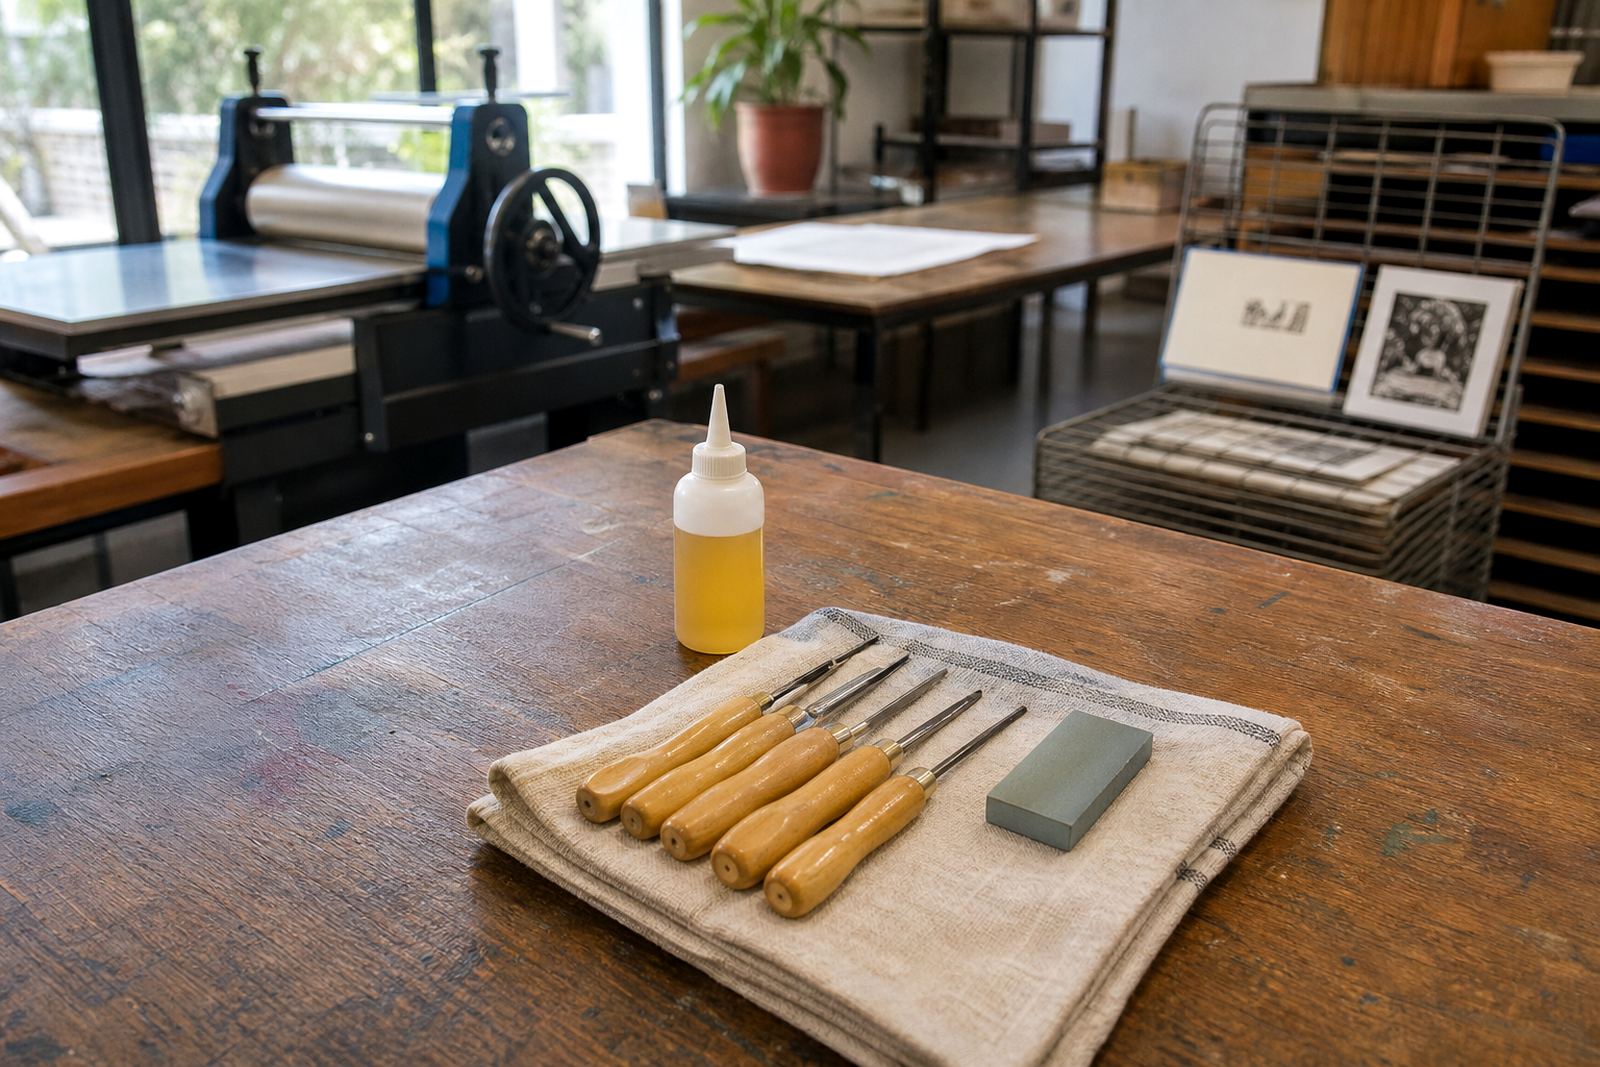
Linocut starts with a block, usually lino or a softer carving block depending on the project and the age of the group. The tools include gouges and V-tools for cutting away the areas that will stay white on paper, with safe handling and hand positions explained before any carving begins.
The early marks matter. A clean edge around a line, a steady cut through a corner and a clear raised surface all affect how the final print looks once ink is rolled over the block.
- Lino blocks for sharper lines and stronger detail
- Soft-cut blocks for easier first-time carving
- Gouges for broader channels and shaping
- V-tools for fine marks, texture and line work
Inking, brayers and the feel of the first pull
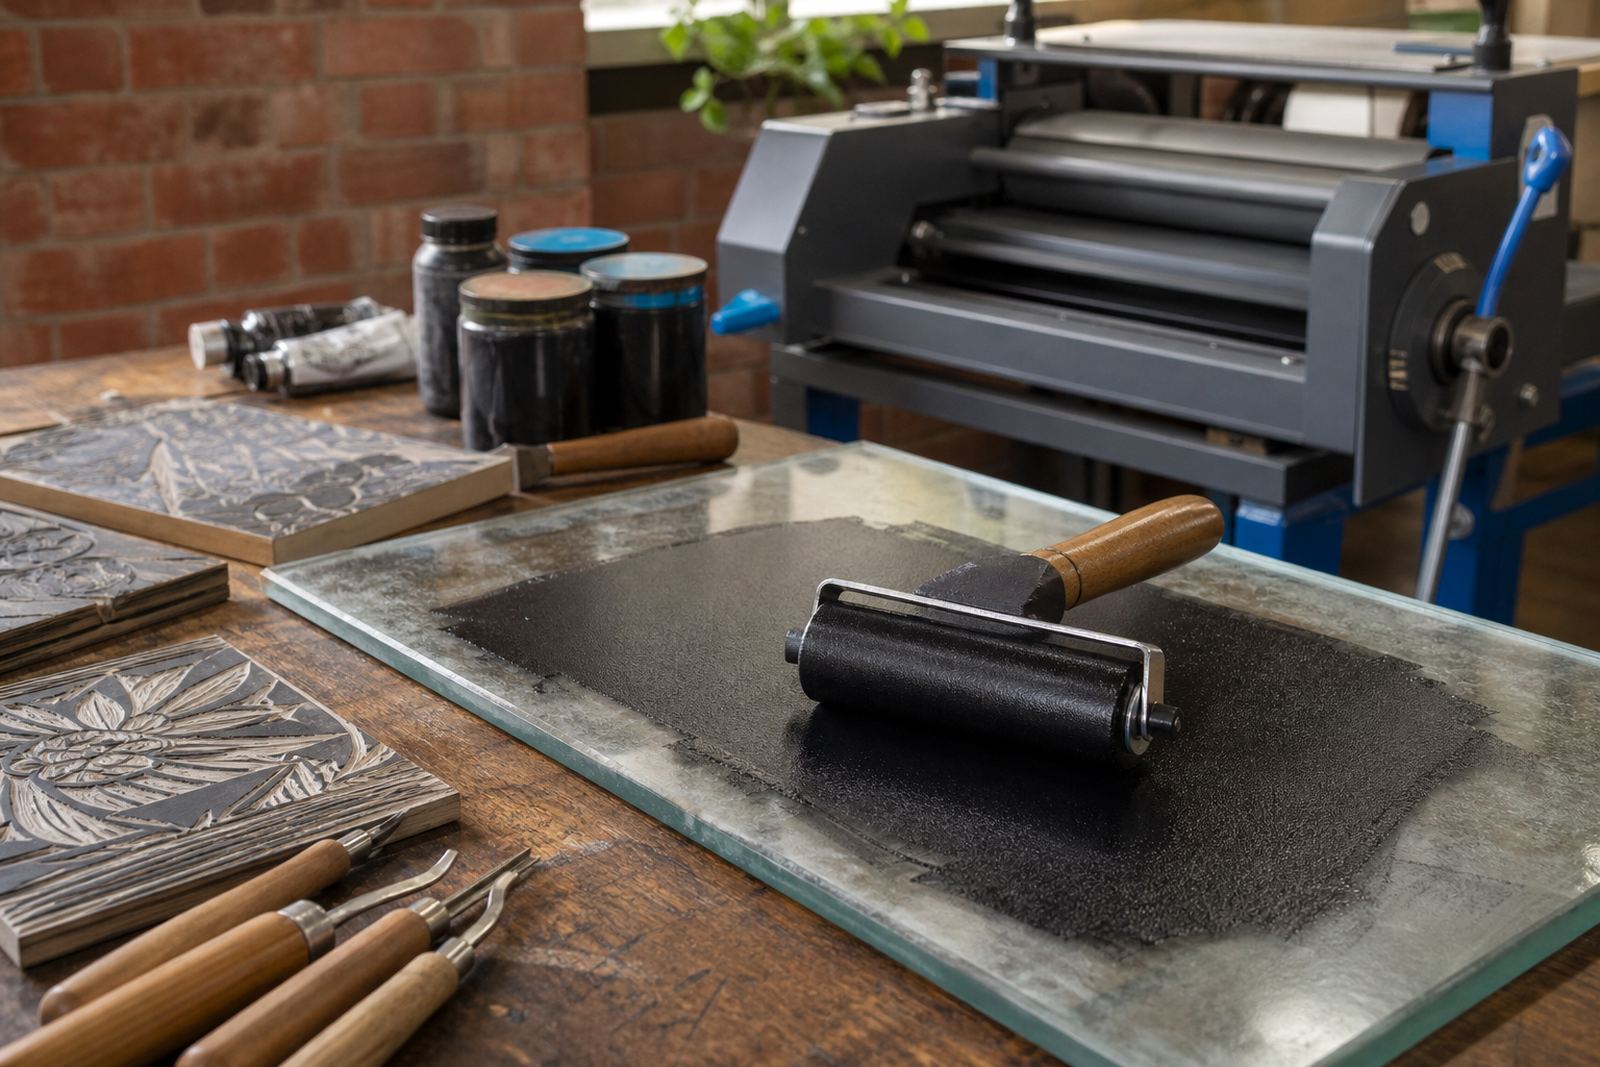
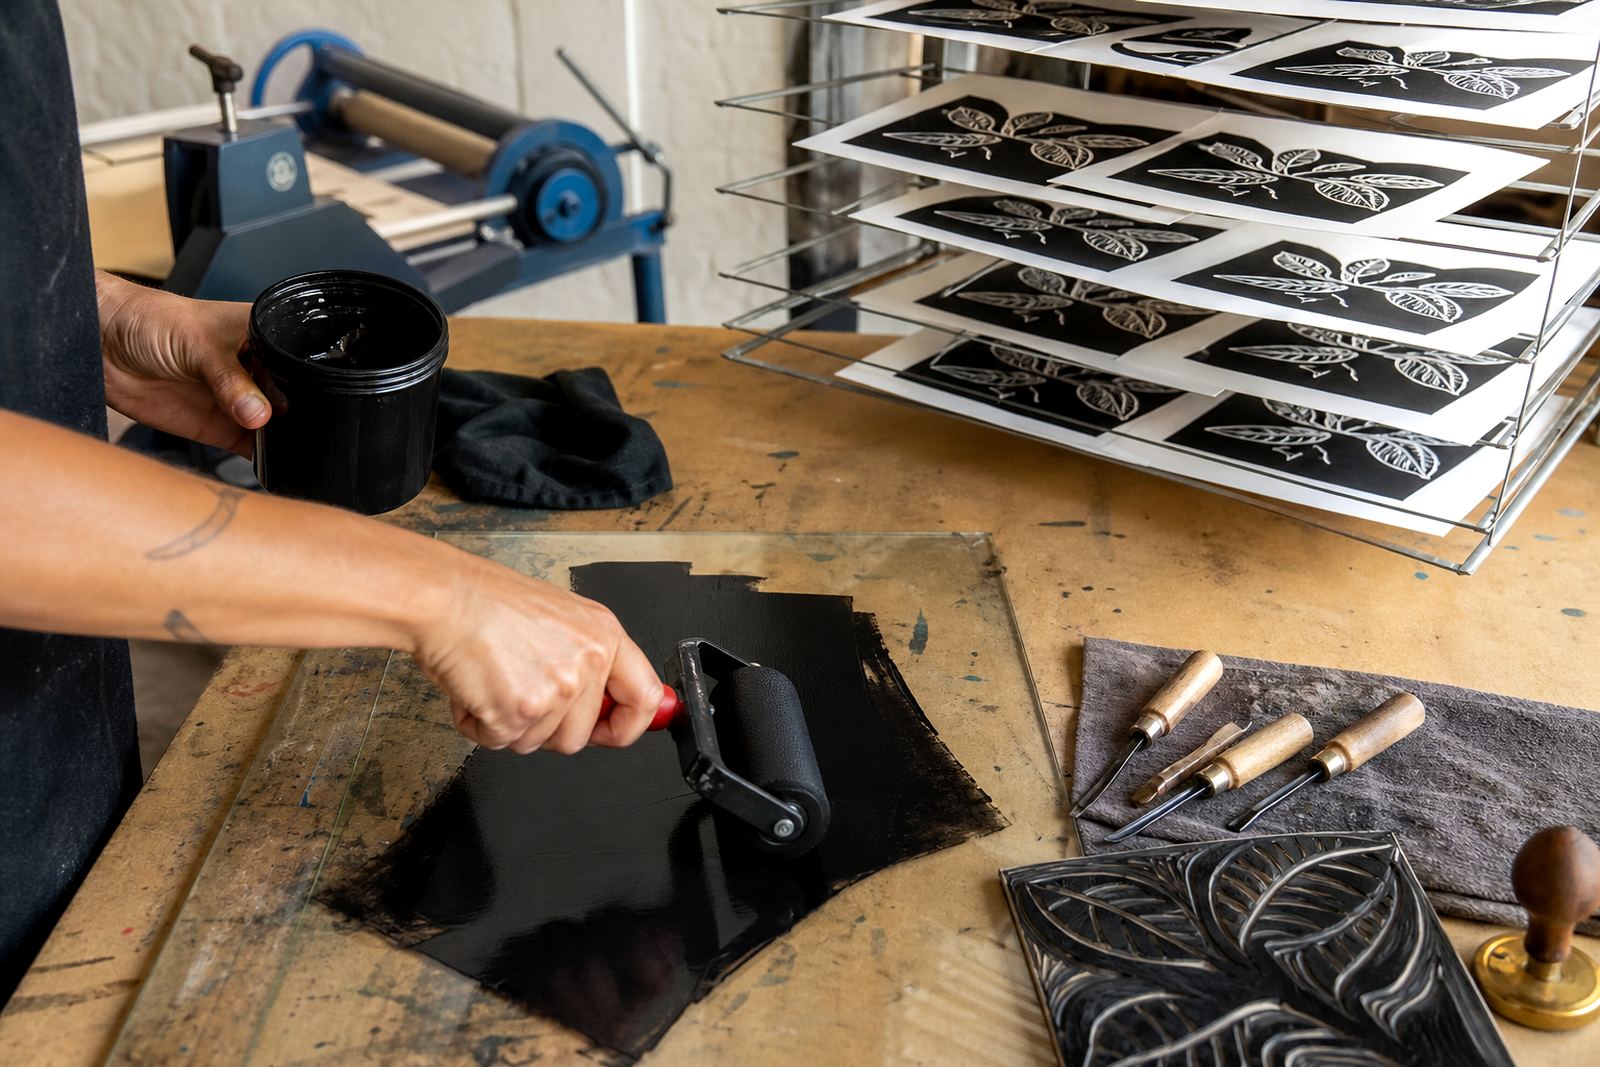
Once the block is carved, ink is rolled out with a brayer until it has an even surface and the right tack. Water-based inks are useful for many workshop settings because clean-up is straightforward, while oil-based block inks are often chosen for a different working feel and a deeper print surface.
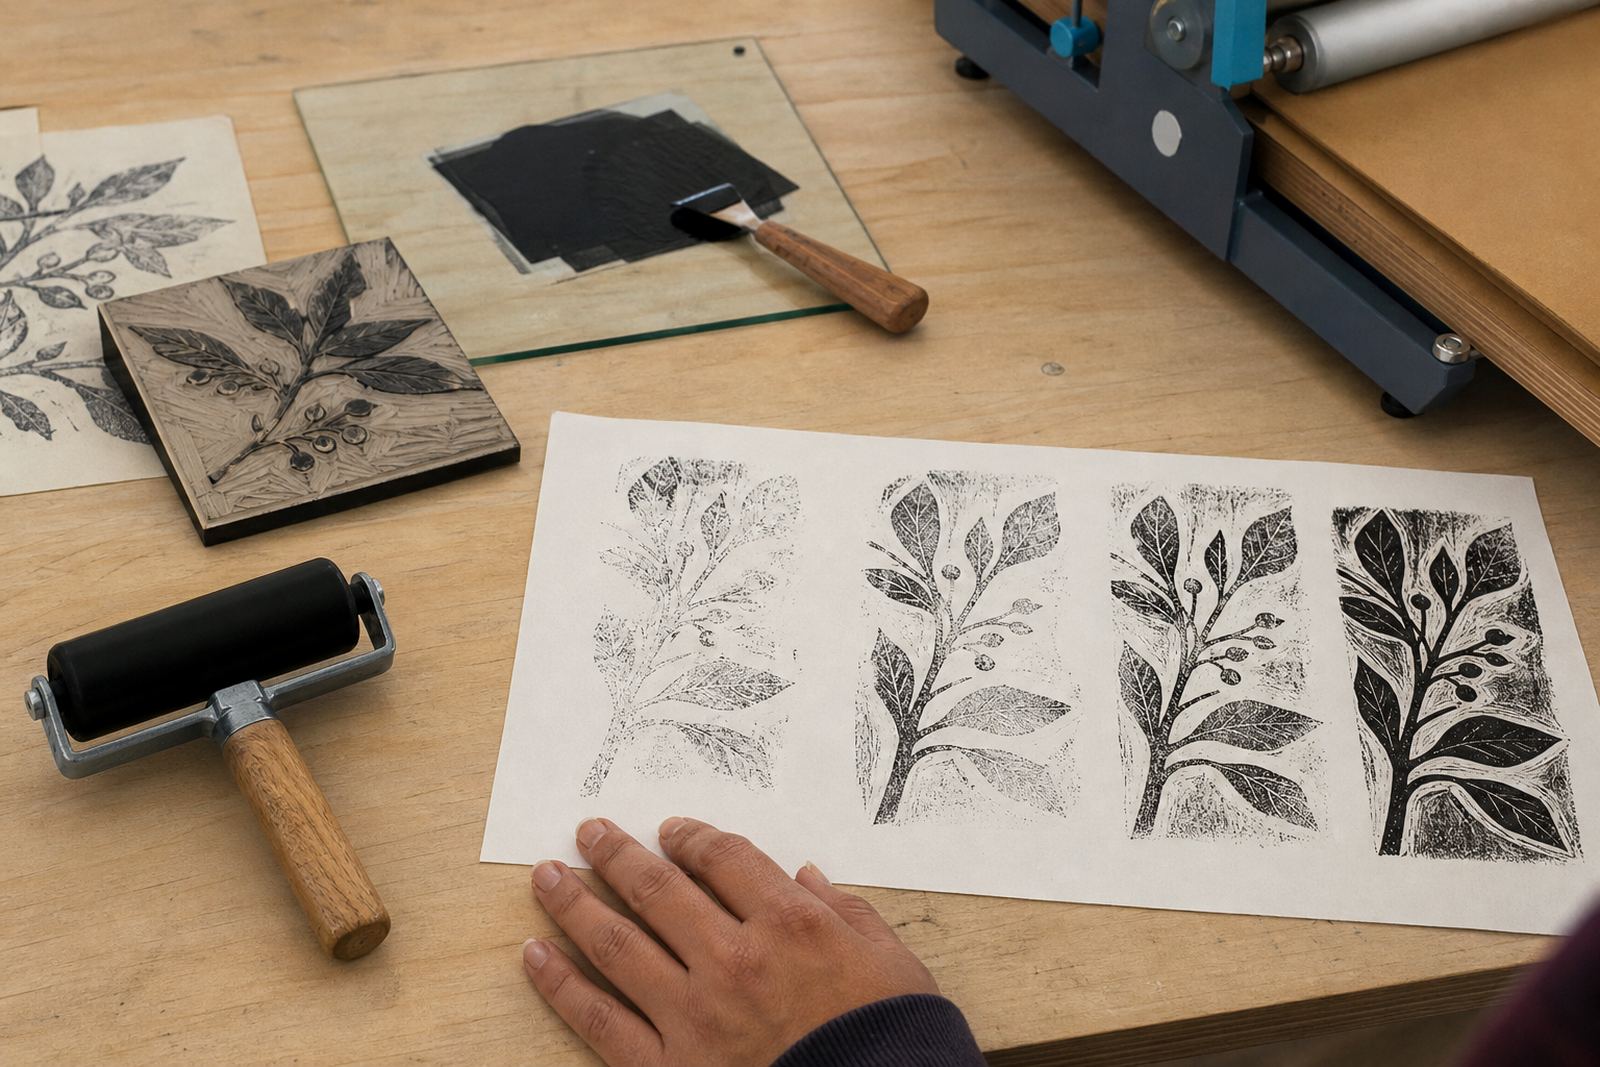
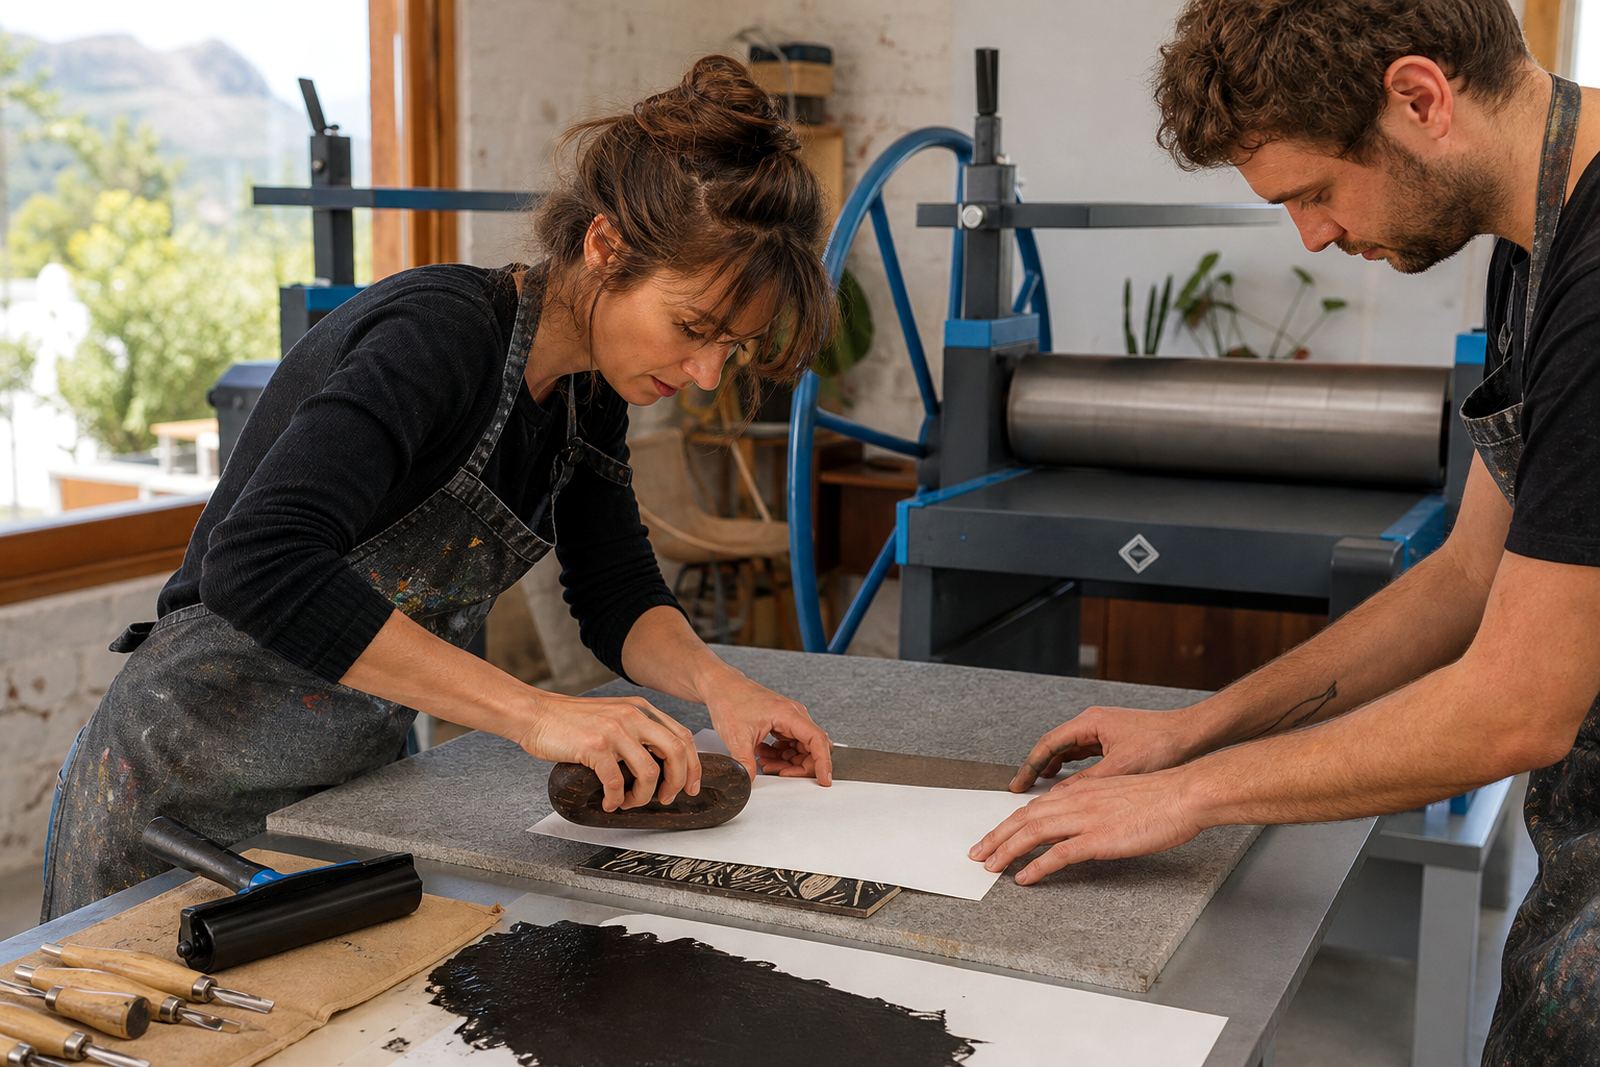
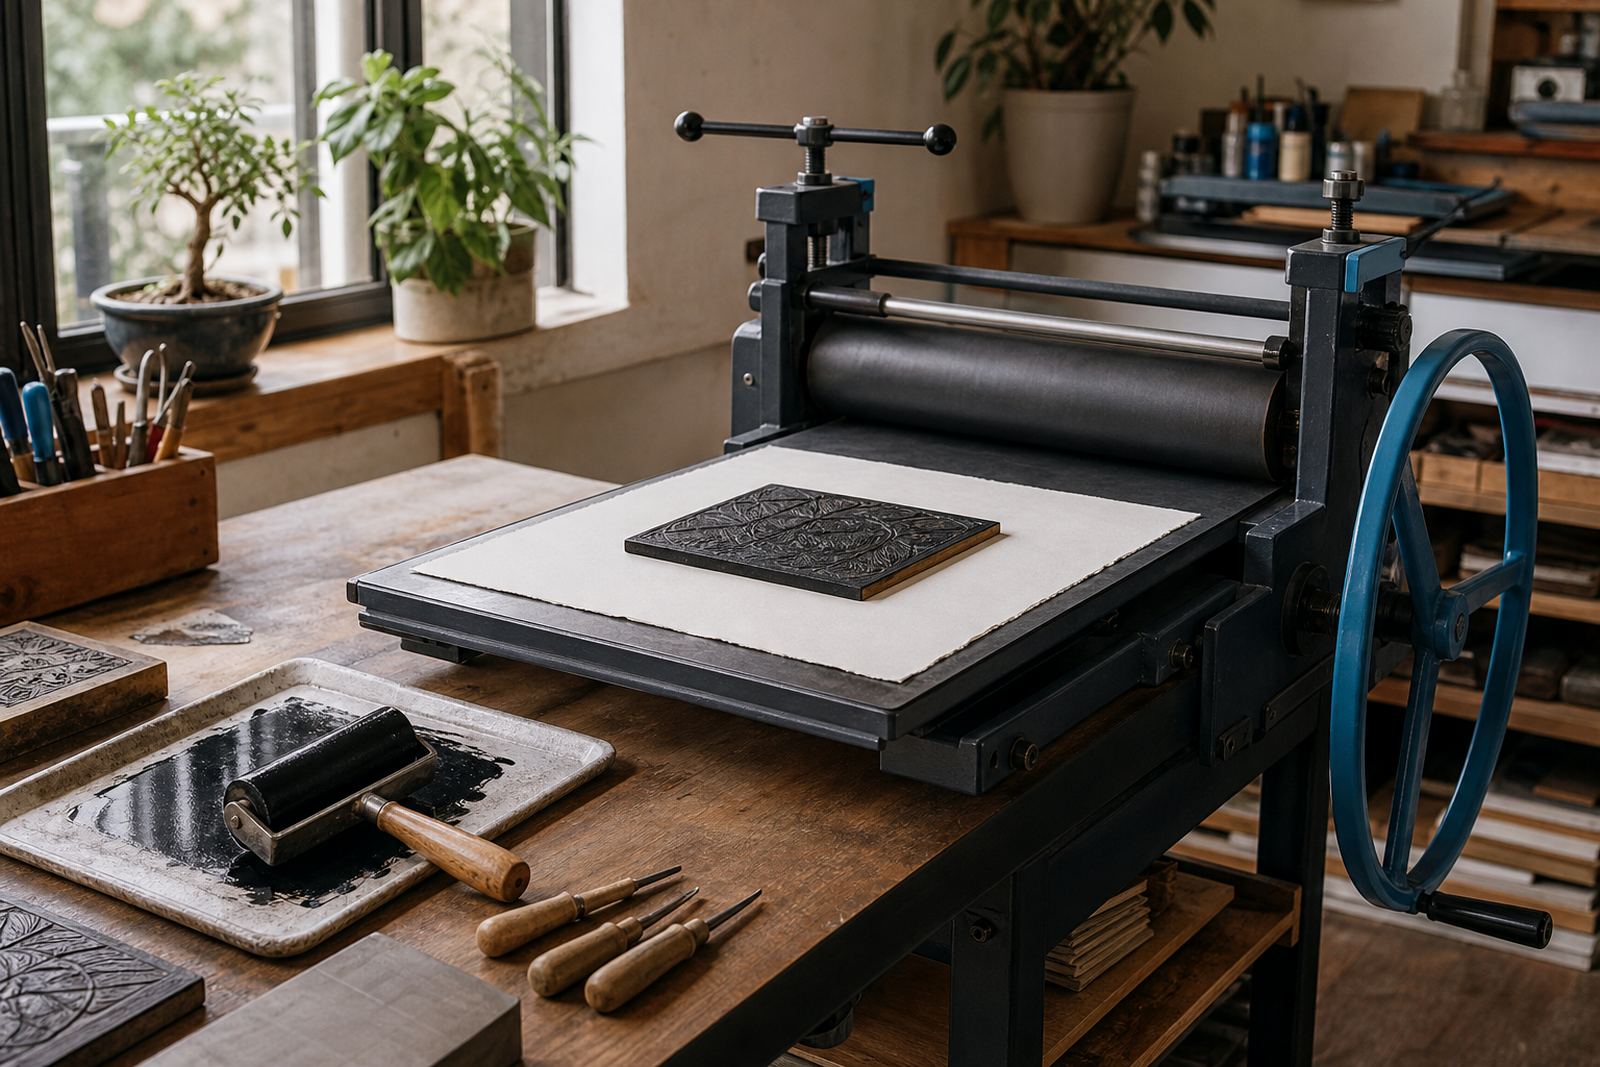
Printing may be done by hand with a baren or through a press, depending on the session and the edition being made. The aim is even pressure across the block so the ink transfers clearly into the paper fibres.
- Brayers for spreading ink evenly across the block
- Water-based and oil-based block inks
- Baren printing for controlled hand pressure
- Press printing for firm, consistent transfer
Registration and edition work without the guesswork
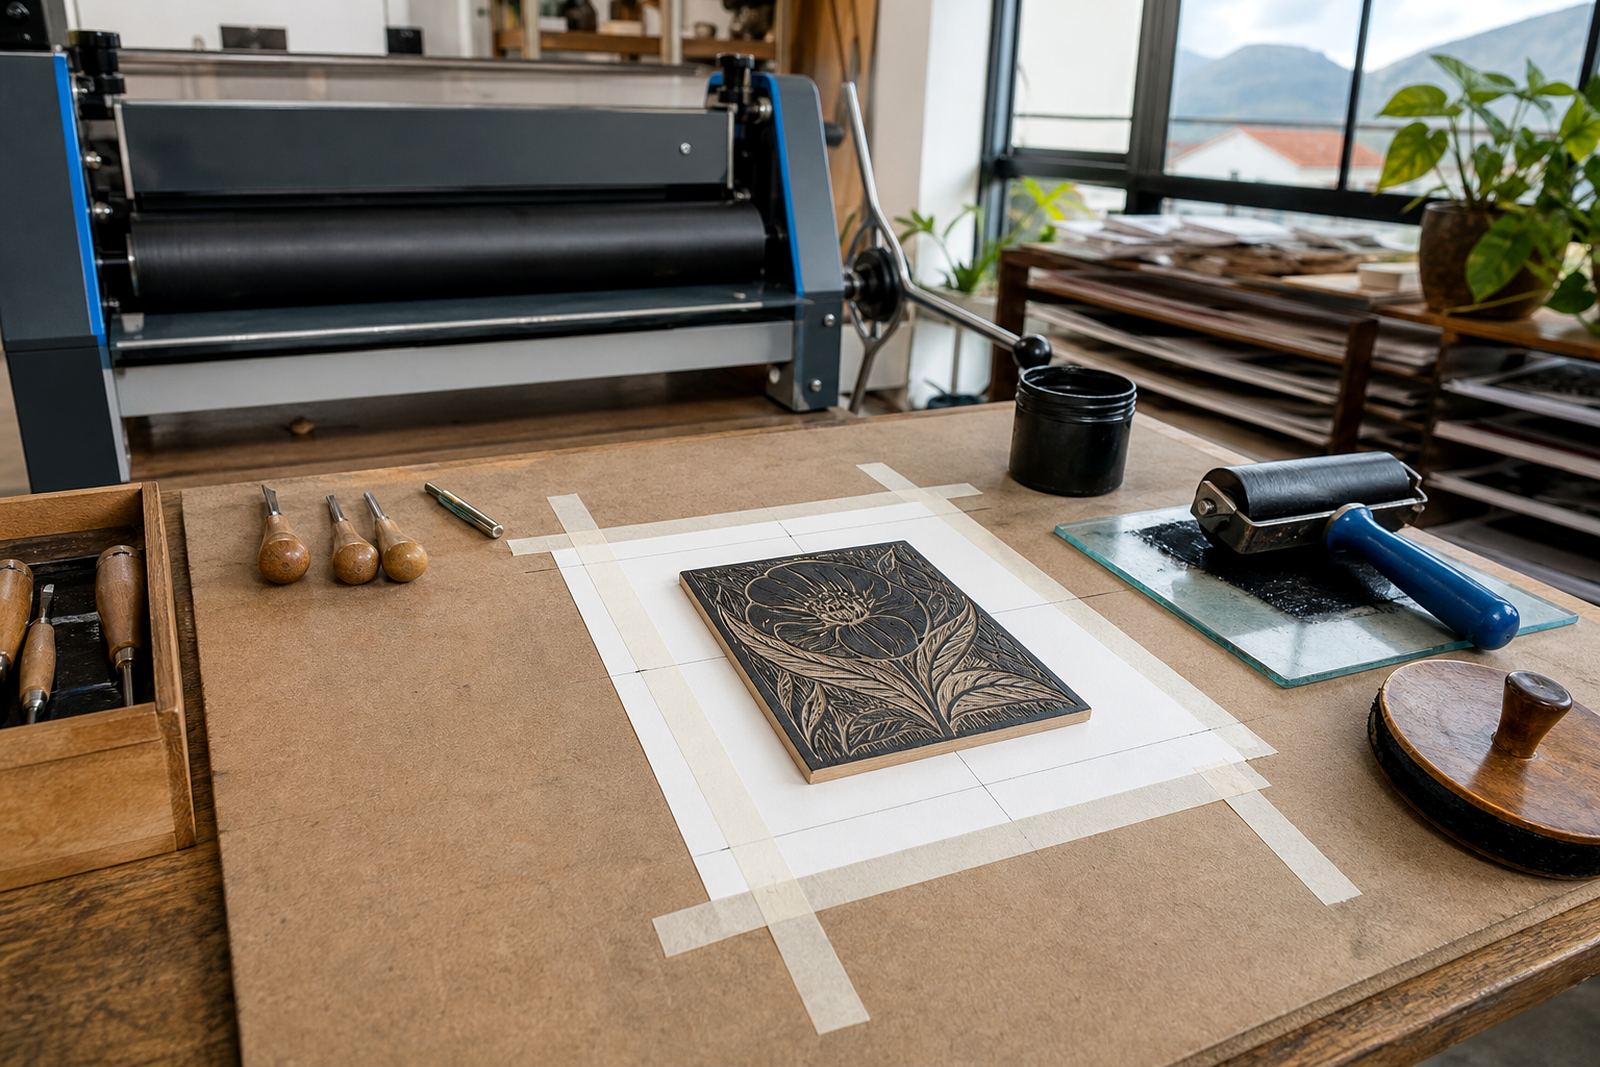
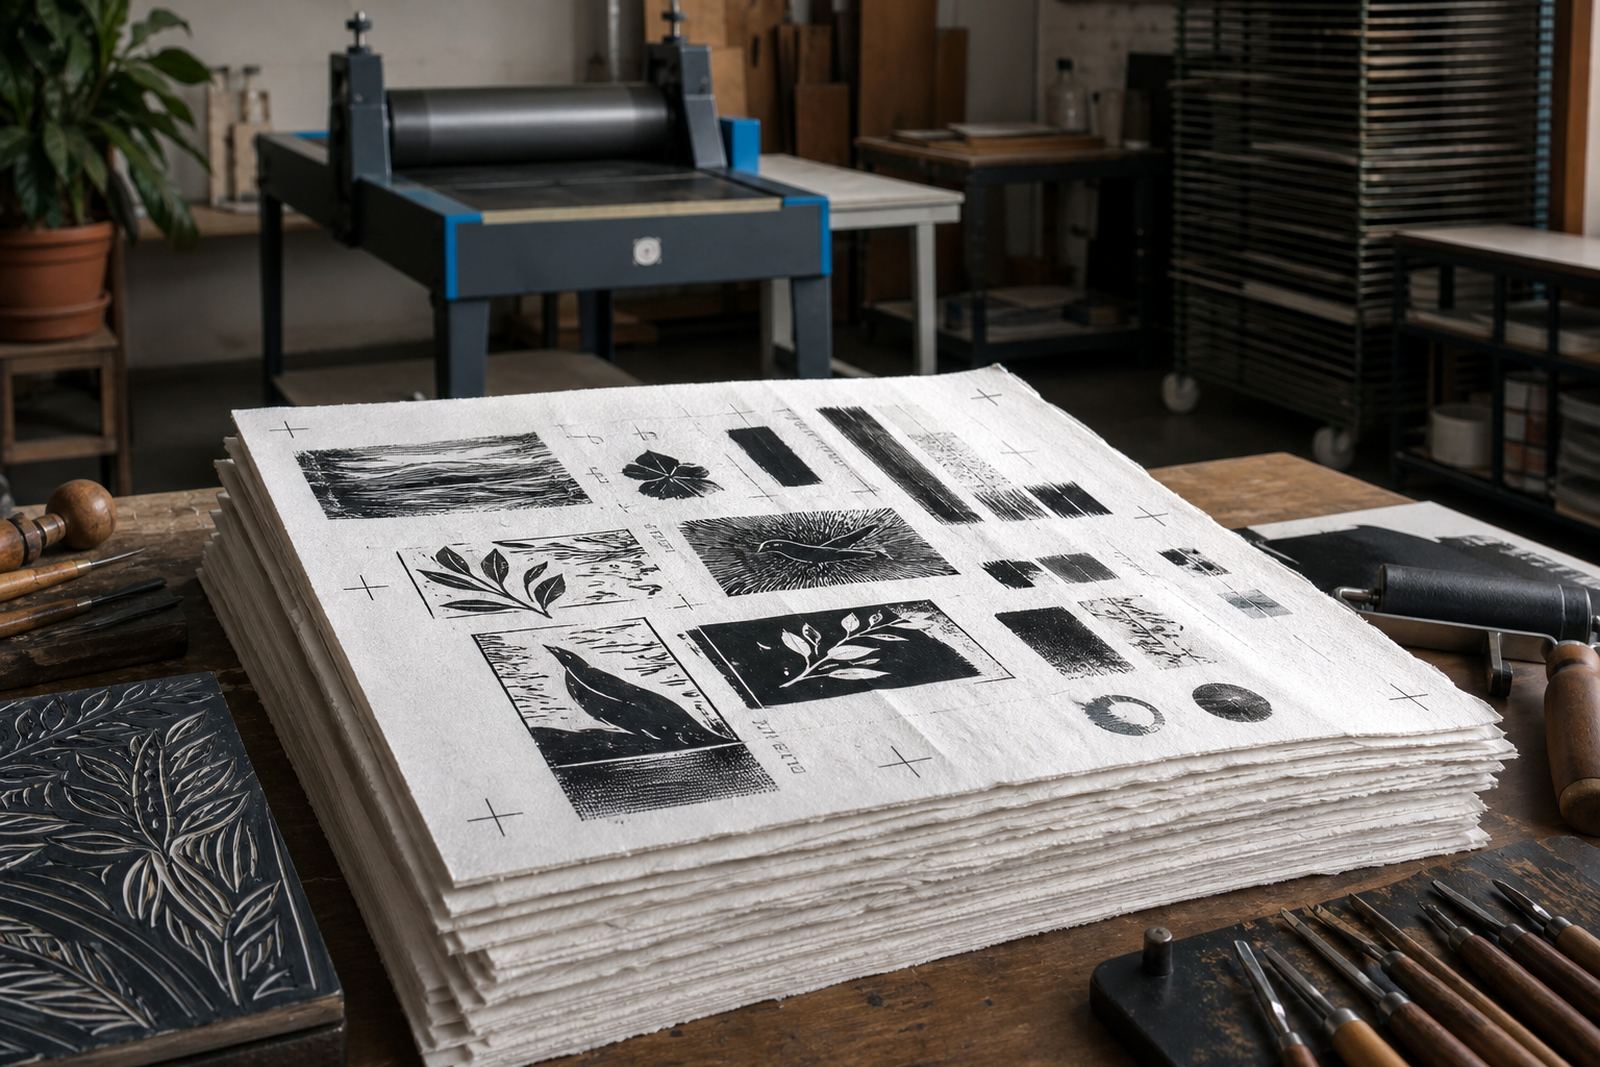
When a print is meant to be repeated as an edition, registration becomes part of the process. Sheets need to sit in the same position each time, especially where more than one colour or layer is planned, and the block has to line up with the paper every time it is pulled.
That discipline helps students and groups see how small shifts affect a final print. It also teaches how an edition is counted, signed and checked so the set reads as one body of work rather than a stack of near-matches.
- Registration marks for repeat placement
- Edition printing for matching sets
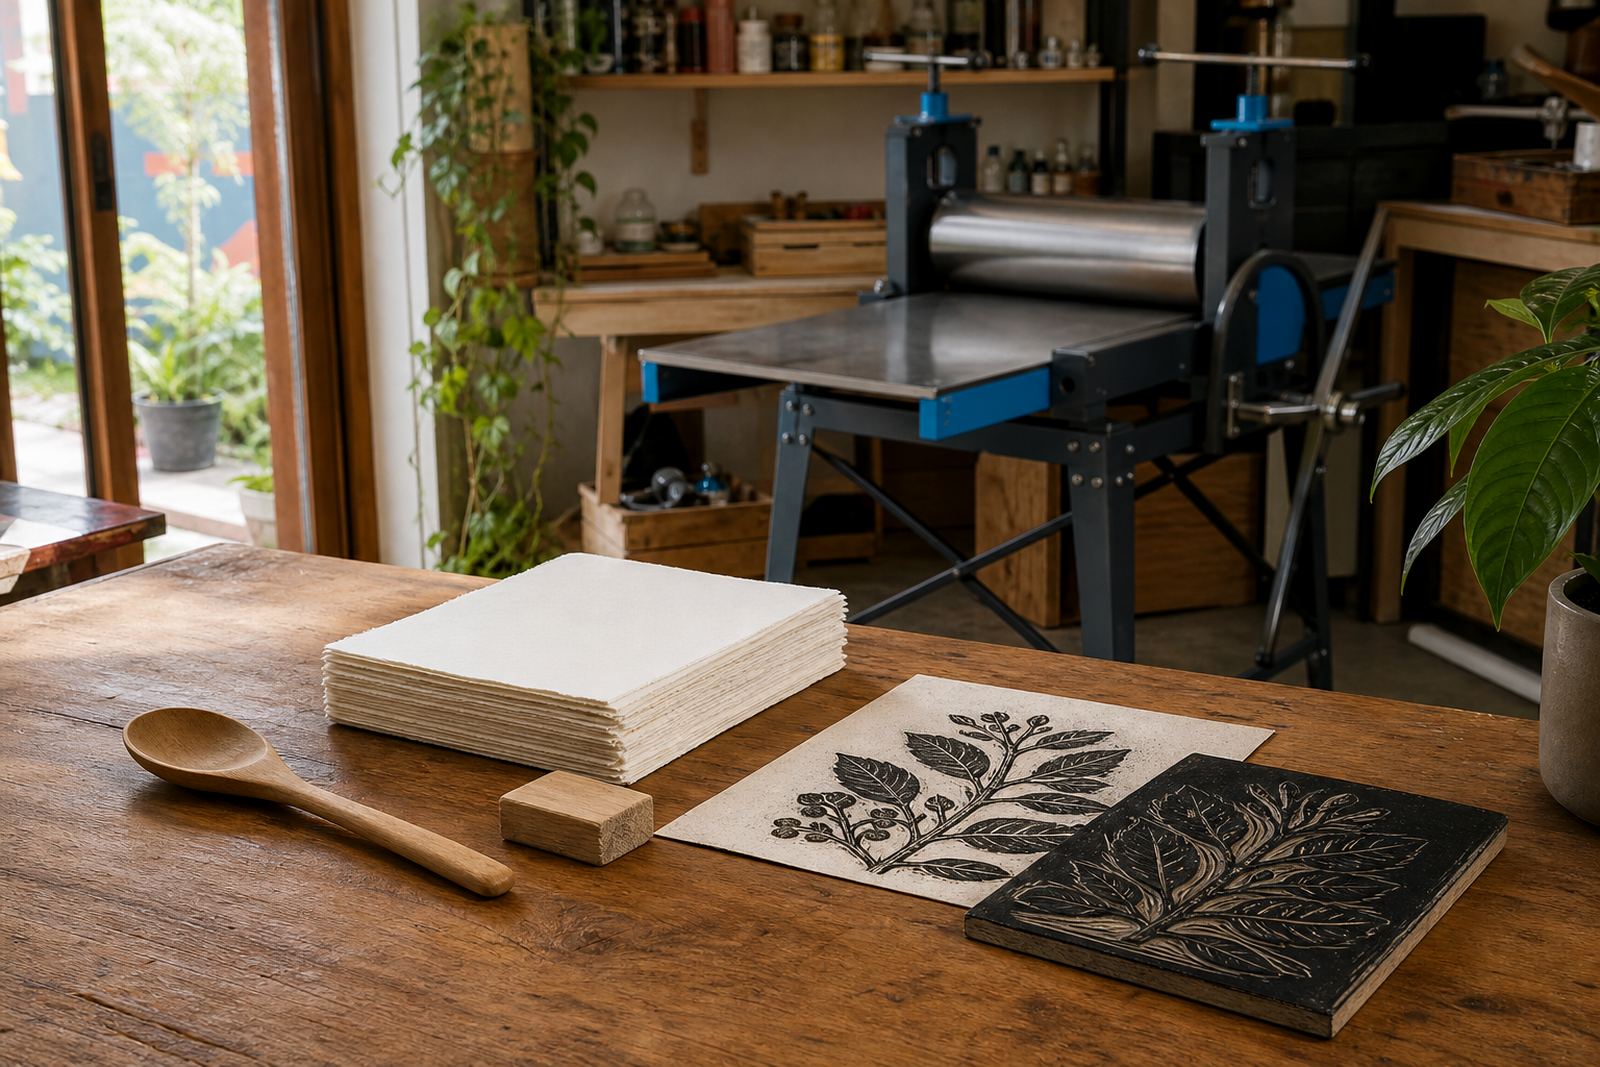
- Paper choice for texture, absorbency and strength
- Checking each pull before the next sheet goes on
Beginner kits for the first home or studio block
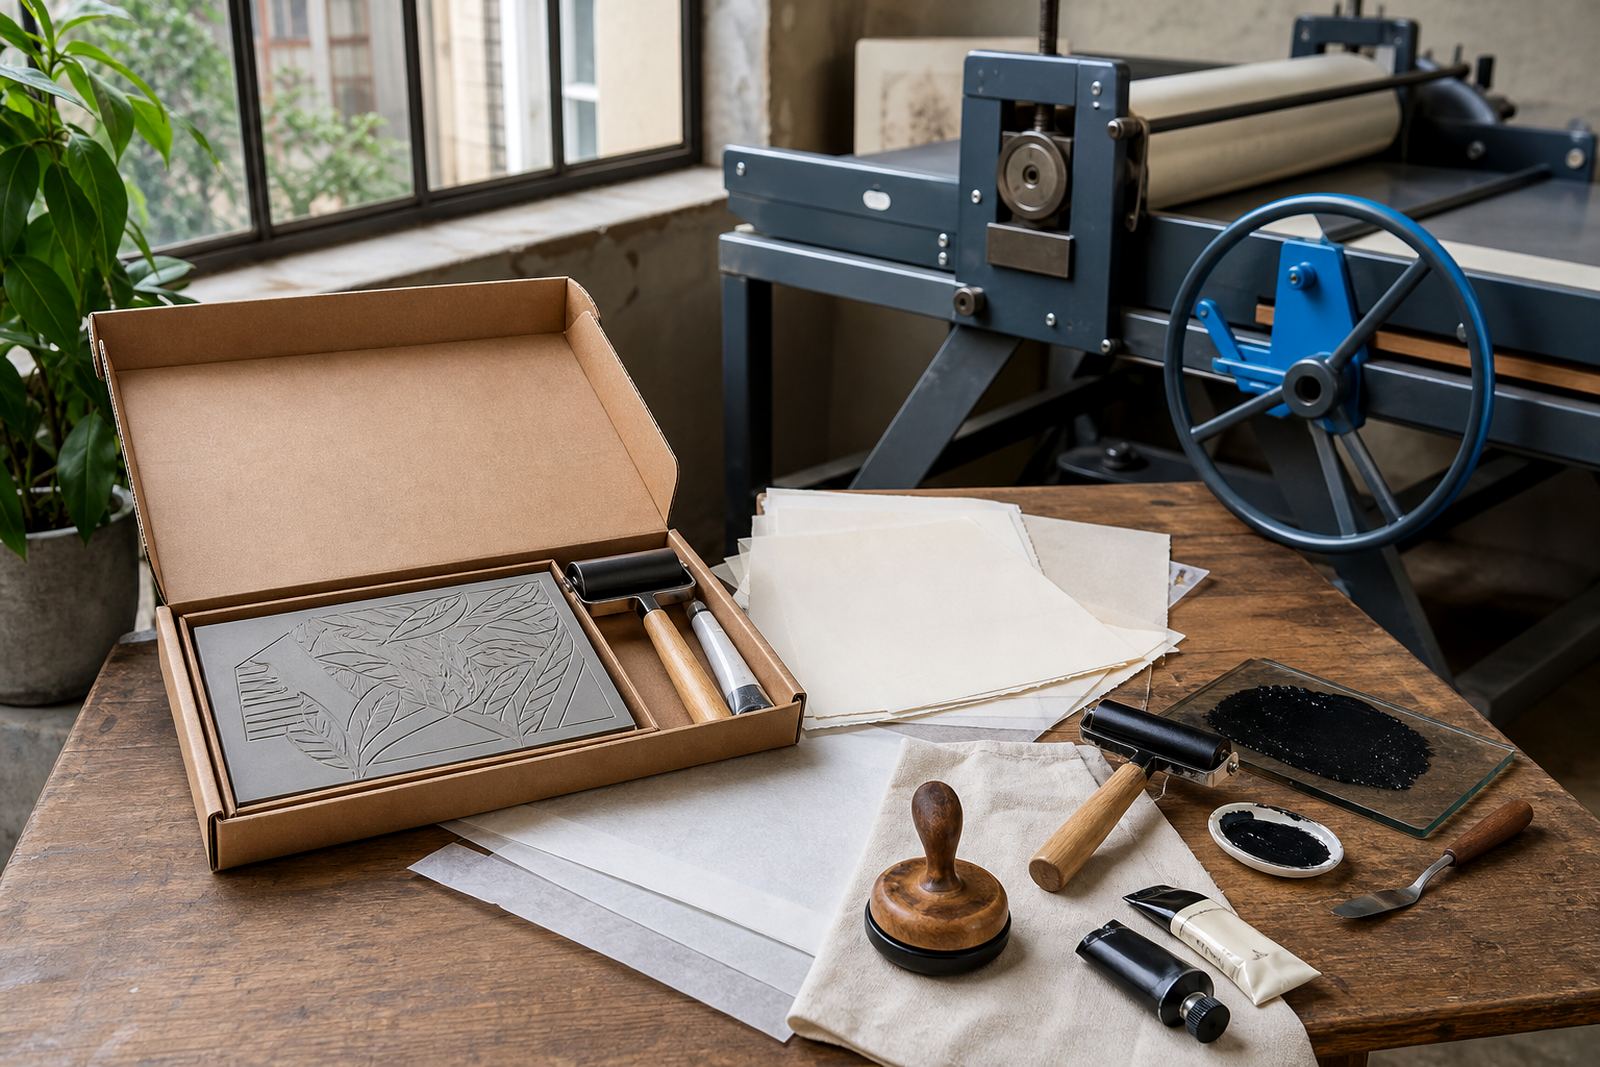
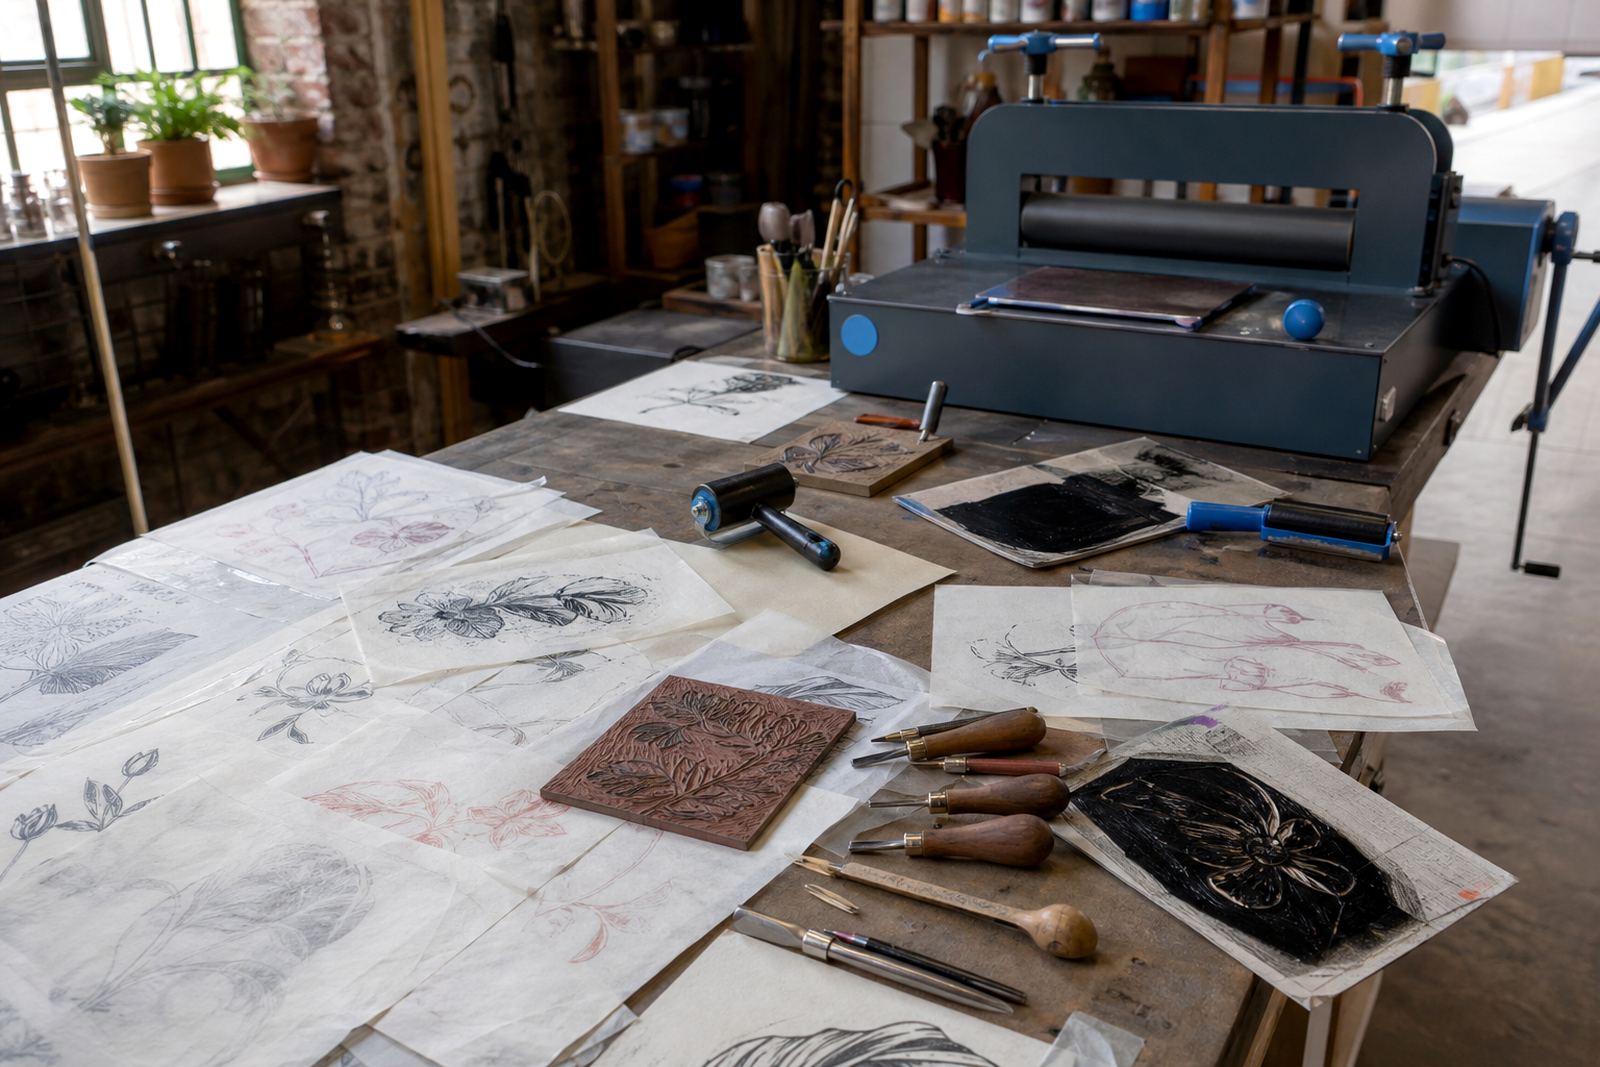
Beginner kits are built for people who want to keep carving after a session. A useful kit usually includes a carving block, basic cutting tools, ink, a brayer, paper and a clear way to store or label the pieces while the block is in progress.
The value of a good starter set is practical. It gives enough material to practise line, texture and test pulls without making the first attempt too complicated, and it helps a new printer keep the tools together between sessions.
- Starter block for test cuts and first editions
- Basic carving tools for safe, simple marks
- Ink and brayer for rolling and proofing
- Paper for trial prints and final sheets
Schools, teams and families need different pacing
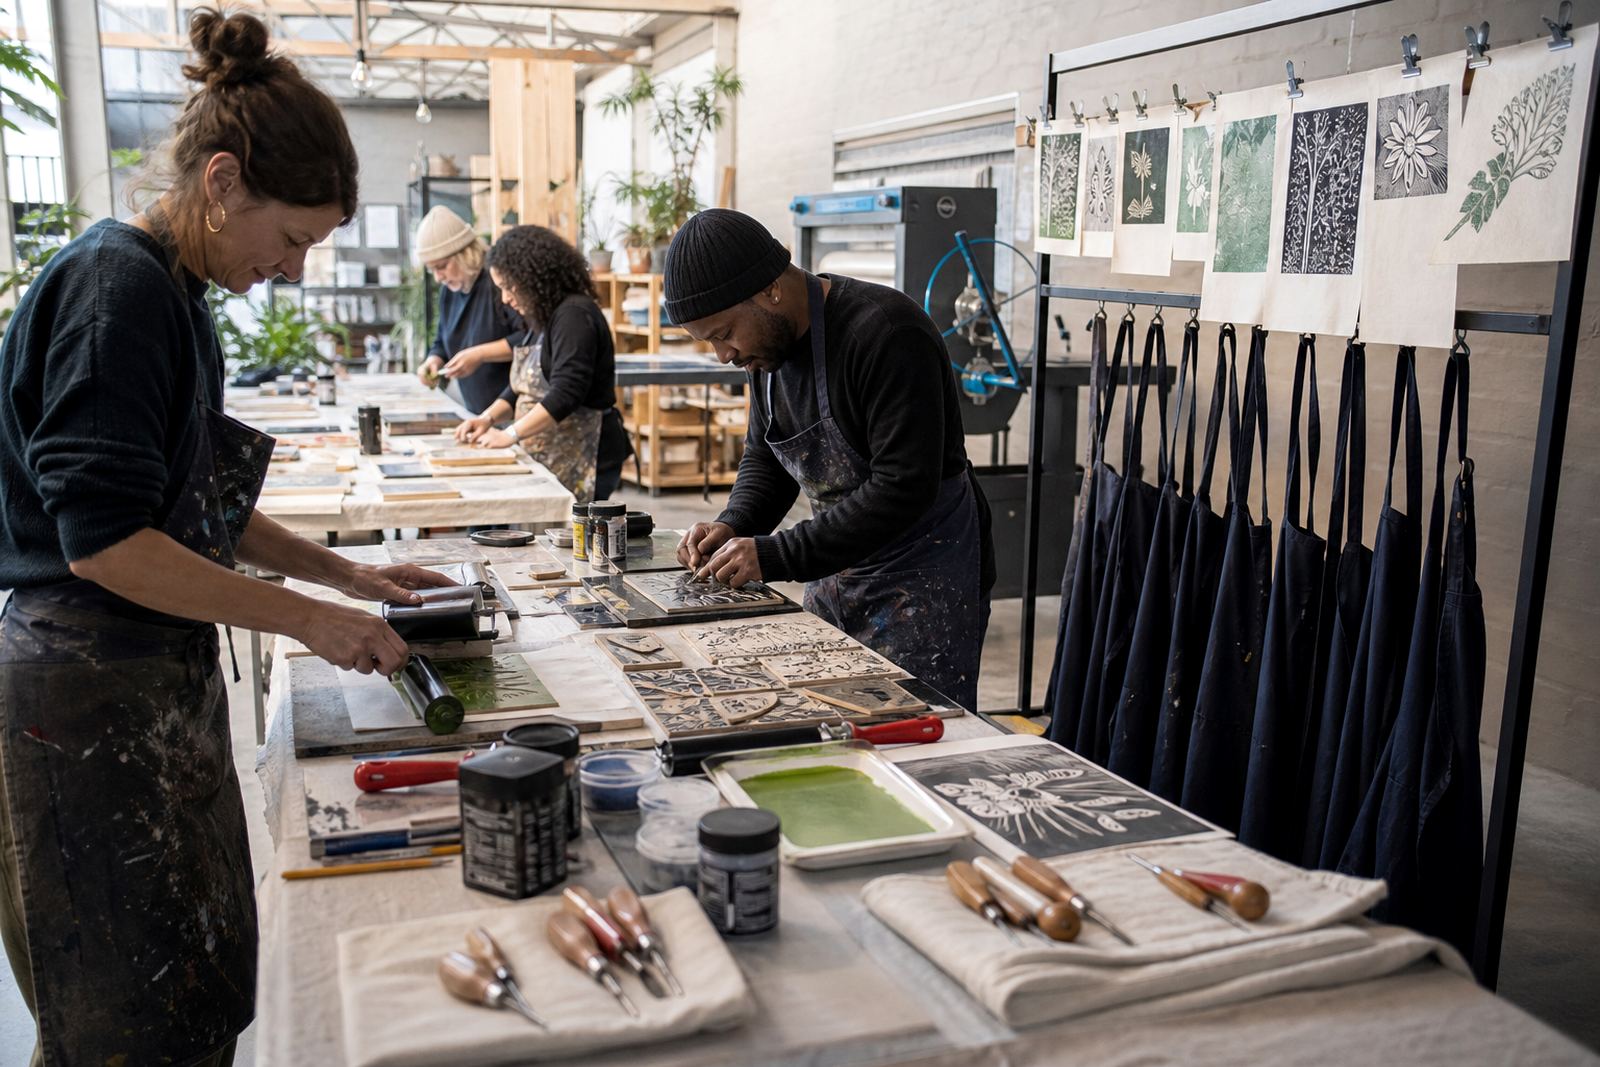
A school class needs clear instruction, quick setup and materials that can handle a room full of hands working at once. A team group often works best with a shared image or a split-block approach, while family sessions usually need a gentler pace and easier carving choices for mixed ages and experience levels.
These formats all use the same printmaking basics, but the sequence changes. Some groups spend more time sketching and planning, others move faster into inking and printing so there is enough time for each person to pull a finished sheet.
- School groups for curriculum-linked printmaking
- Team sessions for shared artwork and coordination
- Family classes with hands-on guidance
- Student classes for drawing, carving and edition work
Materials and tools used in our sessions
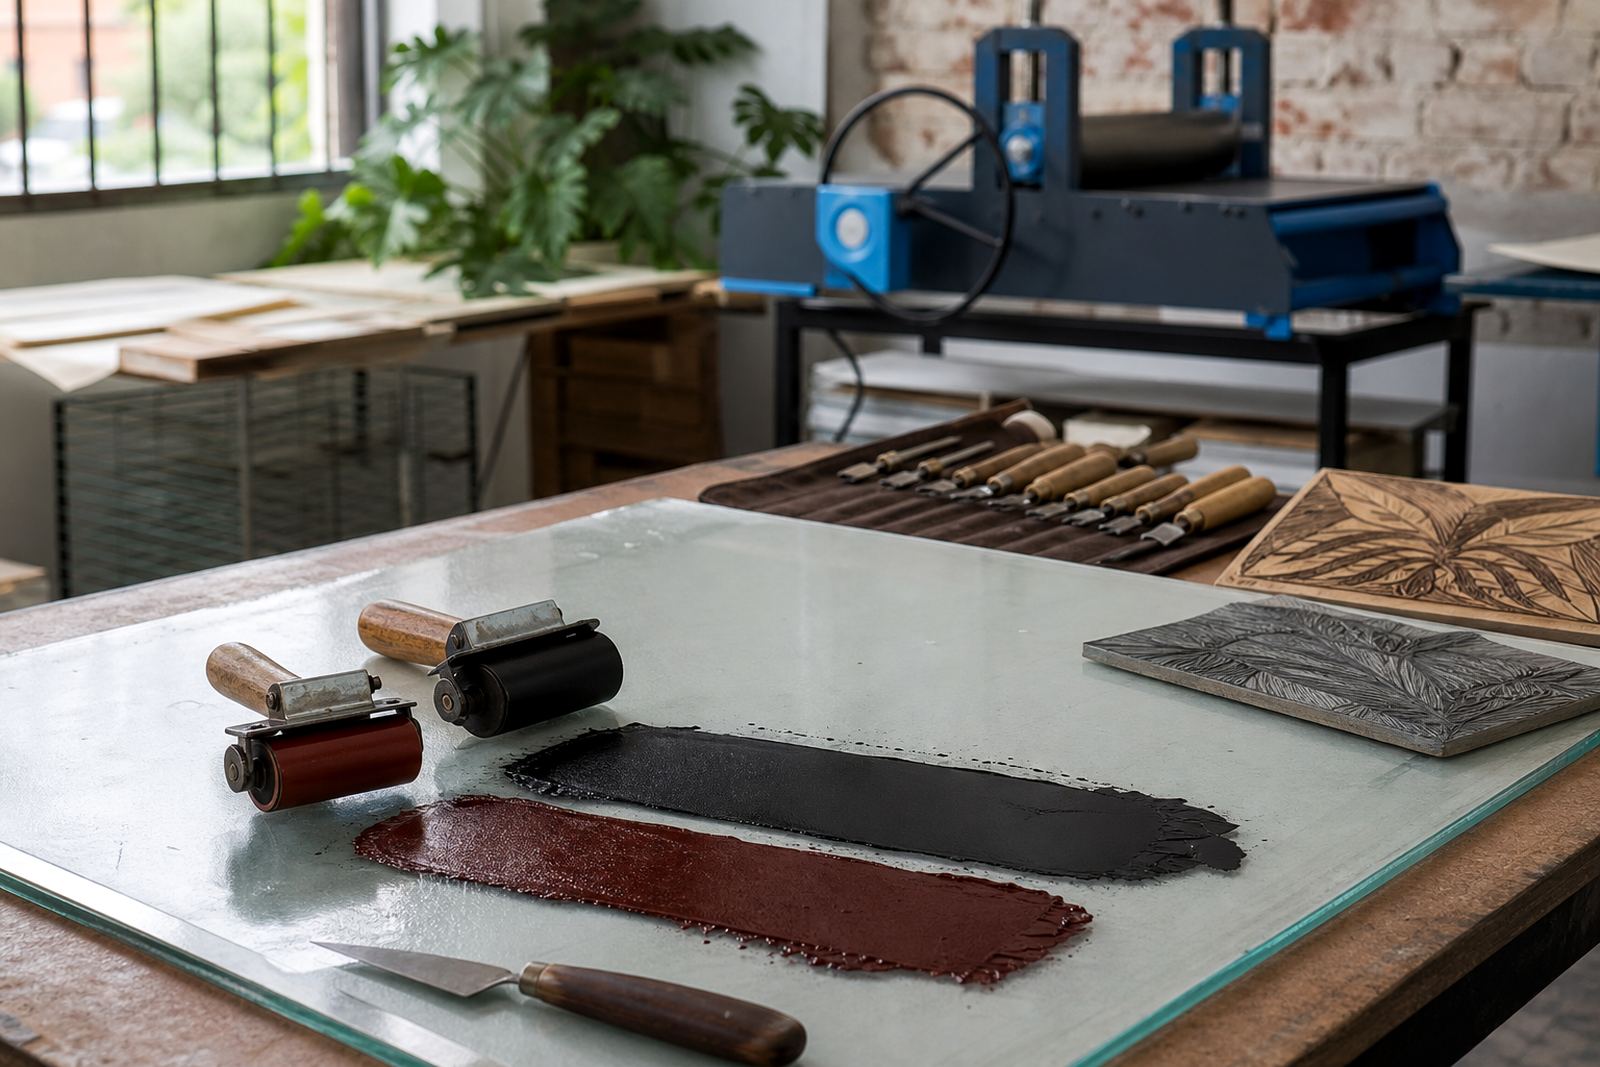
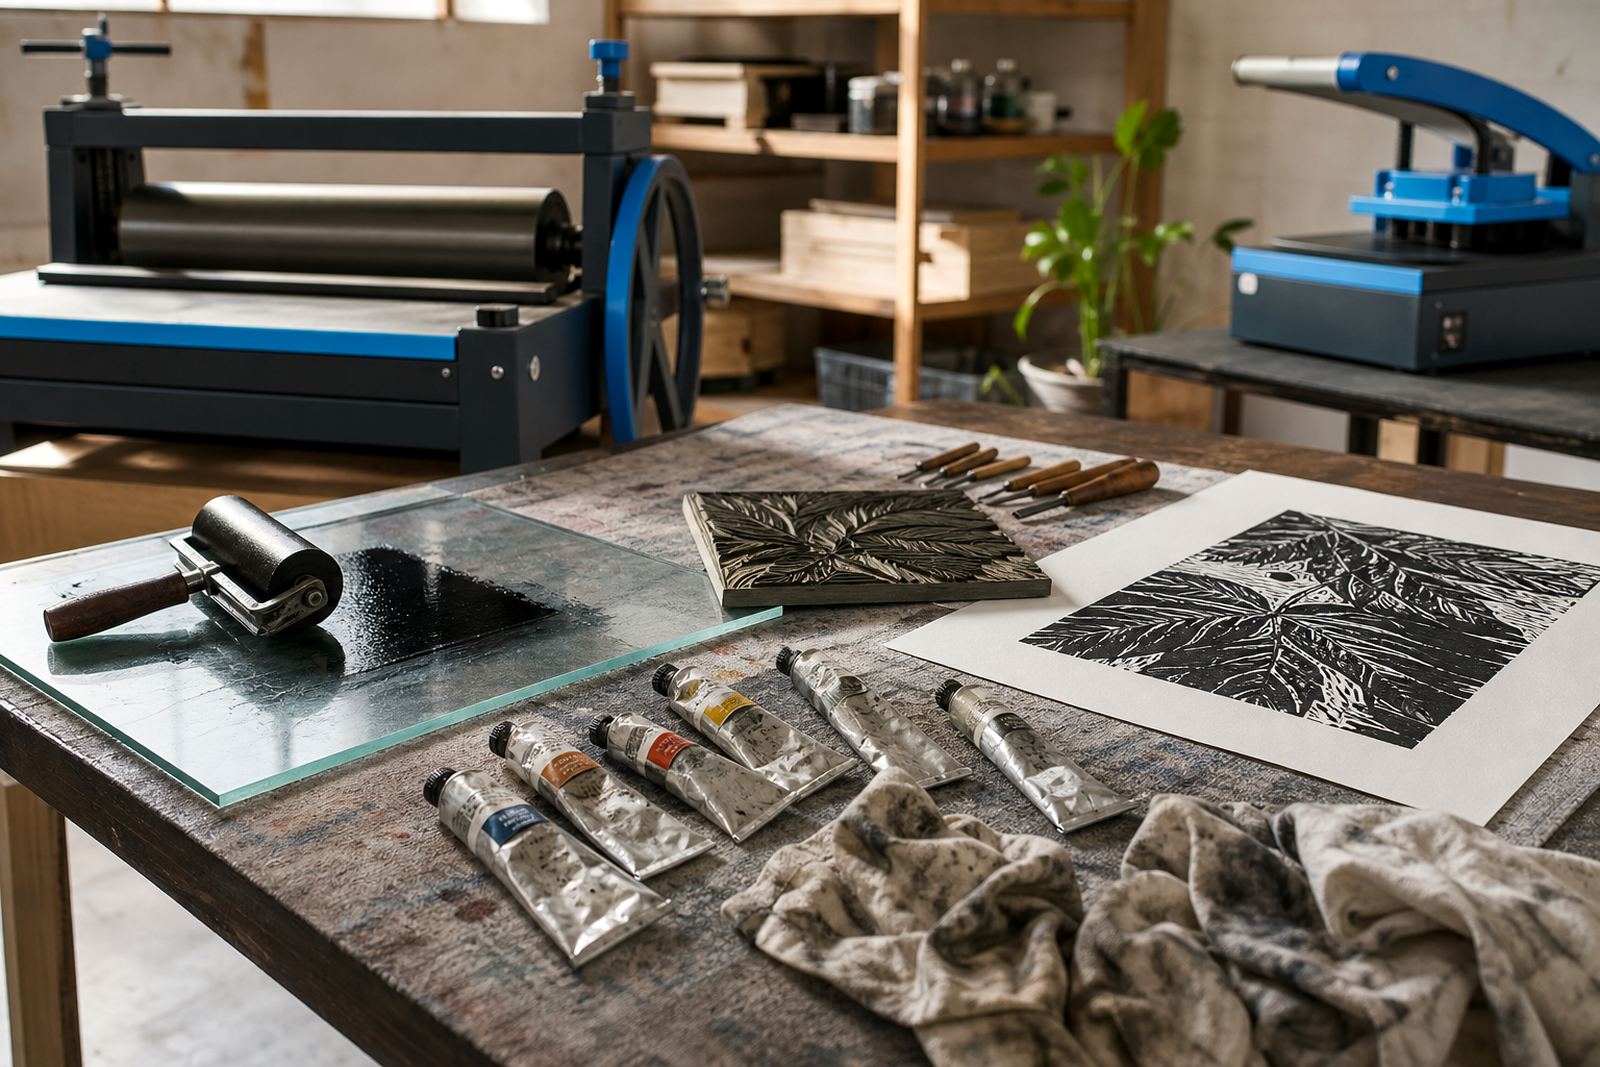
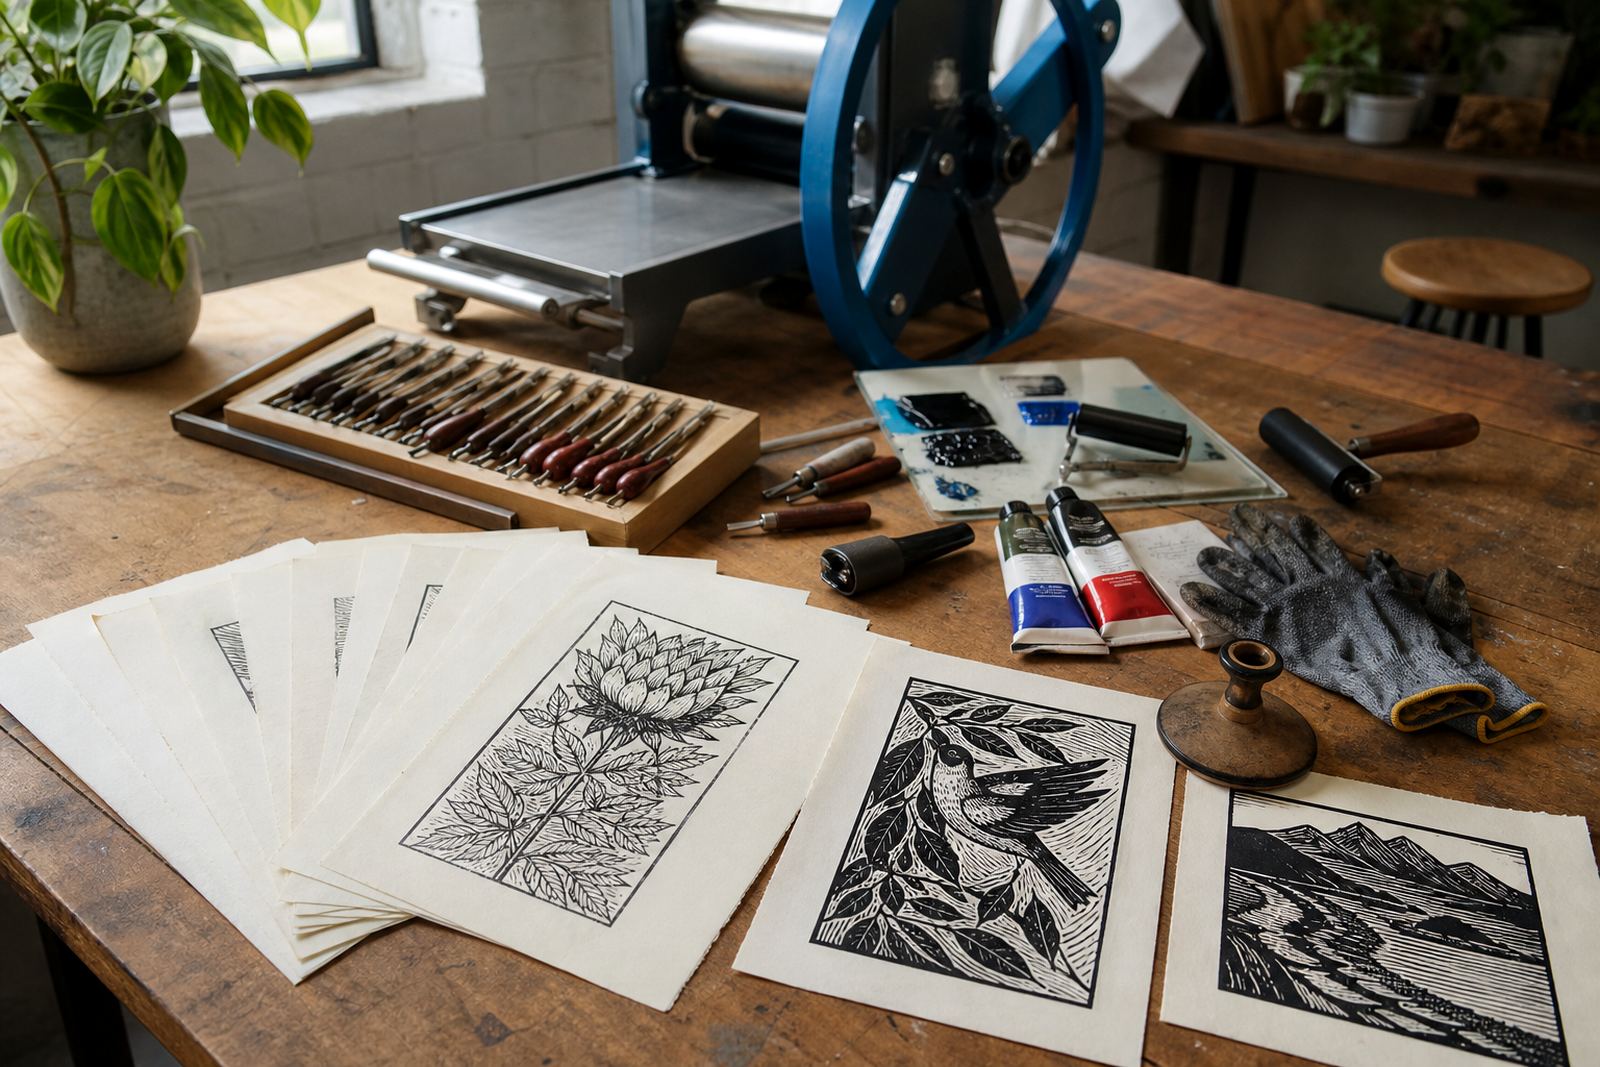
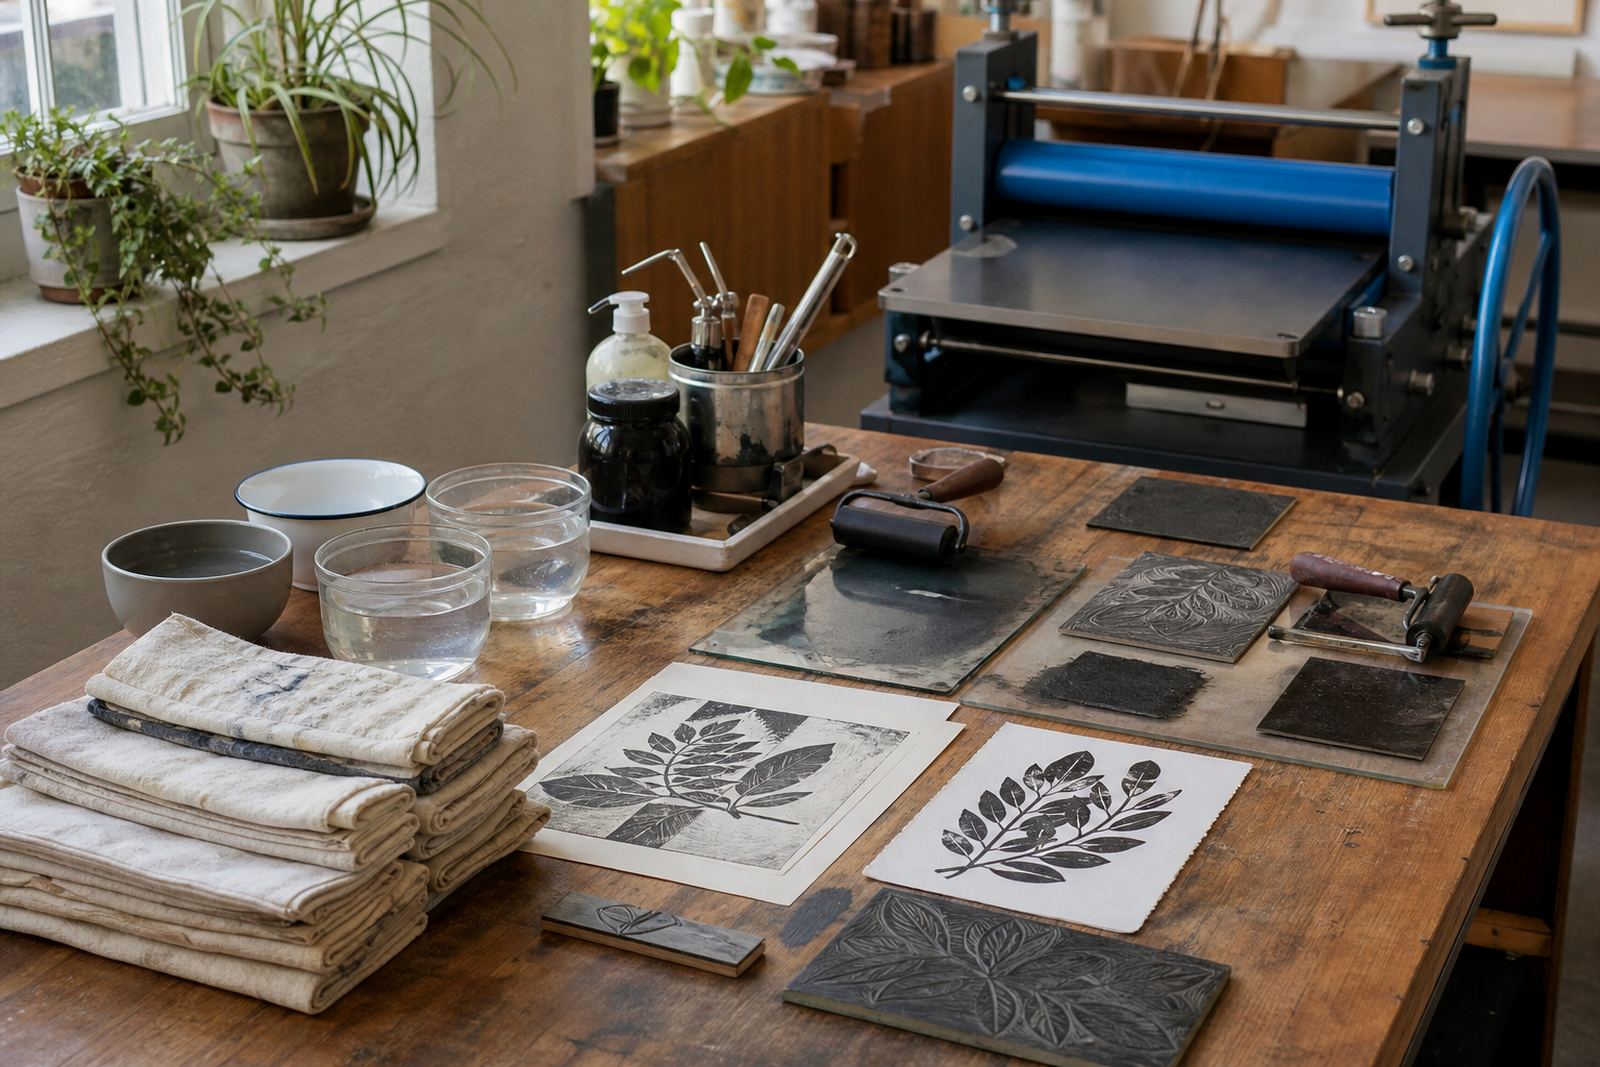
Across the workshops you will see the same core tools in different combinations: blocks, carving blades, ink, paper, rollers and printing aids. Some sessions add press printing, others keep to hand printing so participants can feel the pressure and timing of the process for themselves.
That mix matters because the tool choice changes the result. A soft block can suit a first workshop, while a more detailed lino block may be better when the group is ready for finer marks and a cleaner edition.
- Carving tools for line, contour and texture
- Printing aids for even pressure and clean transfer
- Paper stocks suited to hand and press printing
- Workshop formats shaped around the same print process