Set the paper path before the ink tray opens
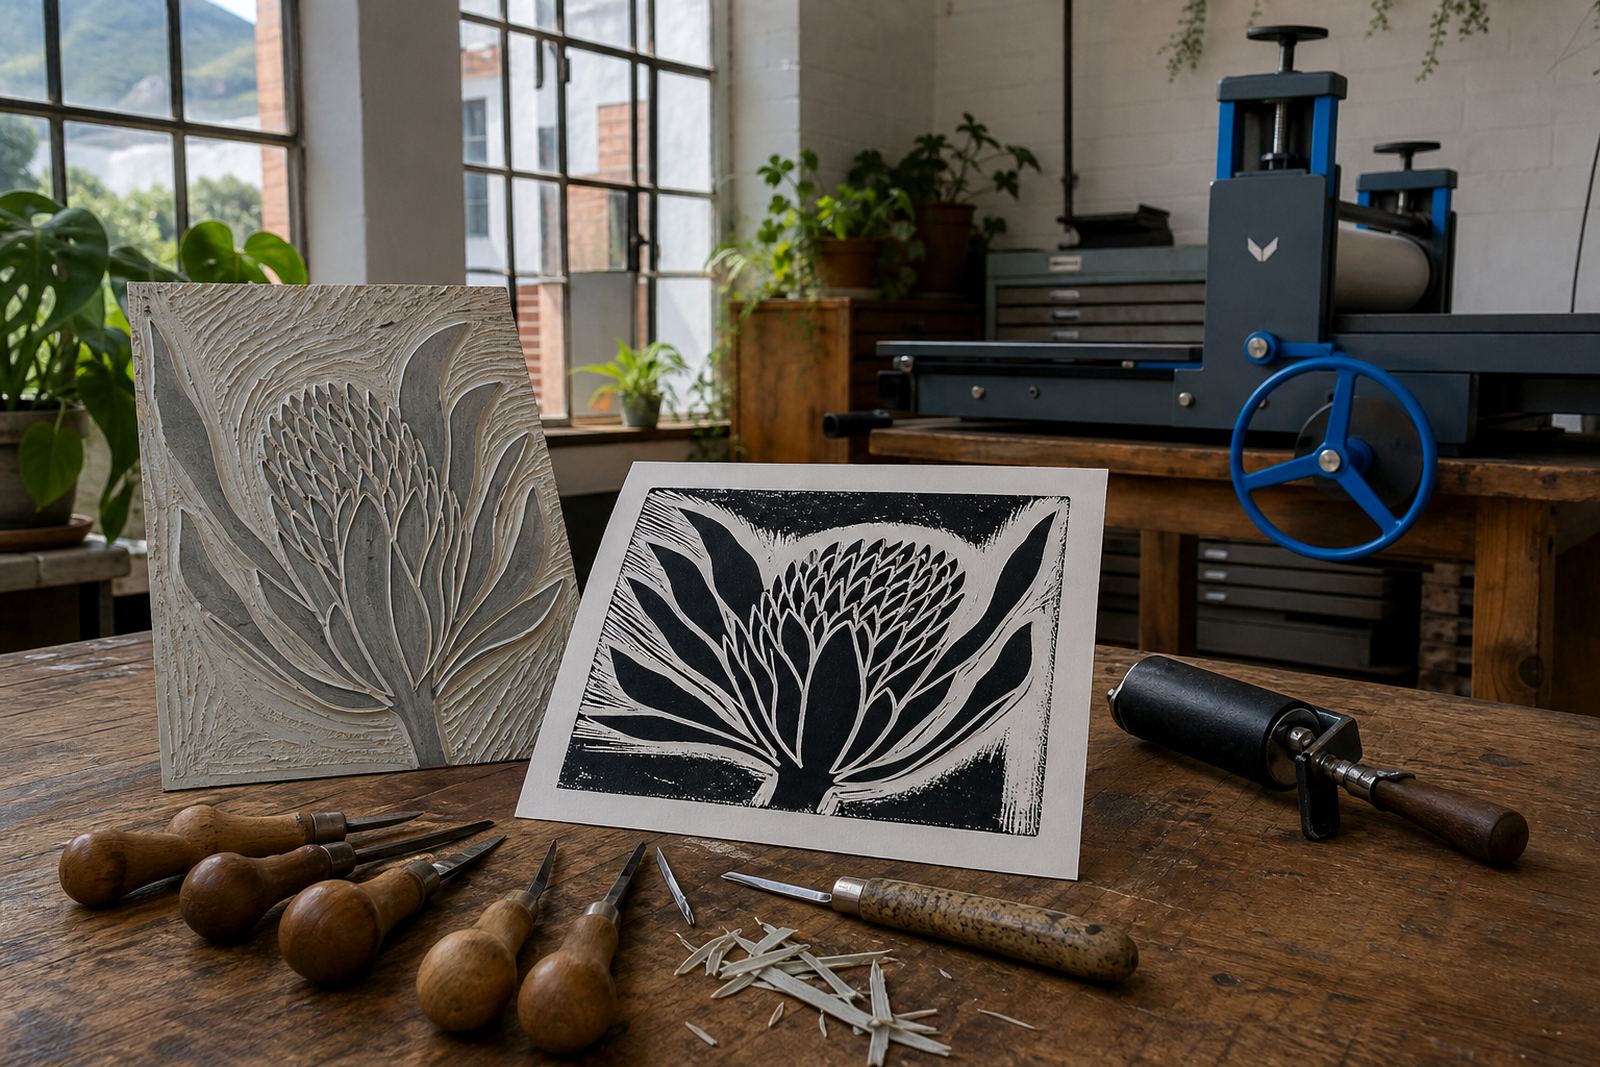
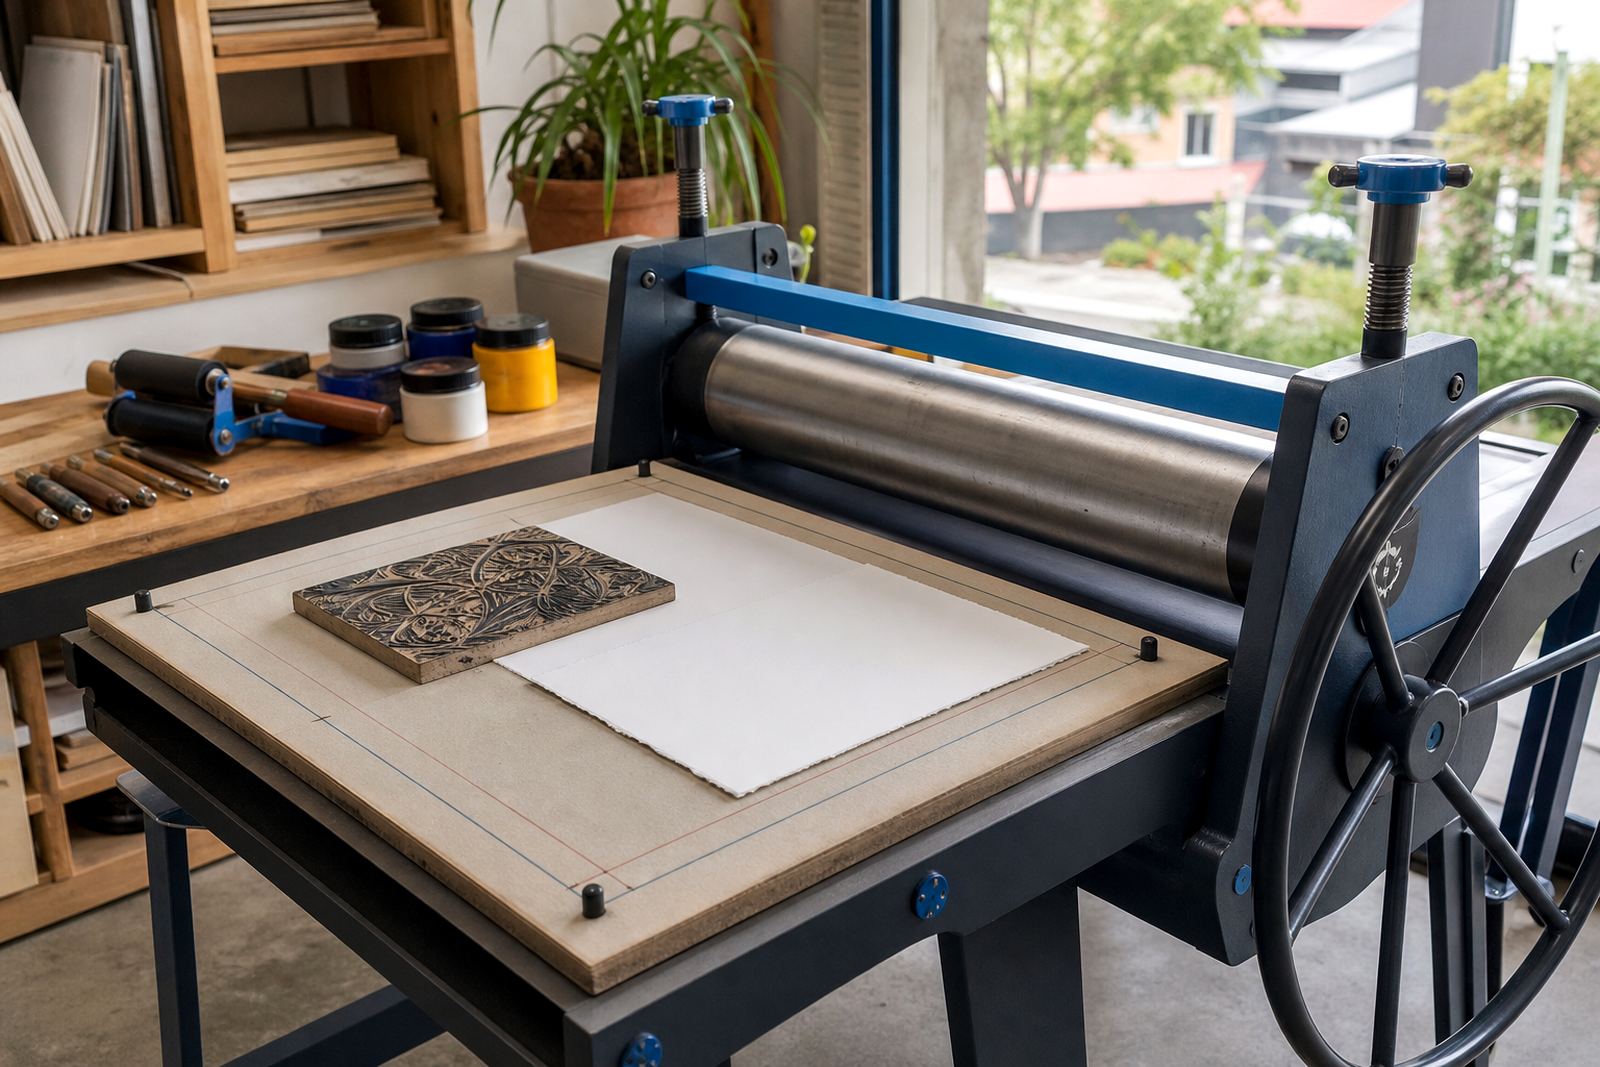
Registration works best when the paper has one clear home on the table. A pencilled corner mark, a fence strip on the board, or two taped stops can hold each sheet in the same position while the block is inked and printed. That matters whether the group is using lino, soft-cut, or a simple relief block carved with gouges and V-tools.
In our Woodstock studio, we often begin with dry paper and a blank sheet under the block so people can see the margins before ink is involved. Once the paper sits square, the hand moves with less doubt. The result is cleaner repeats, less waste, and fewer awkward shifts when a second colour is added.
- Mark one corner lightly in pencil.
- Use a fixed edge on the board or press bed.
- Use the first sheet to guide the rest of the edition.
Choose one registration method and stay with it
There is no prize for changing the setup halfway through a print run. A workshop group handles paper better when the same method is used for every sheet. That might be a T-bar guide, a corner stop, or a transparent jig for layered images. The point is to remove guesswork before the brayer touches the block.
For families and students, simple edge stops usually work best. For more detailed editions, a light pencil cross or a narrow masking tape guide gives enough control without crowding the page. In our experience, mixed methods cause more skew than the carving itself.
- Pick a left edge or a top edge and keep it fixed.
- Test the guide with plain paper before edition paper starts.
- Make sure each sheet lands the same way up.
Keep pressure and hand placement steady
Even a well-registered sheet can drift if the pressure changes from print to print. With a baren or hand press, the hand should work in the same pattern across the block. Start from the centre, then move out to the edges in a calm sequence. If the pressure is uneven, one side of the image may appear soft while the other side catches too much ink.
For water-based inks, the print surface tends to shift faster if the paper is too wet. Oil-based block inks give a slower working window, but they still need a steady pull and careful handling. A clean press bed or a firm backing board helps the paper stay where it was placed, especially when students are printing a small edition in a shared session.
Layering colours without losing the first mark
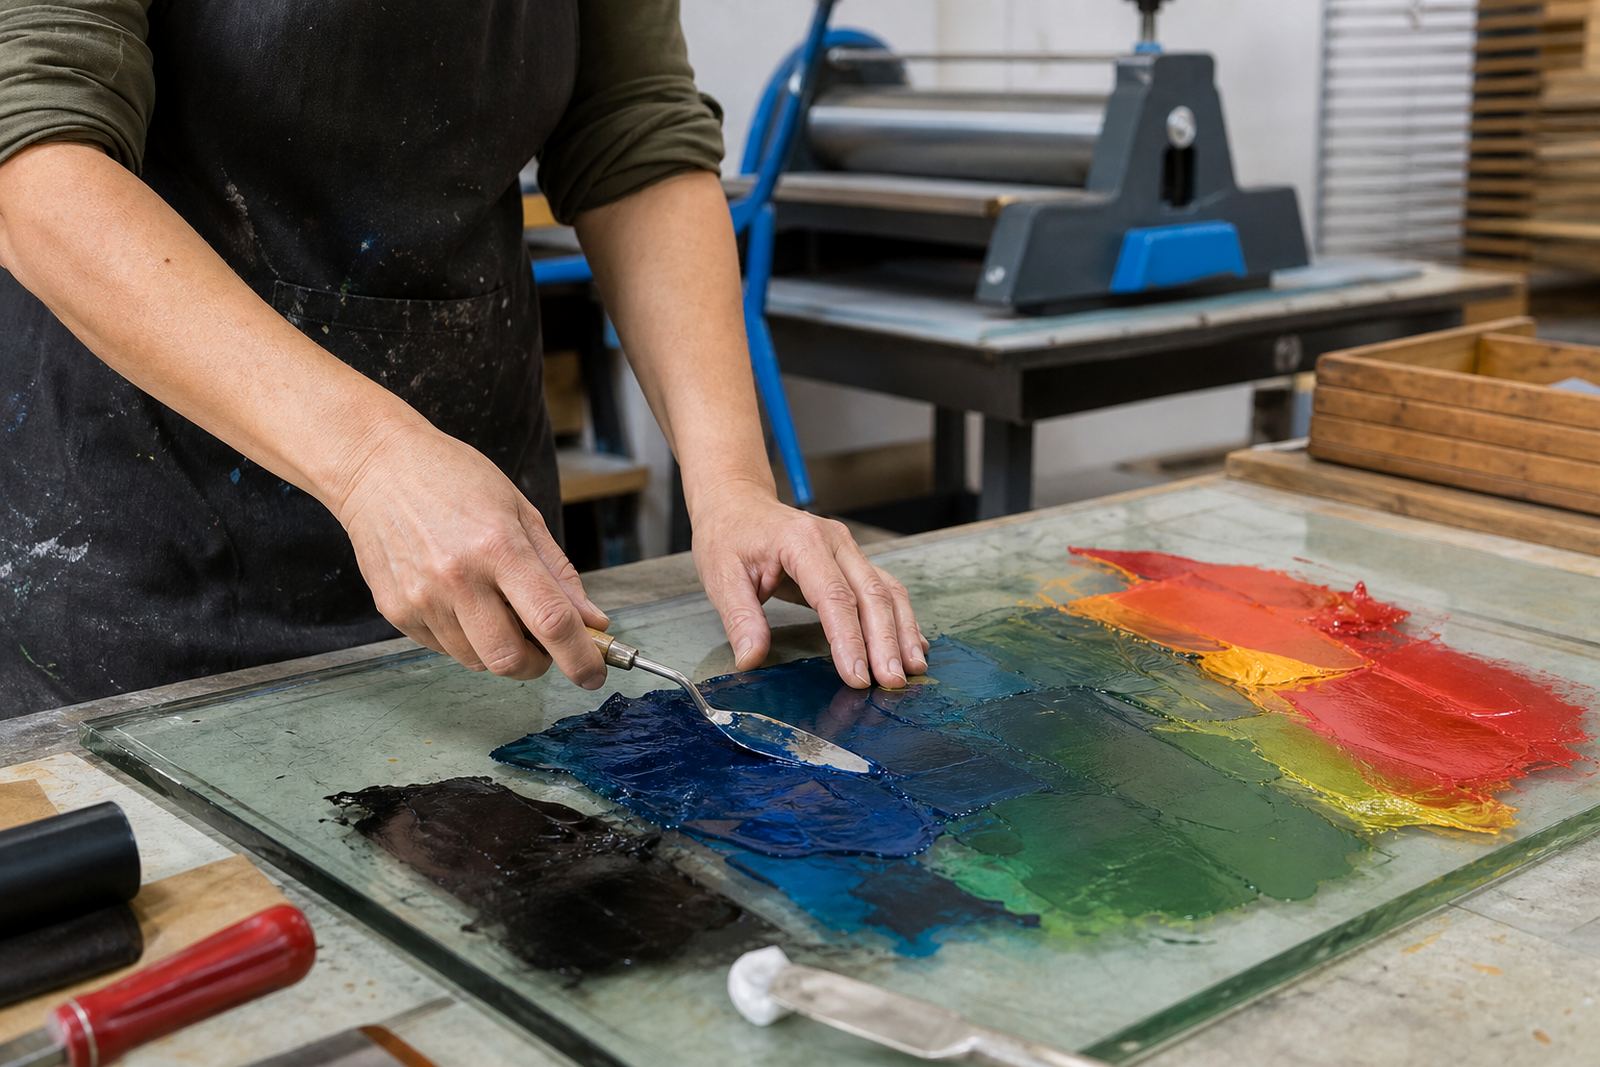
Second and third colours need registration that respects the first impression. A colour block should be tested against the same paper stop used for the main image, not guessed by eye. When the first layer is dry enough to handle, the next block can drop into the same place with far less trouble.
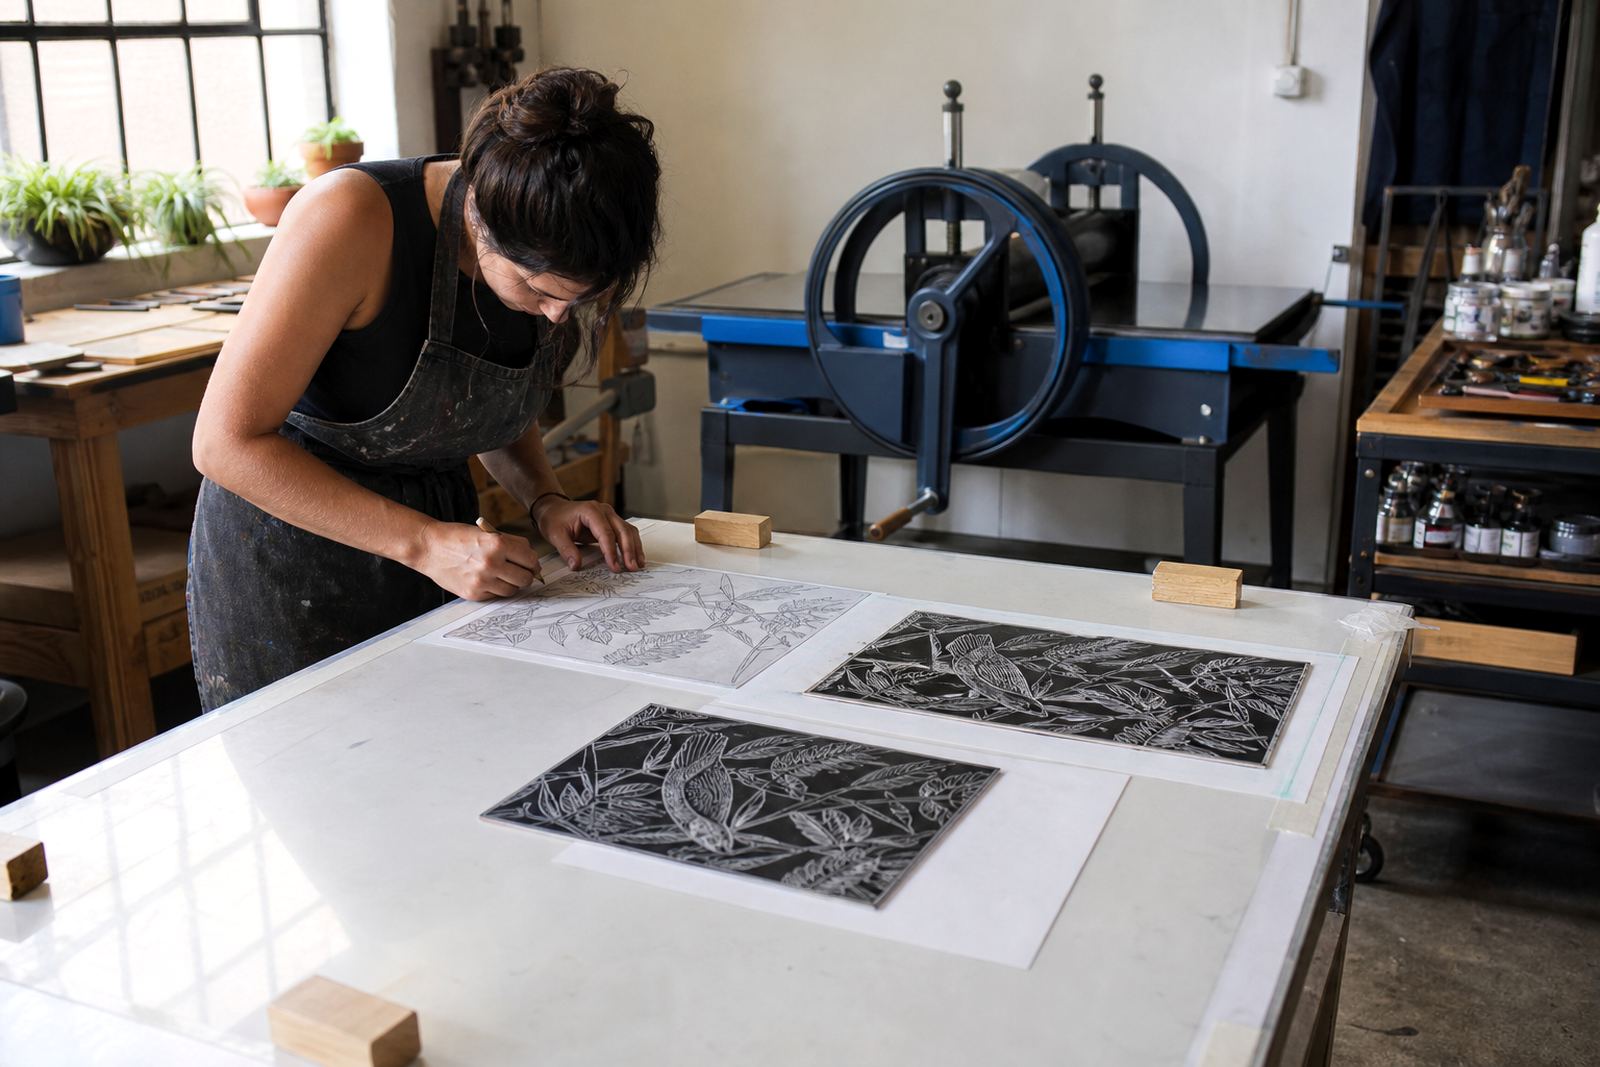
A useful habit is to keep the proof sheet beside the press. That sheet shows where the key shapes sit, where the paper edges land, and how much margin is left for the next layer. In a busy school workshop, this saves a great deal of talking over the table because the proof does the explaining.
- Print the lightest colour first when the design allows it.
- Let each layer dry enough before the next pass.
- Use a proof sheet to track movement in the edition.
Woodstock tables, school halls and venue setups need different fixes
A studio bench in Woodstock behaves differently from a folding table in a school hall in Pretoria or a pop-up room in Durban. A fixed press gives one kind of control, while hand printing on a portable surface needs more attention to edge stops and paper handling. Humid coastal air can also change how paper sits and how quickly ink takes to the sheet.
When we set up at schools or venues across South Africa, the registration answer is usually the same in principle but different in detail. Stable tables, enough room for paper stacks, and a clear drying area all help. If the surface shifts under the block, the print shifts with it, no matter how neat the carving is.
Small habits that protect an edition
An edition is only as tidy as the repeat action behind it. That means checking the block face, brushing away dried ink, and returning the paper to the same mark every time. It also means keeping fingers clear of the wet edges so a sheet does not move after it has landed.
- Store printed sheets flat.
- Wipe the block between pulls if ink builds on the edge.
- Separate trial proofs from the finished edition.
- Label the reference sheet so nobody confuses it with the final run.
These habits matter in beginner sessions and more advanced print classes alike. The cleaner the registration, the easier it is to read the cut marks, the colour layers, and the handwork in the final print.