Turn the block the right way round
Most carving slips happen when the block is turned without a plan. Before any line is cut, mark the top edge, check the image is reversed, and decide which side of the block will stay under the hand that is not carving. In linocut, the surface can feel firm and forgiving, while soft-cut blocks give a gentler bite for first-timers, but both still need controlled pressure.
Set the block flat on a table that does not wobble, with enough room for the brayer, paper and inks. A damp cloth under the board can help keep a small block from sliding, though many studios use a simple anti-slip mat or a sheet of drawer liner. Either way, the block must stay still while the tool moves.
Cut away from the hand that steadies the block
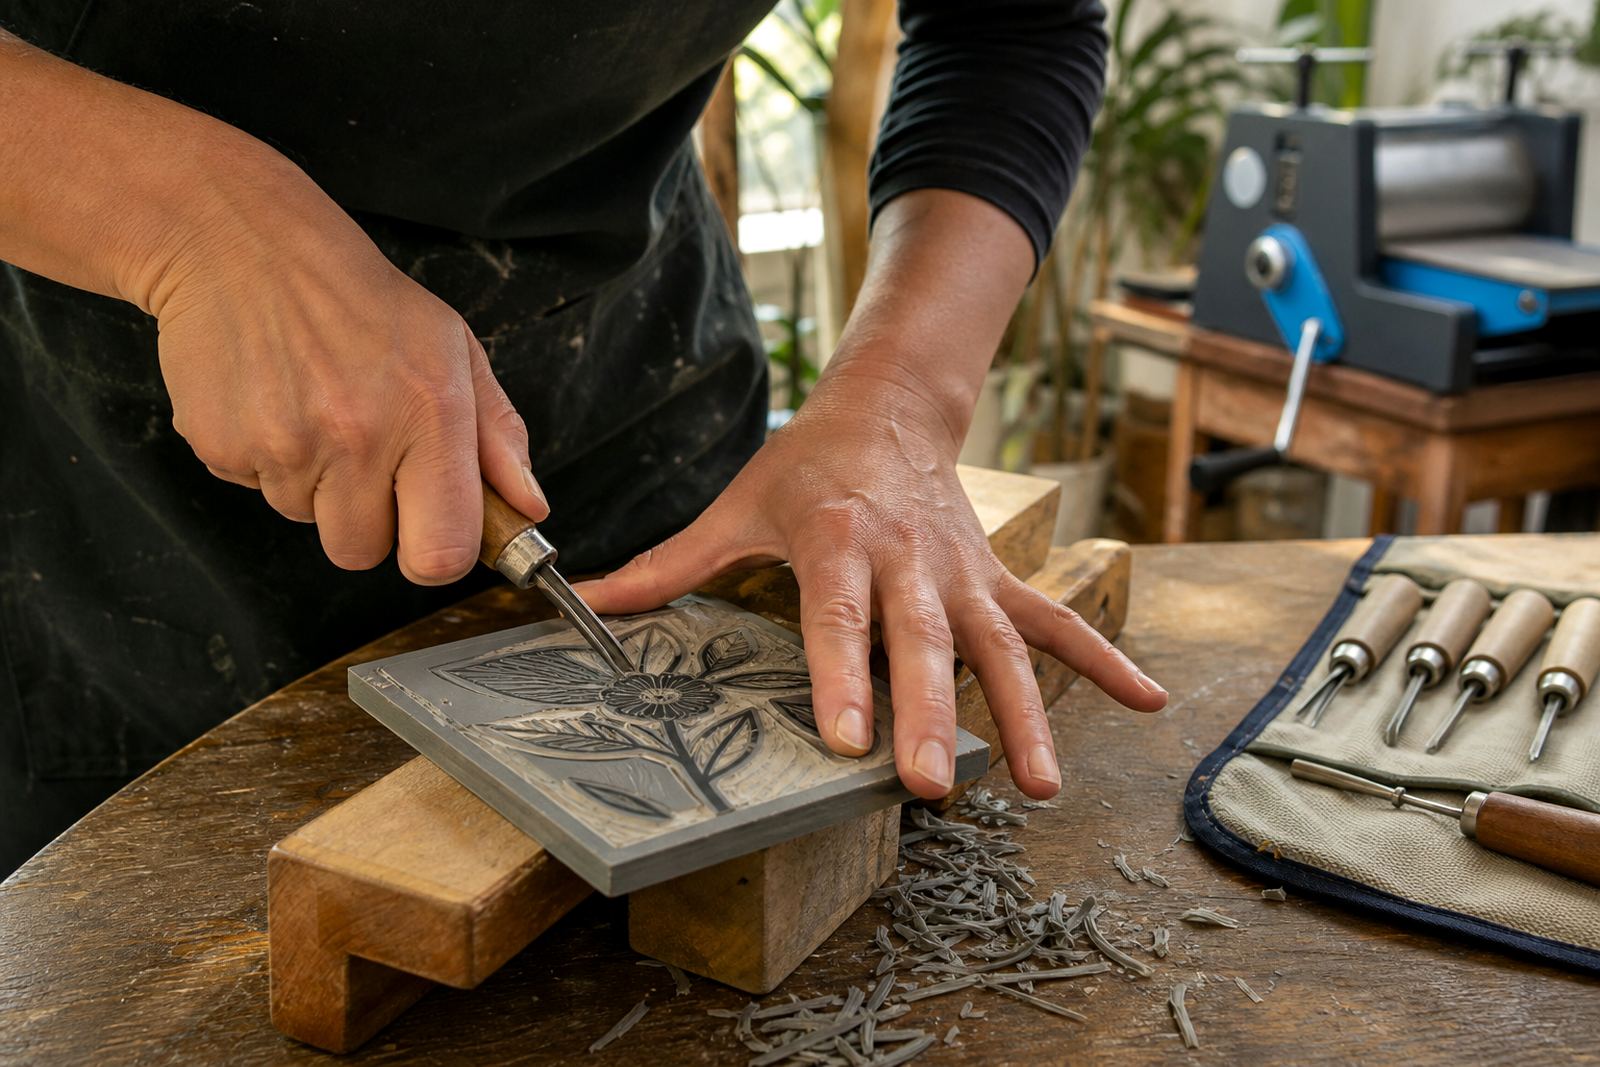
Carving direction comes first. The safest habit is to guide the gouge or V-tool away from the hand that holds the block, not towards it. That usually means keeping the stabilising hand behind the cutting line and shifting the block rather than reaching across it. Beginners often try to finish one long sweep in a single pull, but short, controlled cuts are cleaner and easier to manage.
- Keep fingers behind the tool path.
- Use small cuts for curves and tight corners.
- Turn the block, do not twist the wrist into a risky angle.
- Pause before each cut and set the blade point first.
At workshops in Woodstock, we often show this with a simple leaf or fish shape. The first pass builds confidence, and students usually learn faster when the block is moved to suit the line instead of forcing the hand to follow every turn.
Grip the tool like a working pencil, not a spear
A gouge or V-tool should feel secure, but not clenched. A loose grip invites wobble, while a tight grip tires the hand and pushes the blade too deep. Keep the handle resting in the palm with the thumb and forefinger guiding the direction. The other hand can support the block edge, but never near the cutting edge.
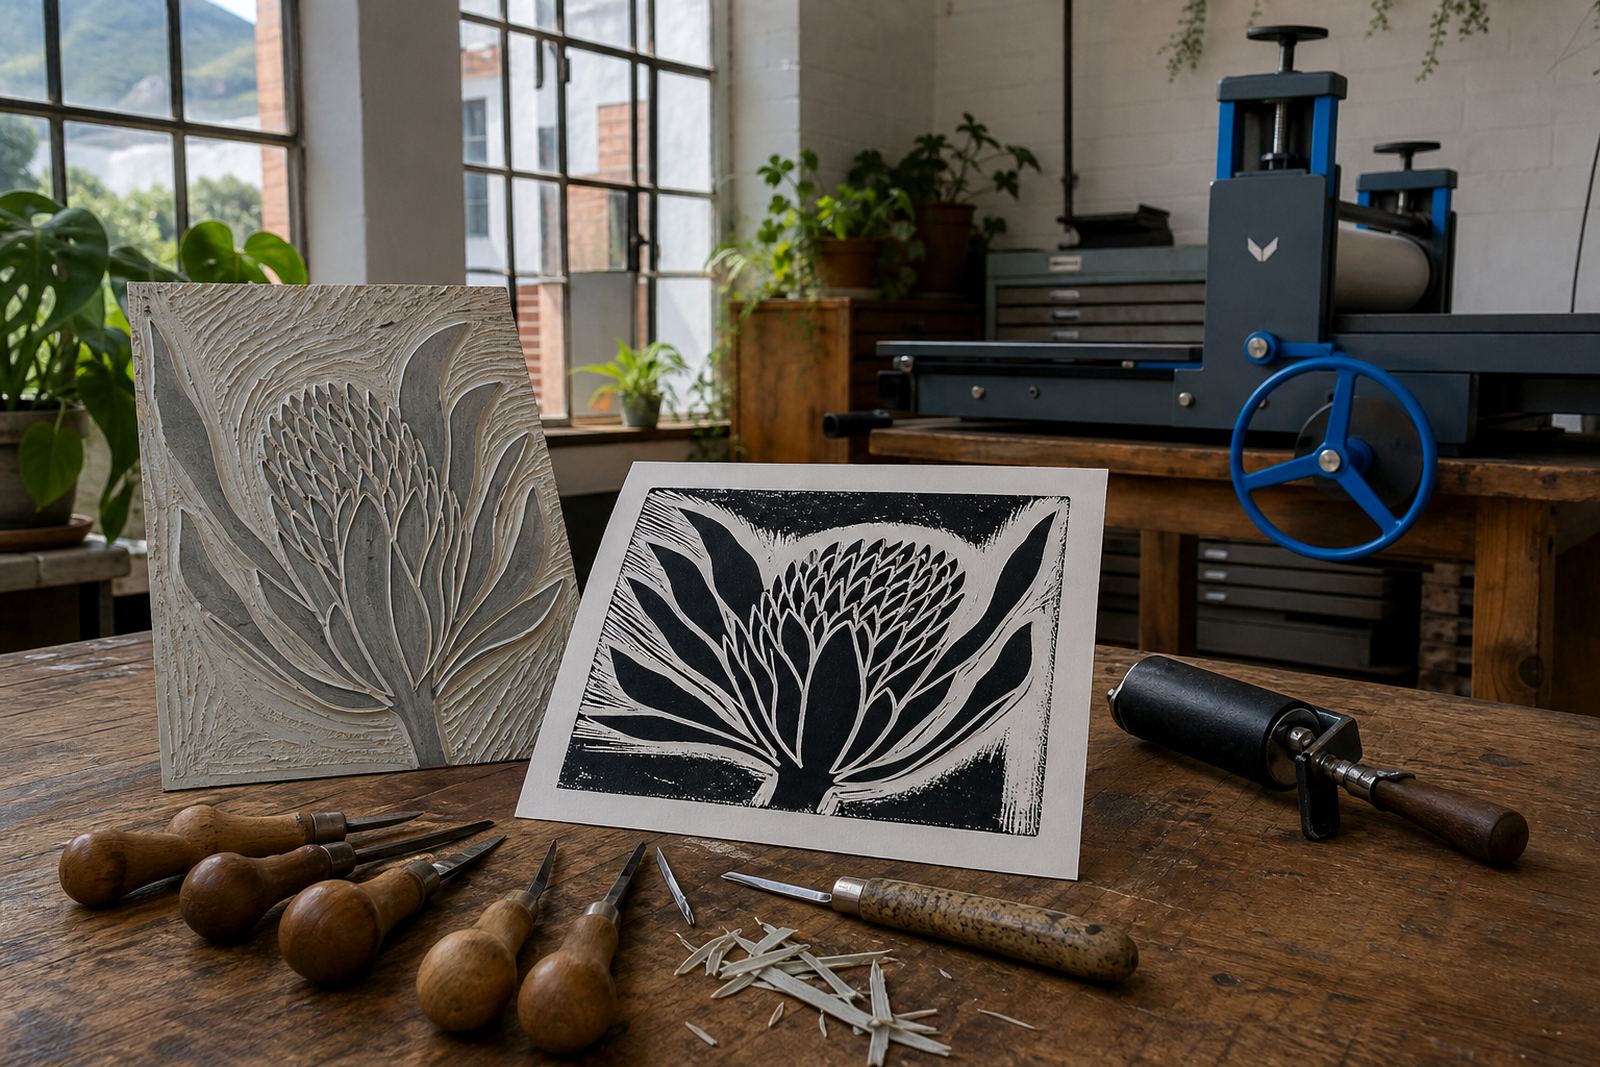
Clean tools make safer cuts too. A dull blade needs extra force and can jump when it finally bites. In a studio session, we check that tools are stored point-down in a tray or wrapped so that nothing rolls off the table. Even a small kit for home use should have a fixed place for each blade, brayer and baren.
For group classes, it helps to keep carving tools separated by size and by user. Children, students and adults all work differently, and the safest setup is one where nobody reaches over a moving hand to fetch the next tool.
Set the table for ink, paper and hands
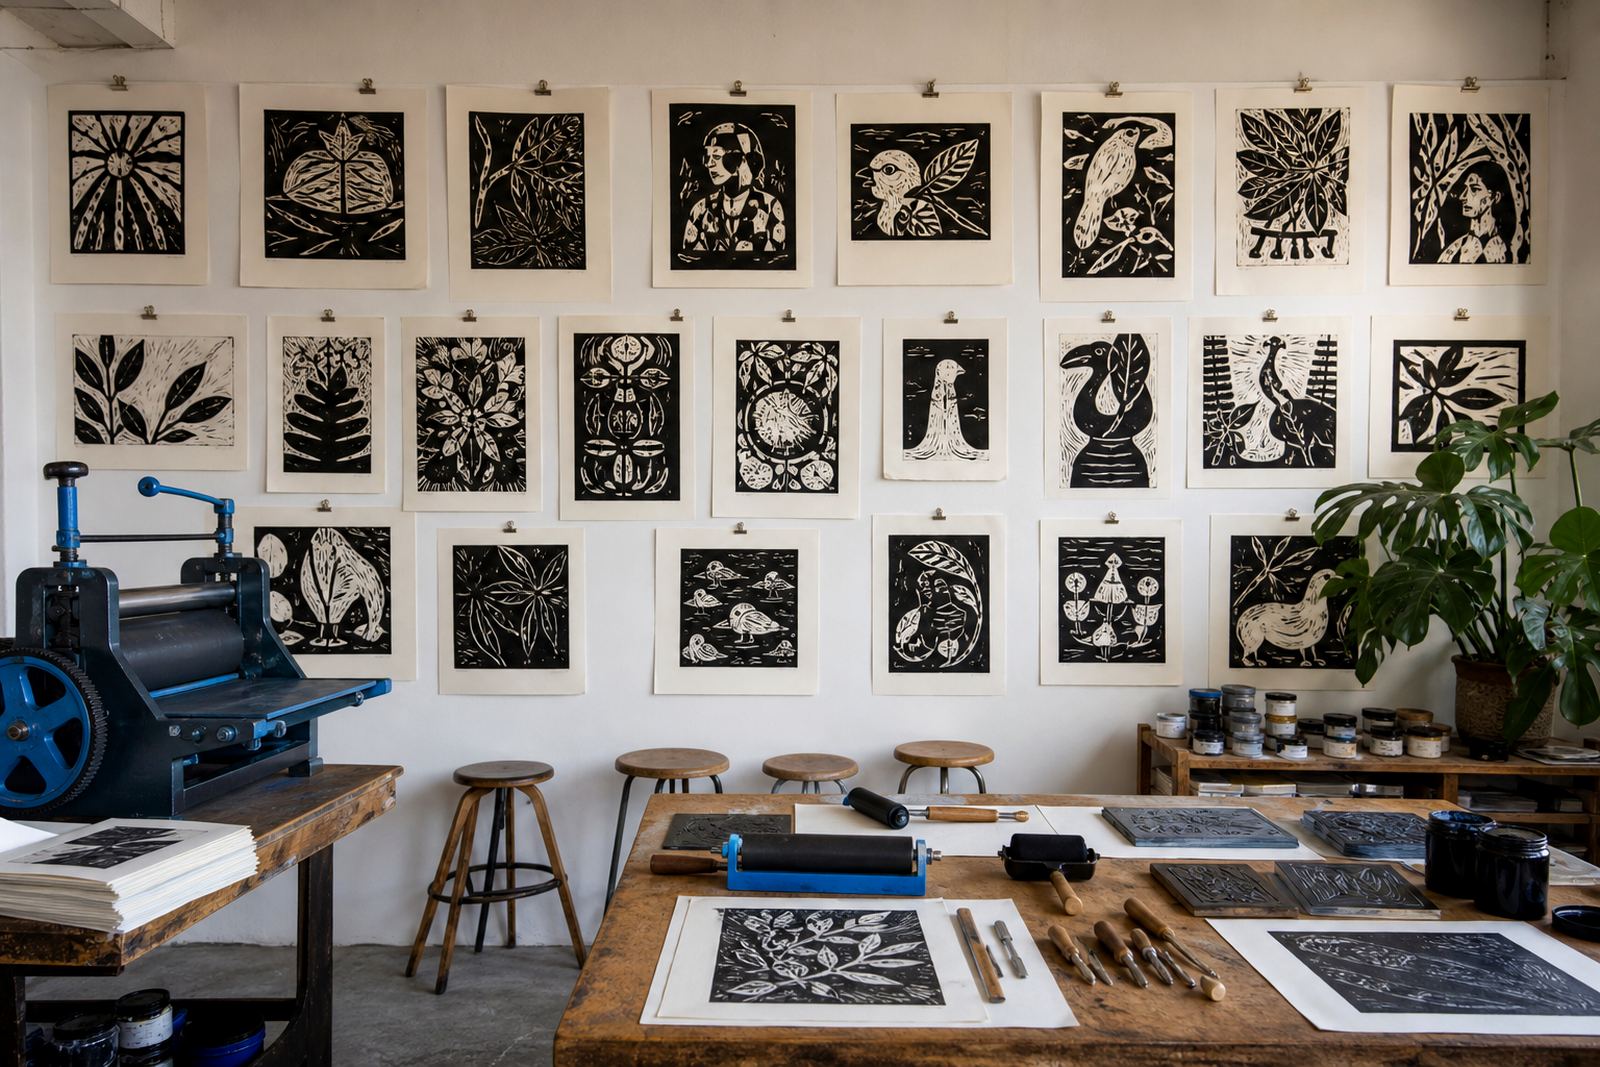
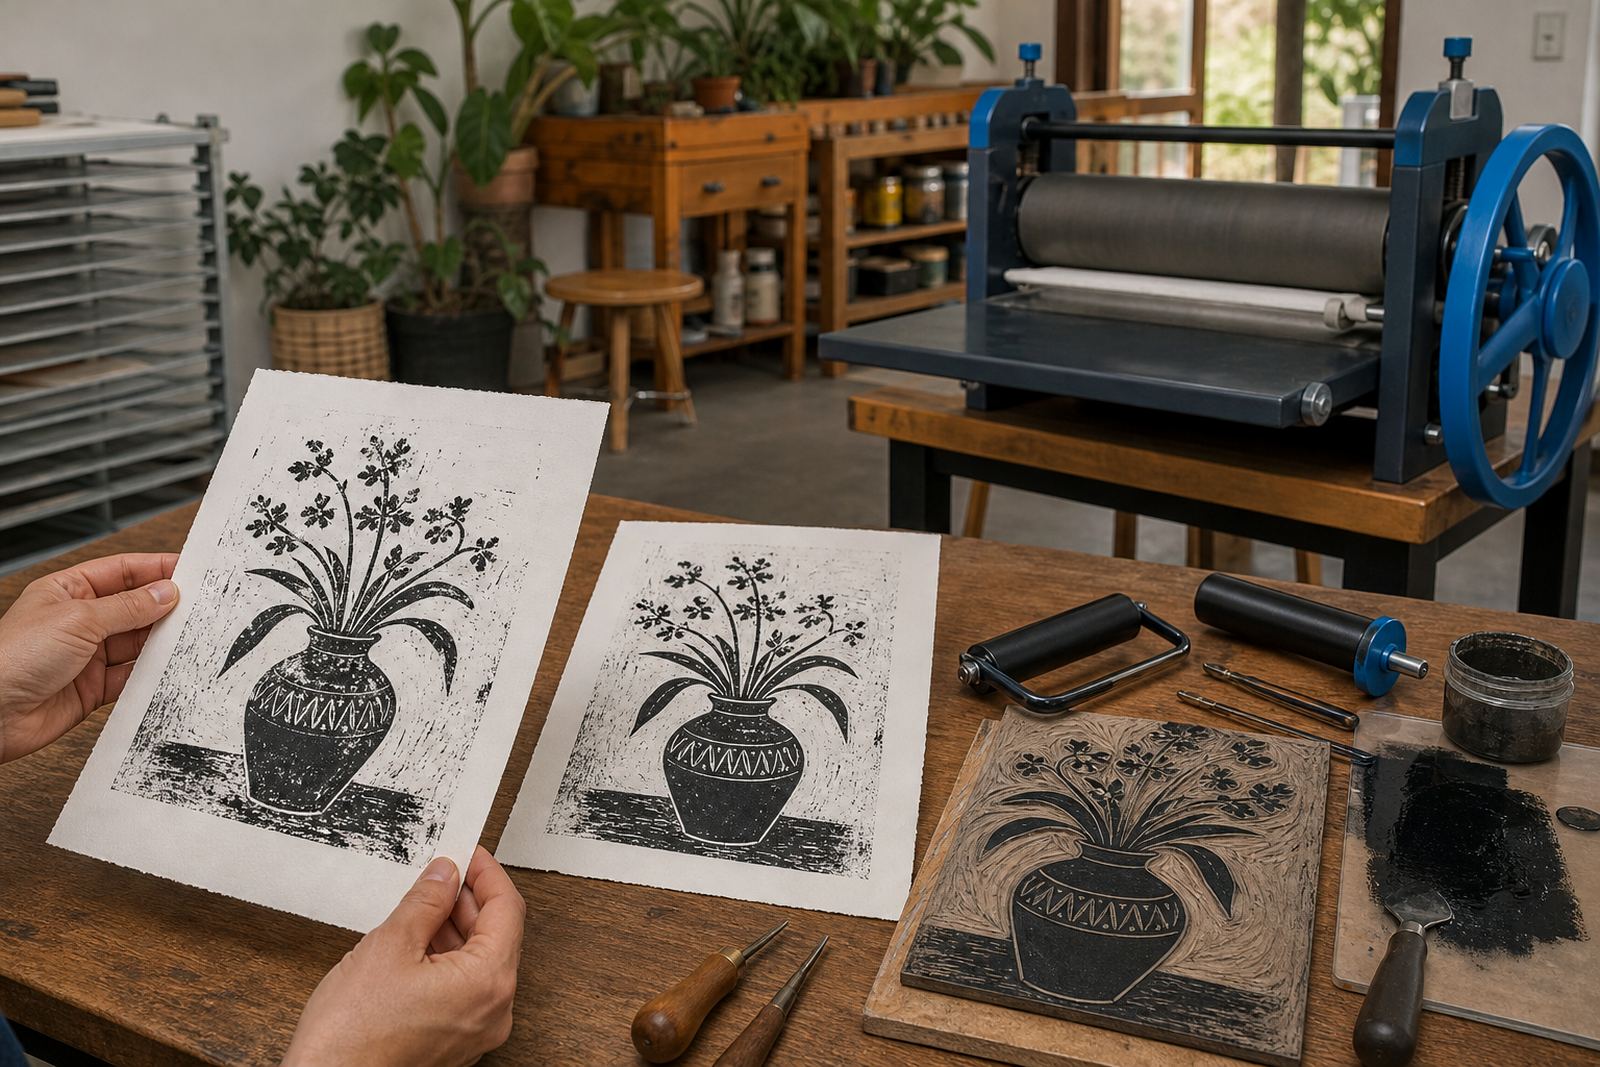
Carving safety continues into the printing stage. Water-based inks are easier to clean from hands and tables, while oil-based inks need more care around cloths, rollers and drying space. Either way, the printing area should be laid out in a fixed order: block, ink slab, brayer, paper, then baren or press. That order reduces crossing hands and keeps wet ink off the cutting side of the block.
- Keep paper stacks away from the carving edge.
- Place the ink slab on the side of your dominant hand.
- Wipe tools before changing colour or ink type.
- Leave a clear path from inking to printing.
Press printing adds another layer of care. A press bed must be clear, and the blankets or felts should be arranged before the block is placed. When groups print together, one person inks while another prepares paper, which keeps the table from becoming crowded.
Use registration marks before the first pull
Registration is part of safe carving because it cuts down on rushed handling later. Once the first print is aligned, repeat marks or guides help every sheet sit in the same place. That means fewer last-minute adjustments with inked hands hovering over the paper, and less chance of bumping a fresh block off centre.
For edition work, the same block, the same paper size and the same placement marks make the process calmer. A beginner who knows where the sheet will sit does not need to fiddle with the corners after the brayer has already loaded the block. It also helps when students compare prints, because each image is easier to read against the same margin.
In Cape Town, a school group working on soft-cut blocks once printed a simple pattern inspired by the harbour and Table Mountain outline. The best results came when the table was split into carving and printing zones, and the registration tape stayed fixed for the whole session. No one was hunting for the right position with a wet block in hand.
Build habits that work in a shared room
Shared sessions need quieter discipline than solo work. Announce when a tool is being passed, keep blades capped or parked safely, and wait for one person to finish a cut before the next person leans in. That rhythm matters in family sessions, student classes and team groups, where different experience levels are often at the same table.
When the workshop is set up well, the room feels calmer and the prints improve. Beginners see the whole sequence clearly: trace, carve, ink, print, dry. They also learn that a safe cutting angle gives cleaner lines. The block lasts longer, the lines stay cleaner and the edition has a steadier hand behind it.
Hand-printed work rewards patience. A first block needs clear direction and a tidy table. Once those habits settle in, lino and block printing become easier to share across a class, a family table or a pop-up session in another town.