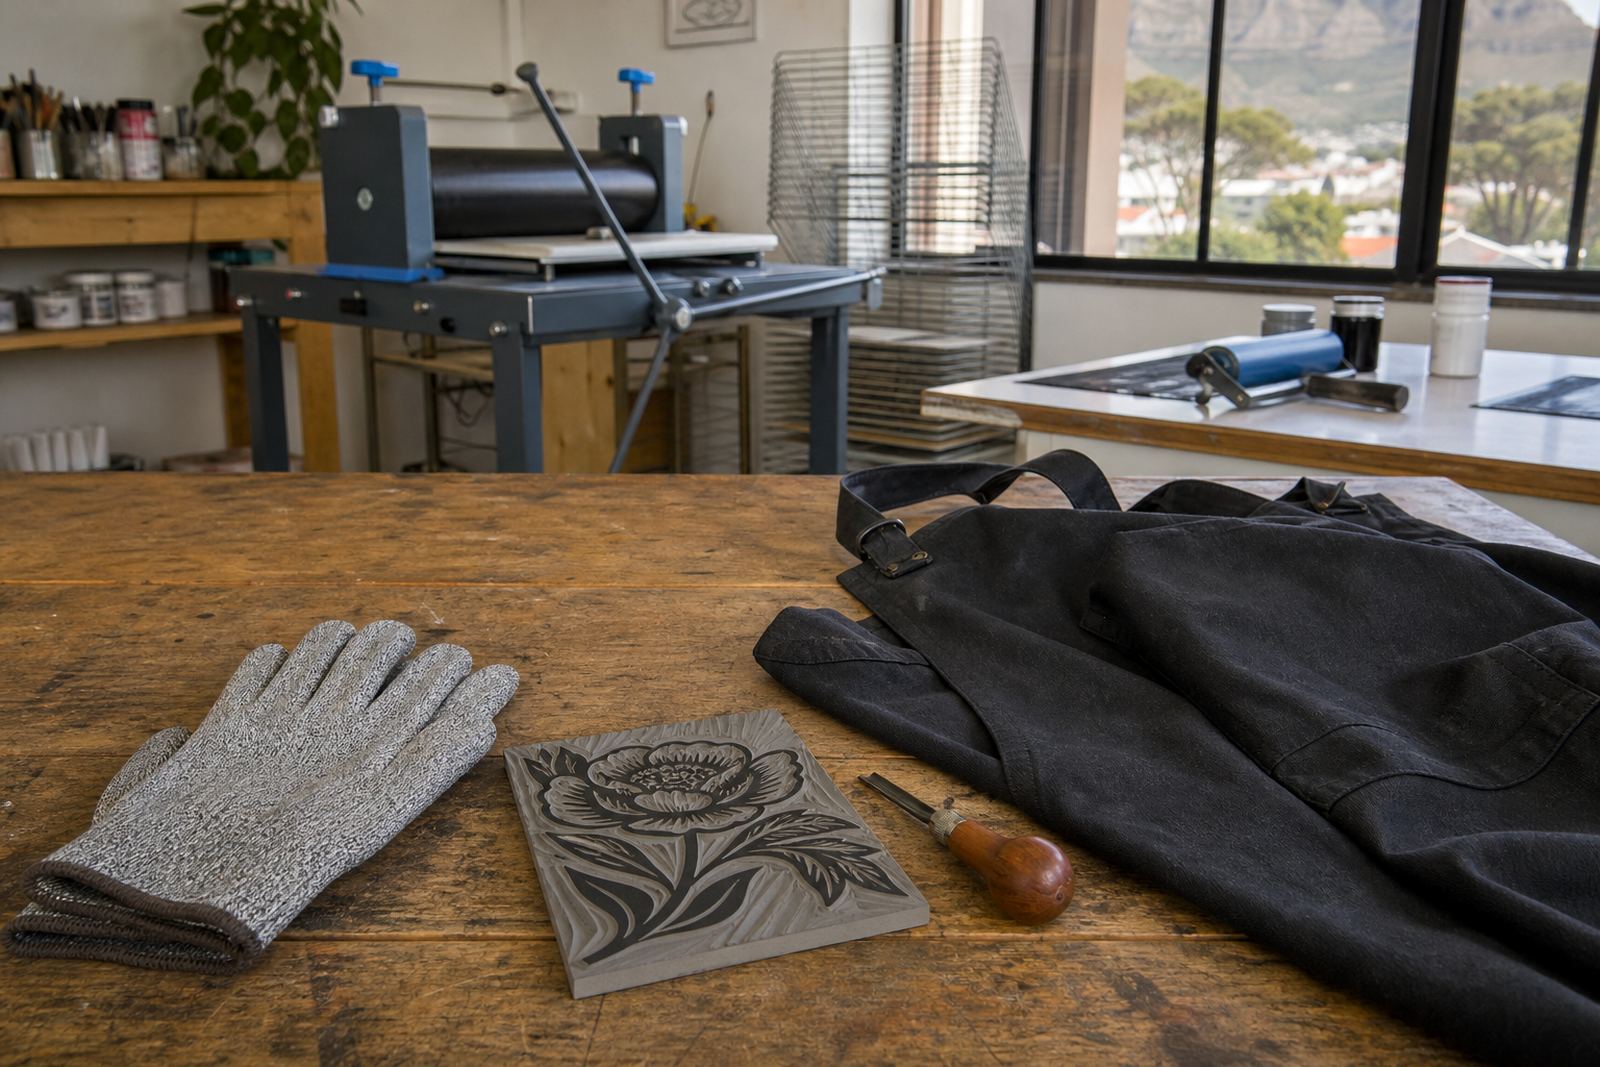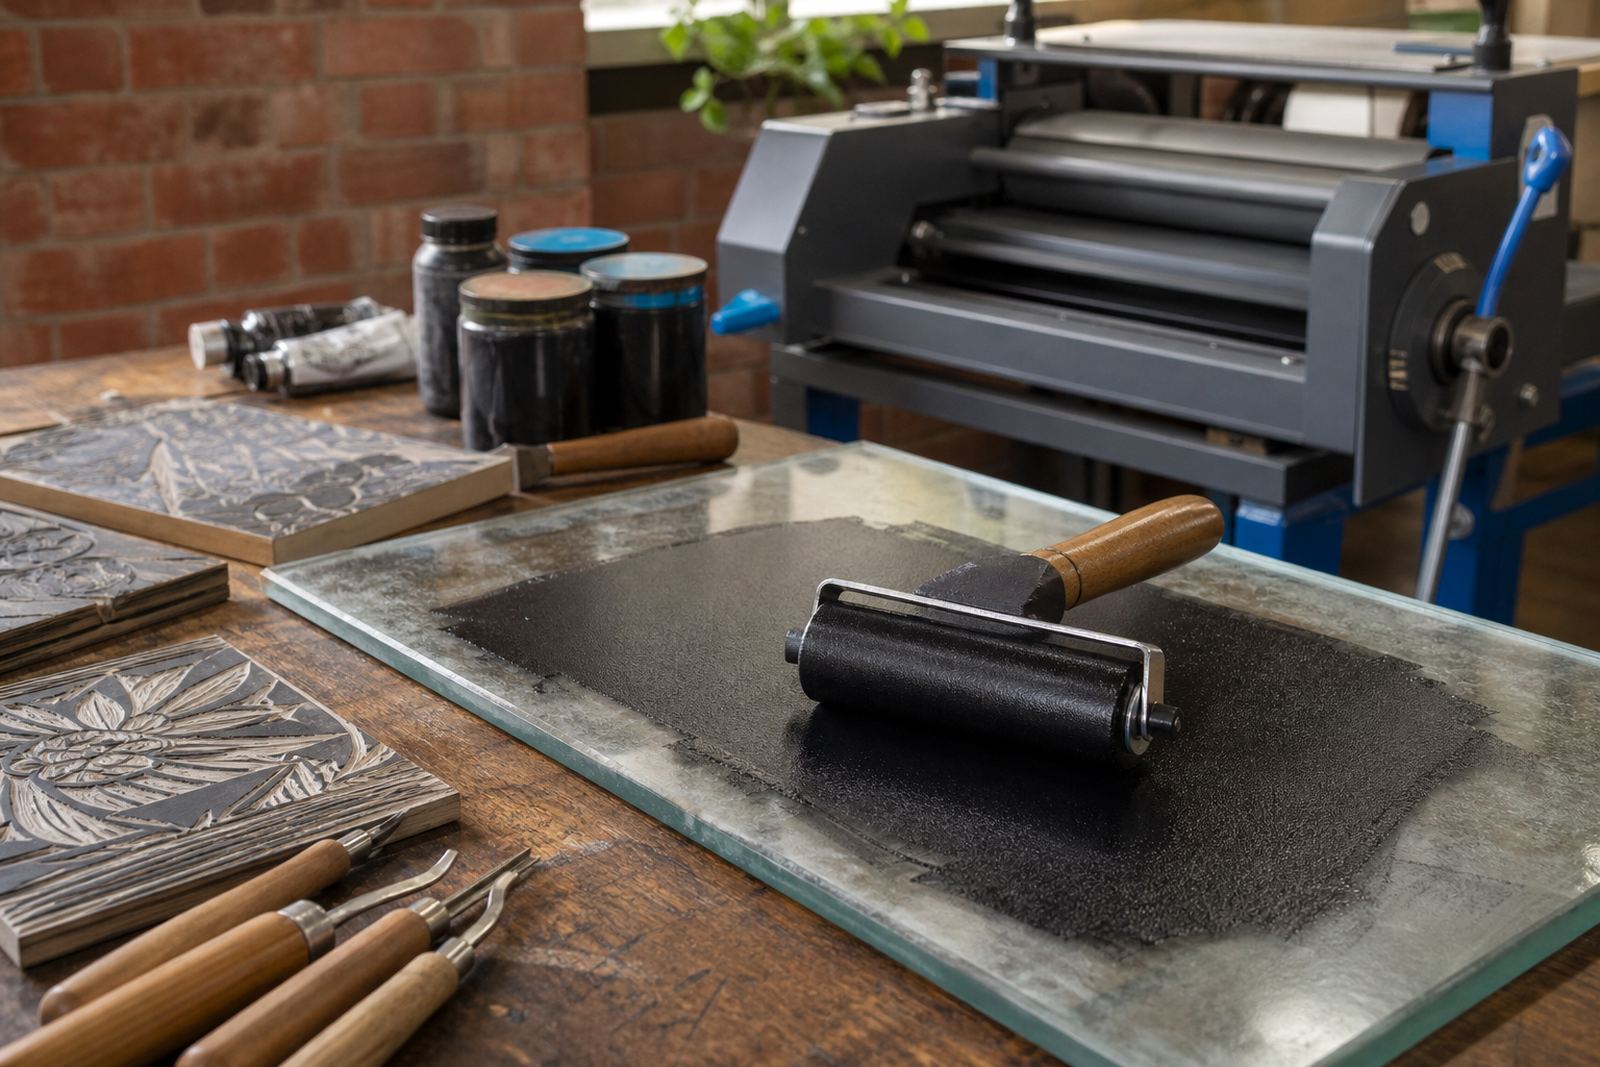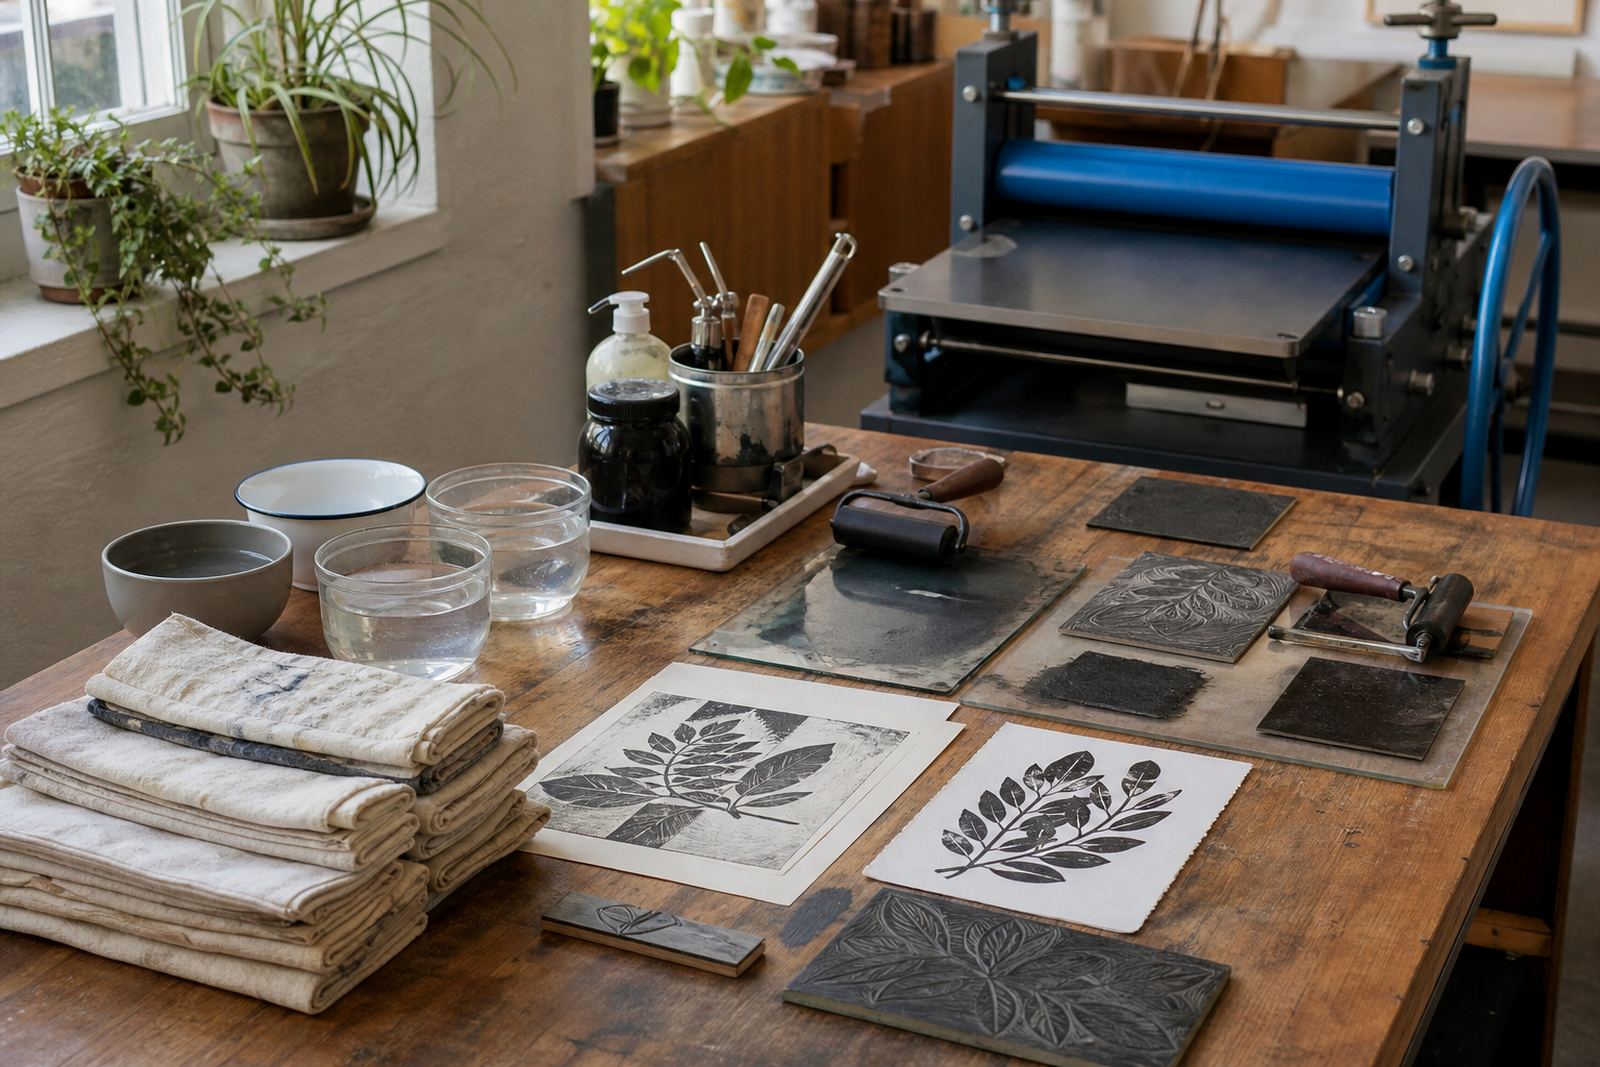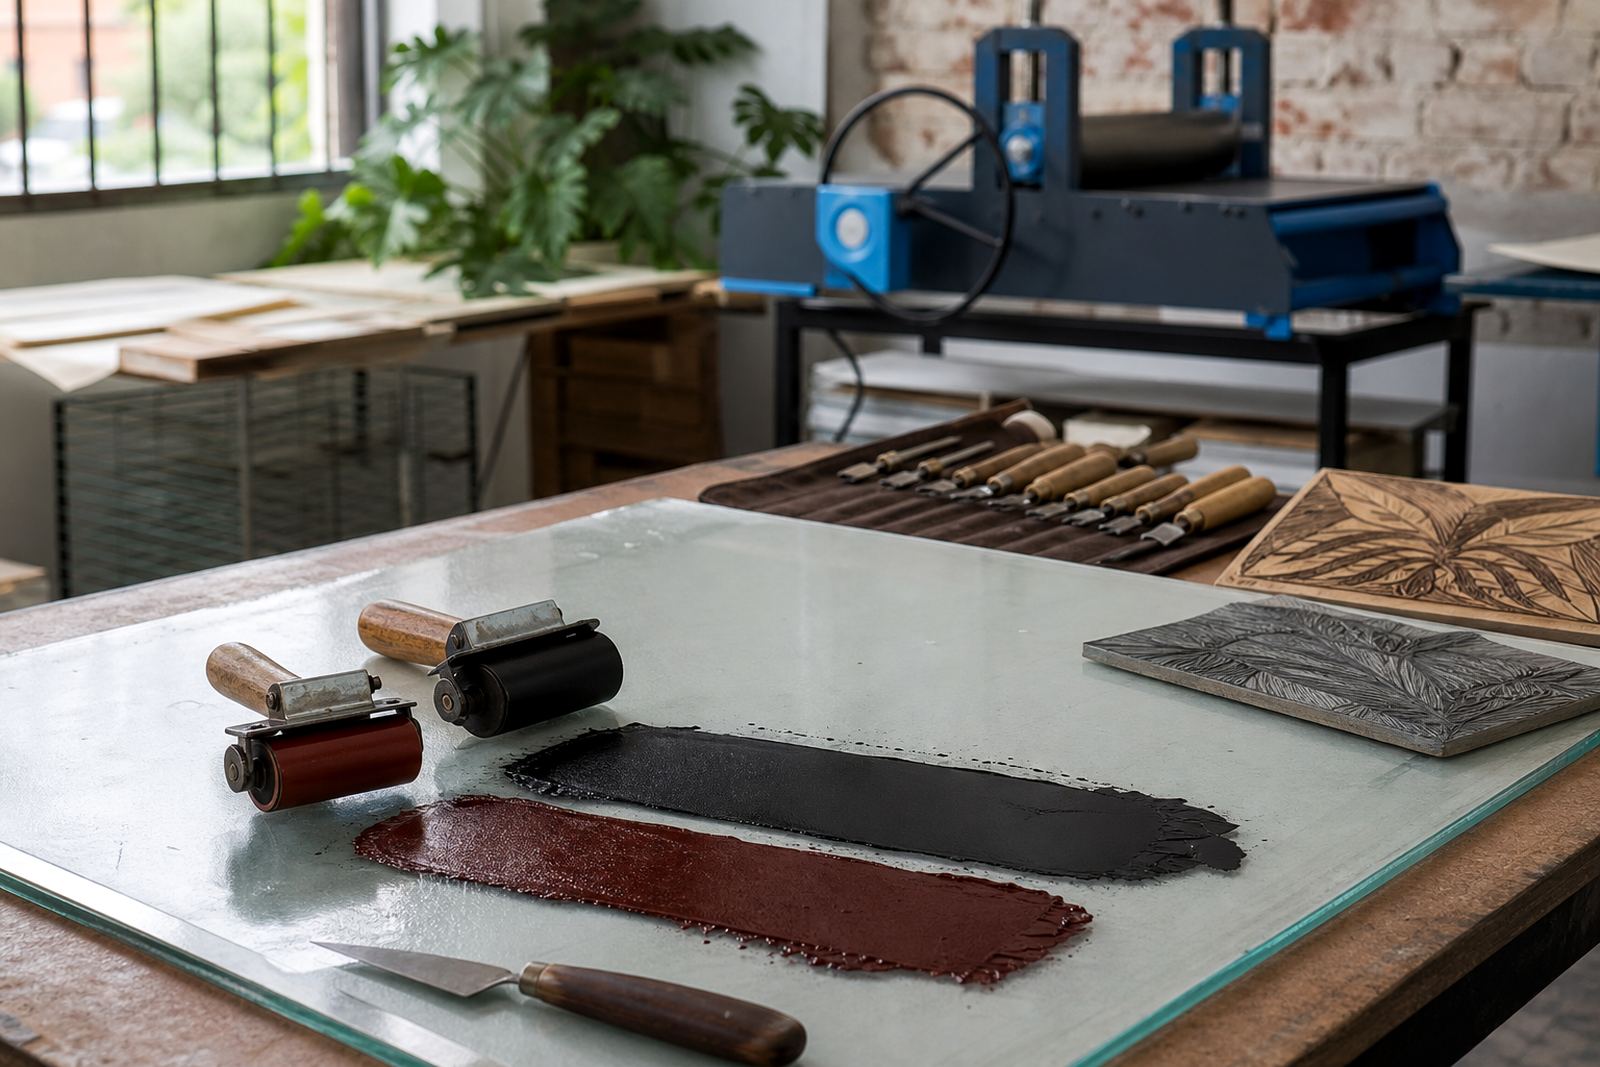
A flat working surface for clean ink rolls
An inking slab is the hard, smooth surface used to spread block ink into a thin, even layer before the brayer goes onto the lino or soft-cut block. In a print studio it sits between the ink tin and the carved block, so the roller can pick up colour without leaving lumps, dry patches, or heavy ridges that show through on the paper. For linocut and block printing workshops, that consistency matters because a light roll is often all that is needed for crisp relief detail.
Most slabs are made from glass, polished acrylic, melamine-faced board, sealed MDF, or heavy laminate, with a finish that resists staining and cleans down properly after a session. The best choice depends on the print method, the size of the edition, and how often the slab will be moved between tables, school venues, or a pop-up setup in Cape Town, Stellenbosch, Johannesburg, Pretoria or Durban.
Sizes that suit table work and group sessions
In workshop use, size is usually chosen around the block rather than around the room. A small slab works well for beginner carvings and postcard blocks, while a larger surface gives space for wider rollers, mixed colours, or several prints being inked in sequence. For family sessions and student classes, a slab that is easy to lift and wipe down keeps the table organised when hands, papers, and tools are all in play.
- Compact glass for beginner blocks
- Medium slabs: useful for A5 and A4 work with a brayer up to 100 mm wide
- Large slabs: better for edition printing, layered colour, and shared studio stations
- Clear edges or a marked border help keep the ink pool in one place
Thicker glass or rigid board reduces flex on a busy table, which helps when several people are rolling at once. Where a class uses press printing later in the process, the slab still plays a part at the inking stage, because the block must be charged evenly before it moves to the paper.
Where the slab sits in the print process
The slab is used after the ink has been opened, mixed, or softened and before the brayer loads the carved surface. A small amount of block ink is placed on the slab, then rolled out in several directions until it has a steady, velvety sound and a fine, even film. That film should transfer to the brayer without strings, lumps, or dry crumbs. If the ink is too thick, the slab shows it straight away, which helps the printer adjust pressure, timing, and rolling direction before the first impression is pulled.
For relief printing, the slab works with water-based block inks as well as oil-based block inks, although each behaves differently. Water-based ink tends to move faster and dry more quickly on the slab in warm conditions, while oil-based ink stays open longer and can feel slightly tackier under the brayer. In both cases, the slab should give enough working time to mix colour properly, especially for registration work where each layer must sit neatly over the last.
- Supports smooth loading for lino, soft-cut, rubber-style blocks, and woodcut style relief work
- Helps combine colour on the slab before rolling it onto the block
- Makes it easier to keep repeat prints even across an edition
- Useful for demo tables, school setups, and studio stations
Fitting, bench space, and studio handling
An inking slab needs a stable bench or table with enough room for rolling, wiping, and paper handling. A non-slip mat, a clean towel, or a soft backing board can stop movement during hand printing, especially where the surface is glass. In a portable setup, the slab is often packed flat and carried in a protective wrap so the edges stay intact and the working face remains scratch-free.
For longer tables, several smaller slabs can be set out for different colours, which is useful in team building sessions or school workshops where one group is carving while another is inking. If the slab is being used in a venue setup service, the coordinator usually checks the surface height, wipe-down space, and the route from ink area to press area so wet prints do not collect dust or fingerprints.
- Use on a level table with enough elbow room for the brayer stroke
- Allow space beside the slab for ink knives, wipes, and proof papers
- Keep it away from grit, rough timber edges, and loose paint flakes
- Protect corners and edges during transport between studio and venue
Care after a printing session
A good slab should clean down without taking on colour stains, sticky build-up, or scratches that catch the roller. Water-based block inks can usually be lifted with a damp cloth and a mild studio cleaner, while oil-based residue may need a suitable printmaking cleaner and a final wipe dry. If ink is left on the surface too long, especially in humid coastal conditions, it can skin over and leave a ridge that affects the next roll.
Glass slabs should be checked for chips at the corners and kept wrapped when stored upright. Acrylic and melamine surfaces should not be scrubbed with rough pads, since fine scoring shows up under the brayer and can trap pigment. A well kept slab gives the same even roll session after session, which matters when a class is building an edition and every impression needs to sit close to the last.
Choosing a slab size
When ordering an inking slab for studio or workshop use, the main details are the working size, material, thickness, and how it will be carried or stored. It also helps to note whether the slab will be used for small beginner blocks, A4 editions, or larger group print tables. If the slab is part of a school pop-up or mobile workshop kit, check its weight and edge finish too.
- Working area in millimetres
- Material preference: glass, acrylic, laminate, or sealed board
- Thickness and edge finish for safe handling
- Intended use: single brayer, group station, or edition printing
- Ink type: water-based, oil-based, or mixed workshop use
- Storage method, especially for transport to venues or schools
For HandPrinter Art sessions, that information helps match the slab to carving tools, brayers, papers, and the pace of the class. It is the kind of item that looks plain on the table, yet it carries a lot of the control work that makes a clean print possible.
Key facts
| Product | Inking Slab |
|---|---|
| Use | Rolling out block ink before loading a brayer |
| Typical materials | Glass, acrylic, melamine-faced board, sealed MDF |
| Common sizes | Small, medium, and large workshop formats |
| Compatible inks | Water-based block ink and oil-based block ink |
| Workshop fit | Studio stations, school pop-ups, venue workshops, edition printing |