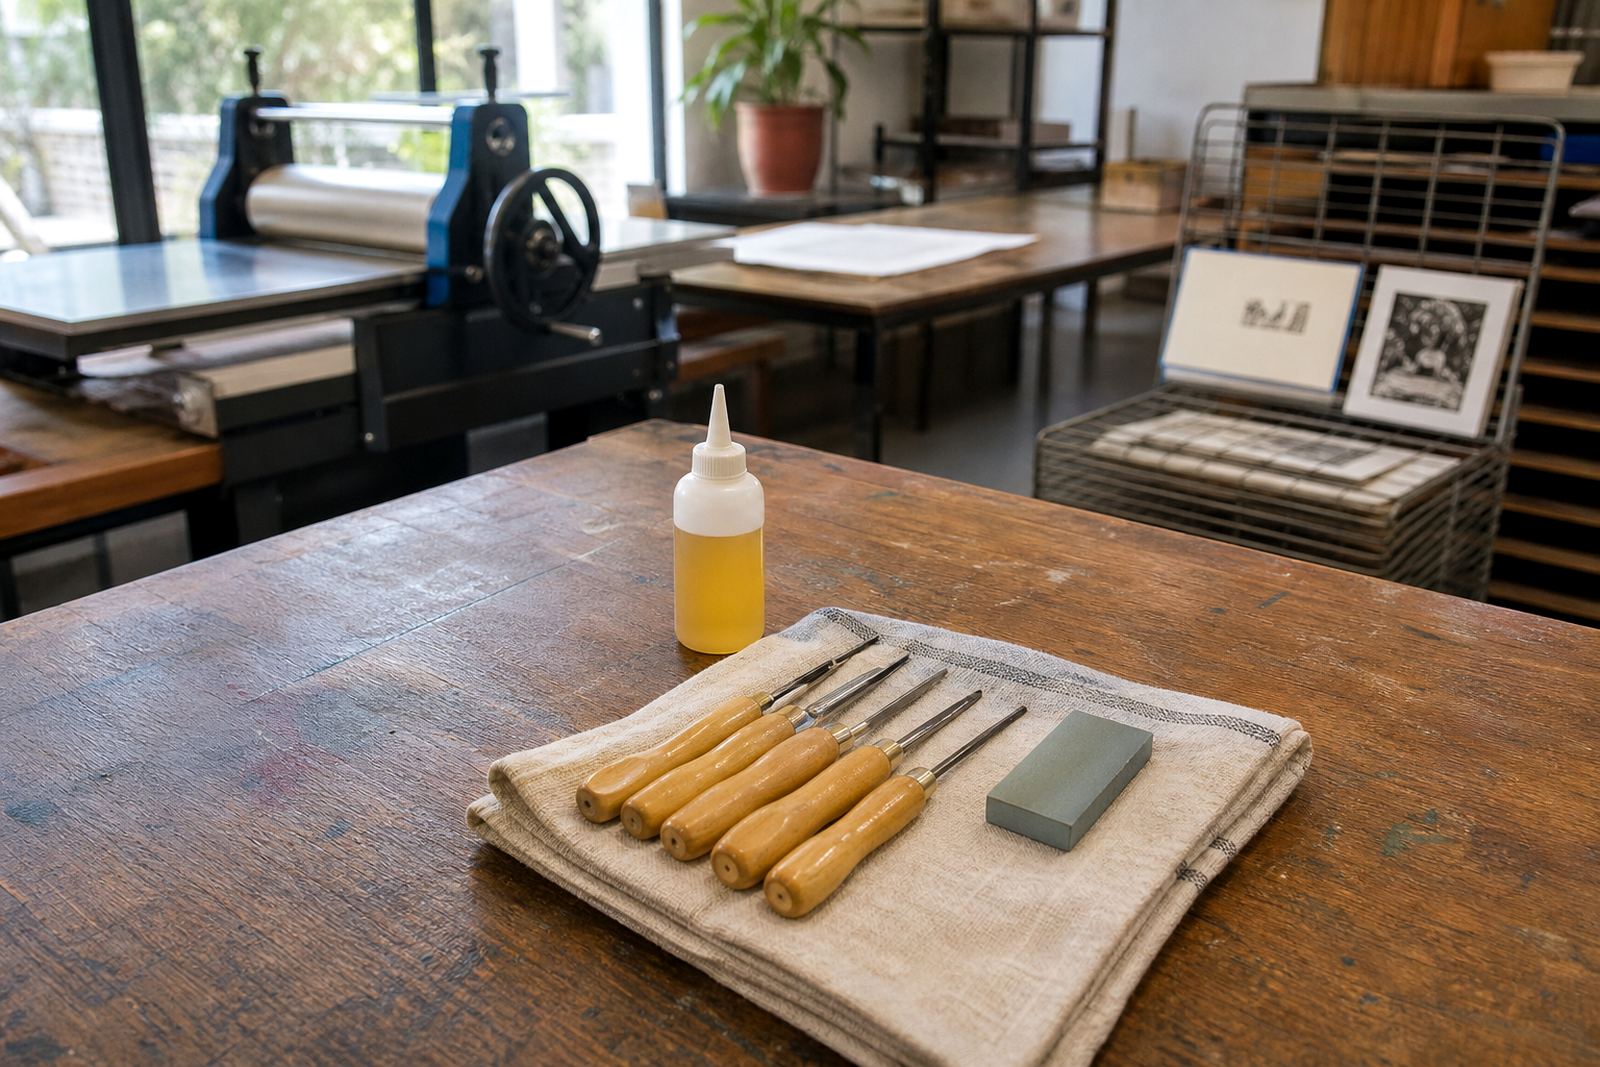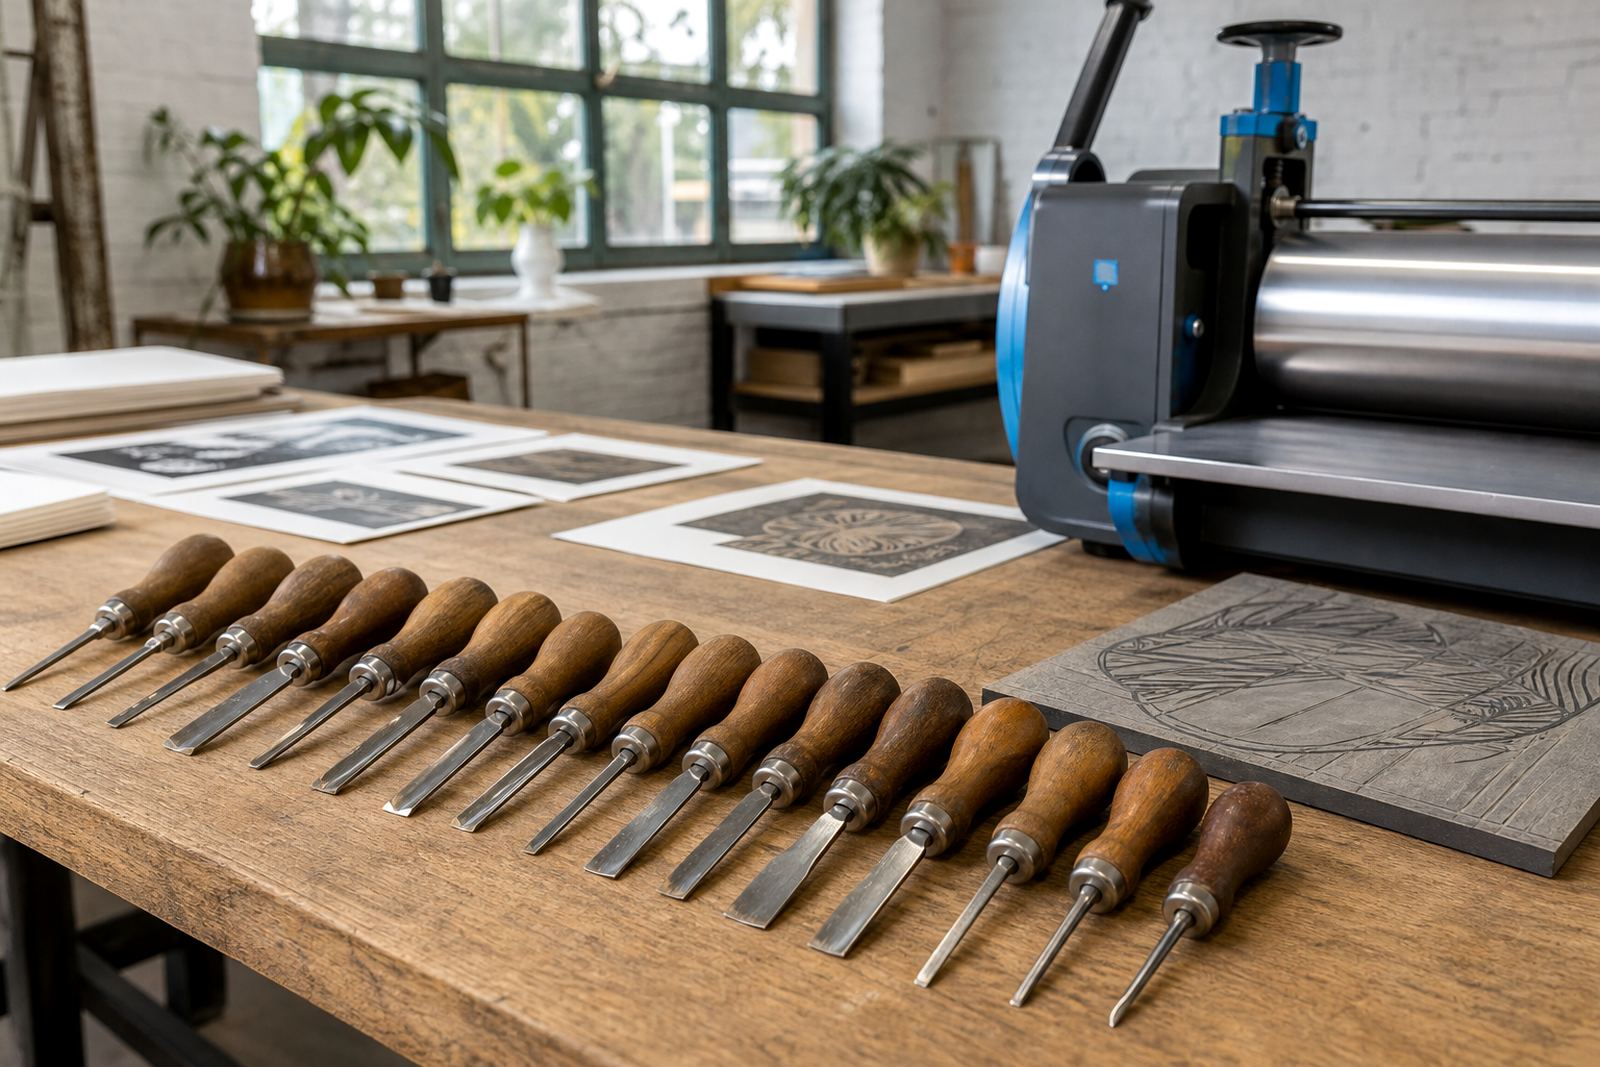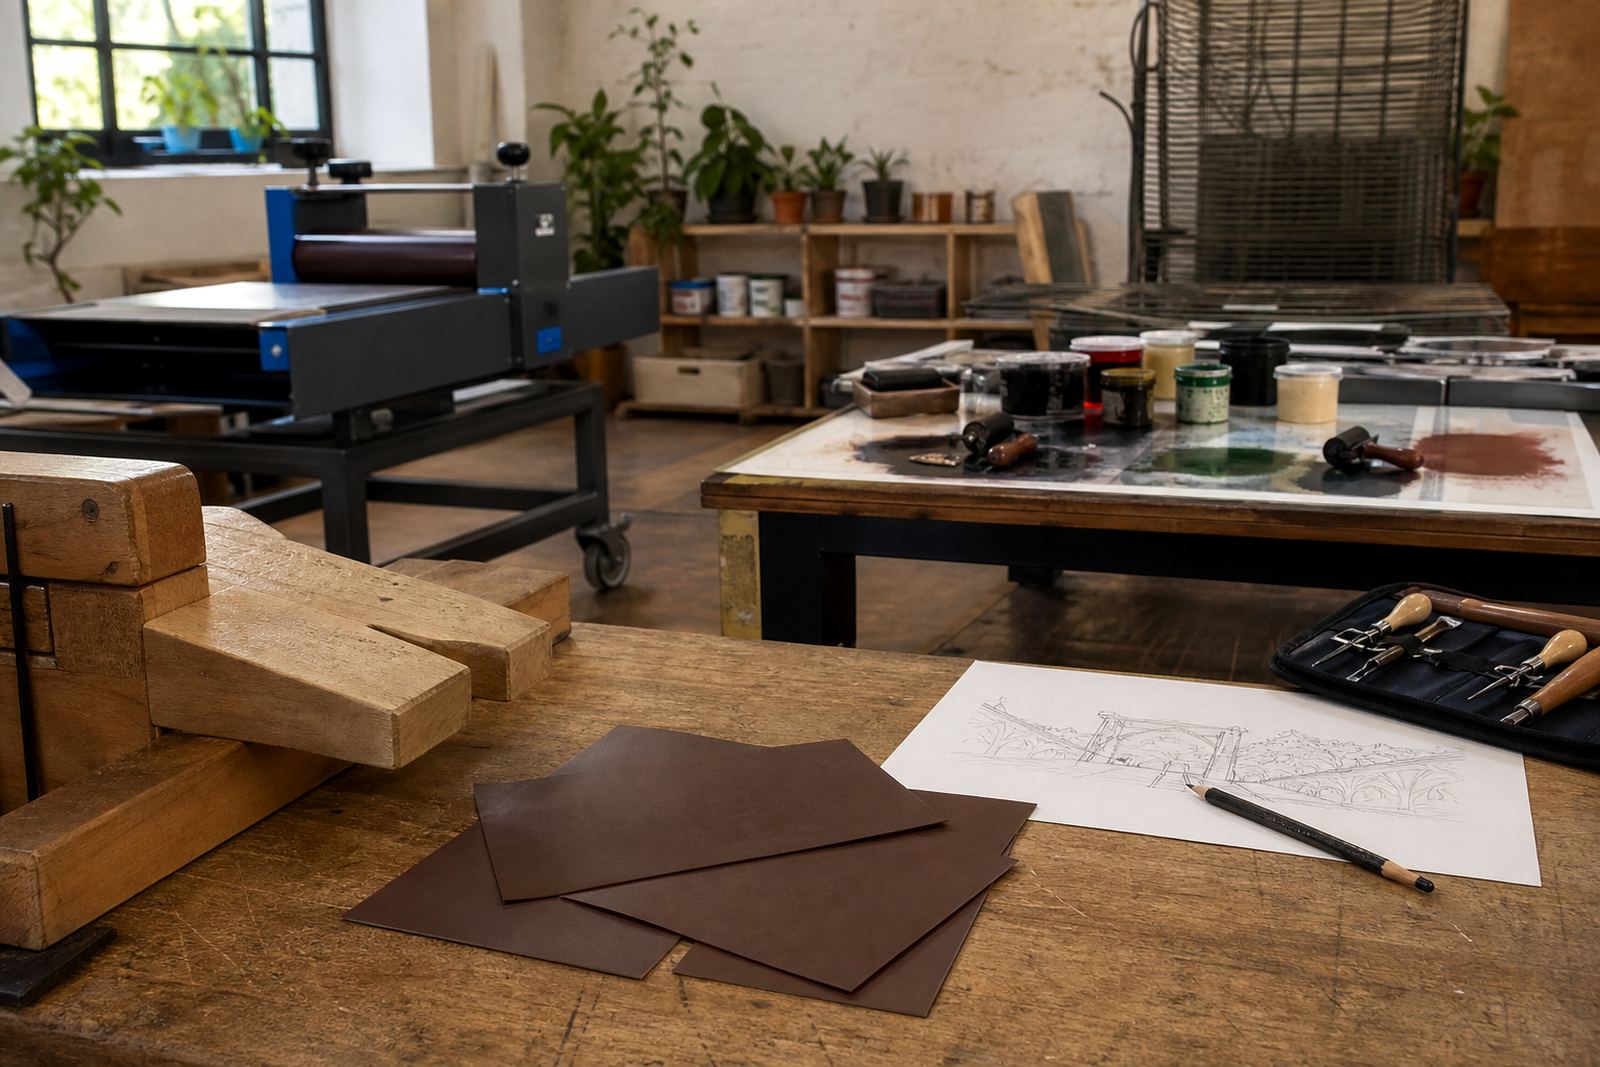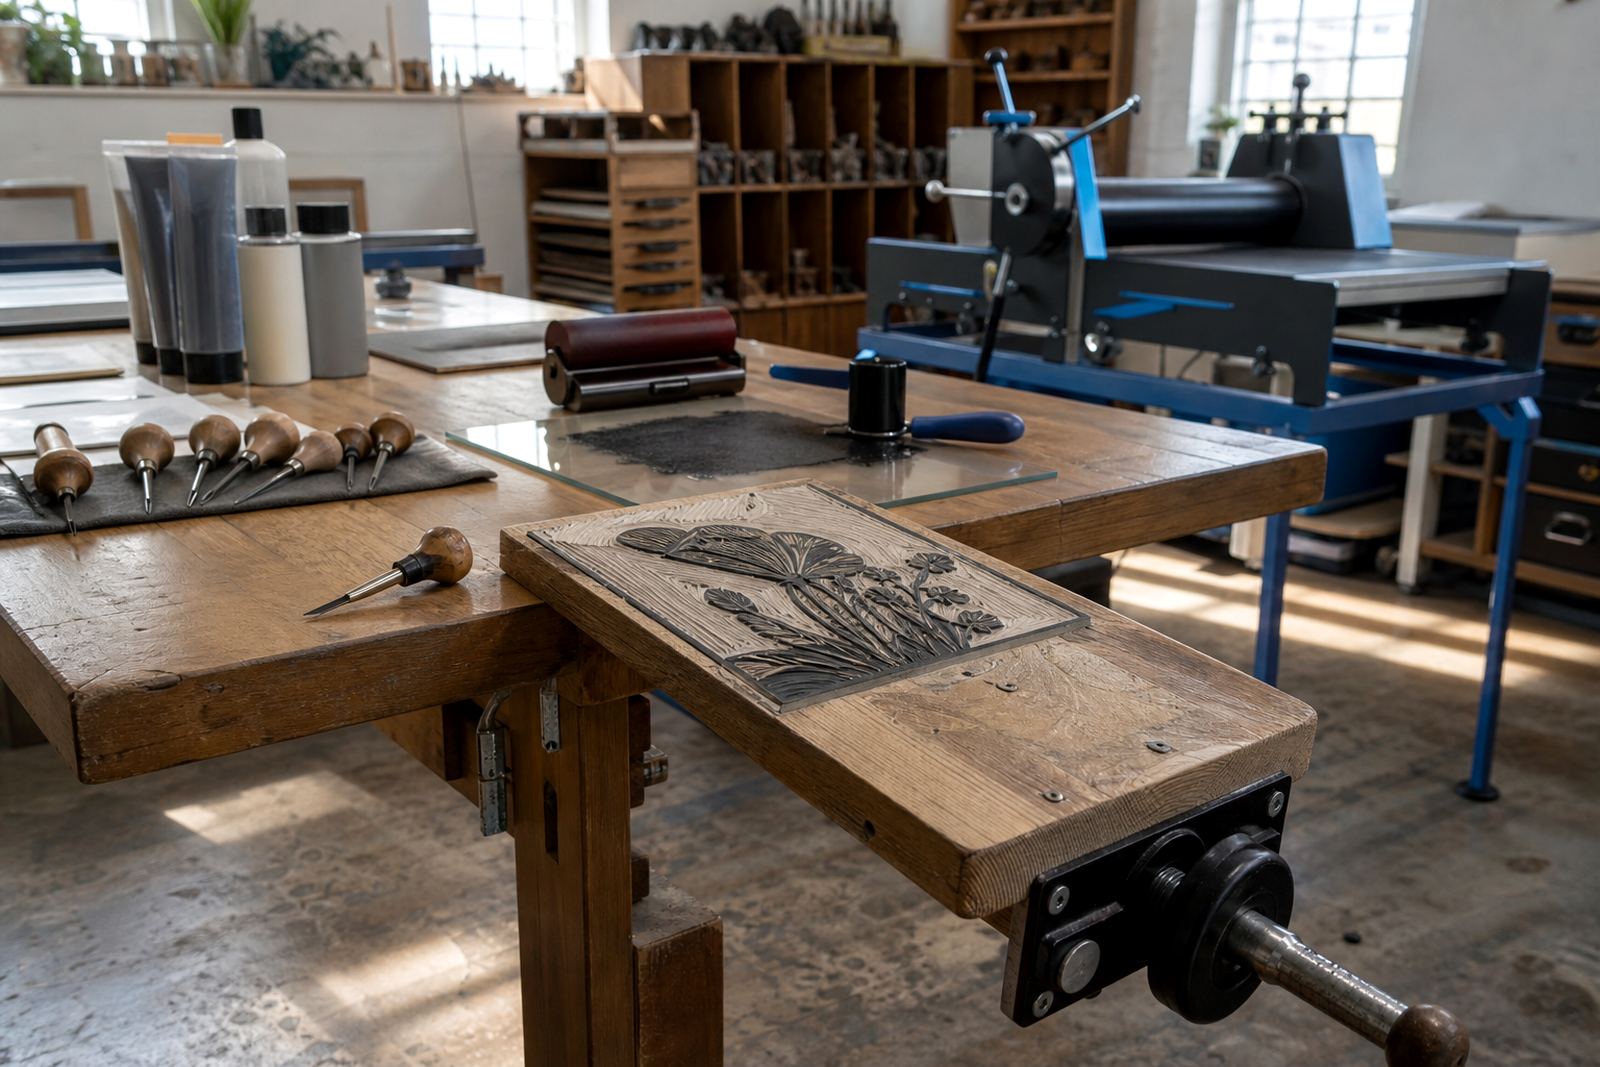
A firmer edge for the carving stage
The safety bench hook sits against the front of a table, then catches the block so it cannot travel forward while you work. In linocut and block printing, that extra stop makes a real difference when you are pushing a V-tool through a line or lifting a corner with a gouge. The block stays where your hands expect it to stay, and the cut can move away from the body rather than toward the chest.
That matters with lino, soft-cut and other hand-carved blocks used in workshops, student classes and studio print sessions. A bench hook gives the block a stable edge, a clearer cutting path and better control for fine marks, bold relief shapes and small details.
It also suits first-time carvers who are still learning how much pressure to use. The block has something to brace against, so the carver spends less effort chasing the material around the table. In a busy workshop that small bit of control helps the whole room settle into a safer rhythm.
Sizes, timber and working surface details
Our safety bench hooks are generally made as a flat wooden board with a front stop and an underside lip. The top face gives the block a resting plane, while the lower lip hooks over the table edge. Most workshop use calls for a compact size that is easy to move around, though a wider board can help with larger blocks or longer carving sessions. Timber thickness matters too, because the hook must stay firm when the block is pushed against it.
- Common working size: about 300 mm x 220 mm for small to medium blocks
- Wider option: about 400 mm x 300 mm for larger class blocks
- Approximate timber thickness: 12 mm to 18 mm
- Front stop height: enough to catch the block without blocking the carving line
- Edge finish: sanded smooth to protect paper, skin and tools
For schools and group sessions, a slightly larger bench hook is useful when several people share a table and materials move between stations. For family print sessions and beginner carving classes, a lighter format is easier to carry in and out of a venue. The right size depends on the block format, the table depth and how much room the carver needs for brayer, paper and carving hand placement.
Where the bench hook earns its place
This tool suits any printmaking setup where carving happens on a tabletop rather than at a fitted carving bench. It is used for lino, soft-cut, rubber-like blocks and similar relief materials, especially when the block is being prepared for edition printing, press printing or hand burnishing with a baren. It also works well during teaching demos where the instructor needs the block held steady while showing safe knife direction and line control.
In workshops across Woodstock, Cape Town and at pop-up sessions in Stellenbosch, Johannesburg, Pretoria and Durban, a bench hook helps keep the focus on the cut. It supports the block during line work, hatch marks, borders and small textures, and it is handy when students are learning how registration marks and test prints relate to the finished edition. If the table surface is smooth or slightly polished, the hook gives the block a much better anchor.
It is also useful for venue setups where tables differ from room to room. A bench hook brings some consistency to the working surface, whether the class is held in a school hall, a studio classroom or a temporary workshop space. That consistency helps when several people are carving at once and each table has a different height, width or edge profile.
Safe carving habits that fit the tool
A bench hook works best when the carver pairs it with ordinary printmaking habits that keep the hands calm and the blade moving in a sensible direction. Keep the block flat against the stop, hold it with the free hand away from the line of cut, and use measured pressure rather than a hard push. The hook is there to support the block, not to force the tool through the material.
- Use sharp gouges and V-tools so the cut follows the line cleanly
- Keep fingers behind the cutting path, especially on tight curves
- Rotate the block rather than twisting the wrist sharply
- Clear off loose shavings before continuing
- Check that the hook sits flush on the table edge before carving starts
With younger students or first-time adults, it helps to begin with short cuts, then move into longer contours once the block feels stable. A bench hook supports that learning curve by reducing unwanted slip. On softer carving materials the difference is immediate, but even dense lino benefits from the extra brace when the design uses small internal shapes or close detailing.
Fitting, studio use and table set-up
The bench hook needs no permanent installation, but it does need a table edge that is straight enough to grip properly. Place the underside lip over the front edge of the work surface, press the top board flat, then check that the hook does not rock when you lean into the block. If the table edge is rounded or uneven, a thin backing sheet or a firmer table position may help the hook sit correctly.
In a studio session the bench hook often sits alongside carving mats, paper, brayers, ink slabs and test sheets. It should have enough front clearance for hand movement, yet not so much overhang that it shifts during use. For school pop-up workshops, transportability matters too, so a stackable or slim design is useful when equipment must move between rooms, vehicles and storage shelves.
Where a press is used later in the process, the bench hook remains part of the carving stage only. It helps the block arrive at the inking stage with cleaner edges and more confident marks, which makes the rest of the print session easier to manage. That is especially helpful when a group is preparing an edition and the carved surface needs to stay consistent from proof to final pull.
Keeping the wood flat and ready for the next session
Look after the bench hook with the same care you would give other workshop timber. Brush the lino crumbs off the hook and wipe any ink before stacking it. If water-based block ink is handled nearby, let any damp marks dry properly before stacking the tool. For oil-based ink, use the usual printroom cleaning method on the contaminated surface, then dry it fully so the timber does not swell or mark the next block.
Store the hook flat, out of direct damp air and away from heavy objects that could bow the board. In Cape Town and other coastal areas, humidity can affect untreated timber over time, so a dry shelf or rack is better than a floor corner. A light sanding along the front stop or edges may be needed after extended use, especially where repeated carving sessions have left small nicks.
Do not soak the board or leave it leaning in a wet sink area. A well-kept hook lasts longer and continues to hold the block squarely, which matters when prints are being registered by hand, overprinted or editioned across several sheets of paper.
Ordering bench hooks
When ordering a safety bench hook for linocut or block printing, it helps to confirm the working details that affect the fit and the feel in use. The right answer depends on the block size, the table depth and whether the tool is for one person, a classroom set or a mixed workshop kit.
- Preferred working size and whether it suits small or large blocks
- Material choice, such as pine, plywood or another stable timber
- Left-handed or right-handed use, if the stop is shaped for a particular carving direction
- Thickness and overall weight for carrying to classes or venue sessions
- Whether the edge needs extra sanding for paper handling and safer grip
- Quantity needed for studio sets, school groups or team sessions
For workshops at HandPrinter Art, the bench hook is usually considered alongside the block type, the carving tools, the paper size and the printing method. That way the support suits the way the block will be carved and printed, whether the session ends with hand burnishing, baren printing or a press pull. A good bench hook stays out of the way, yet the moment the carving starts, its value is clear.
Key facts
| Product type | Bench support for relief carving |
|---|---|
| Primary use | Holds lino or soft-cut blocks steady while carving |
| Typical sizes | 300 mm x 220 mm and 400 mm x 300 mm |
| Material | Sanded timber board with front stop and underside lip |
| Compatibility | Suitable for gouges, V-tools, lino blocks and soft-cut blocks |
| Use setting | Studio workshops, school pop-ups, family sessions and edition prep |