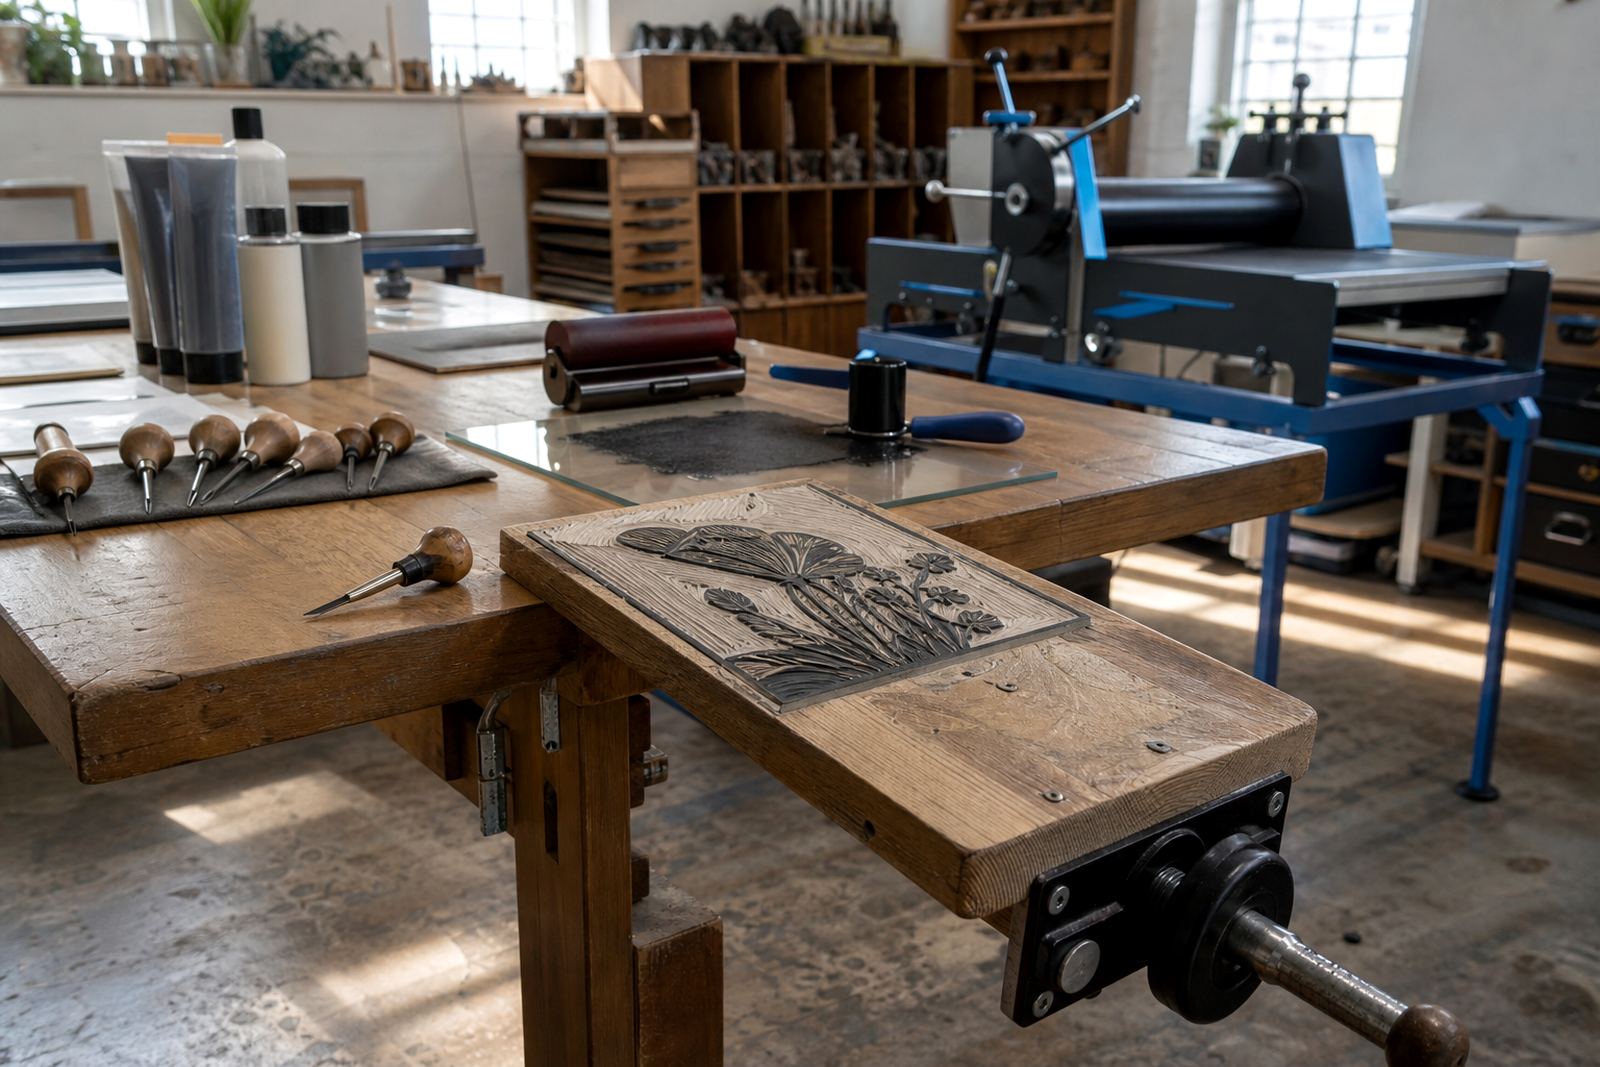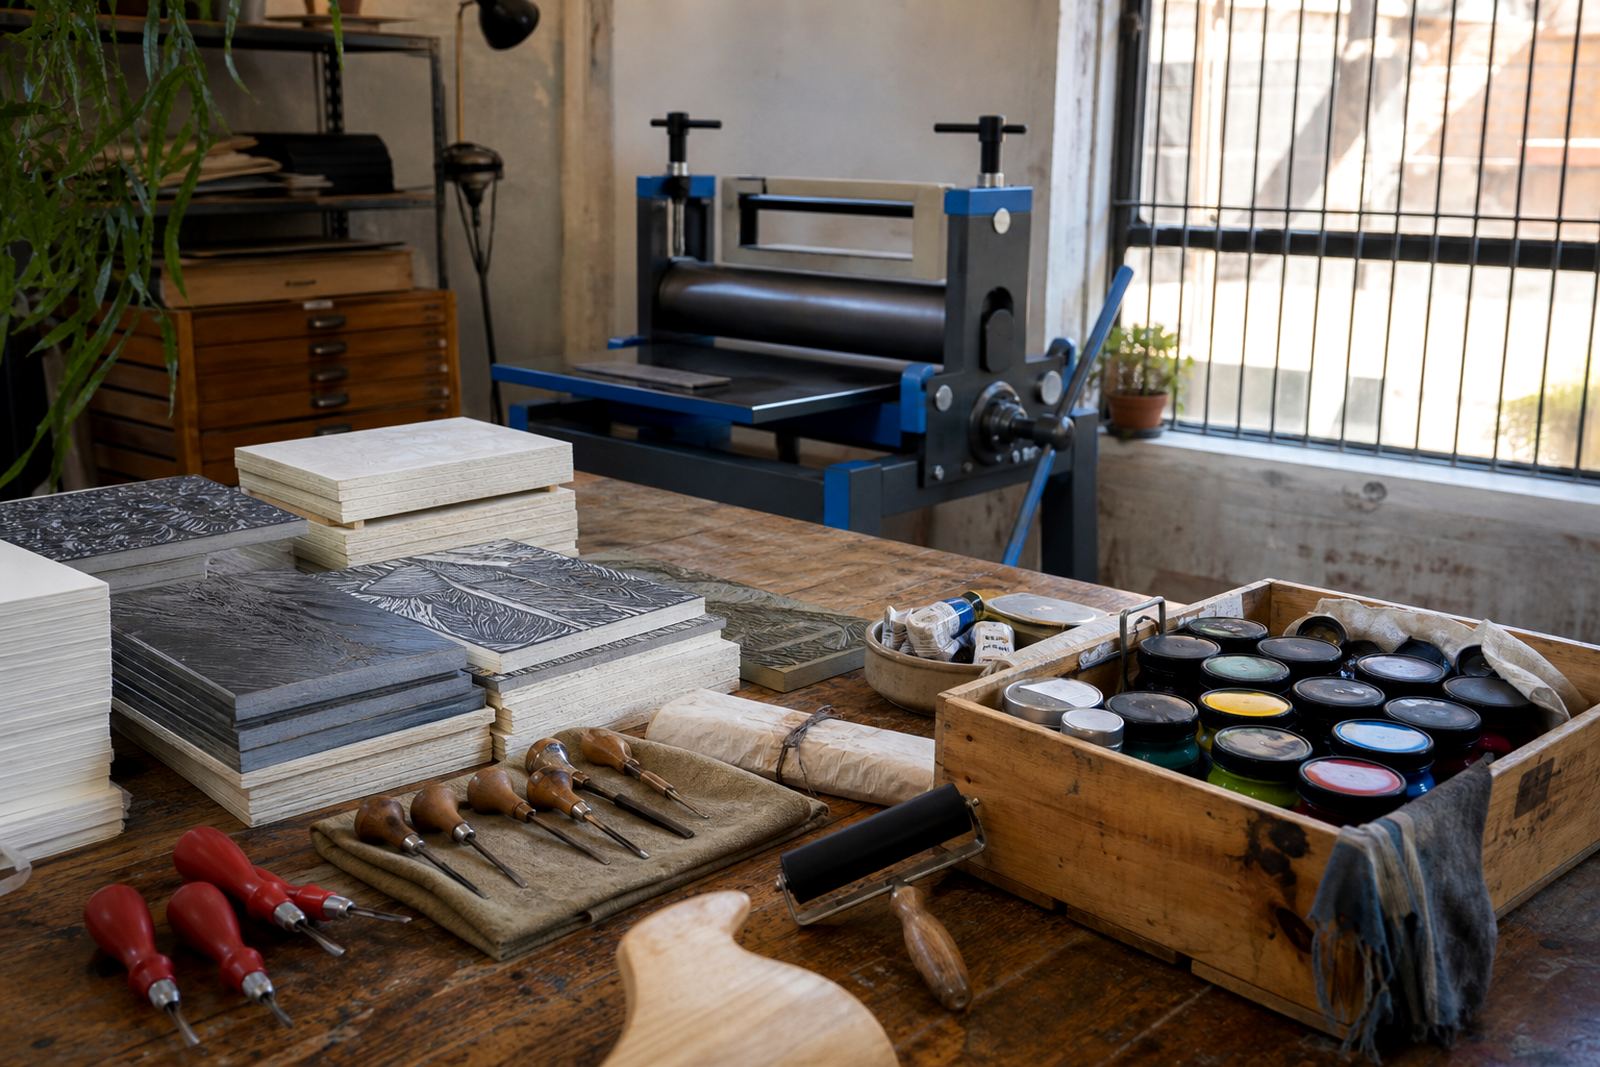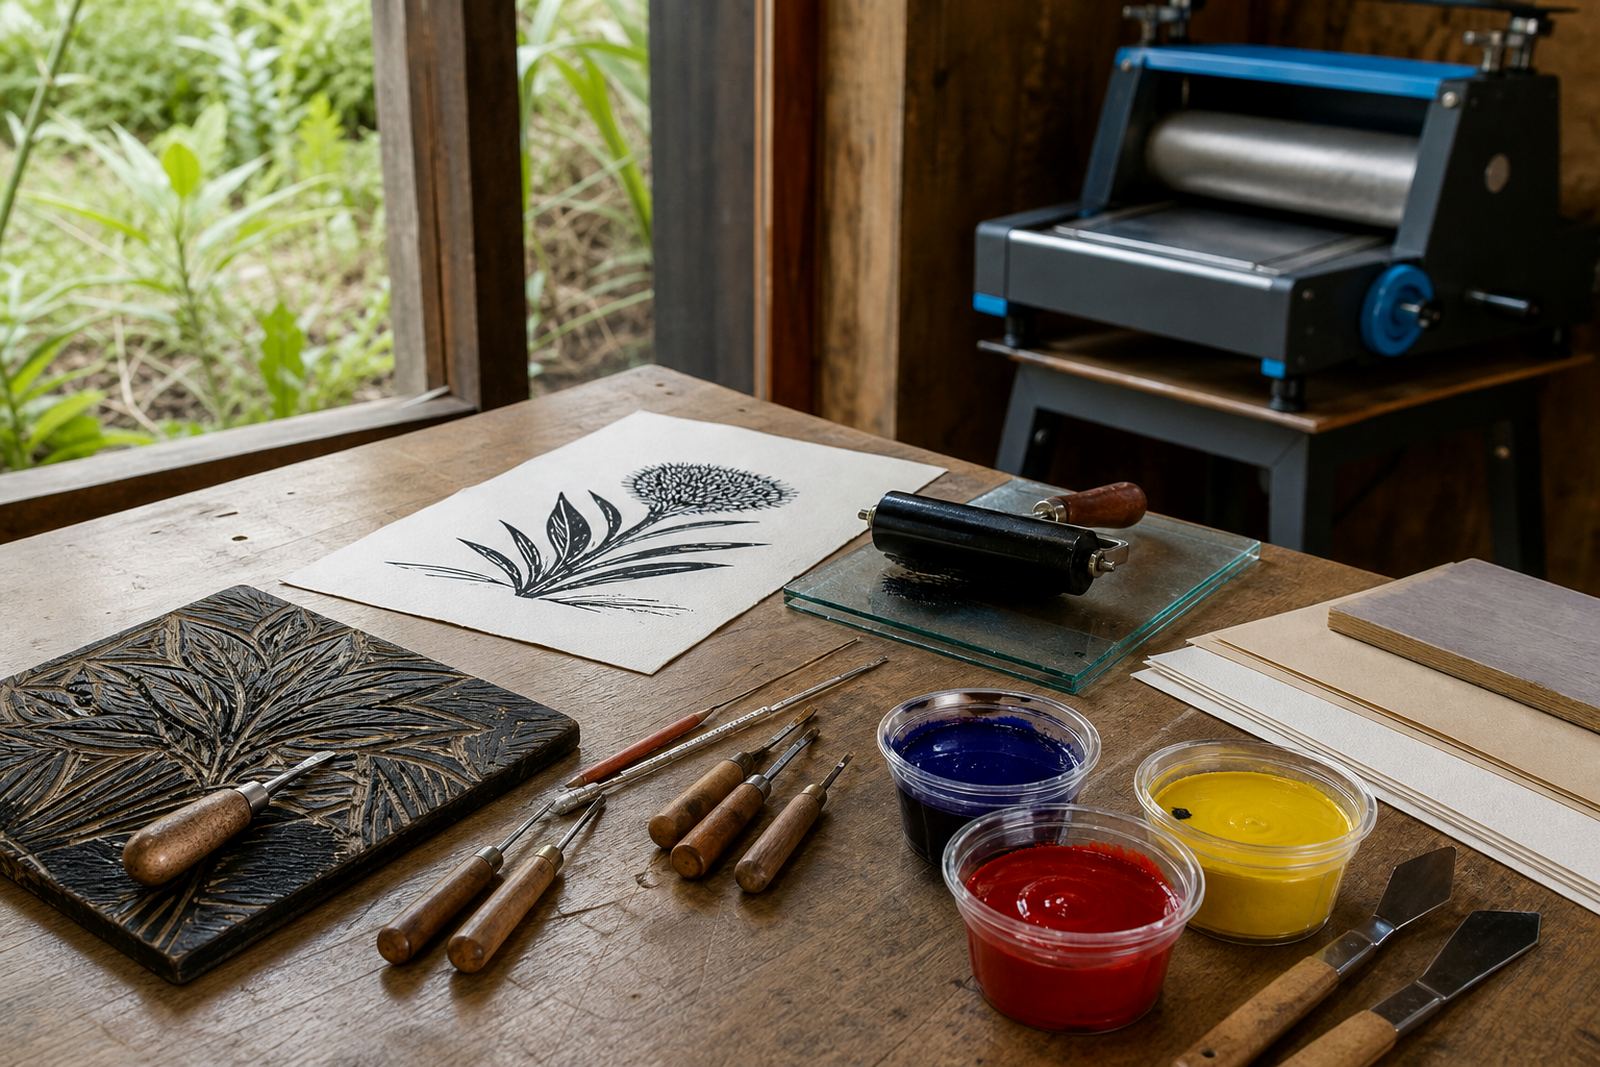
A steady corner for repeat pulls
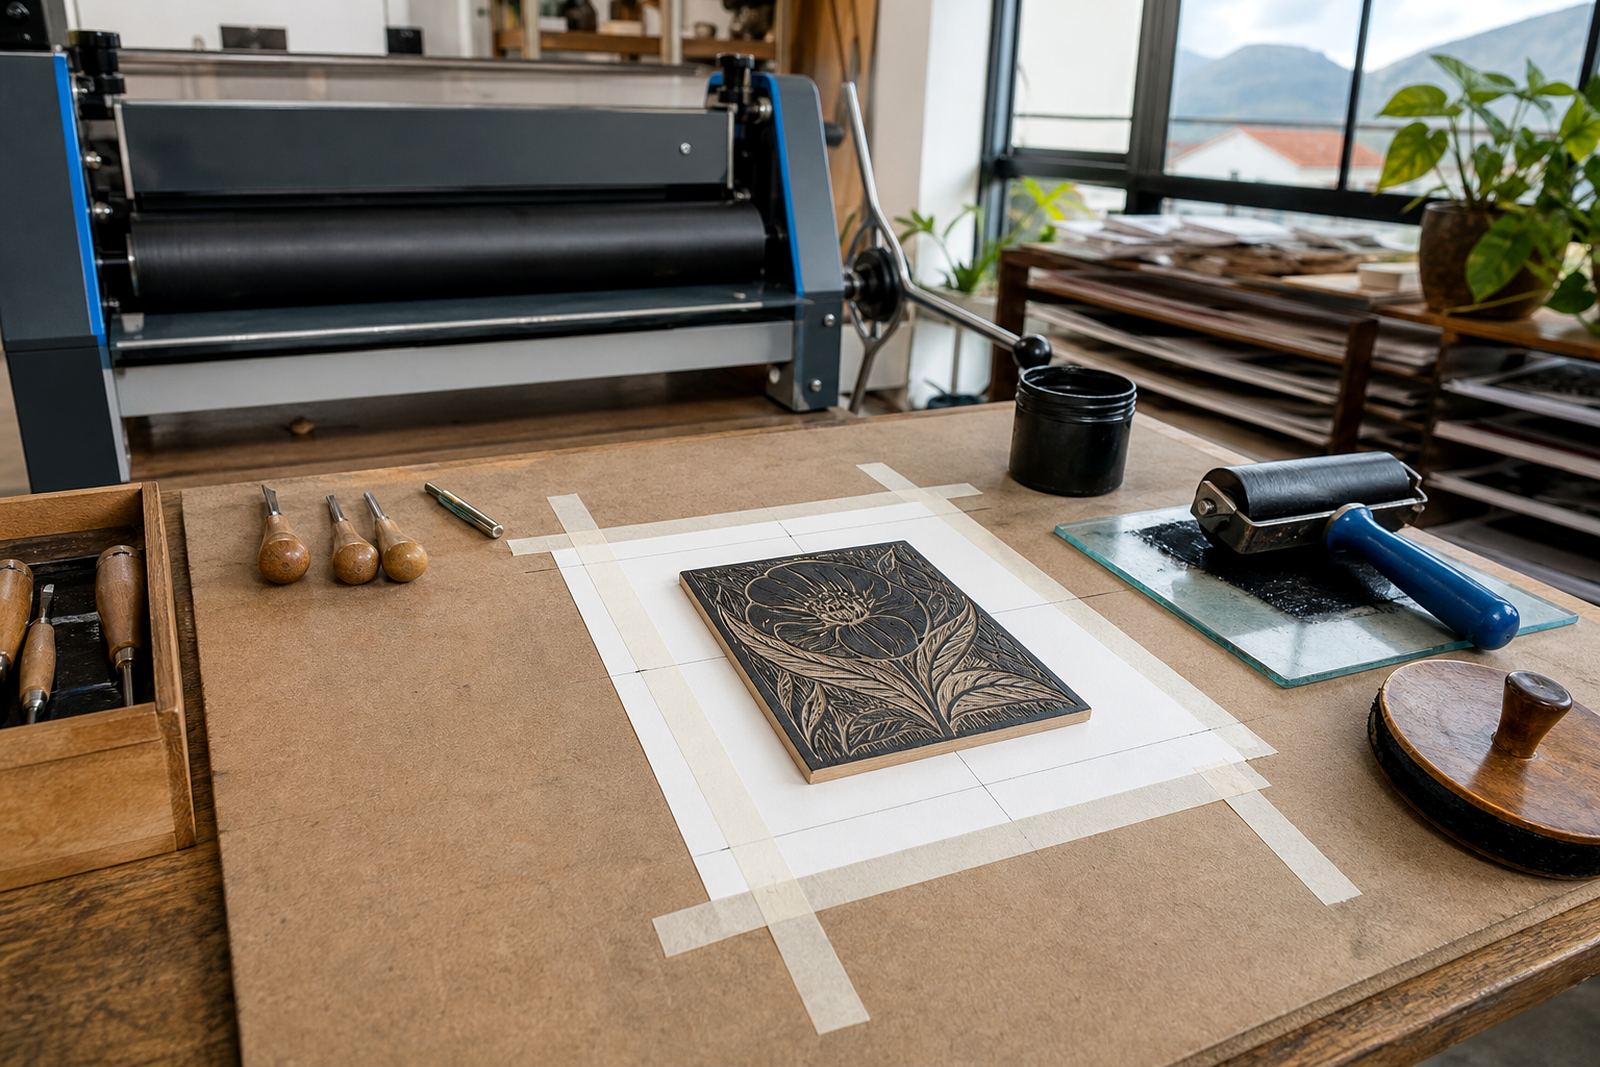
This jig is a practical alignment aid for relief printing tables, carving benches and shared studio stations. It gives the printer a fixed edge or corner stop so the block sits in the same position, and the paper lands without wandering across the sheet. In workshops, that matters when several people are printing the same image, or when one block must produce a clean edition with consistent placement.
HandPrinter Art uses registration for hand-pulled prints, student editions and demo sheets where paper size and image position must stay controlled. The jig works with carved lino and soft-cut blocks, plus mount board proofs and clean paper pulls on smooth surfaces. It is most useful where the block is small to medium, and the print needs a repeatable print area rather than a freehand placement.
- Fixed corner or edge guide for paper placement
- Useful for relief blocks, proof sheets and edition prints
- Helps keep margins even across multiple pulls
- Works with hand burnishing, baren use or press work
Sizes and workshop options that matter
The jig is usually specified by the print area, paper size and table space. A small setup works well for postcard and A5 prints, while larger layouts suit A4, A3 and demo sheets used in school classes or family sessions. The important part is the inside opening or stop position, because that sets the image travel on the paper.
For studio use, it is common to pair the jig with matching block supports, tape stops or removable corner markers. In a busy workshop, that lets the teacher reset the station between groups without measuring each sheet from scratch. If the class is printing on a press, the same jig layout can still help with paper loading and proof alignment before the run starts.
- Common paper sizes include A5, A4 and A3
- Block opening can be set for small or medium relief prints
- Low-profile build suits flat tables and press beds
- Can be supplied as a left or right hand layout
Where the jig earns its keep
In Cape Town workshops, the jig is useful for lino and soft-cut sessions where students print from the same block in turns. It also suits schools, team groups and pop-up classes where a table must move from carving to inking, then into printing without losing the setup. When a session includes edition making, the jig helps keep the image in the same spot from first proof to final sheet.
It is also a sound fit for print runs that use water-based or oil-based block inks, because both ink types rely on good placement and even pressure. Where a baren is used, the registration point gives the printer a clear start. Where a press is used, it supports cleaner feeding and less shifting at the edges. That is useful in humid coastal rooms too, where paper can curl or move a touch more than expected.
- School pop-up workshops and student print classes
- Family sessions where several hands share the same table
- Edition days with repeat pulls from one carved block
- Studio proofs before final printing on finer paper
Fitting, fixing and table setup
The jig normally sits on a flat printing surface and is fixed so it cannot drift during use. Depending on the build, it may clamp to the table edge, tape down to a smooth board, or sit in a weighted base that keeps the corners steady. For press work, the jig must be low enough to clear the platen or roller path, and it should not catch on the paper feed. For hand burnishing, the surface must stay even so the baren can move without tipping the sheet.
Good fitting also depends on how the block is trimmed. A cleanly cut block edge makes alignment easier, while rough sides can throw the corner stop off by a few millimetres. In a busy studio, the jig should be checked against the paper stock used that day, because cotton rag sheets, cartridge paper and heavier print papers can all sit differently under pressure.
- Clamp, tape or weighted mounting depending on the table
- Low profile for press beds and hand burnishing tables
- Needs a flat surface with enough margin around the print area
- Best matched to the actual paper stock used in the session
Care between classes and editions
The jig should be kept clean of dried ink, paper dust and adhesive residue so the stops stay true. Water-based ink wipes off with a damp cloth, while oil-based residue usually needs a suitable studio cleaner and a dry finish afterwards. If the jig has a wooden part, it should be stored away from damp floors and direct spray, because moisture can shift the fit over time.
In a print studio, a quick check before each session keeps the setup square. Look at the corners, the stop edge and any tape marks, then test with a scrap sheet before the first full pull. If the class is moving between carving, inking and printing stations, the jig should be packed so the stops do not bend or loosen in transit.
- Wipe down after ink use and before storage
- Keep tape residue off the stop edges
- Store flat, away from damp studio corners
- Test with scrap paper before printing a final edition
Sizing the jig to your blocks
To supply the right registration jig, the workshop team needs the paper size, block size and printing method. It also helps to know whether the station is for hand burnishing, a press, or both. If the jig is going into a school hall, a venue setup or a shared studio bench, the available table width and the usual paper orientation should be noted as well.
For Cape Town and other South African venues, it is worth confirming the paper stock, the number of printers sharing the station and whether the layout must suit left handed or right handed users. That keeps the stops where they need to be and avoids a jig that only works with one sheet size. The right note on the order can save a lot of adjustment once the ink trays, blocks and papers are already on the table.
- Paper size and finished print area
- Block dimensions and thickness
- Hand printing, baren use or press printing
- Left hand or right hand layout preference
- Table width and storage space at the venue
- Expected use in workshops, schools or edition runs
Key facts
| Product type | Registration jig for relief print alignment |
|---|---|
| Typical paper sizes | A5, A4, A3 and custom workshop sheets |
| Compatible blocks | Linocut, soft-cut and similar relief blocks |
| Printing methods | Hand burnishing, baren use and press printing |
| Materials | Flat base with fixed stops, clamps or tape-down points |
| Care | Wipe clean, store flat and keep stops free of dried ink |