A firmer roller for controlled ink on flatter blocks
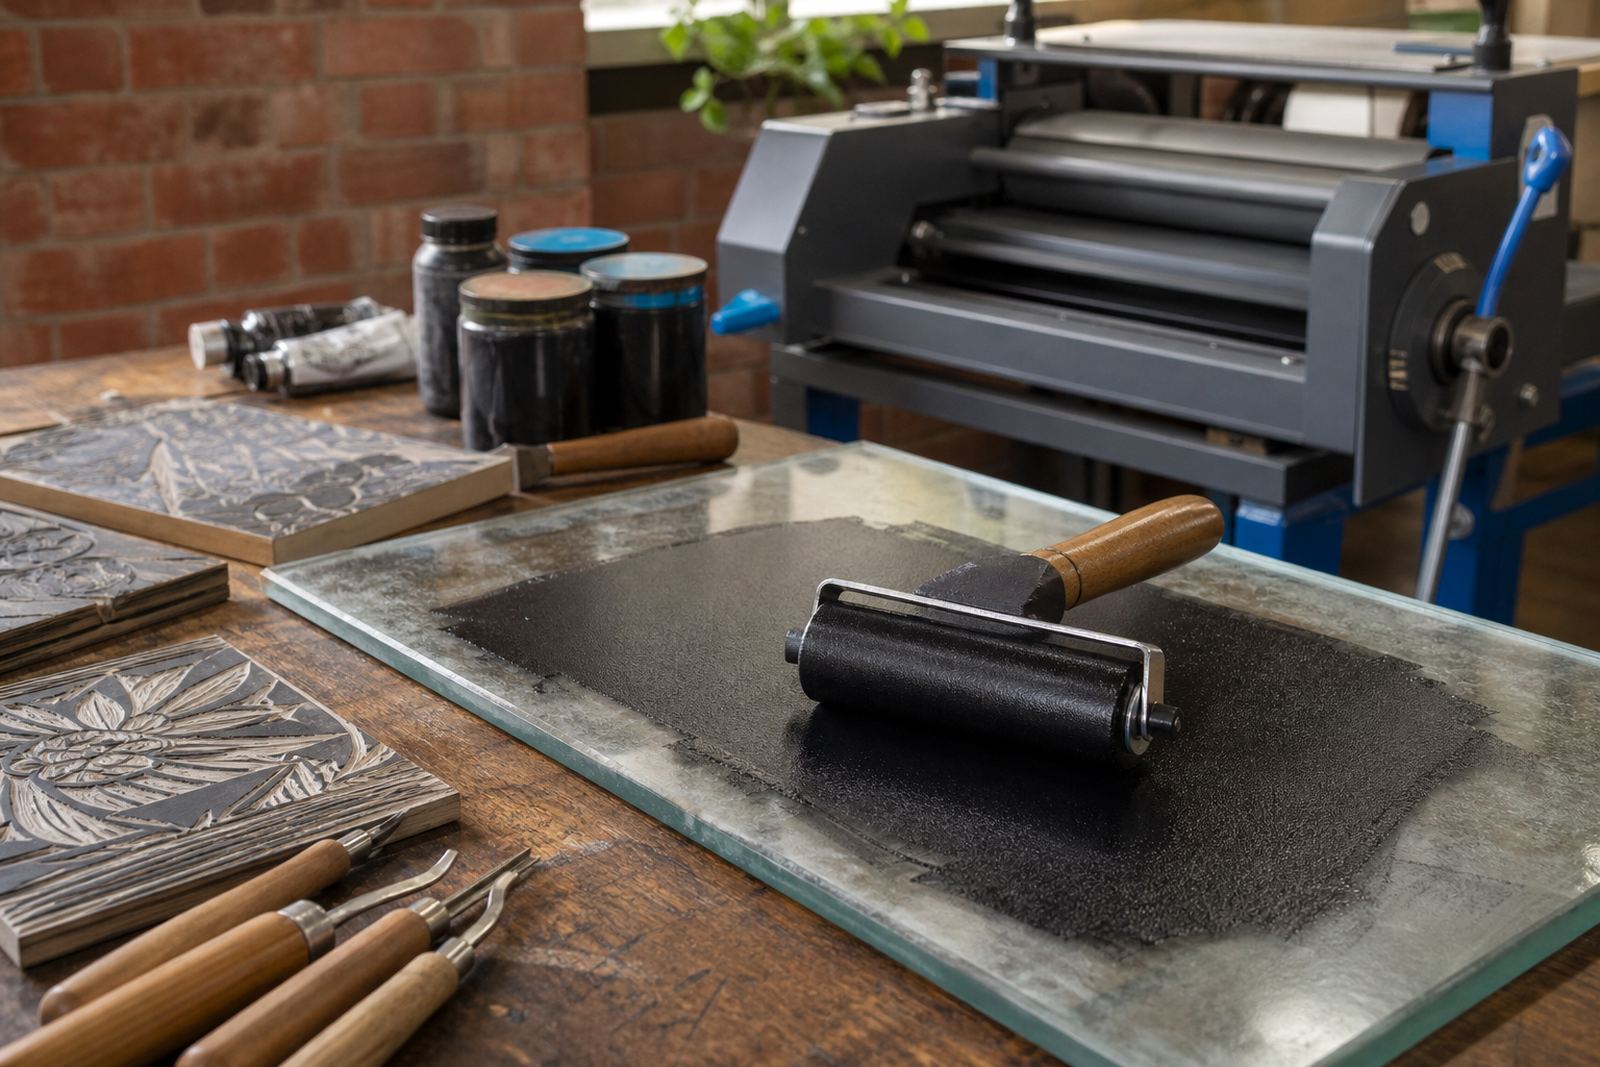
The hard rubber brayer is the roller many printmakers reach for when the block has clean, shallow carved areas and the aim is a tight, even layer of ink. The rubber surface is firmer than a soft roller, so it does not sink into every shallow cut, and that helps keep fine lines clearer in the final print. For linocut, soft-cut block and other relief surfaces, it is a practical choice when the design needs crisp edge control and a consistent ink film.
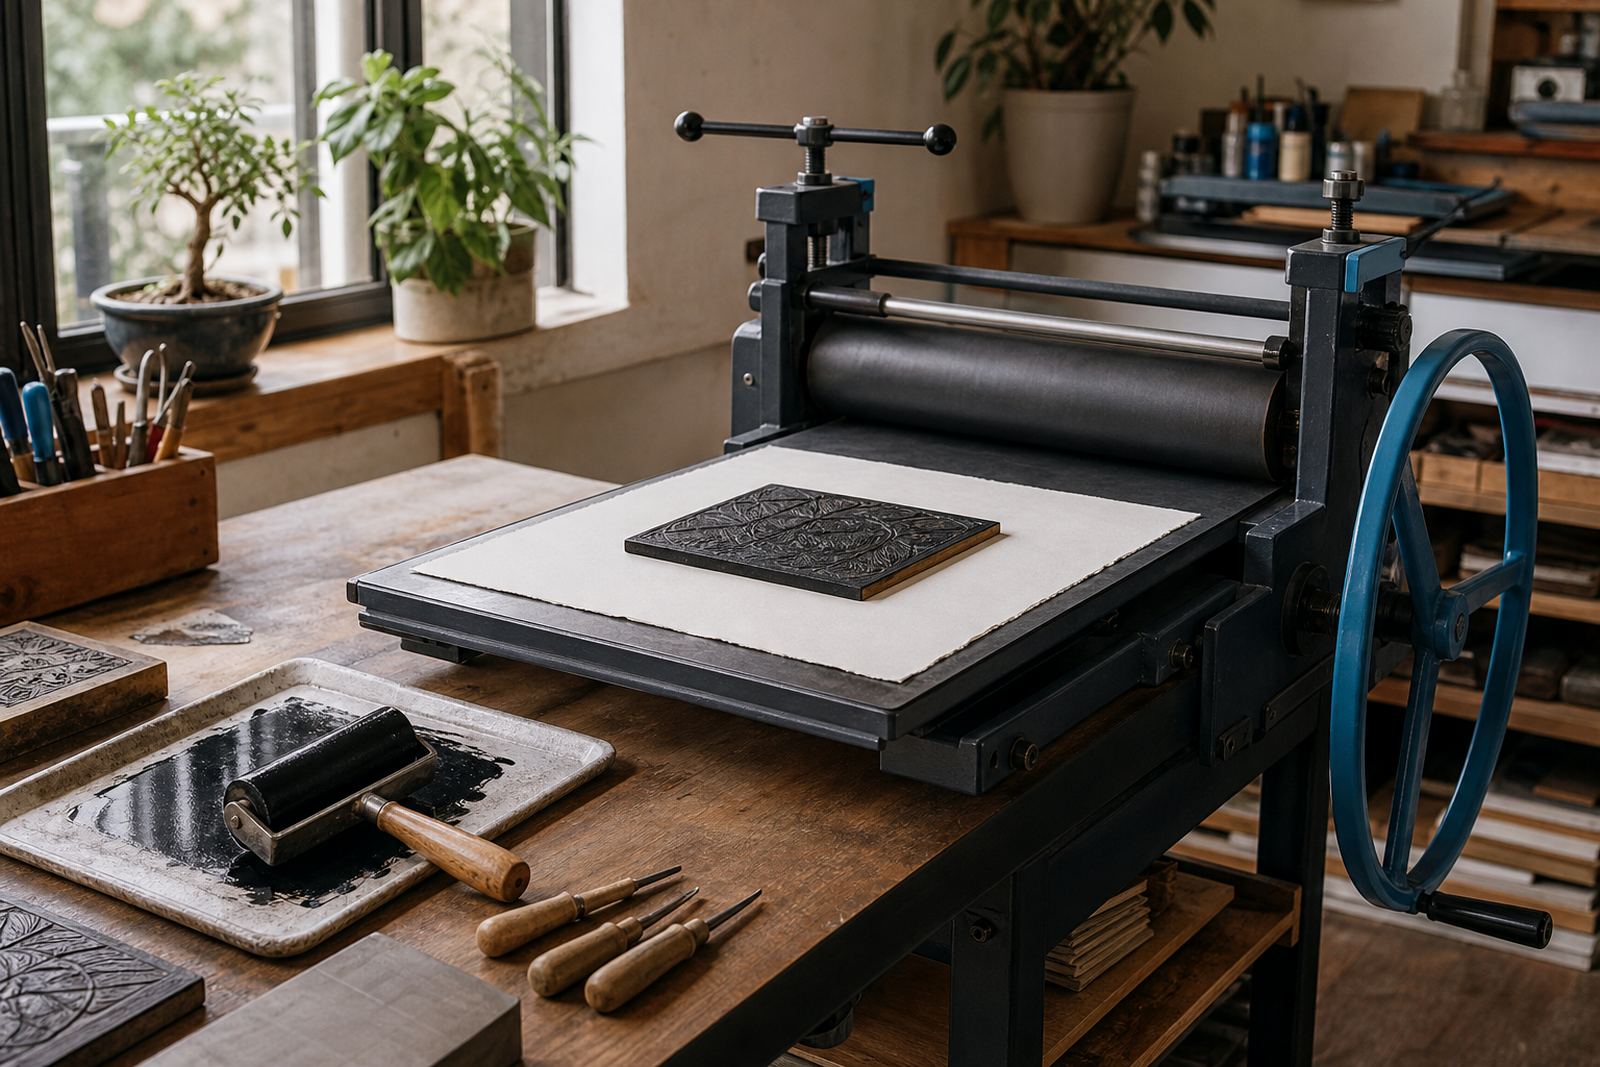
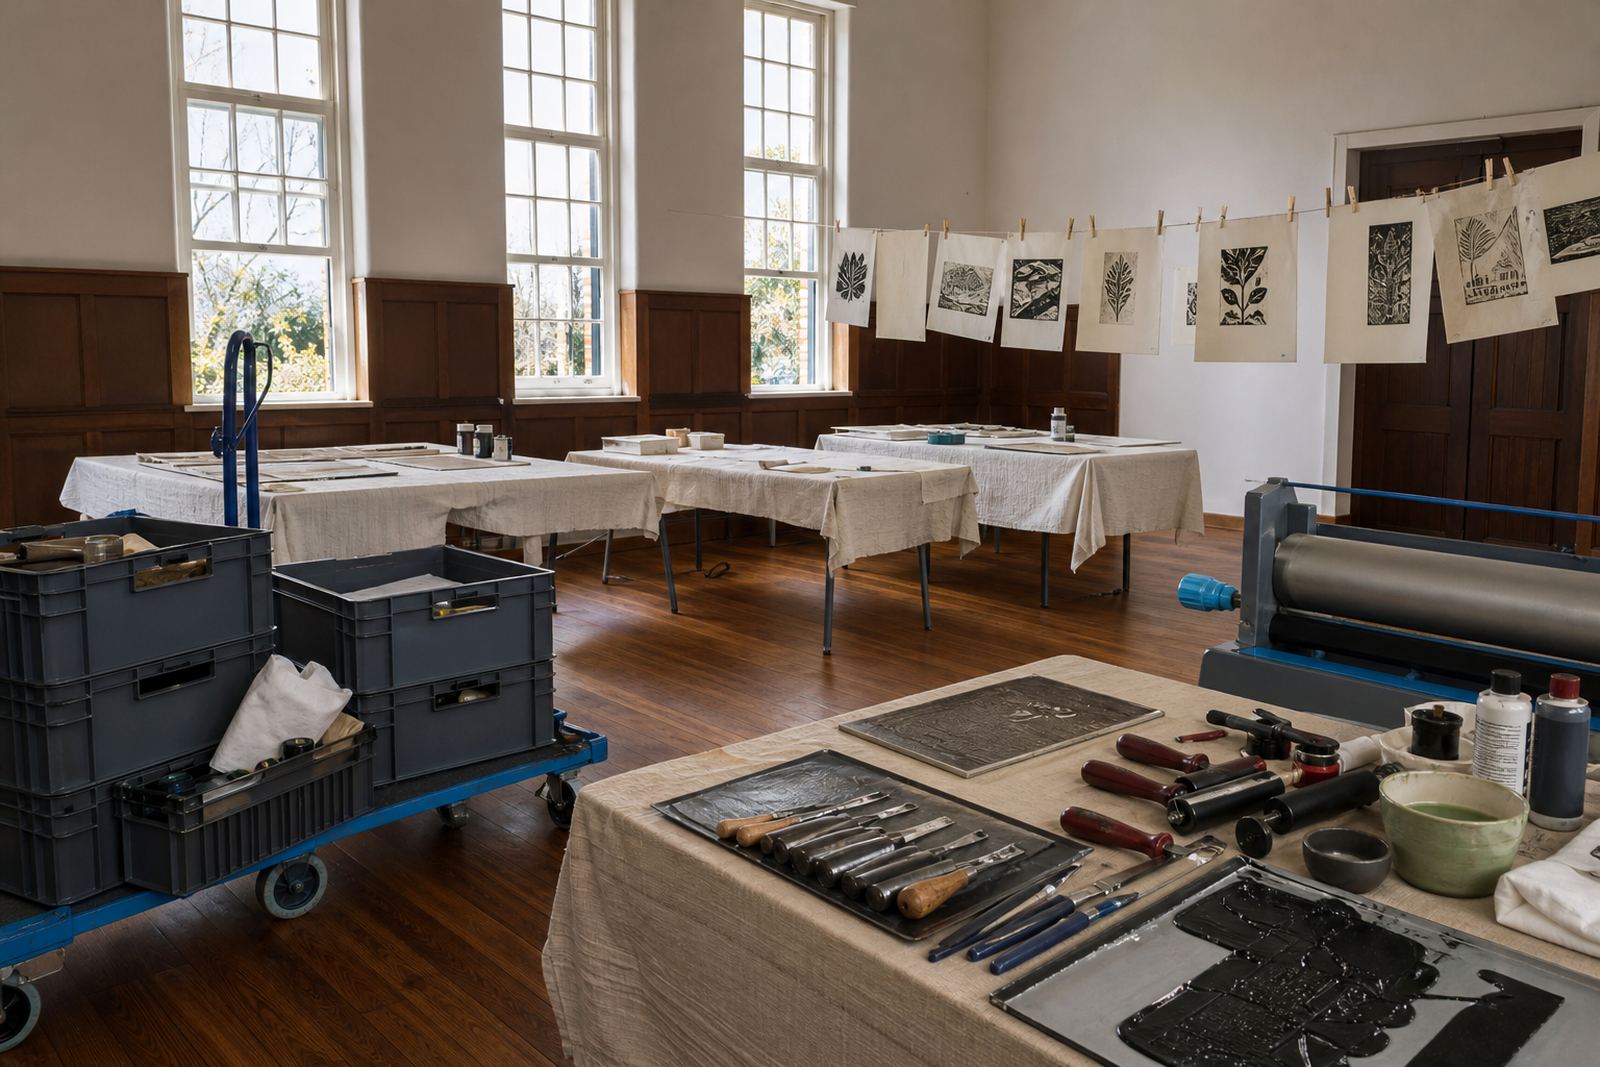
In a workshop setting, this kind of brayer suits both hand-printing tables and press-based work. It moves ink across the slab or plate with steady pressure, then transfers it onto the block without flooding the carved spaces. That is useful for edition printing, where each sheet needs to sit close to the last one in colour and tone. A firmer roller also gives a more direct feel under the hand, which helps learners understand how pressure changes the mark.
- Useful for flatter lino blocks and smooth carving surfaces
- Helps keep fine cuts and narrow channels open
- Works well with water-based block inks and oil-based block inks
- Suitable for studio sessions, school workshops and edition runs
Sizes, roller widths and handle styles that suit workshop work
Hard rubber brayers come in several widths, usually chosen to match the block rather than the paper. A narrower roller is handy for small prints, test squares and student pieces, while a wider roller covers larger blocks without leaving dry bands at the edges. The grip and frame also matter. A solid handle gives a steadier roll when the ink is thick, and a balanced frame helps when several prints must be inked in sequence.
For most relief print classes, it helps to think about the full print area. If the block is small but the paper is large, a mid-width roller may still be the better fit because it spreads ink evenly across the image area without forcing too much pressure onto the corners. In a busy studio, the roller should also be easy to clean between colours, especially when switching from a dark oil-based ink to a lighter water-based mix.
- Common roller widths: small, medium and wide workshop sizes
- Typical use: A4 student blocks, larger exhibition sheets and test proofs
- Grip styles: straight handles and arched frames for better hand control
- Best matched to the carved block
Where a hard rubber brayer earns its place in the studio
This roller suits print sessions where precision comes first. It works well on lino, mounted blocks, soft-cut sheets and experimental relief surfaces with cleaner carving lines. In an edition print session, it helps the maker keep the first and last sheets closer in appearance, which matters when several people are working on the same image or when a class is learning registration.
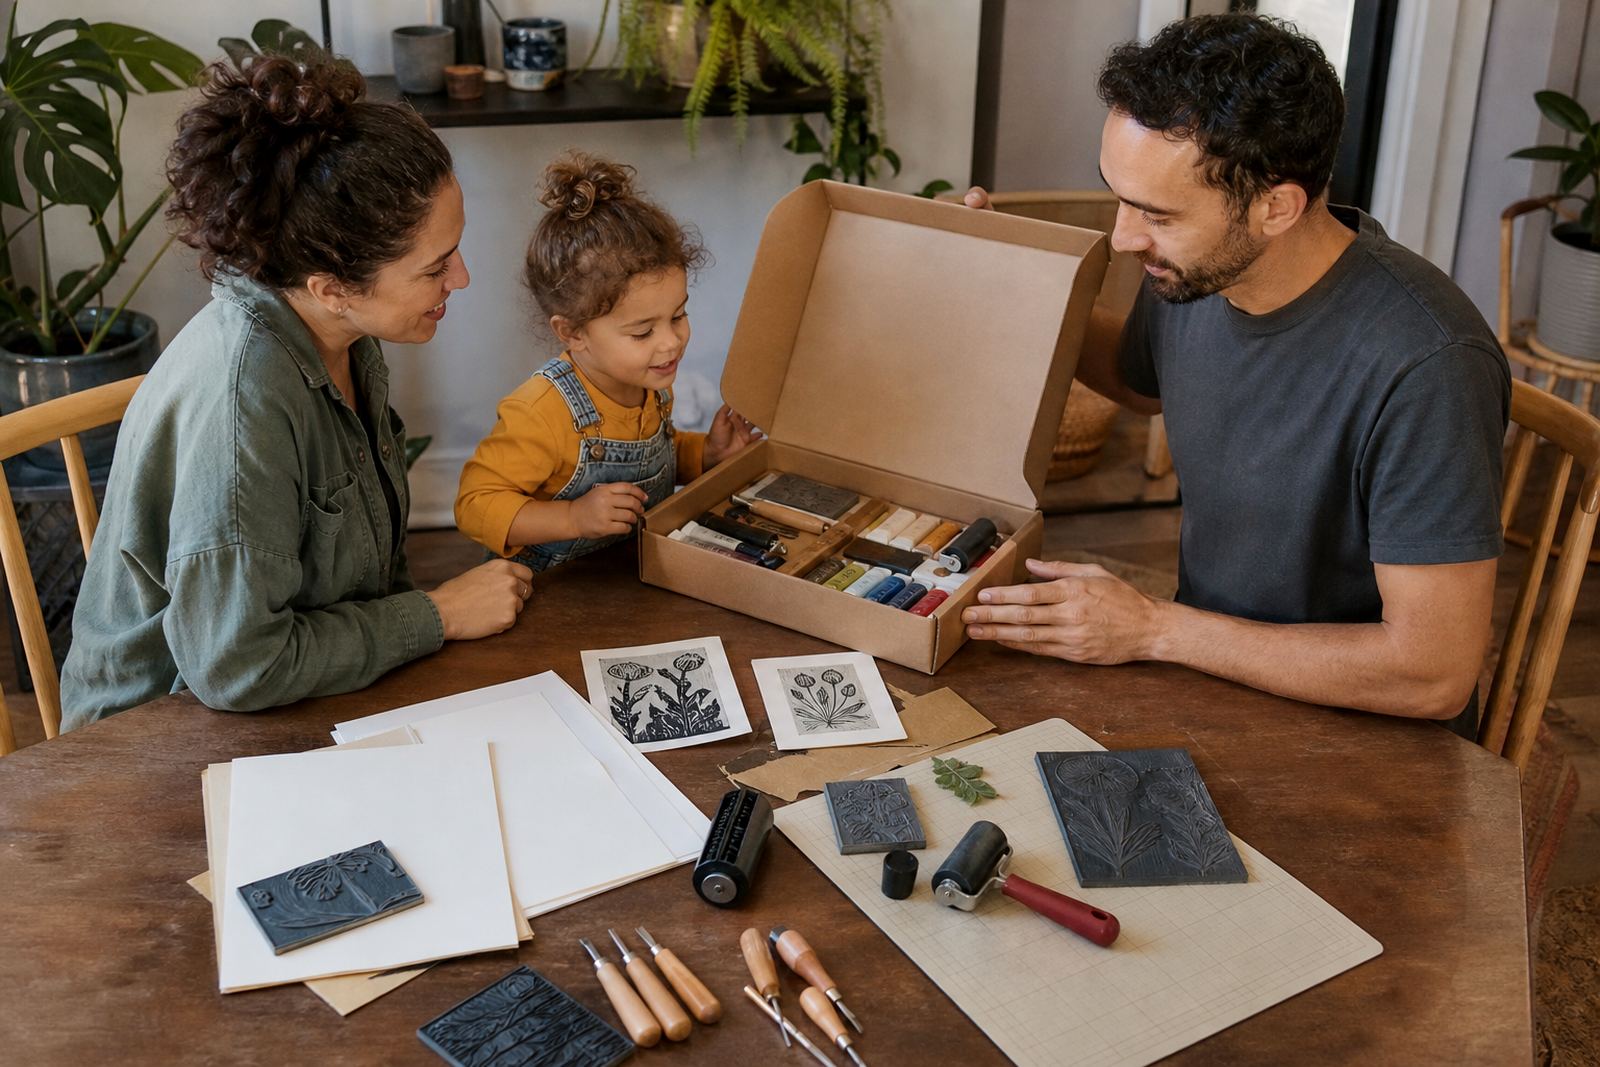
It is also useful for press printing demos, because the firm roller shows exactly how ink transfer changes with pressure and roll direction. For families and beginner groups, that direct feedback can make the process easier to understand. The roller gives a clear start and stop point on the block, so learners can see when the ink is sitting evenly and when a corner needs another pass. In school pop-up workshops, that clarity saves time and reduces over-inking.
- Edition printing where sheet-to-sheet consistency matters
- Registration work with multiple blocks or colour layers
- School and student sessions with simple, bold imagery
- Test proofs before moving to a full print run
Carving, inking and pressure checks before the first pull
Before the block is inked, the carved surface should be clean and dry, with all loose crumbs removed from the cuts. Gouges and V-tools leave different channels, and a hard roller shows those marks clearly. If the block still carries burrs or torn fibres, the roller may pick up rough edges and deposit unwanted specks in the print. A quick brush or wipe helps the block take ink the way it should.
The pressure used on the brayer also shapes the print. A light pass can leave the block patchy, while too much force can push ink into the recesses. The aim is an even sheen across the raised surface. On larger blocks, it is often better to make several steady passes than to load the roller in one heavy sweep. For paper, a clean sheet with enough fibre strength for the chosen ink gives the best result when the baren or press comes into play.
- Clear carved lines before inking starts
- Even pressure across the raised surface only
- Several controlled passes beat one heavy roll
- Paper choice should suit the ink and print method
Keeping the roller clean, level and ready for the next colour
Care is straightforward but it needs consistency. Water-based block inks should be lifted from the roller before they dry on the rubber, while oil-based inks need a more careful wipe with the right cleaning medium for the studio setup. The roller should be stored flat or hung so the surface stays true, because a bent frame can leave streaks and make the roll uneven. If the rubber picks up dried ridges, those marks can transfer straight into the next print.
For shared workshop use, a hard roller should be checked for cracks, flat spots and sticky patches. Clean handles matter too, since ink build-up on the grip changes the way the roller sits in the hand. In coastal Cape Town humidity, it helps to let the roller dry fully before storage and keep it away from dust or direct sun. That small habit keeps the rubber from becoming tacky or marked.
- Wipe down after each colour change
- Keep the frame straight and the rubber surface flat
- Inspect for cracks, dents and dried ink ridges
- Keep in a shaded, dust-free place
What a class order needs
When a hard rubber brayer is being matched to a class, a few practical details help the order land correctly. The block size, ink type, paper format and the number of people using the tools all affect the best roller width. If the workshop includes school groups or family sessions, it also helps to know whether the roller will be used by younger hands, because the handle shape and weight can make a difference over a long printing table.
For larger studio setups, it is worth checking how the roller will sit beside other tools such as inking slabs, press blankets, registration guides and drying racks. If the class moves between hand printing and press printing, the roller should work cleanly with both methods. A firm brayer is most useful for even ink, crisp edges and a controlled finish on relief prints. That is the trade use case it was made for.
- Block size and image area
- Ink type, water-based or oil-based
- Number of users and session format
- Roller width, handle style and storage space
Key facts
| Product type | Hard rubber brayer for relief printmaking |
|---|---|
| Roller material | Firm rubber roller with sturdy frame |
| Typical widths | Small, medium and wide workshop sizes |
| Best suited to | Linocut, soft-cut block and smooth relief blocks |
| Ink compatibility | Water-based block inks and oil-based block inks |
| Use method | Hand inking for editions, proofing and press prep |