What a V-tool does inside the block
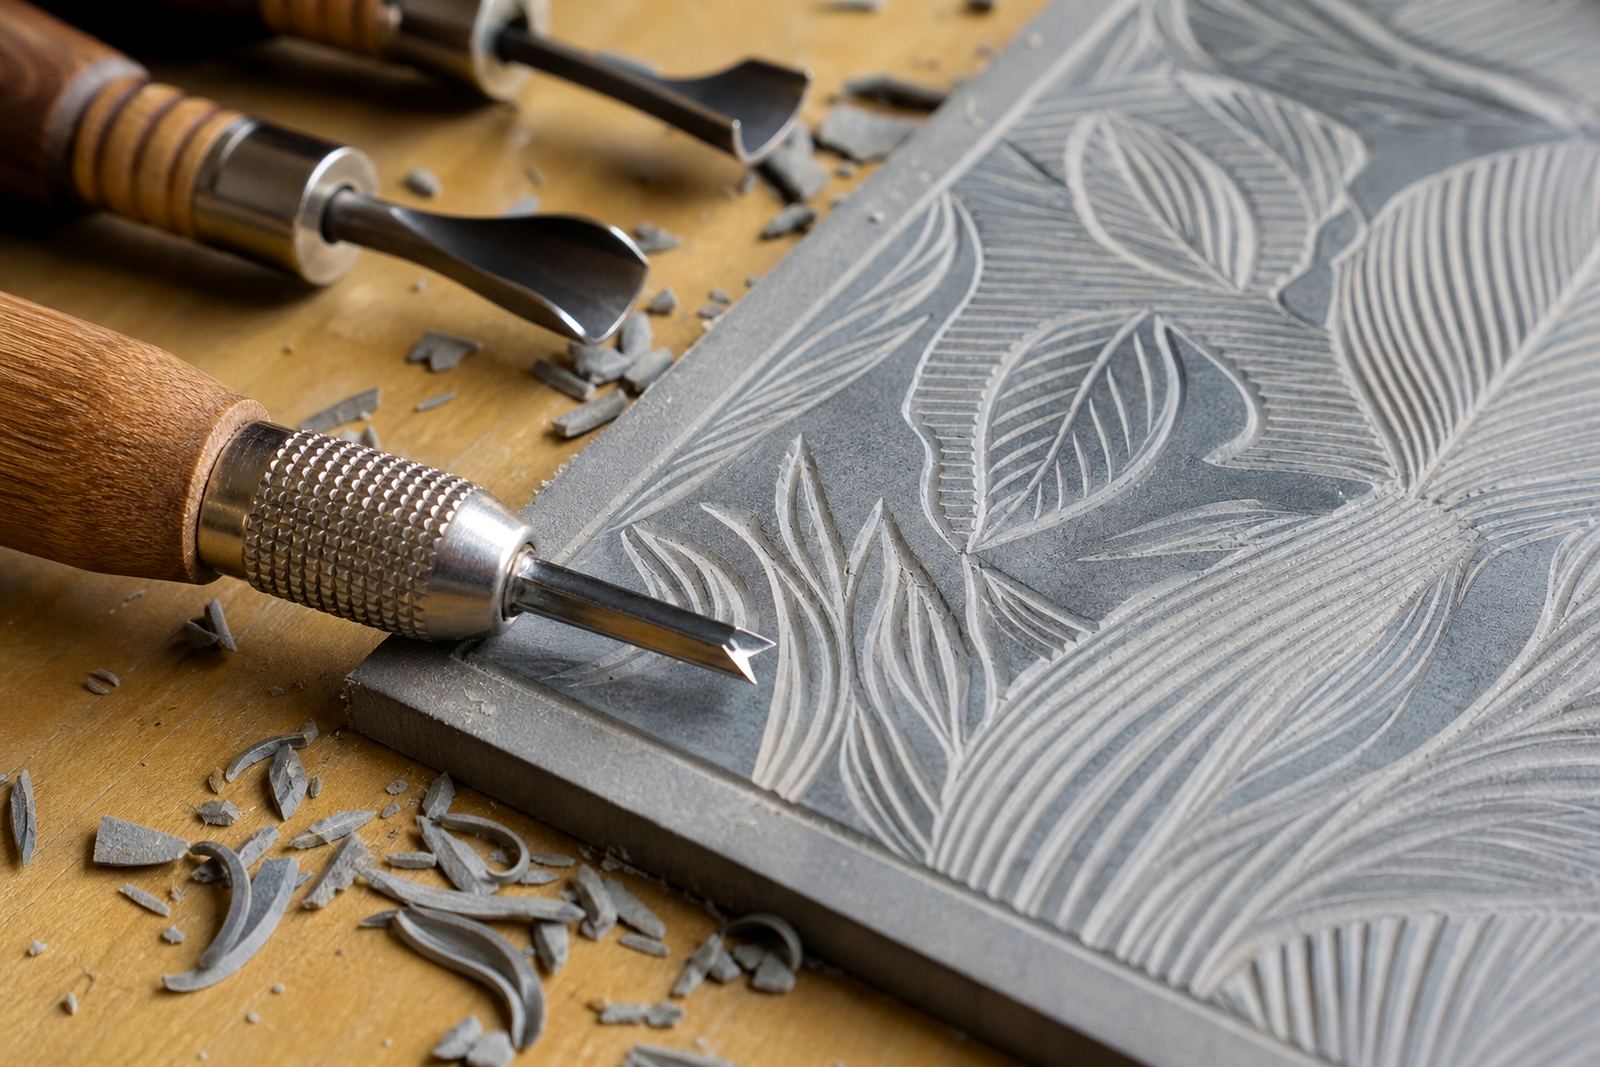
The V-tool cutter has a narrow V-shaped cutting edge that removes a slim channel from lino or soft-cut block. That channel gives you a clean white line once the block is inked and printed, and it is the tool many students reach for when the image needs crisp borders or small texture marks.
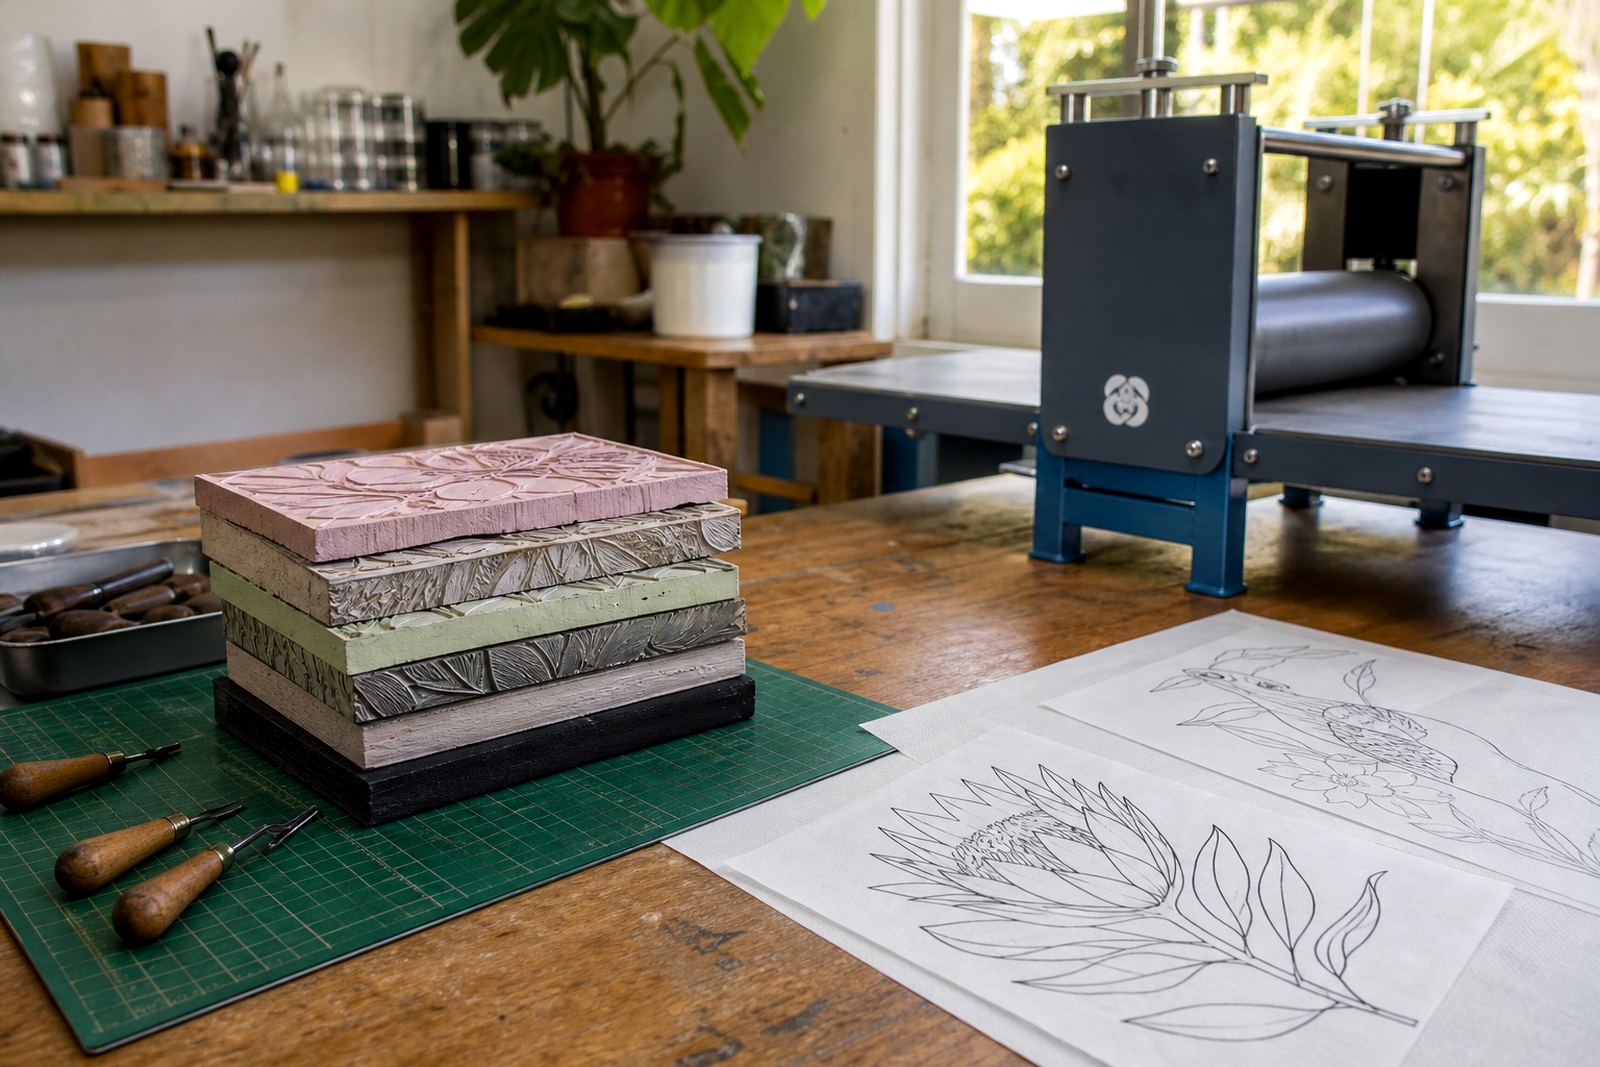
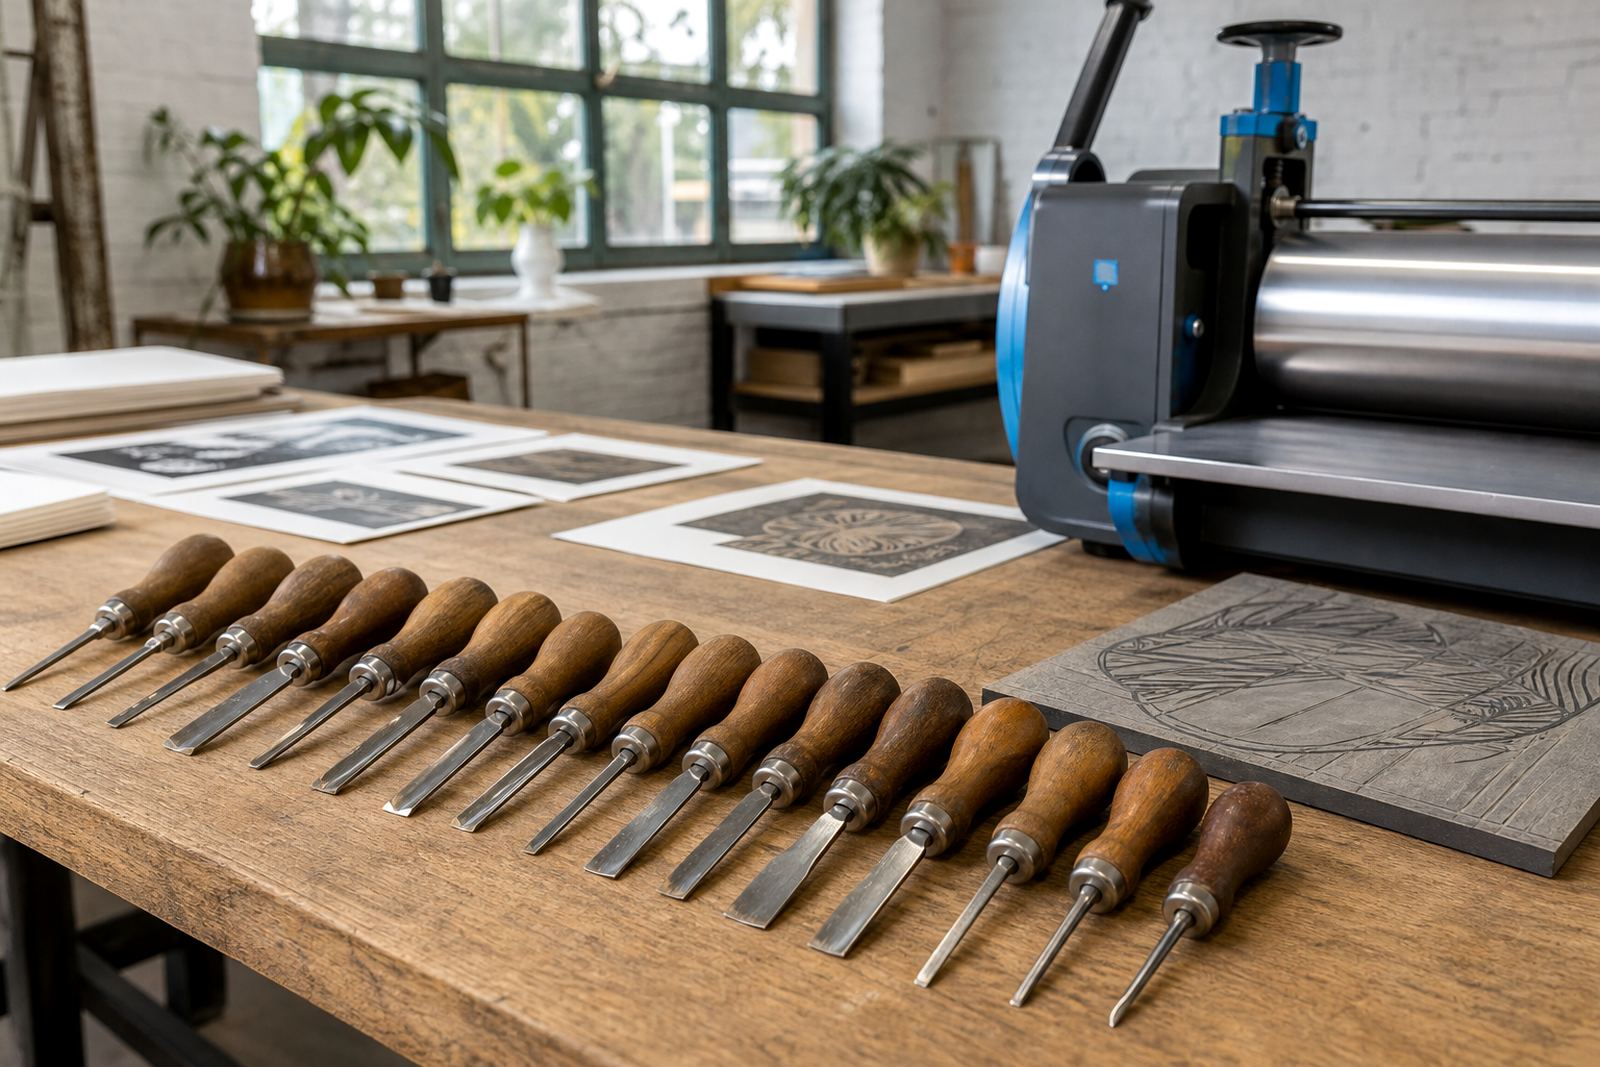
In our workshops, the V-tool sits alongside larger gouges and flat cutters. The larger tools clear background areas, while the V-tool handles detail work, hairline branches, roof lines, lettering stems and the fine cross marks that give a print movement. It is also useful for tightening corners where a wider gouge would leave a blunt edge.
For hand printing, the cut sets the shape and also changes how the ink sits on the block and how much pressure the paper needs on the pull. A neat V groove helps the print stay readable when you pull an edition by hand, especially on smoother papers where every mark shows.
Sizes, handles and the feel of the cut
V-tools are usually sold in narrow, medium and slightly wider profiles. The narrowest cutters suit hairline detail and very controlled marks, while medium profiles are easier for learners who want a firmer bite in the block. Handle shape matters too, because a rounded timber handle sits differently in the palm from a slim metal one when you are carving for longer sessions.
In practical terms, the tool needs to sit steady in the hand and meet the block at a consistent angle. A shallow angle gives a finer line, while a steeper angle opens the groove more strongly. For soft-cut blocks the tool moves faster and with less resistance, while traditional lino gives a firmer cut and a slightly more definite edge.
- Narrow V profiles for fine outlines and tight texture
- Medium V profiles for learners and general carving
- Comfortable handle shape for longer carving sessions
- Edge that stays sharp through repeated block work
A good V-tool should feel predictable from the first cut. If the blade drags, crushes the surface or leaves fuzzy edges, the tool is usually not matching the block or the angle being used.
Where the tool earns its place in a print brief
This cutter suits portrait lines, botanical subjects, lettering, patterns, coastal textures and small architectural details. It is often the tool of choice when a print needs a drawn feel rather than a broad carved field. Students use it for the first outline around a subject, then return later to deepen shadows and add direction into the image.
For team sessions and family workshops, we use the V-tool where hands are already comfortable with safe carving. It works well for controlled marks on smaller blocks, because it rewards a steady grip and careful pressure. In school pop-up workshops, it is often introduced after the wider cutters so participants understand how the cut changes from broad removal to line work.
- Fine outlines on lino and soft-cut blocks
- Texture marks on leaves, wood grain and fabric folds
- Lettering details and decorative borders
- Fine lines that repeat cleanly
It also fits well into press printing and hand burnishing sessions. When the line is cut cleanly, the print transfers with a crisp white mark whether the edition is pressed under a book press or worked by hand with a baren.
Using the cutter safely in a studio or classroom
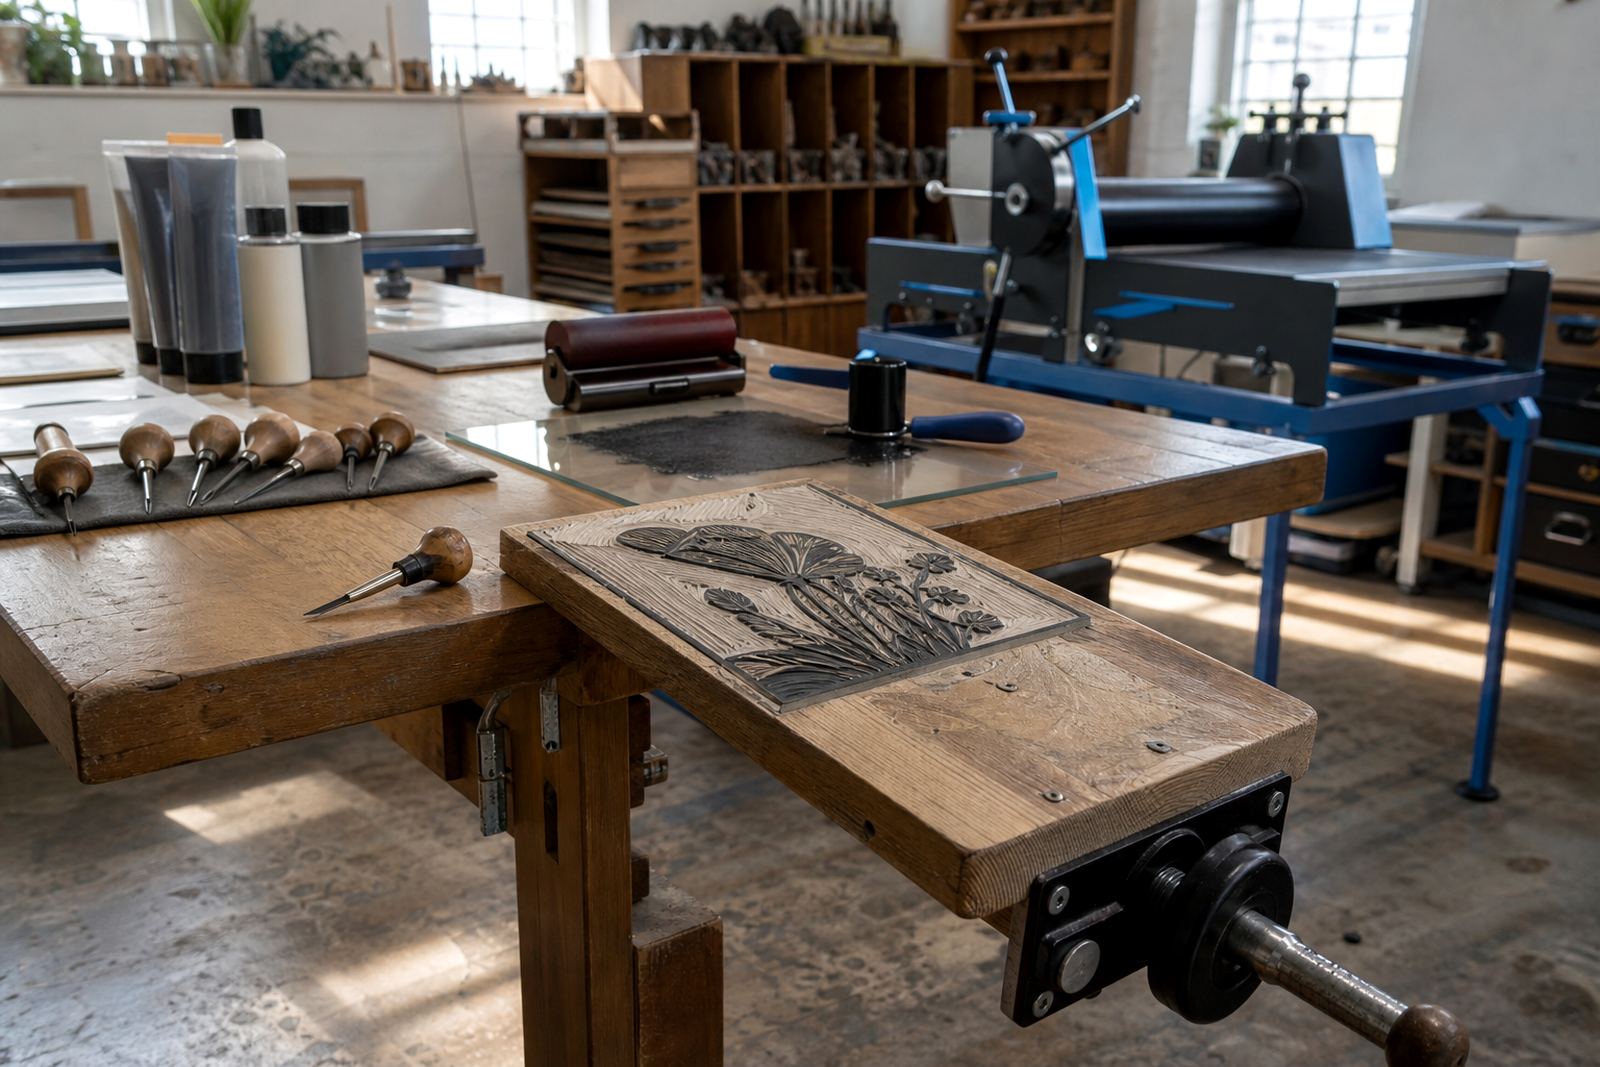
Safe carving starts with a stable board, a proper bench hook or non-slip support, and a block held flat on the table. The V-tool should always travel away from the body path, and the free hand must stay clear of the blade line. That is the habit we build early in beginner sessions, because the tool is small but the cut can move quickly.
We use the cutter with lino, soft-cut and similar relief blocks, along with brayers, water-based block inks and oil-based block inks in the printing stage. The clarity of the cut affects how the ink breaks around the raised surface. A clean line gives a better print edge and keeps registration marks easier to read across an edition.
In schools and venues across Cape Town, Stellenbosch, Johannesburg, Pretoria and Durban, the tool is usually handed out with clear carving rules, paper placement and block orientation notes. When a group is working with multiple colours, the V-tool also helps define the registration edges so the second colour lands where it should.
Care, sharpening and storage between workshops
Wipe the V-tool, let it dry and keep its tip in a cork. Ink and resin from the block should never be left on the blade, because dried material affects the cut and can make the tool feel rough on the next session. A light oil on metal parts helps if the tool will sit for a while, especially in humid coastal air around Cape Town.
Sharpening is best done before the edge gets dull enough to tear the block. The point and both sides of the V profile need attention. If the tool starts to bruise the lino or skip through the cut, the edge has usually lost its bite. Keep cutters wrapped or stored in a tray so the points do not knock against each other.
- Wipe off block dust and ink after each session
- Dry the blade before storage in a closed case
- Check the point for nicks before carving starts
- Store away from loose blades, papers and brayers
For studio sets, we also check handle seams and ferrules, because a loose grip can shift under pressure. That matters when the cutter is used across repeated edition pulls, where consistency counts.
Adding a V-tool to your kit
When ordering a V-tool for linocut or block-print work, confirm the profile width, handle type, blade steel and the block material you will use most often. A narrow point for soft-cut may feel too fine on hard lino, while a broader profile can make cleaner lines on firmer blocks. It helps to know whether the cutter will live in a classroom set, a personal studio kit or a travelling workshop case.
If the tool is for beginner kits, ask for a profile that tolerates learning pressure and occasional misalignment. If it is for edition print sessions, fine control and a steadier handle matter more. For teacher workshops and pop-up classes, it also helps to pair the cutter with a bench hook, cutting mat and a basic care cloth so the set stays organised between sessions.
For our contact form, include the block type, the level of the group, and whether the work will lean toward line drawing, texture or lettering. That helps us match the cutter to the way the print will be carved and pulled.
- Profile width and point shape
- Handle style and grip comfort
- Use on lino, soft-cut or mixed blocks
- Workshop, studio or classroom use
- Need for a matching care set or carving kit
A small tool like this can shape the whole print. Once the line is clean, the rest of the block tends to settle into place.
Key facts
| Tool type | V-profile cutter for relief printing |
|---|---|
| Best use | Fine outlines, texture marks and controlled directional cuts |
| Compatible block surfaces | Lino, soft-cut and similar hand-carved relief blocks |
| Typical profiles | Narrow and medium V widths for detail work |
| Handle options | Rounded timber or slim handled carving bodies |
| Care needs | Clean, dry storage and regular sharpening or honing |