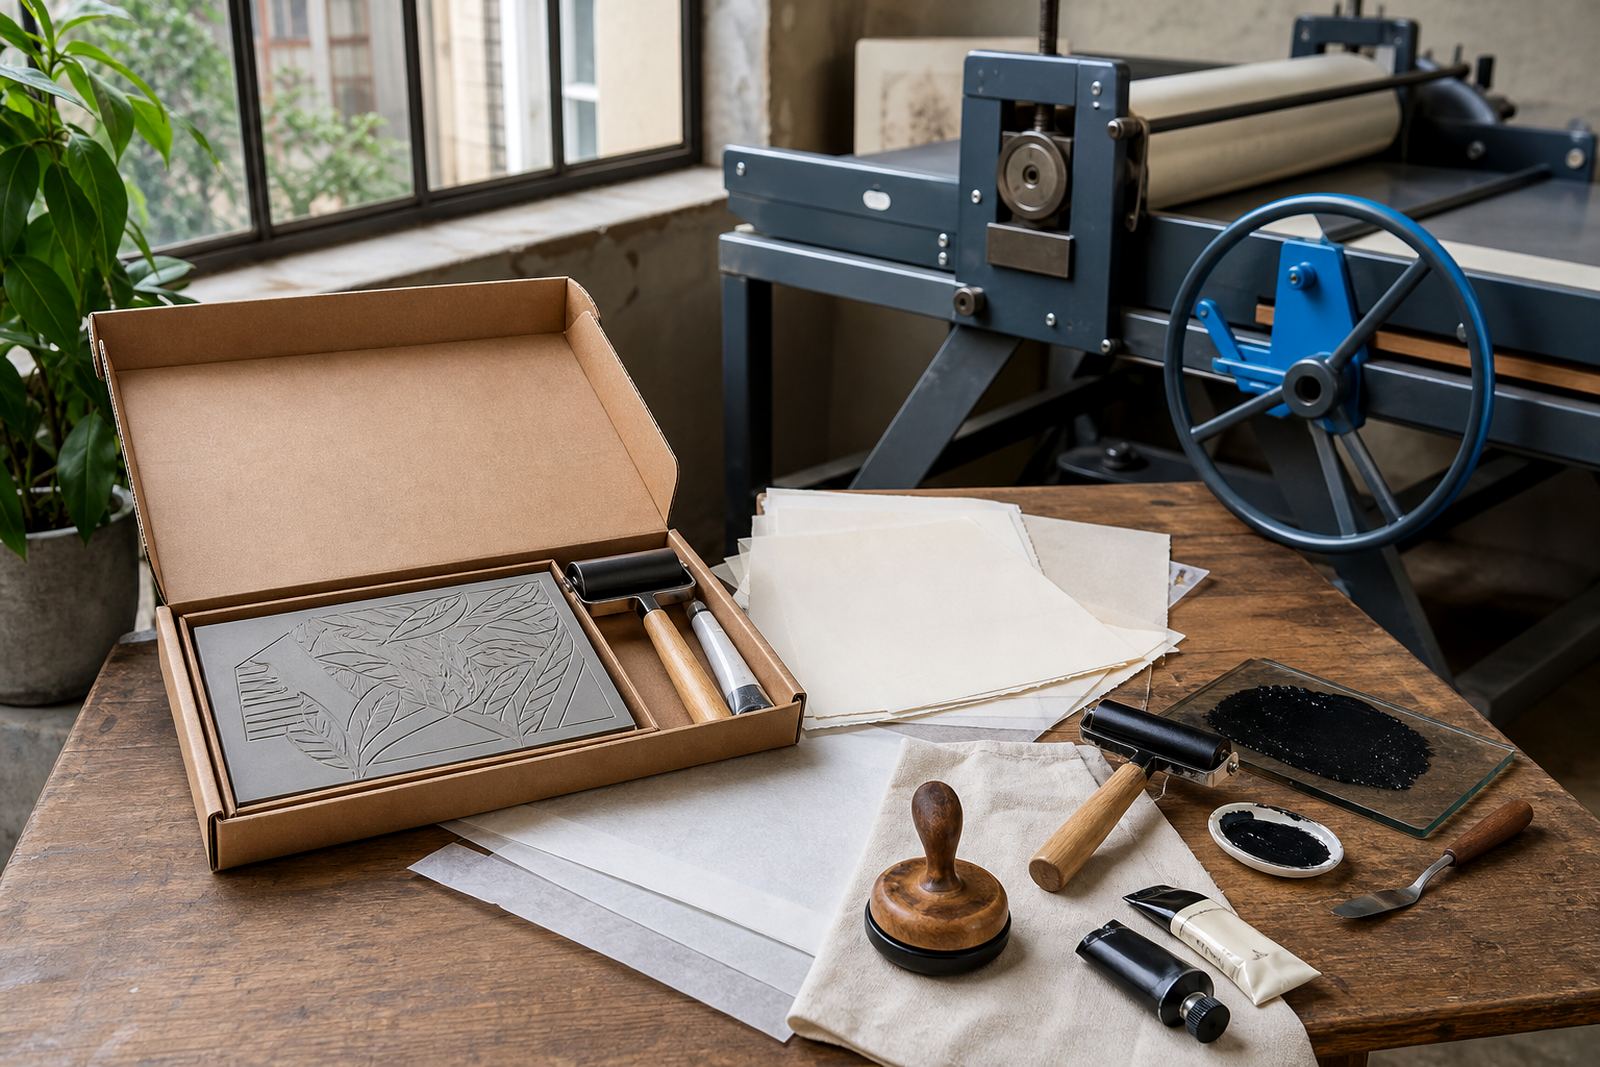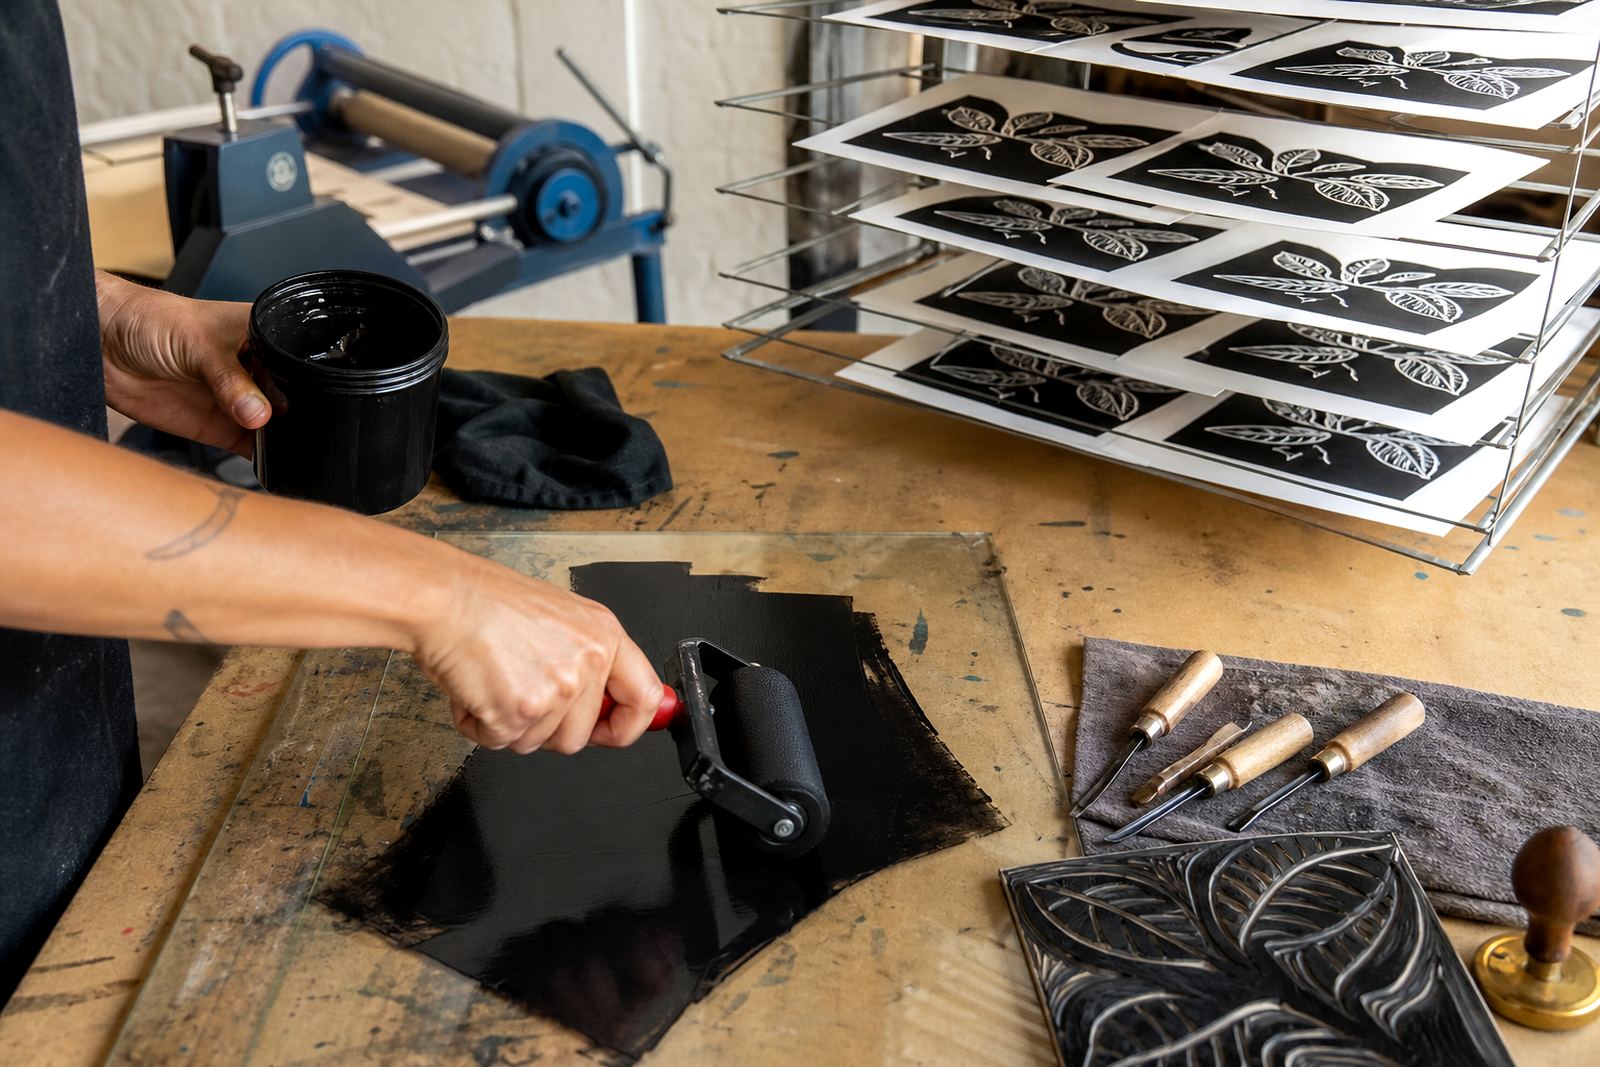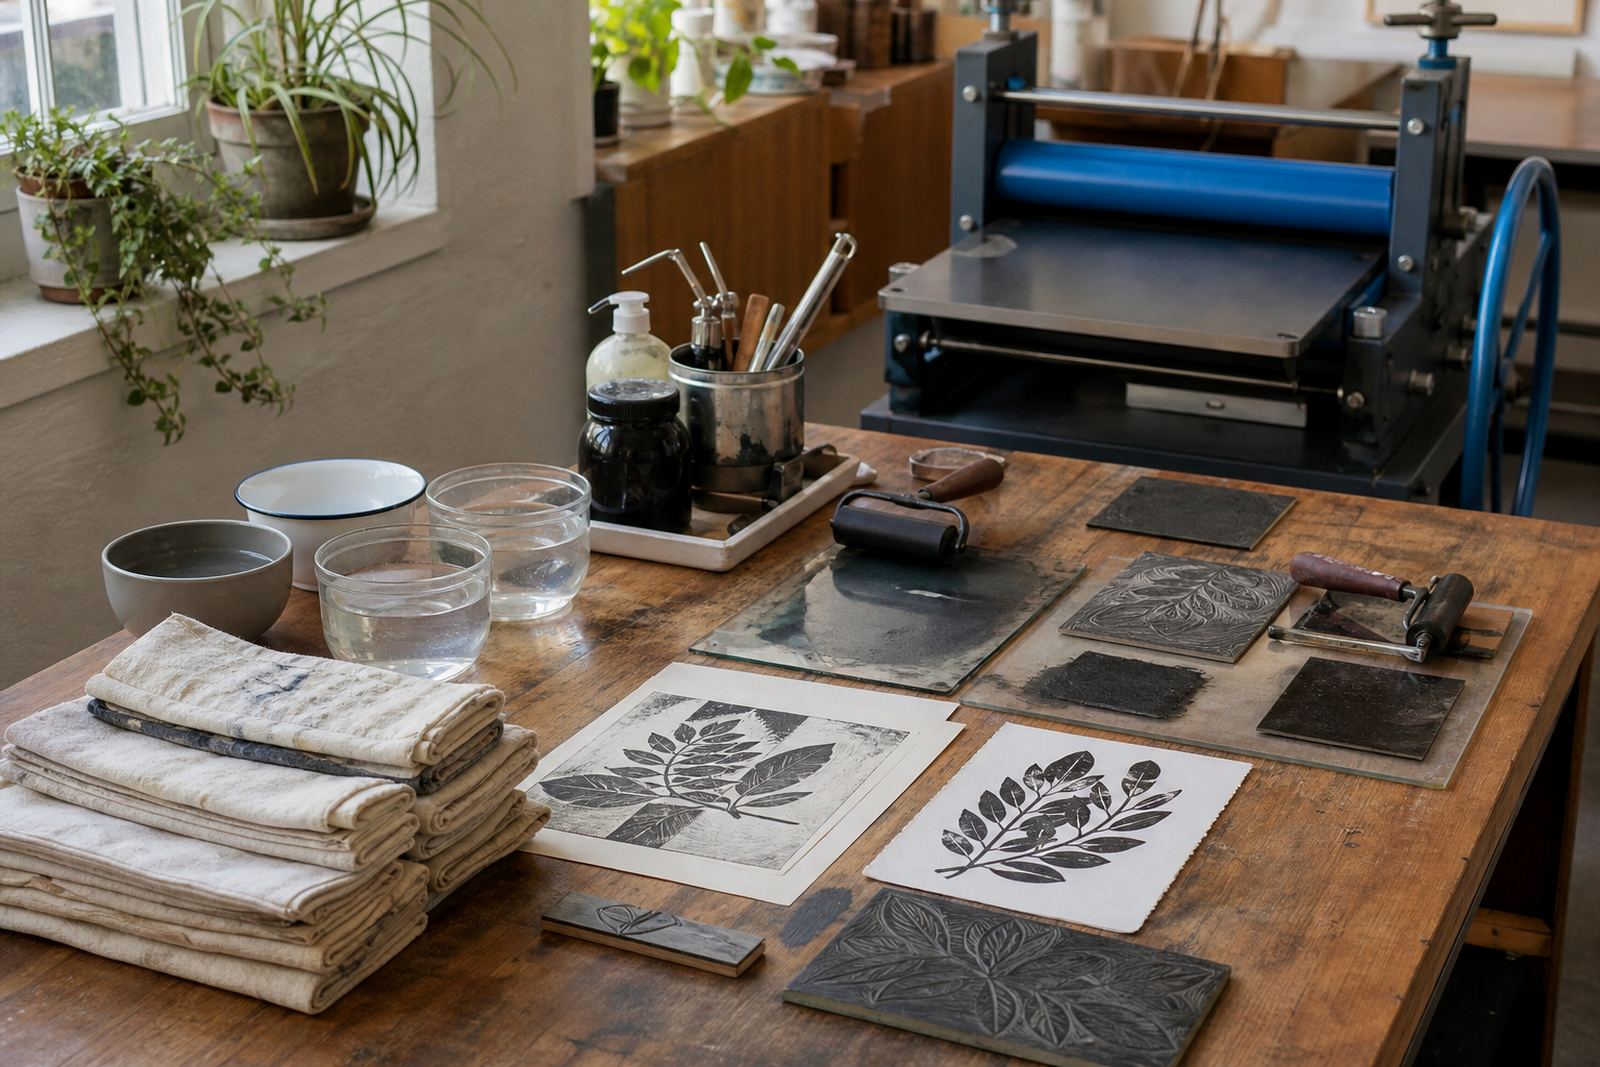
What this gouge set does at the carving bench
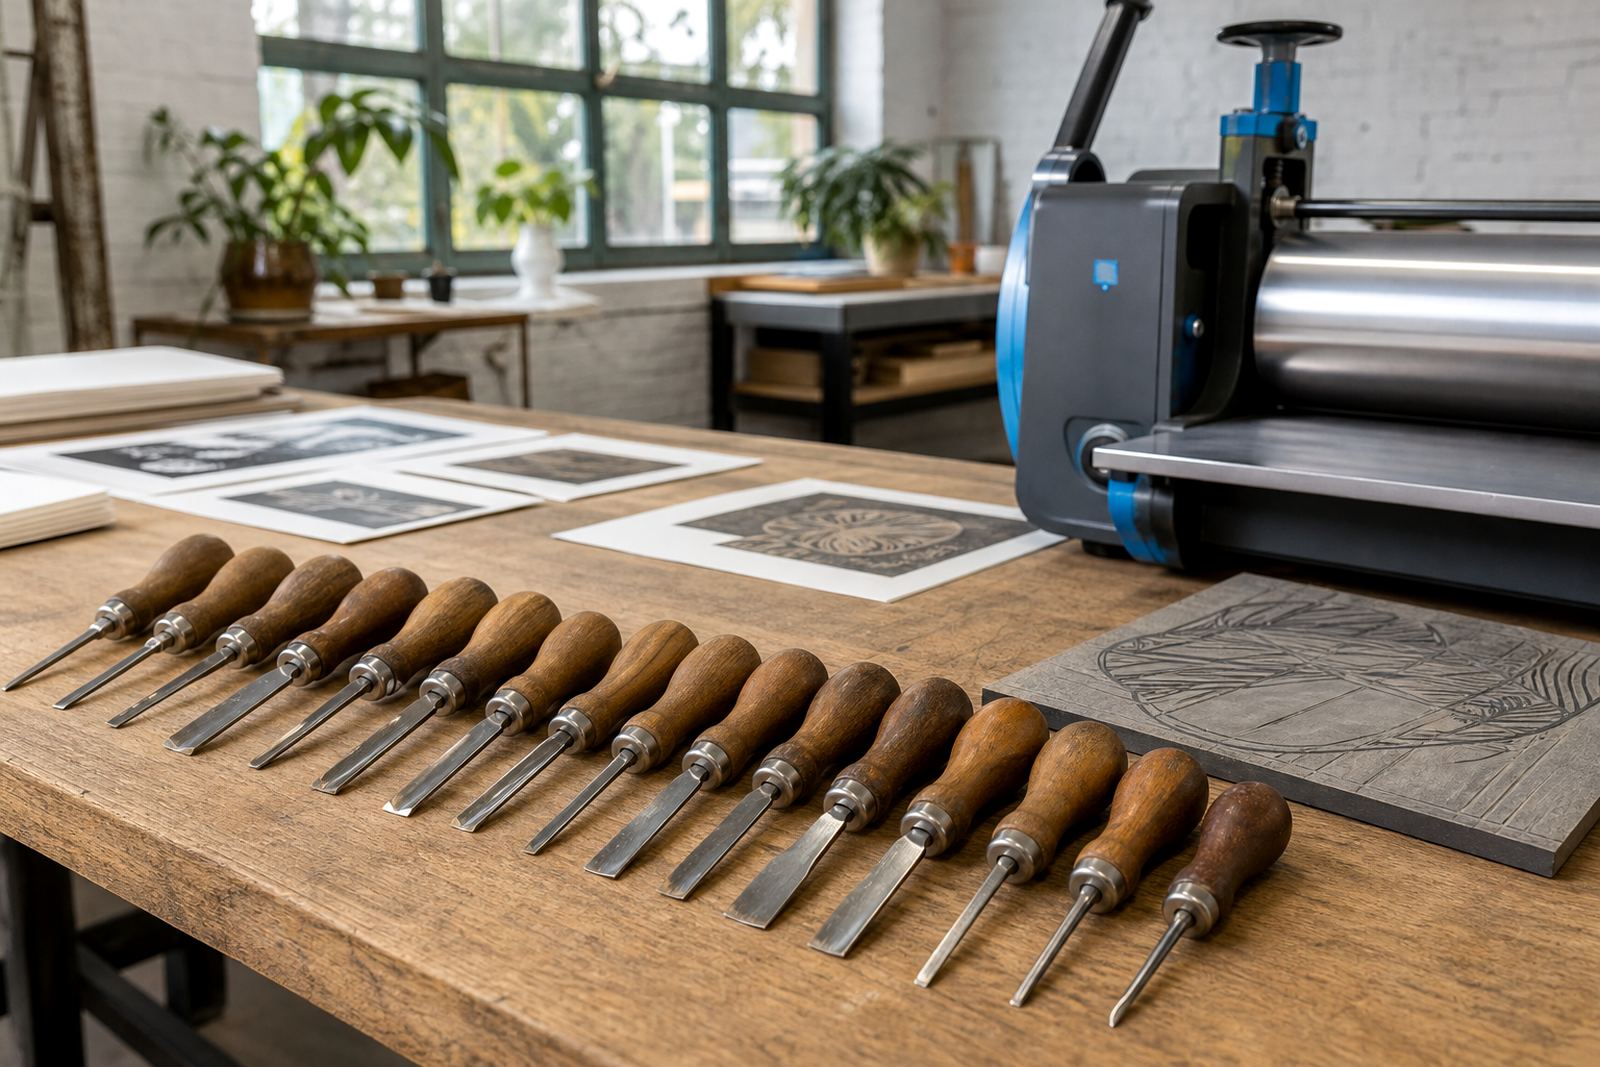
This set brings together carving blades with different profiles, so you can move from wide clearing to narrow line work without changing the rhythm of the block. In lino and soft-cut work, one tool may open the background while another follows a hairline edge or trims a corner that would be awkward with a single blade.
Gouges are used with a steady hand on the bench. The V-shaped cutters make drawn lines, shallow U-shaped profiles lift broader channels, and finer tools help with lettering, texture and the small stops that keep a printed shape crisp. That mix matters when a block must hold both image and white space in the same print.
- Varied profiles for line, texture and clearing
- Useful on soft-cut blocks and traditional lino sheets
- Helps keep marks controlled where detail is tight
Profiles, sizes and handle feel
Most gouge sets used in printmaking are built around a small range of blade widths and curves. A compact set often includes a fine V-tool, a shallow U-gouge, a broader U-gouge and one or two intermediate cutters for general carving. Some sets are fitted to a single handle, while others use interchangeable blades or a fixed handle with a shaped grip.
For classroom work and beginner sessions, check the balance of the handle as well as the blade profile. A handle that sits firmly in the palm helps the cut stay steady when the block resists. Blades should seat cleanly, with no wobble at the ferrule or clamp point, and the edges need to be finished well enough to bite into the block without tearing the surface.
- Common blade widths include fine, medium and broad cutting profiles
- Sets may be fixed-handle or interchangeable-blade types
- Handle shape should support palm pressure and thumb control
Where the set fits in a print workshop
This tool set suits adult workshops, student classes, family sessions and school pop-ups where participants need a reliable range of carving actions. It is useful for first blocks, edition work and demonstration tables where the instructor wants the same tools to handle multiple stages of the process. In a busy studio, one set can support preparatory carving, text blocks and finishing touches before inking.
For edition printing, the cut has to match the planned image and the registration marks on the block. A fine V-tool can guide the line around a motif, while broader gouges clear the background that will stay white on the print. In a workshop setting, that mix keeps the block readable for learners and workable for a press session or hand-print pull.
- Suitable for beginner carving sessions and edition blocks
- Useful in school workshops and small group demonstrations
- Supports both hand printing and press printing stages
Carving safety and workshop control
Safe carving starts with the block resting flat, the cutting direction planned, and the non-cutting hand kept clear of the blade path. A gouge should move with controlled pressure, taking short cuts where the grain or surface changes. Soft-cut blocks forgive a little more, but the edge still deserves respect, especially when learners are new to printmaking and the hand wants to push too far.
For classes, we work with boards, slip-resistant supports and a clean bench so the tool does not chase across the surface. The blade should be sharp enough to cut without forcing. Dull edges need more pressure and tend to skid, which is no help when you are carving a small motif or a line that will print in close register.
- Keep the block anchored before cutting begins
- Use short cuts rather than one heavy push
- Sharp blades lower the pressure needed at the bench
Keeping the blades in working condition
Gouges last better when they are cleaned after use, dried before storage and kept away from loose grit that blunts the edge. Block ink can travel onto the handles and into the ferrules during a session, so wiping the tools down before packing them away helps prevent sticky build-up. If a set is shared across classes, a quick inspection for nicks, loosened fittings or bent tips saves trouble at the next table.
For the blade edge itself, sharpening and honing are part of regular care. The exact method depends on the tool profile, but the principle is the same: a smooth edge cuts the block cleanly and leaves less ragged fibre behind. Store the set in a roll, case or tray where the points do not rub together.
- Wipe off ink before storage
- Check ferrules and fittings for movement
- Keep blades separated so edges do not knock together
Matching gouge profiles to the carving
When ordering a gouge tool set for workshop use, confirm the blade profiles, handle style and whether the set is meant for lino, soft-cut or both. It helps to know if you want a compact starter group or a broader range for edition work and teacher training. If the tools will be shared across schools or team sessions, note whether you need matching handles for easier handling and demonstration.
You should also confirm the storage format, blade material, and whether replacement blades or compatible handles are available. Some sets are better for very fine detail, while others are built for broader clearing and more durable daily use. In a print studio, that choice affects how confidently learners can move from sketch to carved block, then on to inking and proofing.
- Blade profiles and number of pieces in the set
- Handle style, grip size and compatibility
- Intended use: beginner, classroom, studio or edition work
Key facts
| Tool type | Gouge set for lino and soft-cut block carving |
|---|---|
| Profiles | Fine V-tool, shallow U-gouge, broad U-gouge and mixed detail cutters |
| Use case | Line cutting, background clearing, texture and small detail |
| Handle options | Fixed handle or interchangeable-blade format, depending on set |
| Workshop fit | Suitable for adult classes, student groups, family sessions and schools |
| Care | Clean after use, dry fully, store with blades separated and sharpen as needed |