Starter tools for first cuts and first pulls
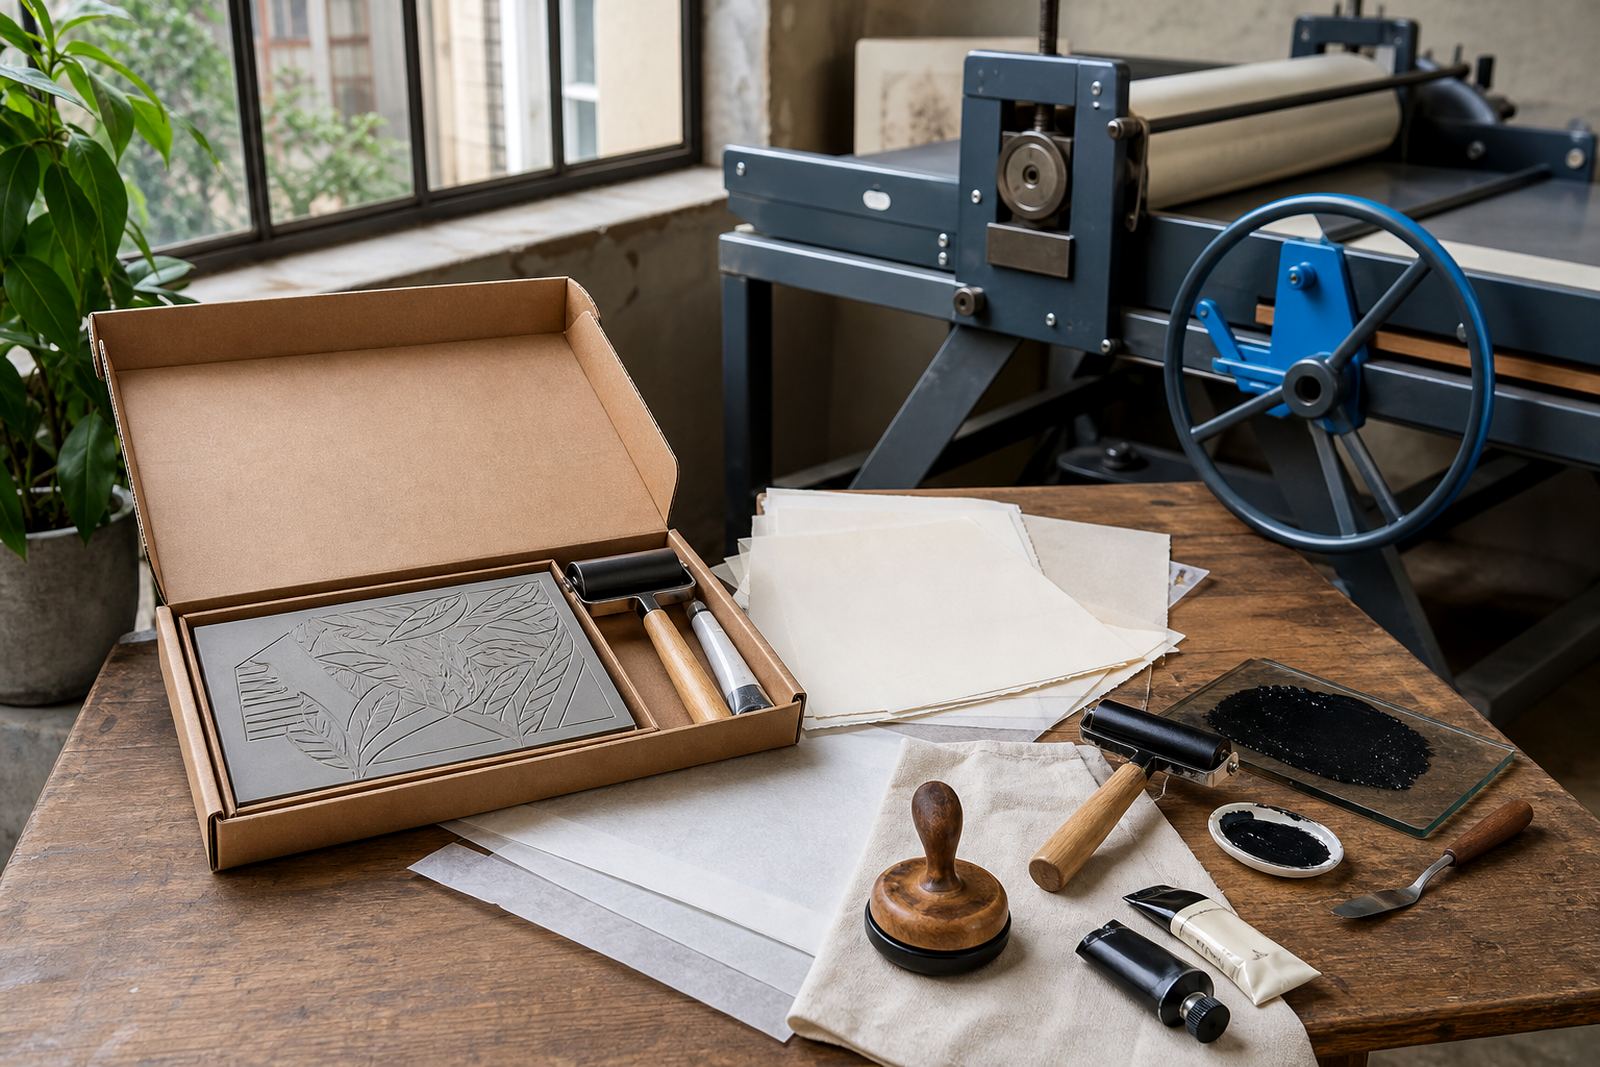
This kit is put together for linocut and soft-cut block printing at an entry level, with the parts needed to move from a blank block to a finished print. The lino or soft-cut sheet is small enough for a first image, while the cutter is shaped for simple marks, curves and a safe hand position when the block is held on a flat surface.
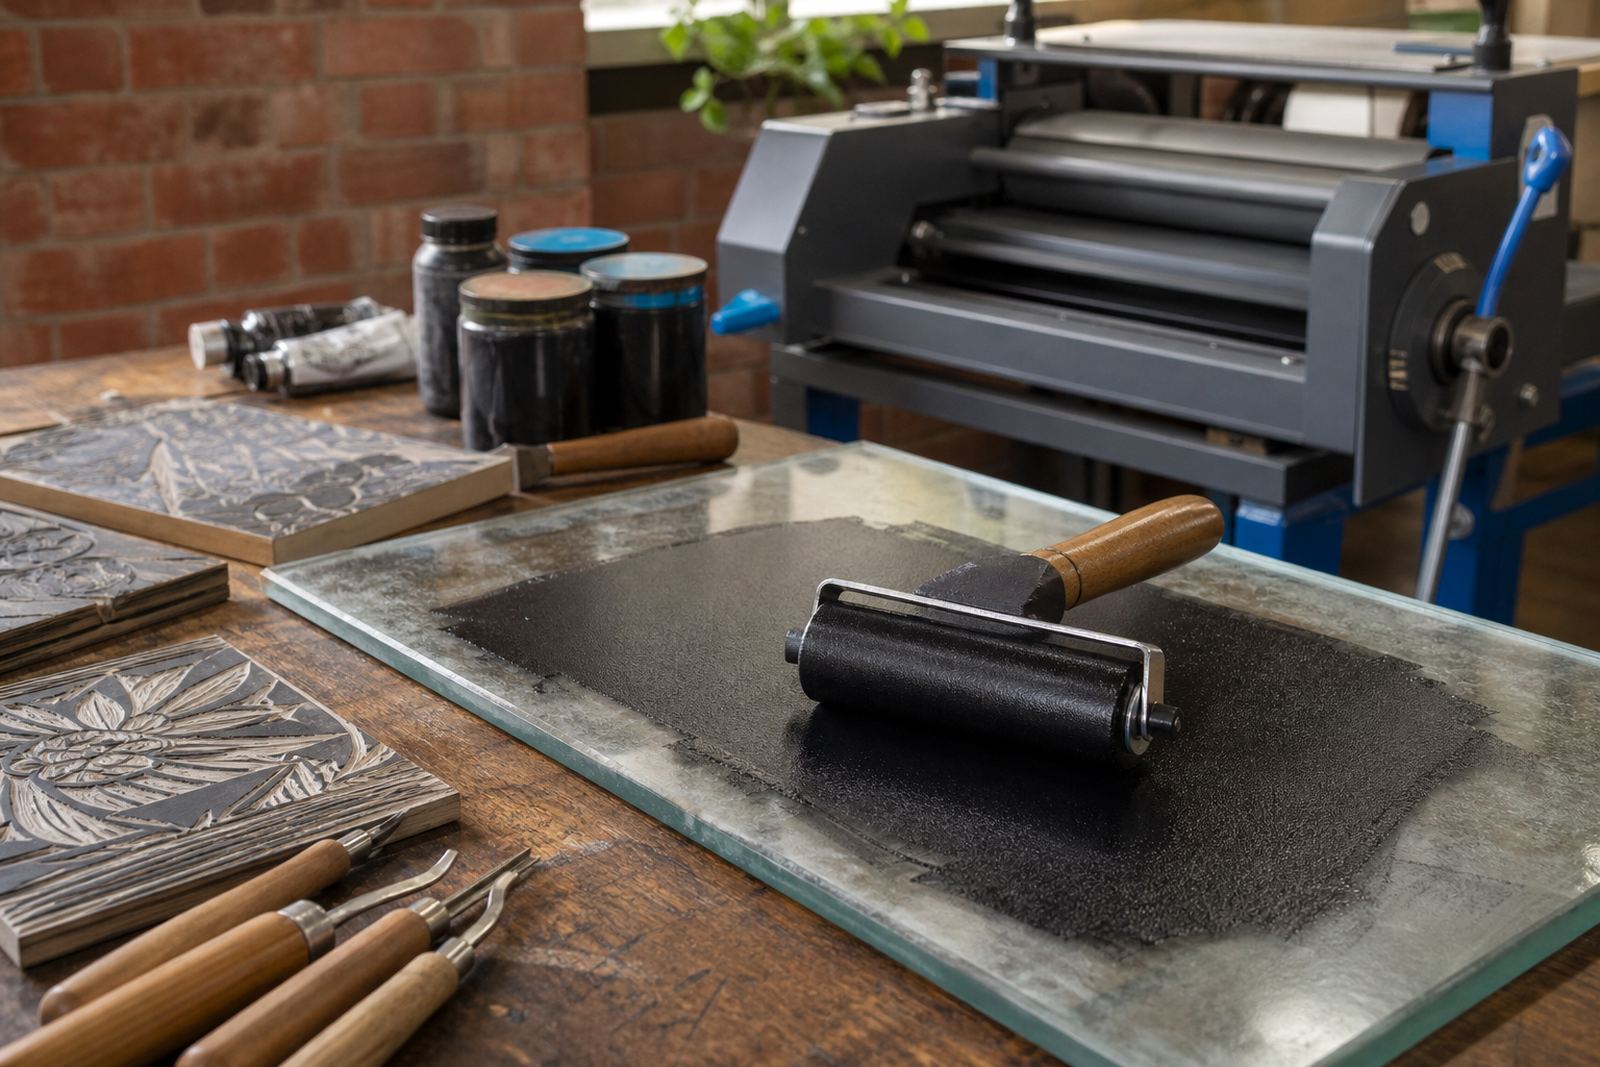
A starter set usually includes a single block, one handle with a basic blade or cutter head, a small roller, a compact ink tub and a stack of paper for trials. The roller spreads water-based or oil-based block ink in a thin layer, and the paper takes a clear first impression after the block is inked and pressed by hand or with a small press.
What sits in the box and how each part works
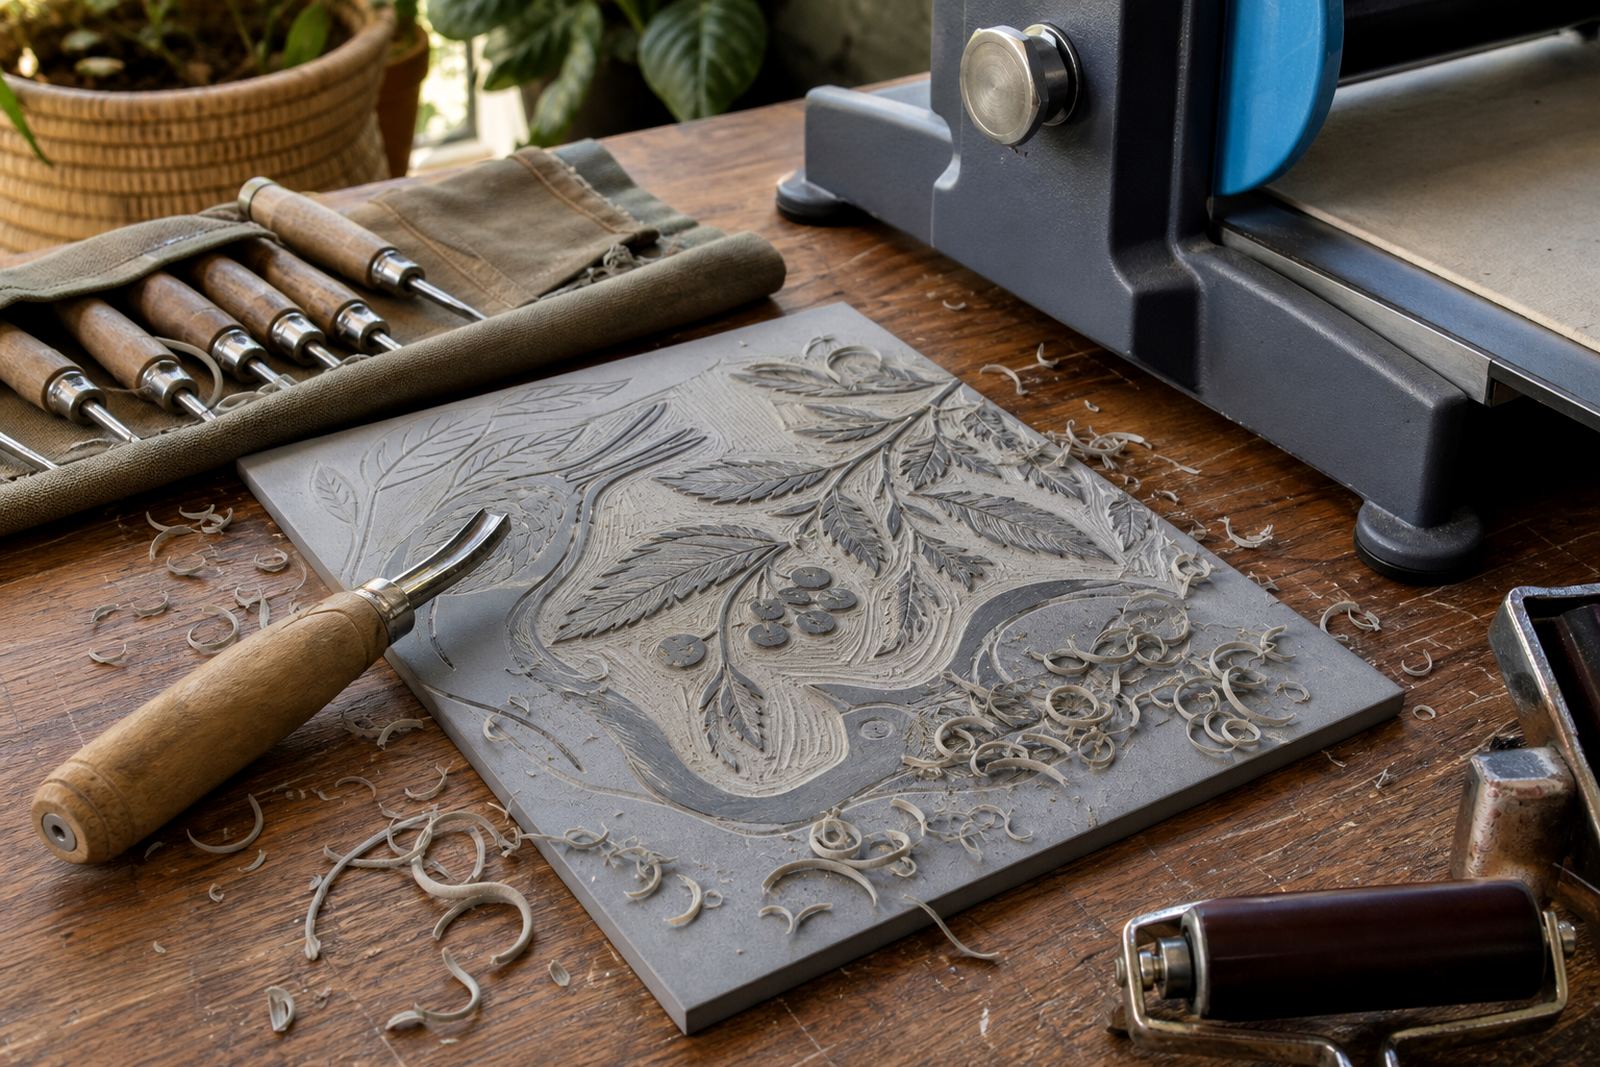
A useful beginner kit is built around the first stage of printmaking, so each item has a clear job. The block is carved with gouges or a V-tool, the roller carries ink across the raised surface, and the print is transferred with a baren, spoon or press depending on the class or studio set-up.
- Lino or soft-cut block for a first image
- Basic cutter with a single handle and small blade set
- Roller or brayer for even inking
- Block ink for hand printing and demo work
- Print paper for test pulls and a small edition
- Simple instructions for carving, inking and registration
For classes in Woodstock, Stellenbosch or on a school visit, the same parts can be used at a table with cutting mats, scrap paper and a clean drying space nearby.
Sizes, block types and edition plans
Beginner kits are usually supplied with one of a few common block sizes, often around A6 or A5, because that gives enough room for a name, motif or repeating pattern without making the carving awkward. Smaller blocks suit children’s family sessions and short school workshops, while A5 or larger is better for students working on a fuller image with clear black and white areas.
Lino gives a firmer carve and holds detail well for clean edges, while soft-cut block is kinder under the tool and suits first cuts where the hand is still learning pressure and control. If the work is meant for an edition, a plain numbering system and registration marks help keep each print in line, especially when the paper is trimmed and each pull needs to match the last one.
Where the kit fits into a real workshop day
This kit suits first-time printing at home, at a school pop-up or inside a studio session where a tutor is showing the steps from sketch to print. It works well for adults learning line work, students building confidence with carving, families making a shared image and team groups who need a practical activity with a visible finished result.
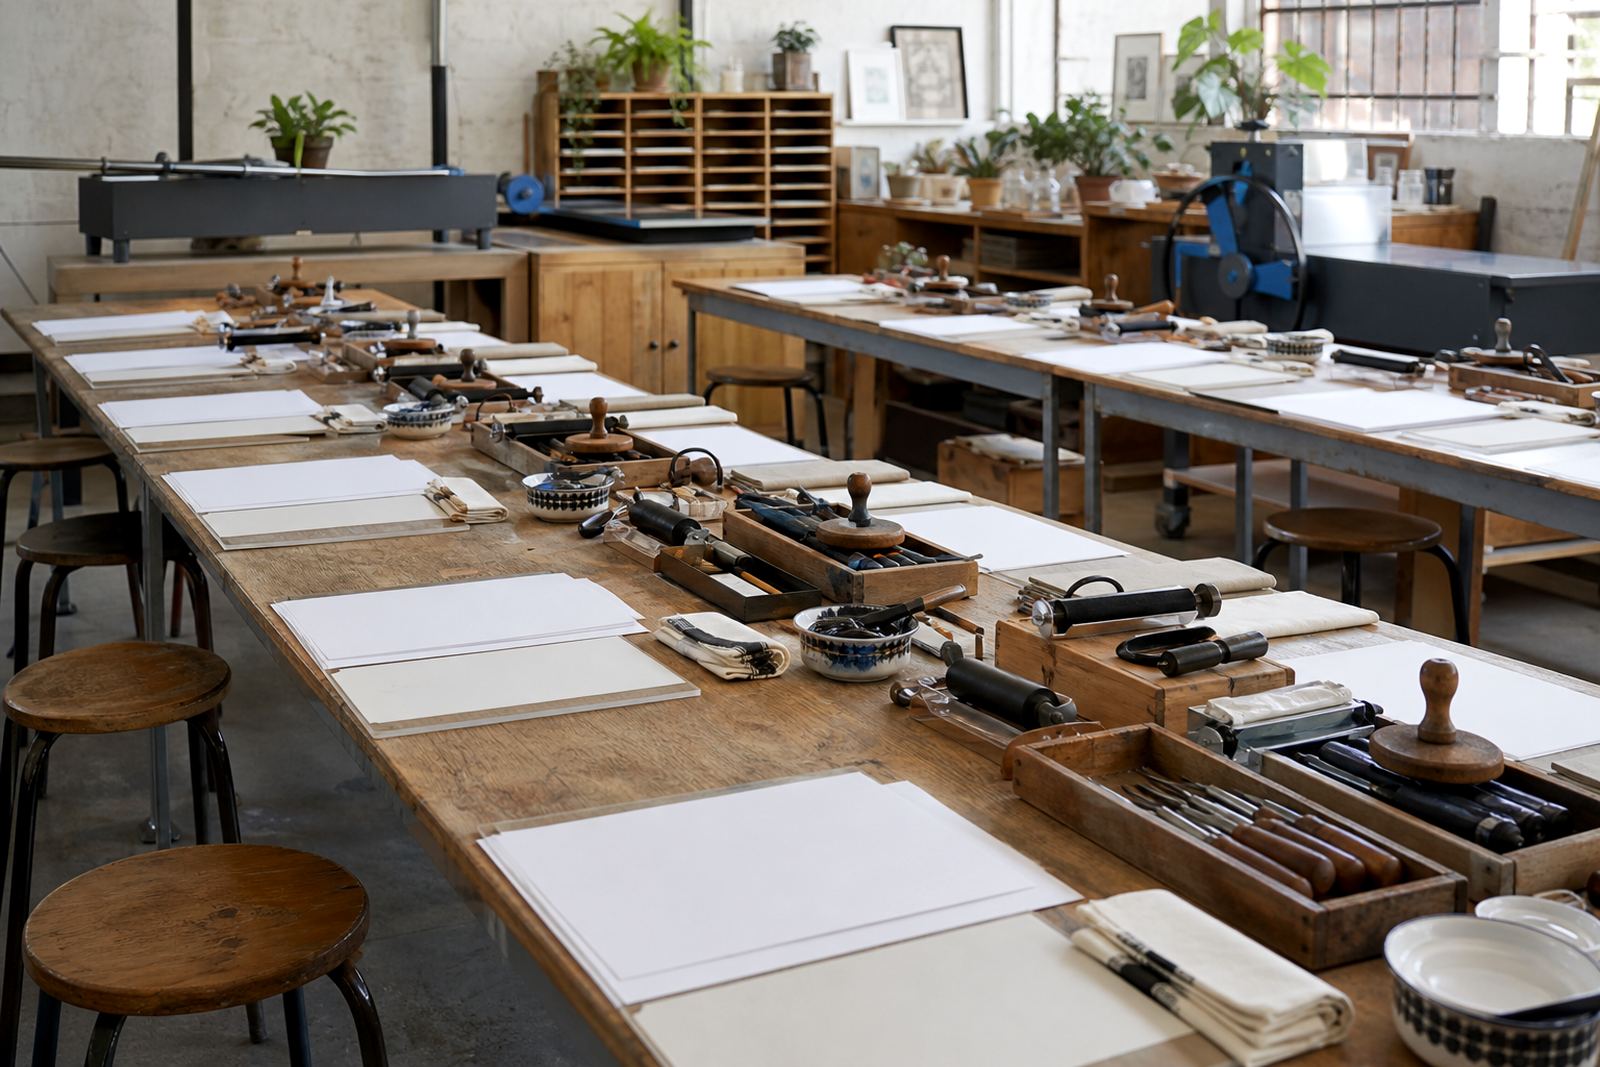
In Cape Town, Johannesburg or Durban, the kit is also useful for small group setups where tables are arranged in rows and each person can keep their own block, roller and paper. If the class includes press printing, the kit still works for proof pulls and for checking the image before moving onto a larger edition, which saves paper and keeps the design tight.
- Home practice on a kitchen or studio table
- School lessons with grouped carving stations
- Venue workshops with mixed ages and skill levels
- Small editions for greetings, labels or art studies
How to use, clean and keep the tools sound
Good carving starts with a firm table, a non-slip base and a block held flat, because the first cut sets the tone. The cutter should be moved away from the hand, with short controlled passes rather than deep forced strokes, and the block should be cleared of loose crumbs before ink goes on.
After printing, roller and blade are cleaned according to the ink used. Water-based block inks wash off with water and a cloth, while oil-based inks need a proper cleaner and careful wiping so the roller stays even. Paper should be stored flat and dry, and the block should be kept away from heat, dust and damp walls, especially in humid coastal rooms where a neat stack can curl if left open.
- Wipe the cutter after each session
- Store the block flat, not under weight
- Keep ink lids closed tightly
- Let prints dry on clean racks or boards
- Replace dull blades before they start tearing the block
Details worth confirming before the order goes out
When a beginner kit is being prepared, the practical details matter because the kit needs to suit the maker and the setting. Confirm whether the block is lino or soft-cut, which cutter profile is included, whether the ink is water-based or oil-based, and how many sheets of paper are packed with the set.
It also helps to note the intended use, whether the kit is for a student class, a family activity, a teacher demo or a home starter pack. For group bookings handled through our contact form, it is useful to mention the number of people, the workshop town, and whether the kit will be used with a baren, a small press or simple hand printing on a table.
- Block size and block type
- Cutter style and spare blade needs
- Ink type and colour choice
- Paper size and sheet count
- Use in a class, home or workshop setting
A tidy first edition, built from the ground up
A strong first print usually comes from patient carving, a thin ink film and one steady pull rather than a heavy hand. The beginner lino kit gives just enough equipment to learn that rhythm, from the first gouge mark to the last sheet in a small edition, and it leaves room for the maker to grow into larger blocks and more exact registration later on.
For people moving into printmaking from drawing or painting, this is often the point where line, texture and repeat pattern start to make sense in a physical way. The kit keeps that first step clear, with the tools needed to cut, ink and print a first clean image.