What sits in the Spoon Print Kit
This kit is built for the small print job that starts on a kitchen-table scale and still needs proper printmaking habits. The core pieces are a carving block, a hand burnisher in spoon form, water-based or oil-based block ink, a brayer for rolling out ink, and paper that takes a clean impression without buckling too fast.
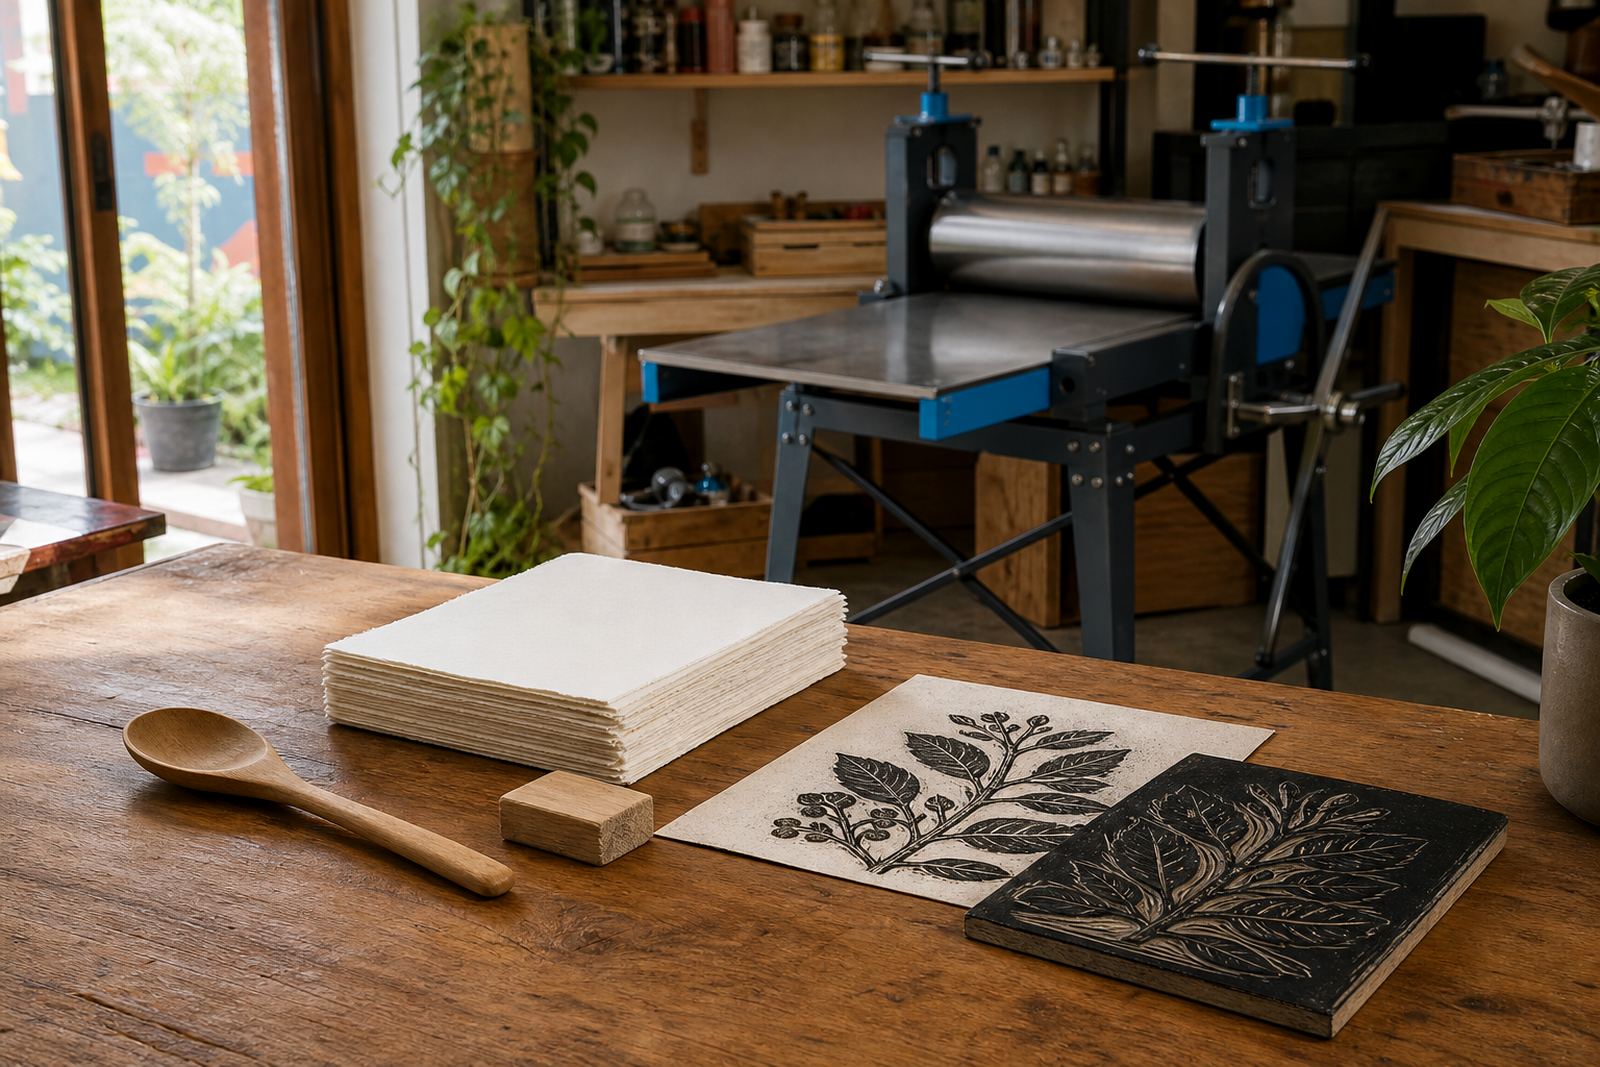
In workshop use, the spoon action replaces press pressure. The printer lays ink onto the carved surface with a brayer, places the paper carefully, then works the back of the sheet with steady circular pressure until the image pulls through. It is the same print logic used in larger sessions, only stripped down for portable, low-tech work and tight group tables.
- Soft-cut block or linoleum block surface
- Spoon-style burnisher for hand pressure
- Brayer for even ink roll-out
- Block ink suited to relief printing
- Paper stock for test pulls and edition sheets
Carving, inking and pulling a clean first edition
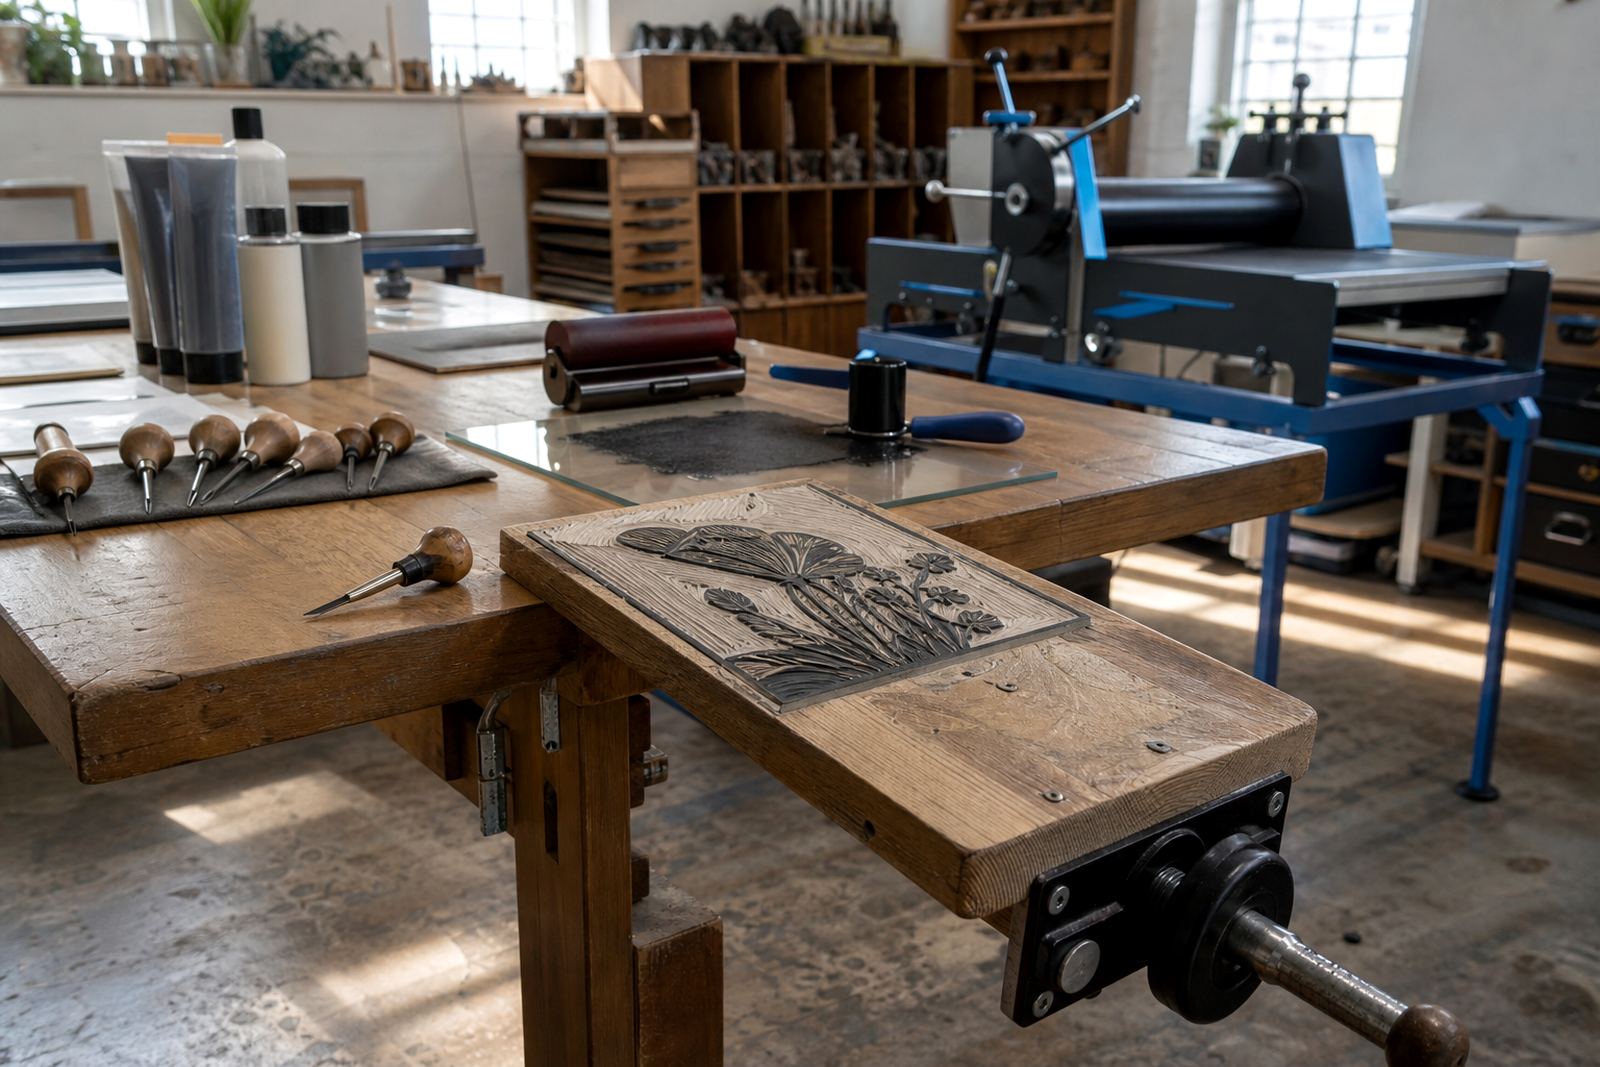
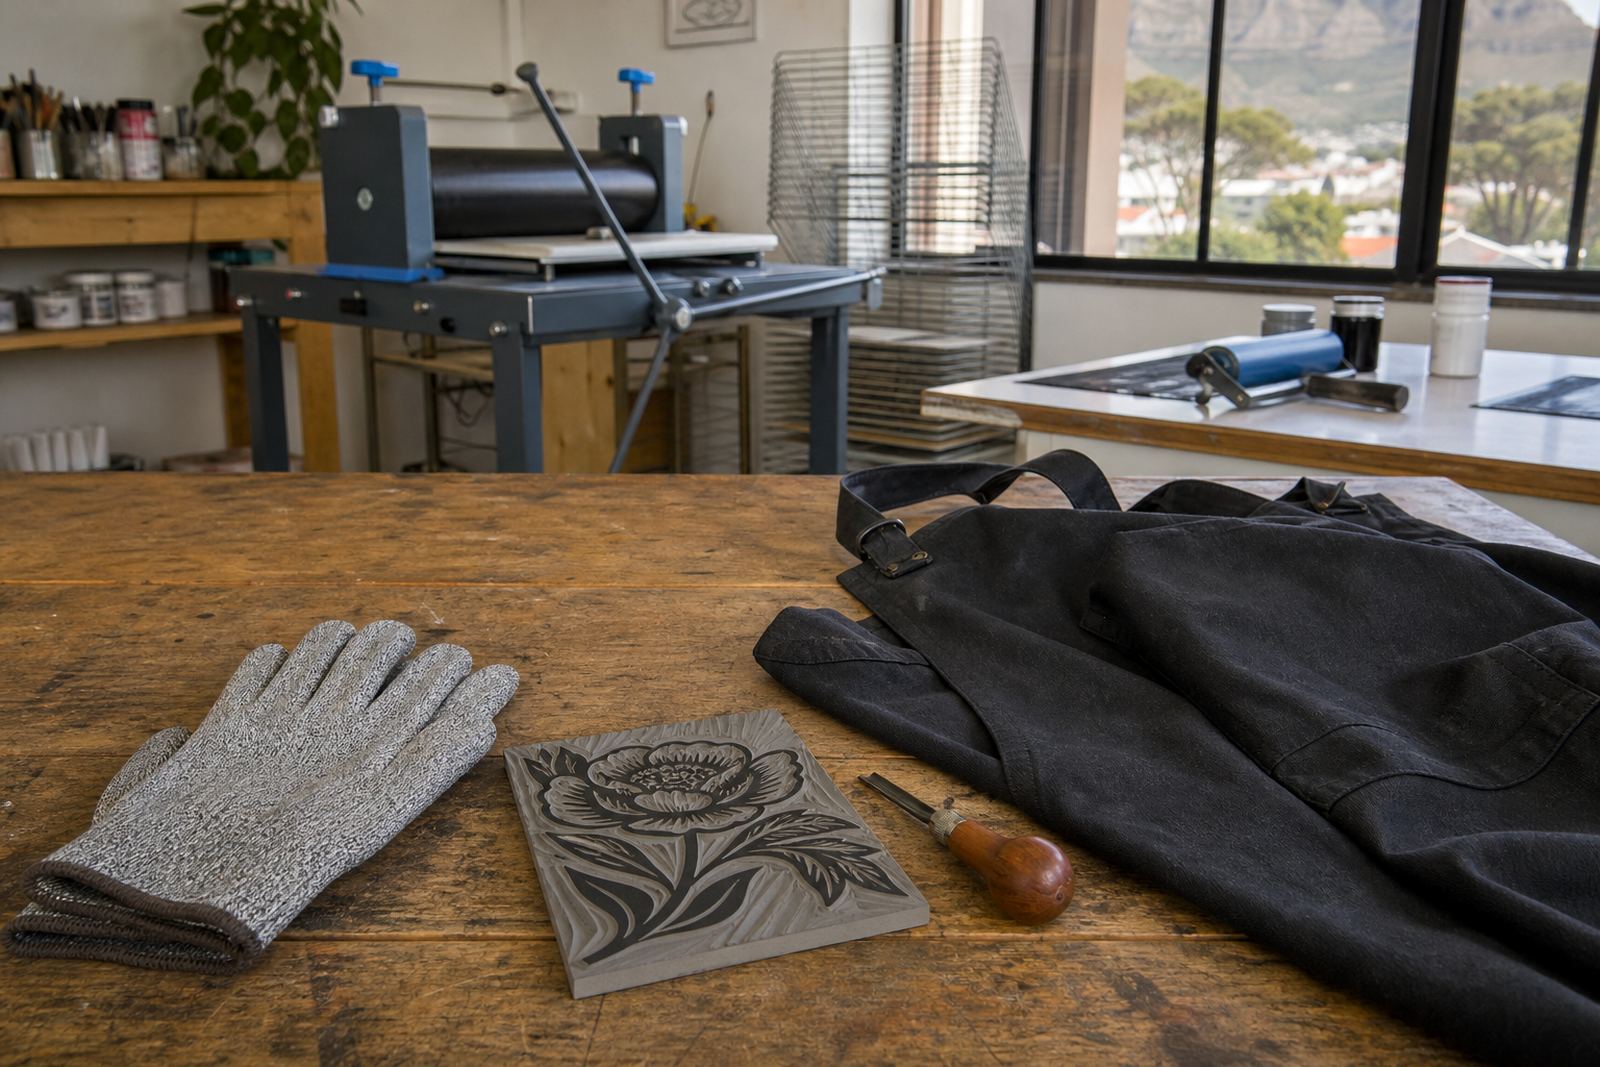
The kit fits linocut and soft-cut carving where a learner is marking out a simple image, then opening the non-printing areas with gouges and V-tools. Safe carving habits matter here: fingers stay behind the cutting edge, the block sits on a flat base, and each cut follows the grain and resistance of the material rather than forcing it.
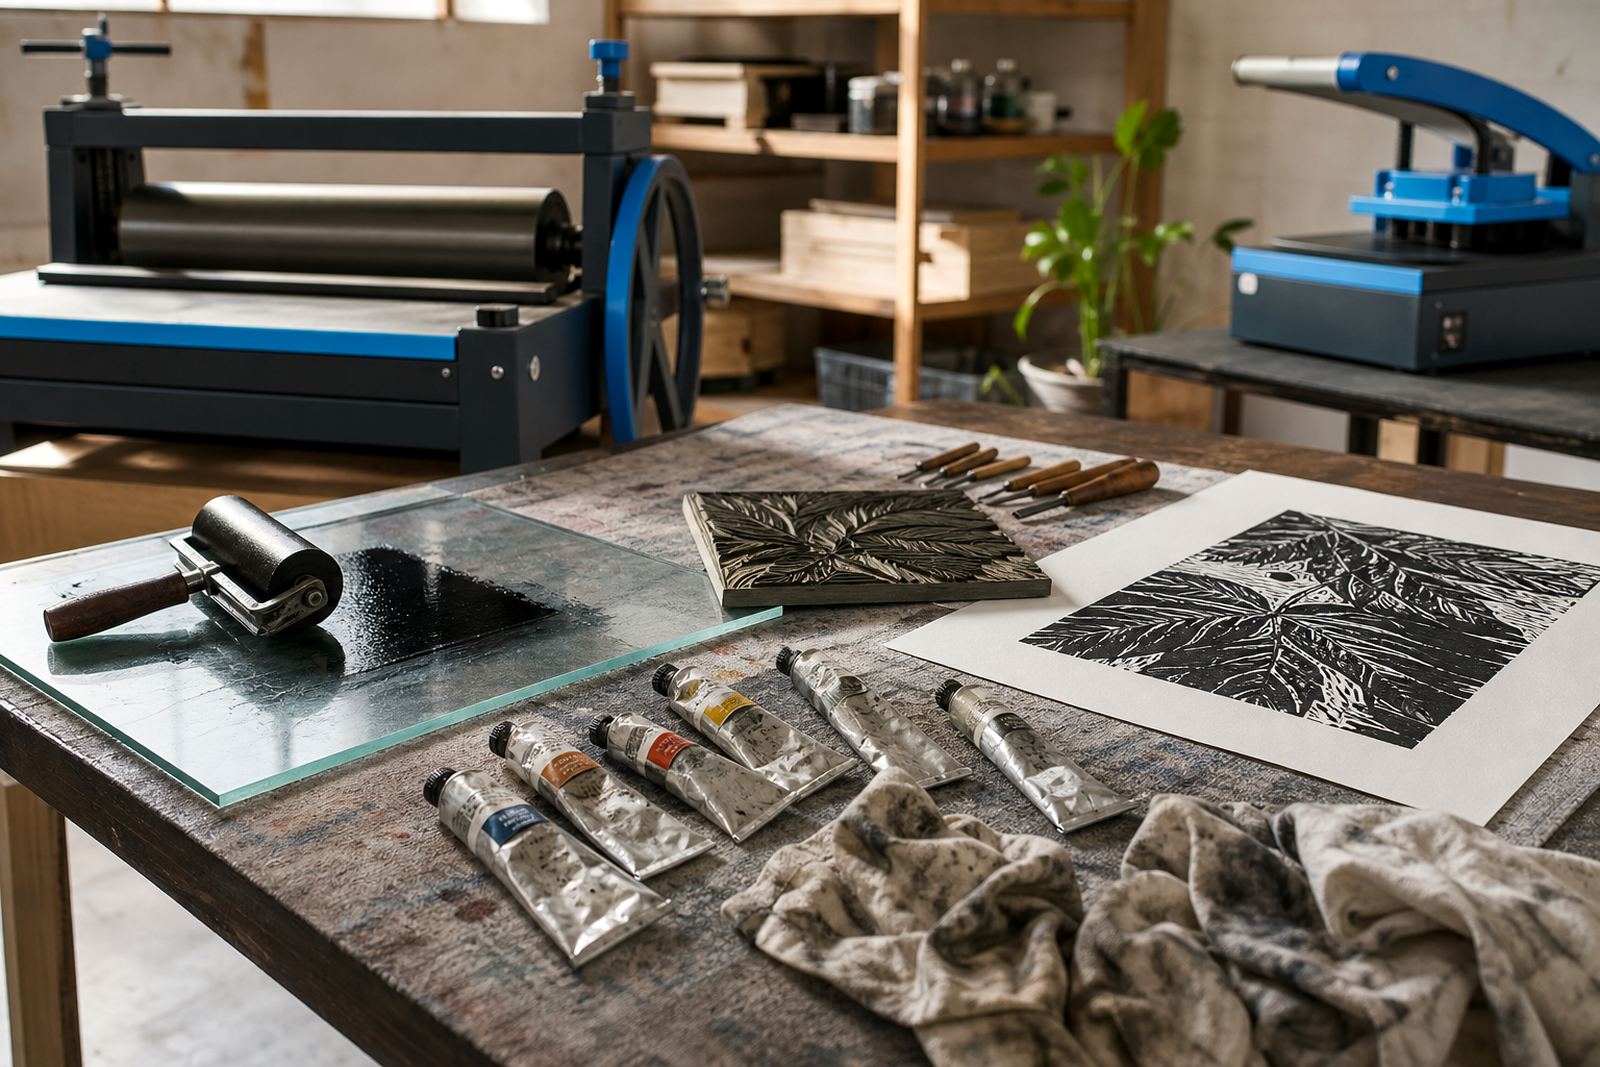
For inking, the block takes a thin even layer. Too much ink closes the cuts, too little gives a pale pull that reads patchy on paper. The Spoon Print Kit supports short edition runs, where the same image is printed more than once and each sheet is checked for registration, pressure and ink balance. That part is useful for students learning to keep margins steady, and for families doing a shared image with different colour rolls.
- Carving depth suited to bold shapes and line work
- Edition printing for repeated pulls from one block
- Registration marks where a second colour is added
- Test print sheets for checking pressure and coverage
Where the kit works well in Cape Town and beyond
The Spoon Print Kit suits studio tables, classroom counters, library rooms and pop-up workshop spaces where a press would take too much set-up or transport. It is handy for beginner carving sessions, family print days, student groups and school visits in Woodstock, Bellville, Stellenbosch, Somerset West and other indoor venues across the country.
Because the process is manual, the kit travels well for mobile teaching. A flat surface is the main requirement, plus enough room for blocks, ink slab, wiping rags and drying space. In a shared workshop, the kit also helps when a group needs several stations running at once, with one table for carving and another for rolling out ink and proofing sheets.
- Private studio workshops
- School pop-up lessons
- Team sessions with mixed skill levels
- Family print classes with short print runs
- Venue-based demo tables and beginner corners
Size options and paper choices to match the job
Spoon print work usually sits best in manageable block sizes, since hand pressure needs contact across the full image area. Smaller blocks suit a first lesson, while larger sheets call for more time spent on even burnishing and slower ink drying. A compact format also helps when learners are moving between carving, proofing and a final edition pull.
Thin Japanese paper and heavier cartridge give a spoon print very different looks. Smooth papers give sharper line transfer, while lightly textured sheets hold soft tone and a more hand-made edge. For mixed groups, a workshop set often includes one paper grade for proofing and another for the final print, so the class can compare how the same carved block reads on each surface.
- Small study blocks for first cuts and quick proofs
- Medium blocks for classroom editions and repeat pulls
- Choose from smooth or lightly textured paper
- Single-colour or layered colour printing setups
Studio handling, care and storage after printing
Printed blocks keep longer when they are cleaned properly after use. Water-based ink lifts with prompt washing, while oil-based ink needs a more deliberate wipe-down and a cloth that is kept for print cleaning rather than general studio dusting. A dry block should be stored flat, away from heat, damp corners and heavy stacking that can leave marks on the carved face.
Brayers benefit from a light clean and a careful roll-out after washing so the rubber or soft roller surface does not pick up grit. Paper should be stored flat and dry, especially in coastal air where humidity can curl sheets and make edition work uneven. In a shared studio, labelled trays help keep student blocks apart, which matters when several classes are running through the same week.
- Wipe ink from block and tools straight after use
- Dry brayers before packing them away
- Store carved blocks flat and labelled
- Keep paper away from moisture and heavy weight
Before a spoon kit goes out
When ordering a Spoon Print Kit, the key details are the block size, the paper format, the ink type, and whether the session is for one person or a group table. It also helps to confirm if the class is doing a single-colour image, a two-pass print with registration, or a short edition where each pull needs the same finish.
For school or venue work, plan the table layout along with the materials. We look at cutting space, drying space, waste wrap, and how many brayers and carving tools are needed for the group count. If the kit is going into a beginner workshop, confirm whether the learners are working on lino or softer carving material, because the feel of the cut changes the whole session.
- Block size and sheet size
- Ink type: water-based or oil-based
- Single print, layered print or edition run
- Number of learners or stations
- Lino or soft-cut block preference
- Drying space and table layout at the venue
Key facts
| Product type | Hand-printing kit for linocut and block-print workshops |
|---|---|
| Printing method | Press-free burnishing with a spoon-style tool |
| Core tools | Block, brayer, carving tools, ink and paper |
| Ink options | Water-based block ink or oil-based block ink |
| Block formats | Small study blocks and medium workshop blocks |
| Best use | Beginners, classes, family sessions and mobile workshops |