When the class needs structure, not noise
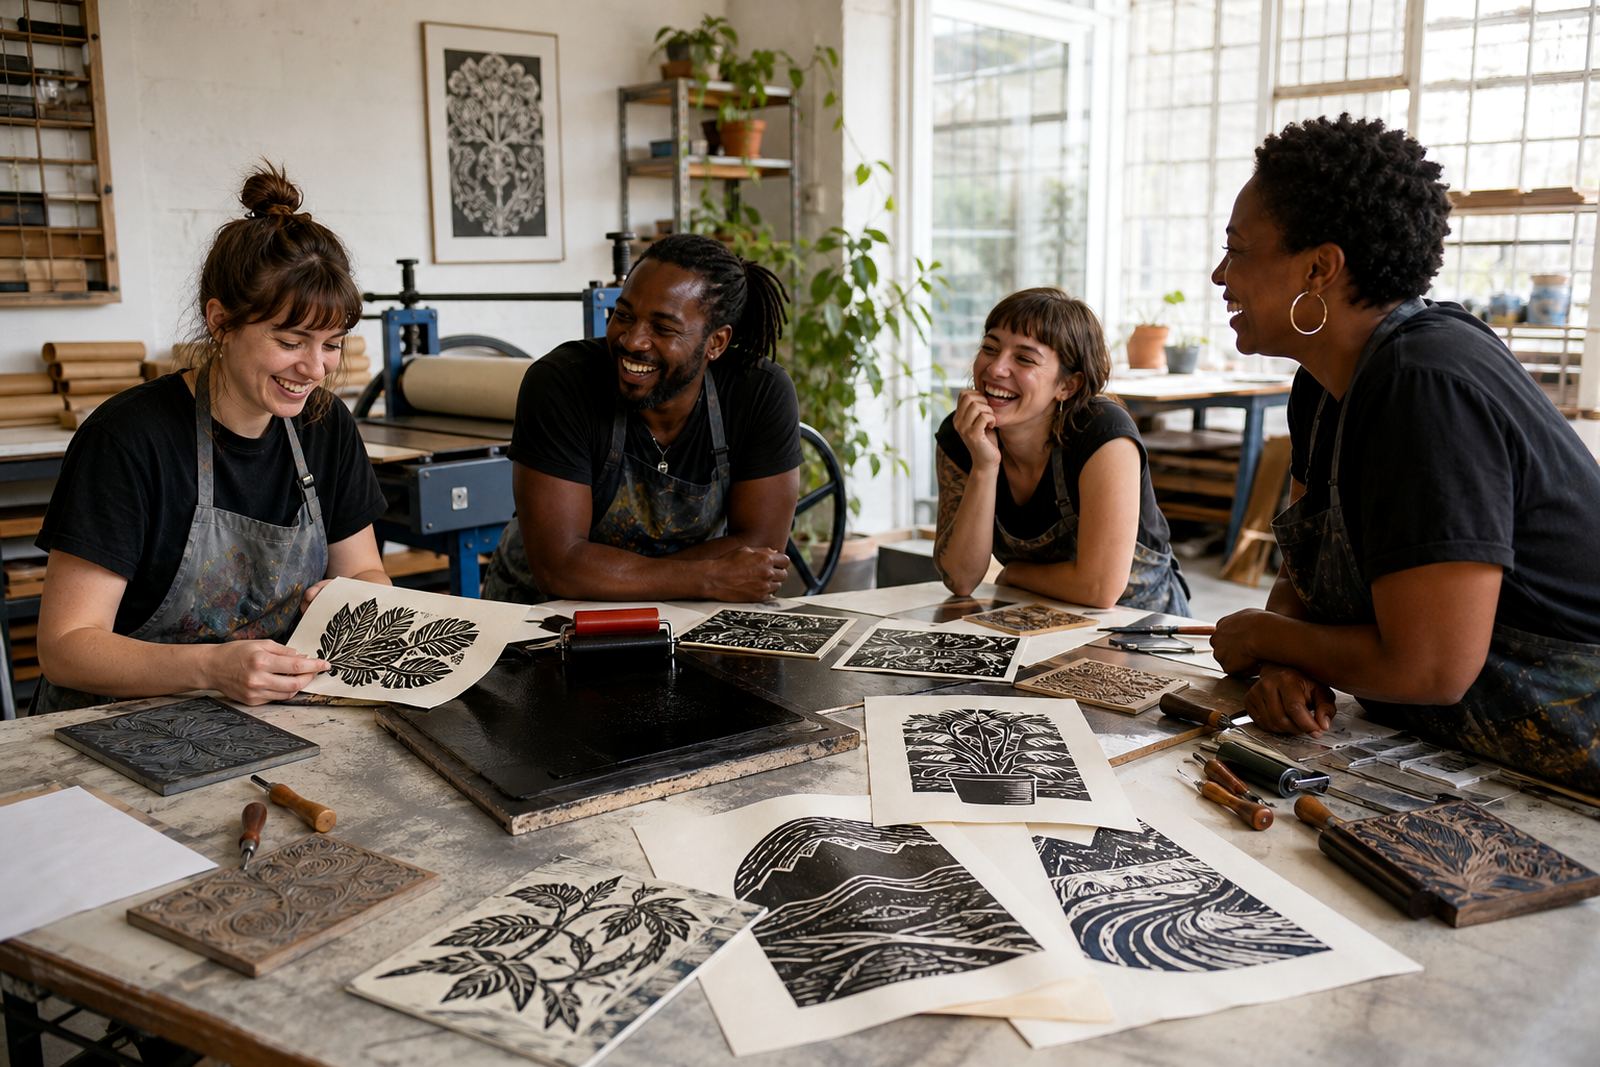
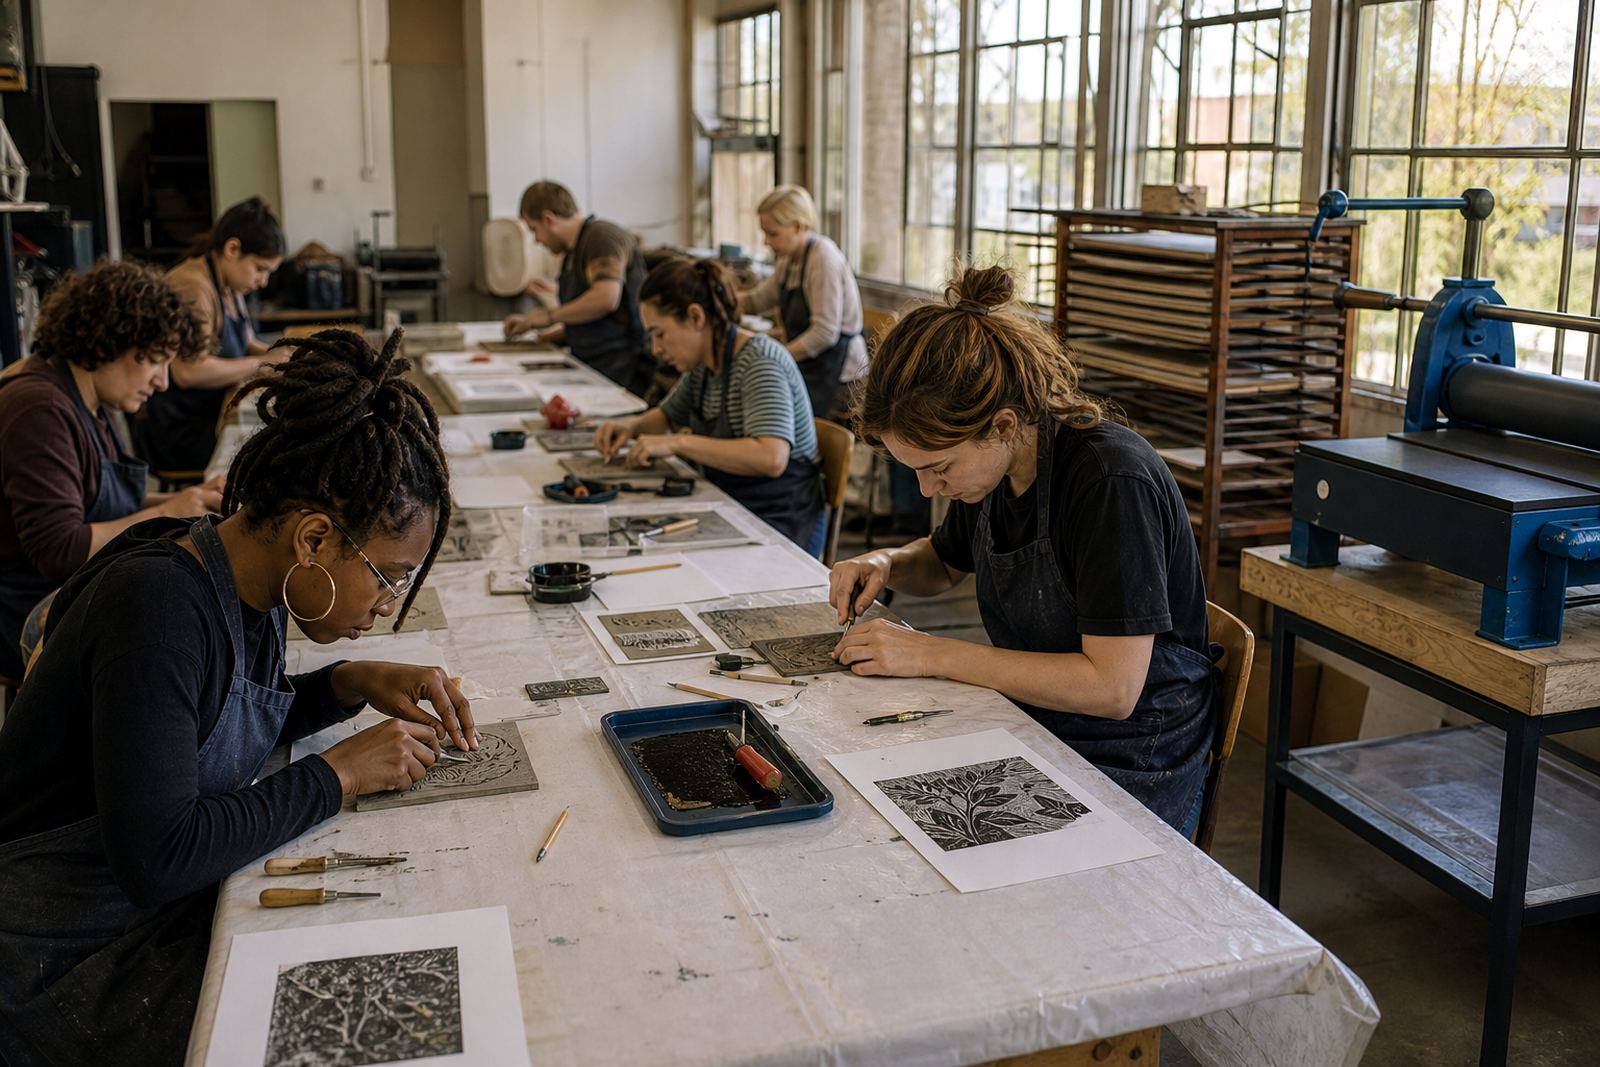
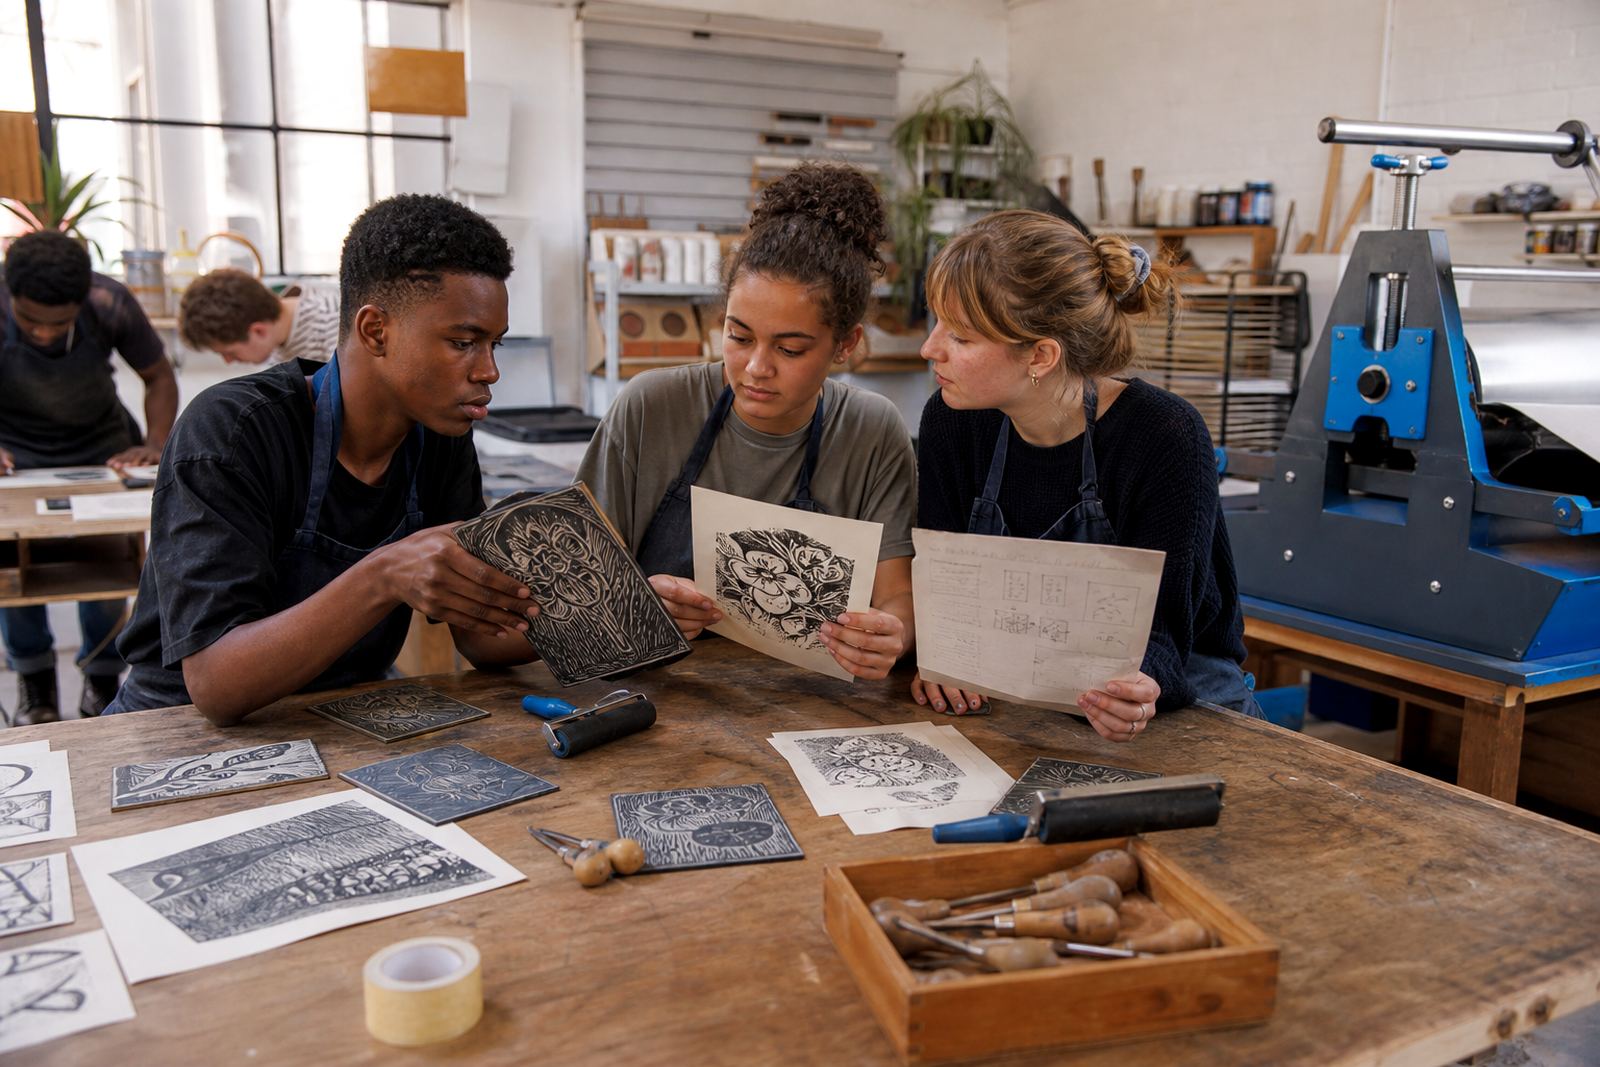
Teen groups and student classes work best when the session has a clean sequence. We start with a short look at the block, the tools and the print plan, then move through tracing, cutting, proofing and final printing. That rhythm helps a mixed group settle fast, especially when some are new to lino and others have already handled gouges before.
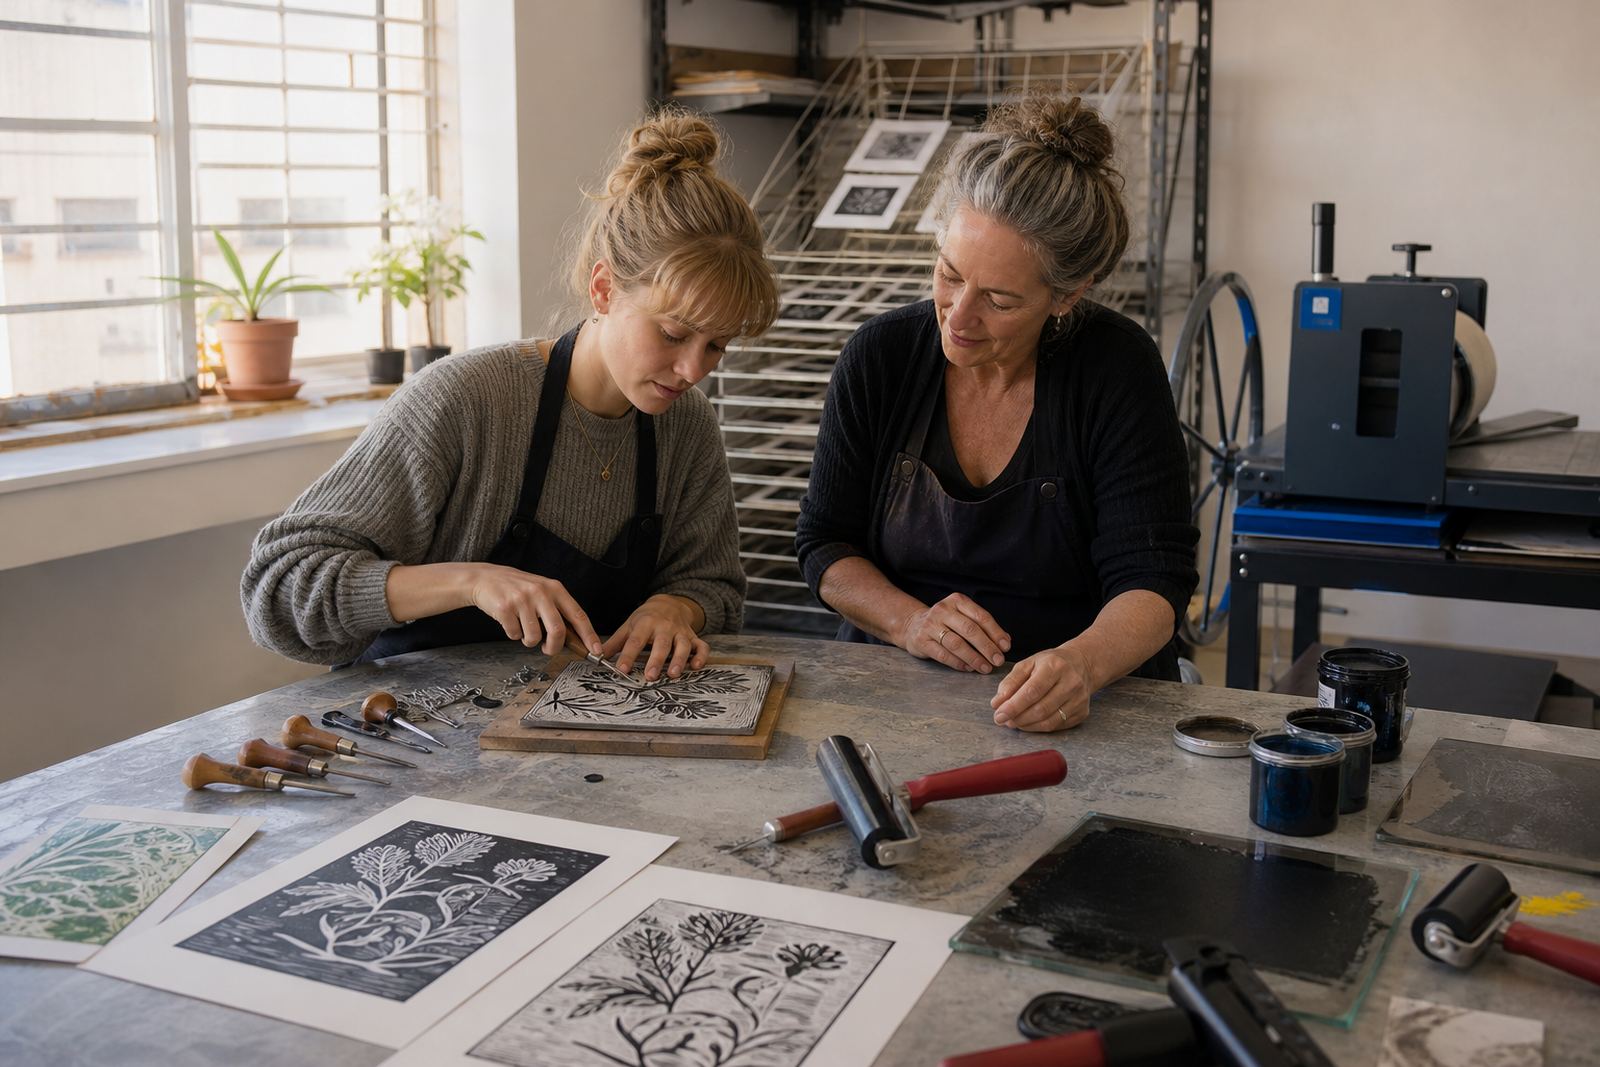
For schools, colleges and youth programmes, the brief usually asks for safe carving, visible print results and a session that fits into a real timetable. Linocut and soft-cut block work suit that well because the process is direct: mark the design, cut the raised areas, ink the block, then print by hand with a baren or on a press where the setup allows it. Students see cause and effect at once, which makes the lesson easier to hold.
- Age-appropriate carving methods
- Clear tool handling and bench rules
- Finished prints that can be taken home or displayed
- Options for small classes or larger school groups
Tools that belong in a student print session
A proper student session works from an uncluttered table. It needs the right few items used well. We set out lino or soft-cut blocks, safe carving handles, V-tools and gouges, brayers, water-based or oil-based block inks, inking plates, paper, masking tape and cleaning materials. When the room is organised this way, the group can move without crossing over each other’s work.
Students are often surprised by how much the paper changes a print. Smooth cartridge paper is useful for proofs and planning, while heavier printmaking papers take ink more evenly and show the carved marks better. Registration marks help when students print a second colour or want a neater edition, and a press demo is useful for classes that need to see how pressure changes the final image. In a lively room, small details like paper stacks and labelled drying areas save a lot of confusion.
- Lino for firmer lines and cleaner edges
- Soft-cut blocks for younger or less experienced hands
- Brayers for even ink rolls
- Baren or press printing depending on the group and venue
- Drying space that keeps prints flat and separate
How our studio is set up for groups with mixed abilities
Teen and student sessions often include a wide range of confidence levels, so the layout has to do some of the teaching. We work with one table for drawing and transfer, one carving zone and one ink station where the brayers and plates stay in order. If the group is larger, the class can split into teams so no one waits too long at the same point in the process.
Good planning also includes a place for offcuts, blade storage and a drying line or flat rack. In a school hall, studio or venue room, it helps to keep the inks away from traffic and the finished sheets away from hands that are still damp with colour. On busy days the room can feel tight, so a simple route from block to ink to print reduces spills and damaged sheets. A little more spacing near the press helps when learners take turns and want to watch the pull closely.
- Separate carving and inking zones
- Drying area with room for edition stacks
- Clear tool return point for blades and handles
- Visible demo area for first proofs and corrections
Mistakes that show up early and how the class avoids them
The usual errors are easy to spot once they are named. New carvers often cut too deep on the first pass, forget that printing reverses the image, or leave too little relief for ink to sit cleanly. Others overload the block with ink, press too hard with the baren, or rush the registration and shift the paper before it lands. These are normal learning slips, but they can flatten a good design fast.
Student sessions work better when we slow the first proof and look at what the block is actually doing. A small carve test can show whether a line is strong enough, and a quick print proof helps identify where the block still needs clearing. When the class understands that the white space is as important as the mark, the final edition usually improves. The same applies to paper handling. A sheet picked up by the edge and set down square will print cleaner than one that is dragged across the block.
- Cutting away too much on the first pass
- Ink rolled on too thick
- Paper placed off register
- Forgetting the mirrored image before carving text
Budget planning in Rand for teen and student groups
Budget depends on group size, venue, duration and whether the session uses a press or hand printing only. A short beginner class with shared tools and simple single-colour work sits in a lower range than a longer workshop with individual materials, more supervision and edition printing. School pop-up sessions, studio bookings and venue visits also carry different setup needs, especially when materials must be transported and tables protected.
For planning purposes, it helps to think in layers rather than one flat figure. Materials, staffing, travel across Cape Town or to other cities, and extra consumables such as paper and ink all shape the total. A class that includes multiple blocks, special papers or a press demo will usually sit above a basic carve-and-print session. When the group has a set curriculum brief, the cost can also reflect the amount of preparation needed for templates, demonstrations and finish work.
Typical school and student bookings are shaped around these ranges in Rand:
- Small studio groups with shared materials: lower budget range
- Half-day class with individual blocks and inks: mid budget range
- Longer venue or school session with setup support: higher budget range
- Multi-site programme or repeat class block: quoted to the brief
What teens usually take away from the session
A good outcome is a print and a method. Students also leave with a working sequence they can repeat on their own paper and blocks later. They learn how to plan a design for carving, how to read the block backwards, how pressure affects the ink layer and how editions stay consistent when the process is kept steady. Those skills carry into school art tasks, portfolio work and studio assignments.
For families, teens and student groups, the finished sheets often matter most when they show a clear line, a strong contrast and a clean pull from the block. Some classes produce one-colour editions, while others add a second layer once the first print has dried. Either way, the session is strongest when the materials, layout and pace let the learners concentrate on the cut and the print rather than the clutter around them.