A first carve without the rush
Adult beginners often arrive with no drawing background and a fair amount of caution, which is the right place to start. We work with lino and soft-cut blocks, then move through tracing, carving and test prints so the process feels steady rather than crowded. The aim is to understand each stage well enough to repeat it with confidence.
Most sessions begin with a short look at the image, the size of the block and the kind of paper the print will live on. That helps with planning before the gouges and V-tools come out. A clean first workshop usually leaves people with one carved block, a short edition and enough practical sense to continue at home or in a studio class.
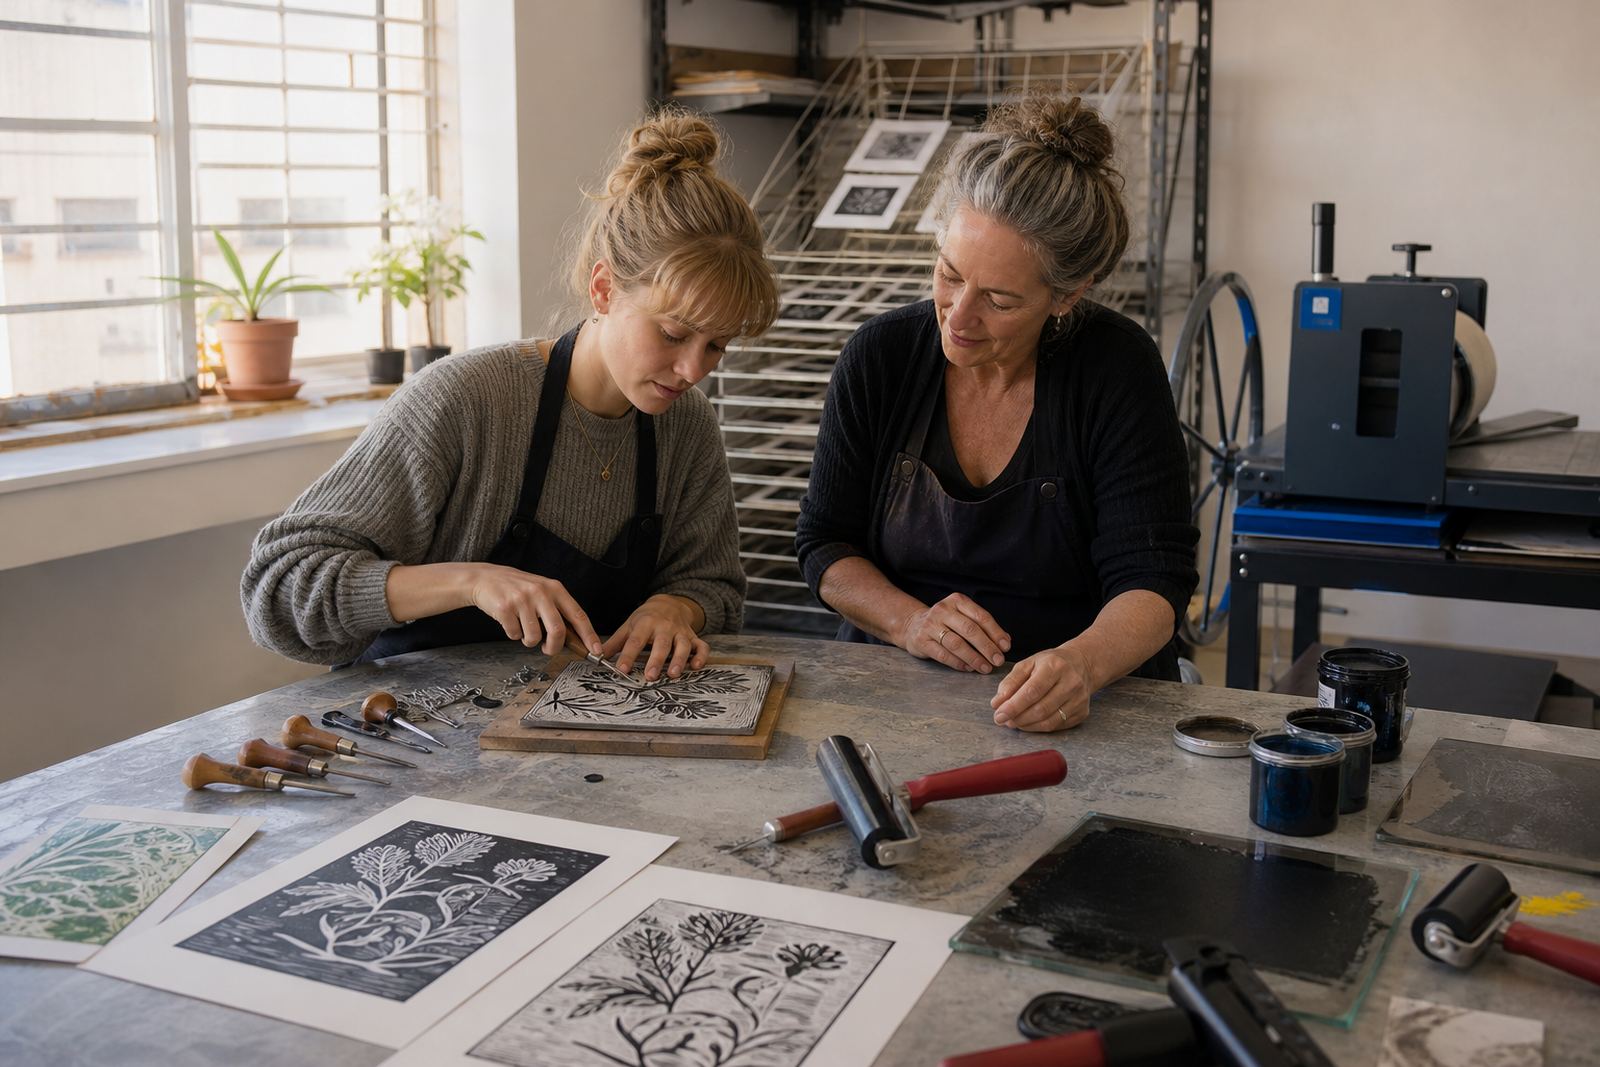
The tools that sit on the table
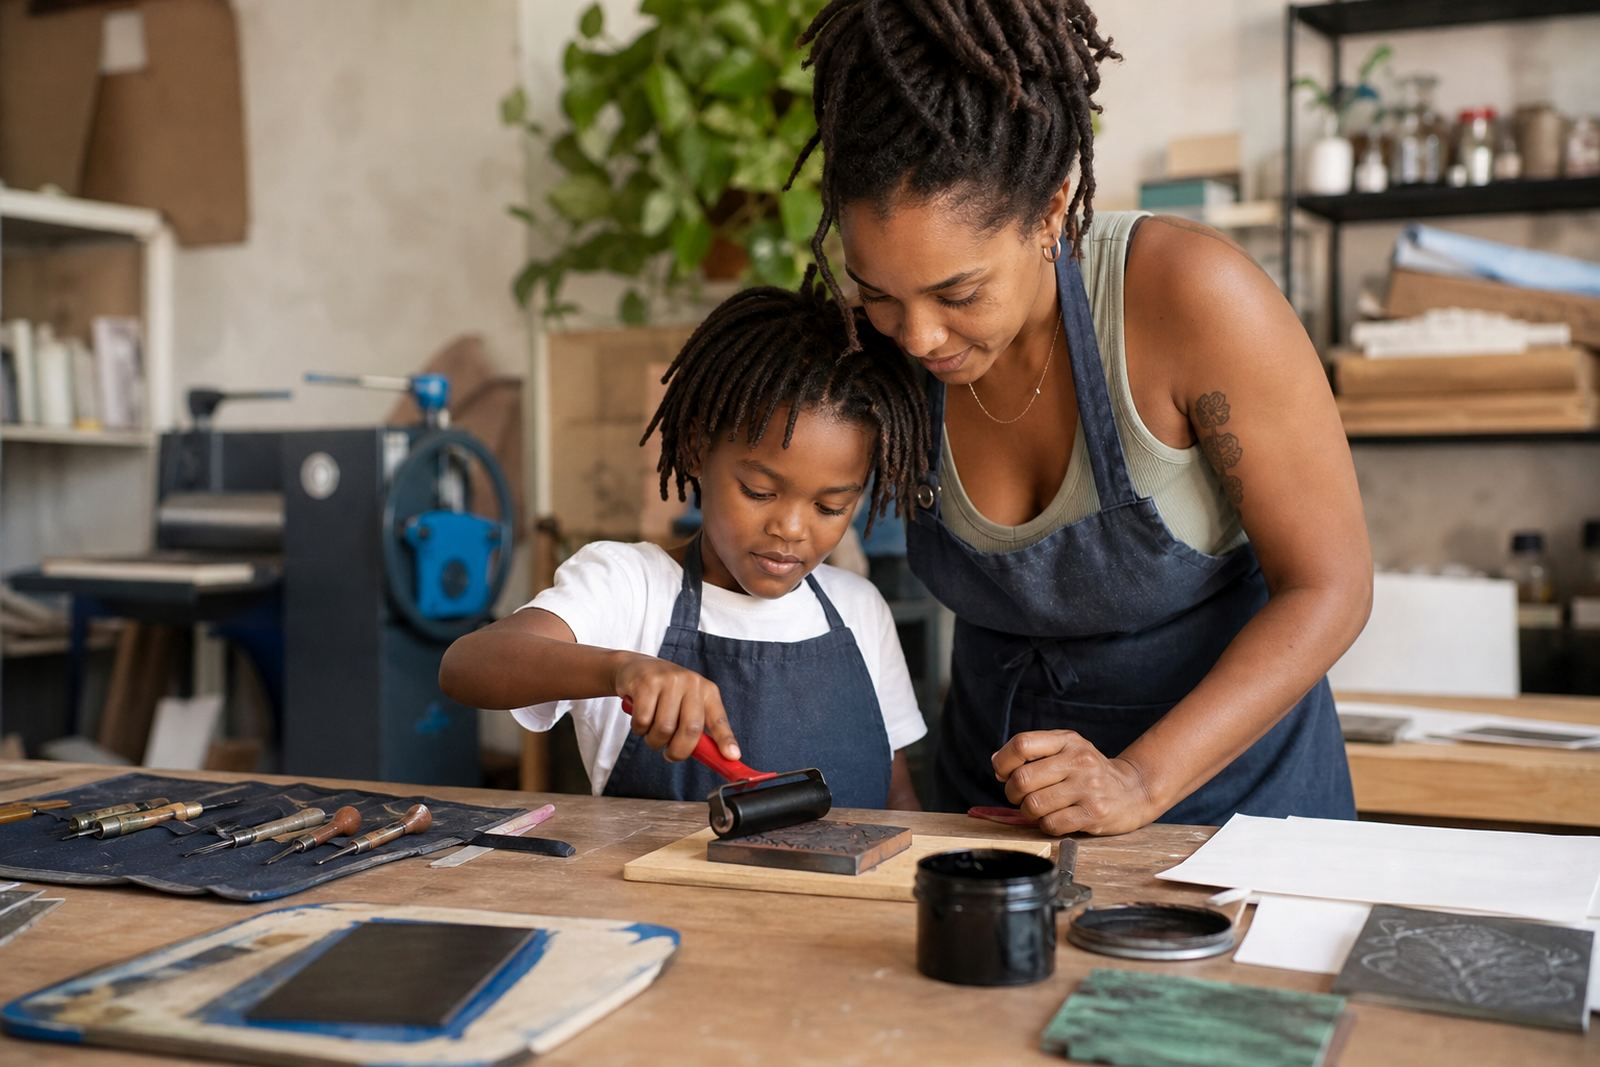
A beginner linocut set is small, and each piece has a job. We show how to hold carving tools safely, how to keep fingers out of the cutting path and how to read the block before taking off another sliver. Water-based block inks are common for first sessions because they clean up neatly, while oil-based inks are useful when a group wants a richer print surface and a slower working rhythm.
- Lino or soft-cut blocks for carving practice and finished work
- Gouges and V-tools for lines, shapes and wider cleared areas
- Brayers for rolling ink evenly across the block
- Baren printing for hand pressure on paper
- A press for stronger, more even pulls when the setup calls for it
- Registration guides, tape and paper offcuts for test pulls
Beginners often underestimate how much the paper matters. A smoother sheet can suit fine detail, while a slightly softer paper may take a cleaner impression from hand pressure. We also talk through drying space, because fresh prints need room to rest without smudging or sticking together.
How the room is usually arranged
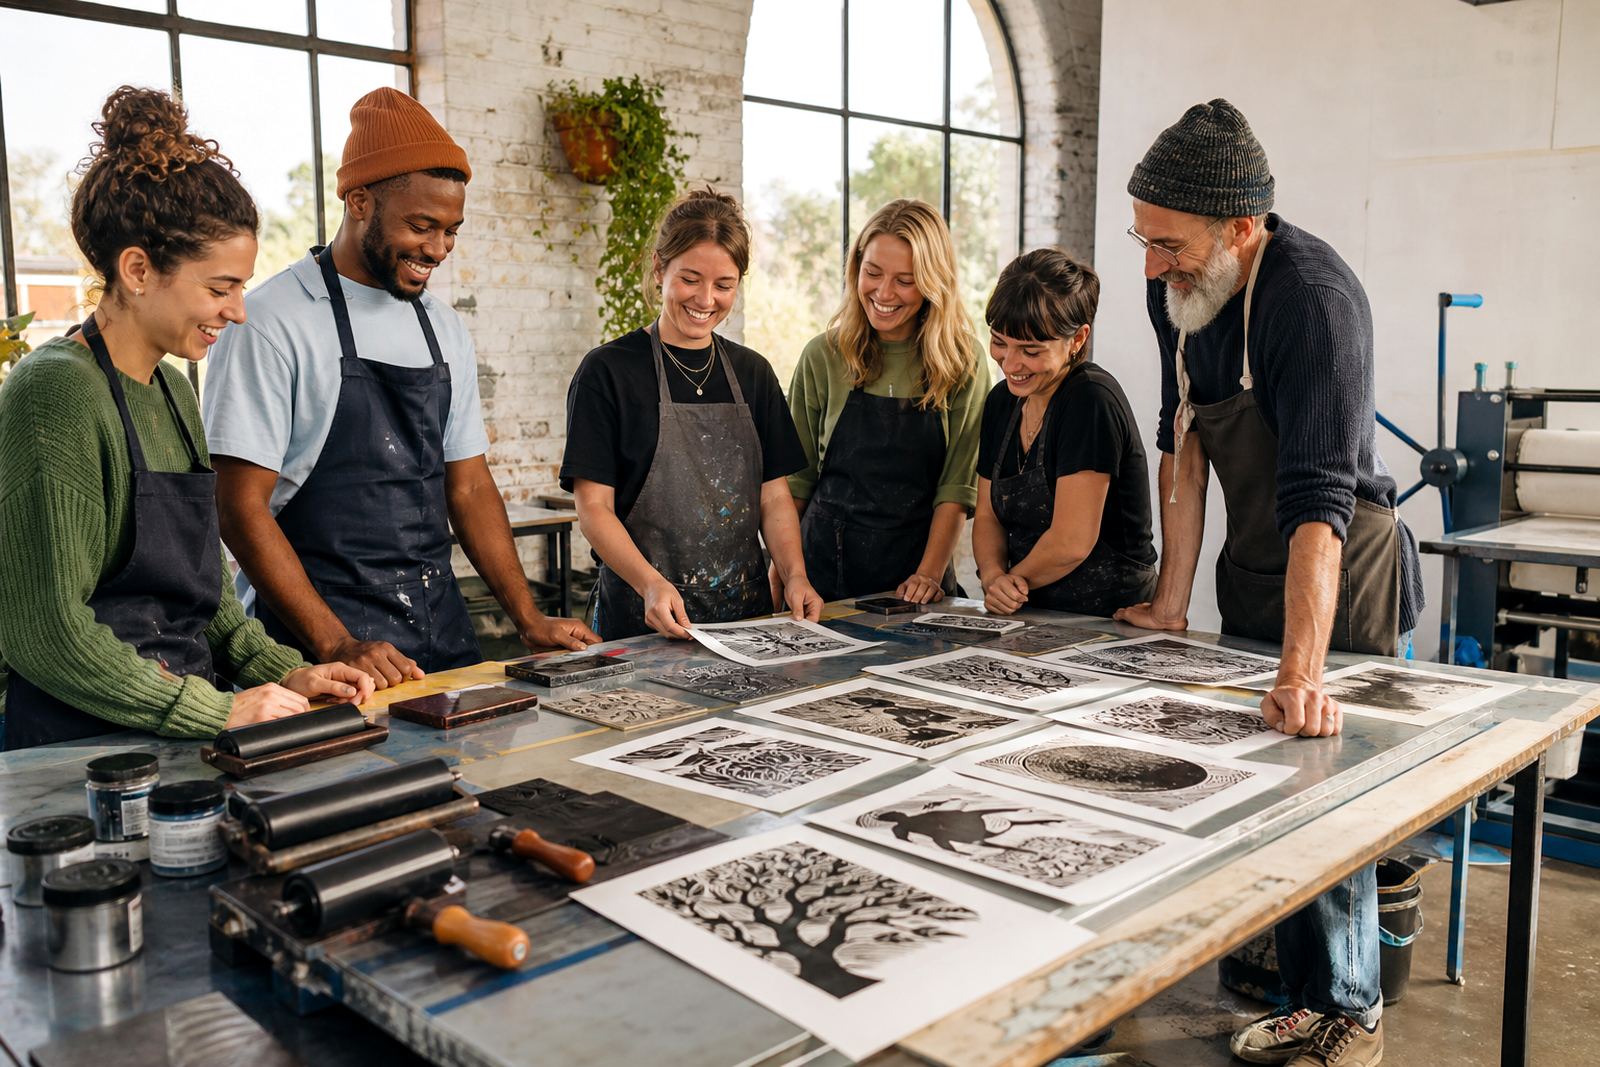
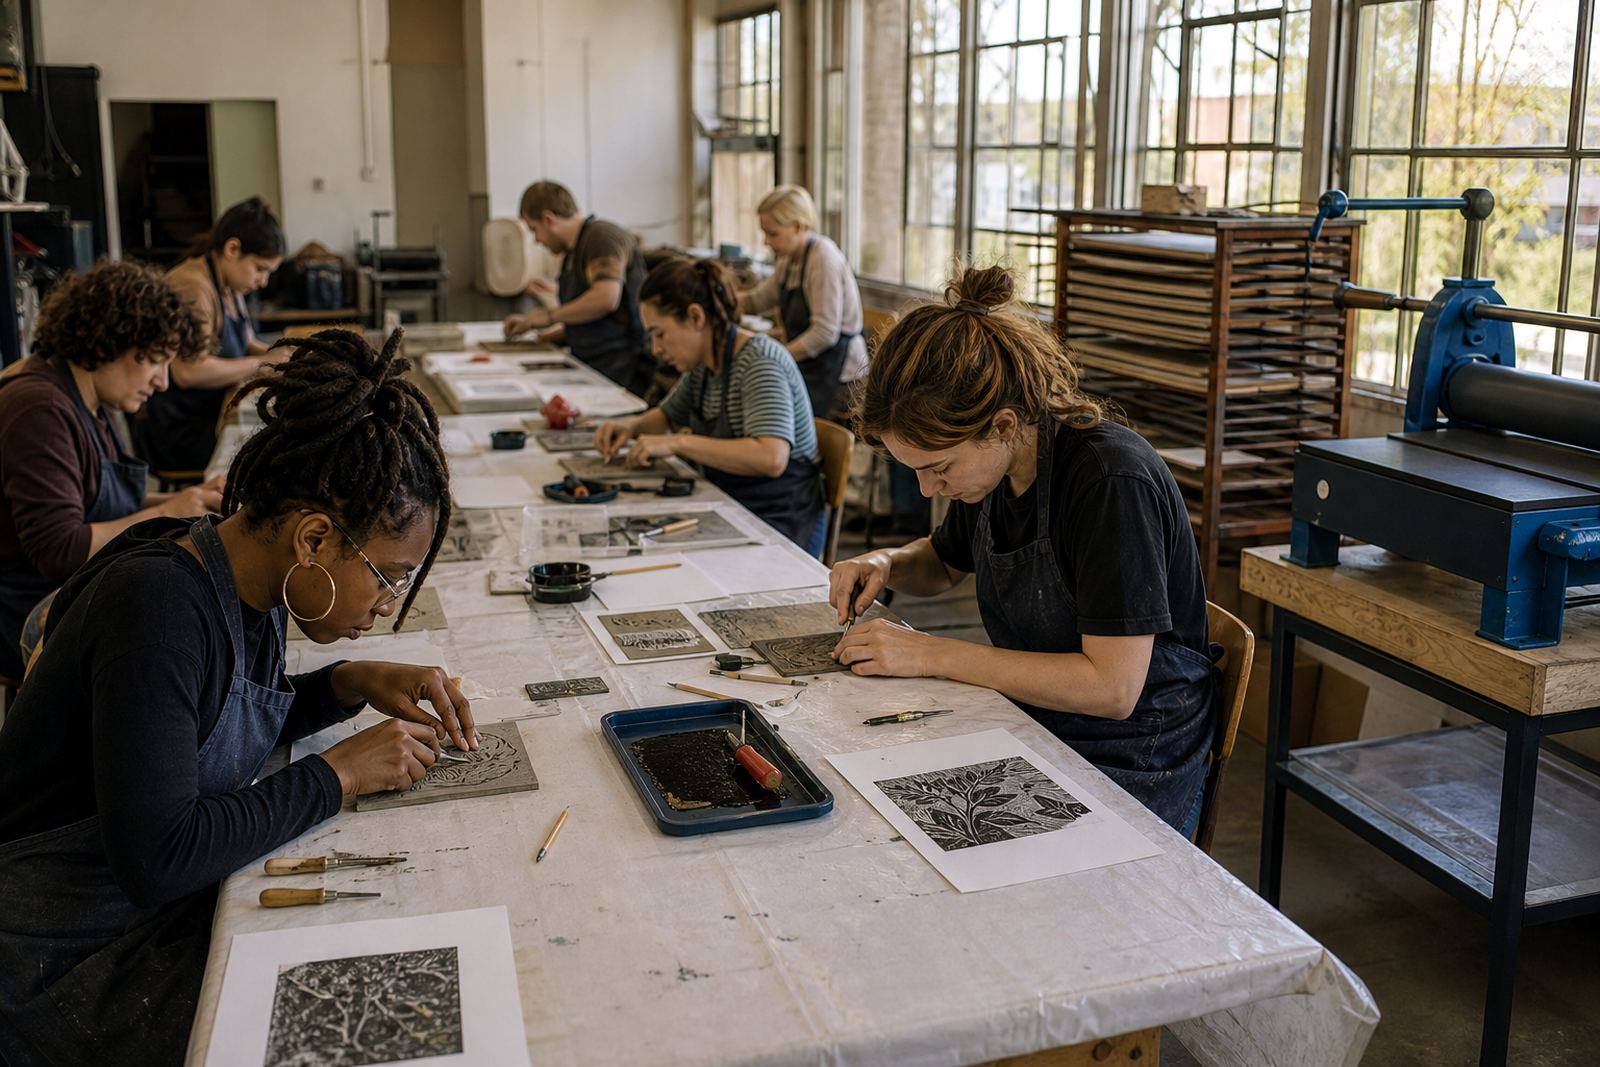
For adult beginners, layout shapes the day as much as the tools do. One side of the table should stay clear for cutting, another for inking, and a separate area for drying prints and keeping the edition in order. That keeps wet ink away from carving edges and stops fresh paper from picking up fingerprints or loose dust.
In a studio session in Woodstock, a school hall in Durban or a pop-up space in Pretoria, the same rule applies: put the messy work in one direction and the clean paper in another. If the group is larger, a demonstration table near the front helps everyone see the block, the roller and the first proof before they begin their own cut. A little extra space around each person also reduces crossed arms and mistaken cuts.
Registration is often the part that changes a beginner's print from rough to ordered. We show how to align the block and paper with simple corner guides, then explain why test sheets matter before the final edition starts.
Common slips we see in first editions
New printmakers usually carve too shallow, ink too heavily or rush the proof stage. A shallow cut can hold unwanted ink, while an overloaded brayer fills the fine spaces and softens the image. The proof stage is where most of the fixing happens, because it shows whether the block still needs clearing or whether the paper and pressure are already working well together.
- Cutting away the wrong area because the image was not mirrored
- Pressing too hard and crushing small details
- Using too much ink on the roller
- Skipping the test print and moving straight to the edition
- Forgetting to dry hands before handling paper
- Setting the block at the wrong angle on the table
Another mistake is treating every print as if it should look exactly alike. In hand printing, a small shift in pressure or inking can be part of the charm, but the edition still needs enough consistency to feel intentional. That balance is what adult beginners usually learn to judge by the second or third print.
Budget ranges that suit a first workshop
For a first adult beginner session, the budget depends on whether the group is joining a studio class, a private booking or a travelling workshop with venue setup. A small group using shared demonstration equipment usually sits lower than a private booking with individual blocks, inks and papers for each person. The print finish stage also changes the budget because dried sheets, extra paper and handling time all count.
As a working range, a basic starter session may sit in the low hundreds per person, while a fuller experience with carving, inking, a short edition and take-home materials can move into a higher range per person. Private studio workshops, team sessions and venue-based classes are priced differently because the room layout, materials and staffing are different. If your group wants press printing, extra paper grades or a teacher-led format, that also shifts the budget upward.
Most adult beginners do best with a clear material list rather than a large pile of extras. One block, a handful of sheets, a brayer, a small set of inks and enough cutting time usually make a better first investment than trying to cover every technique at once.
The kind of session adults usually ask for
Some groups want a calm studio introduction, others want a social afternoon where everyone leaves with a print and a better sense of the process. We run private studio workshops, family print sessions, student print classes and team building sessions, and the adult beginner format can sit inside any of those. The difference lies in pacing, paper choice and how much demonstration time the group needs before starting the block.
For first-timers, a well-planned session usually includes a short talk on the block, a carving demo, one test pull, one adjustment and then the edition print. If the group is larger, we keep an eye on the flow so that no one is waiting too long with an unfinished block while the rest move ahead. That rhythm matters in Cape Town, Stellenbosch, Johannesburg, Pretoria and Durban, especially when the session is part of a broader visit or a venue-based booking.
Adults who want to continue after the workshop often leave with a practical sense of tools, paper and registration, plus a clearer eye for what to cut and what to leave alone.