What a school print class feels like on the day
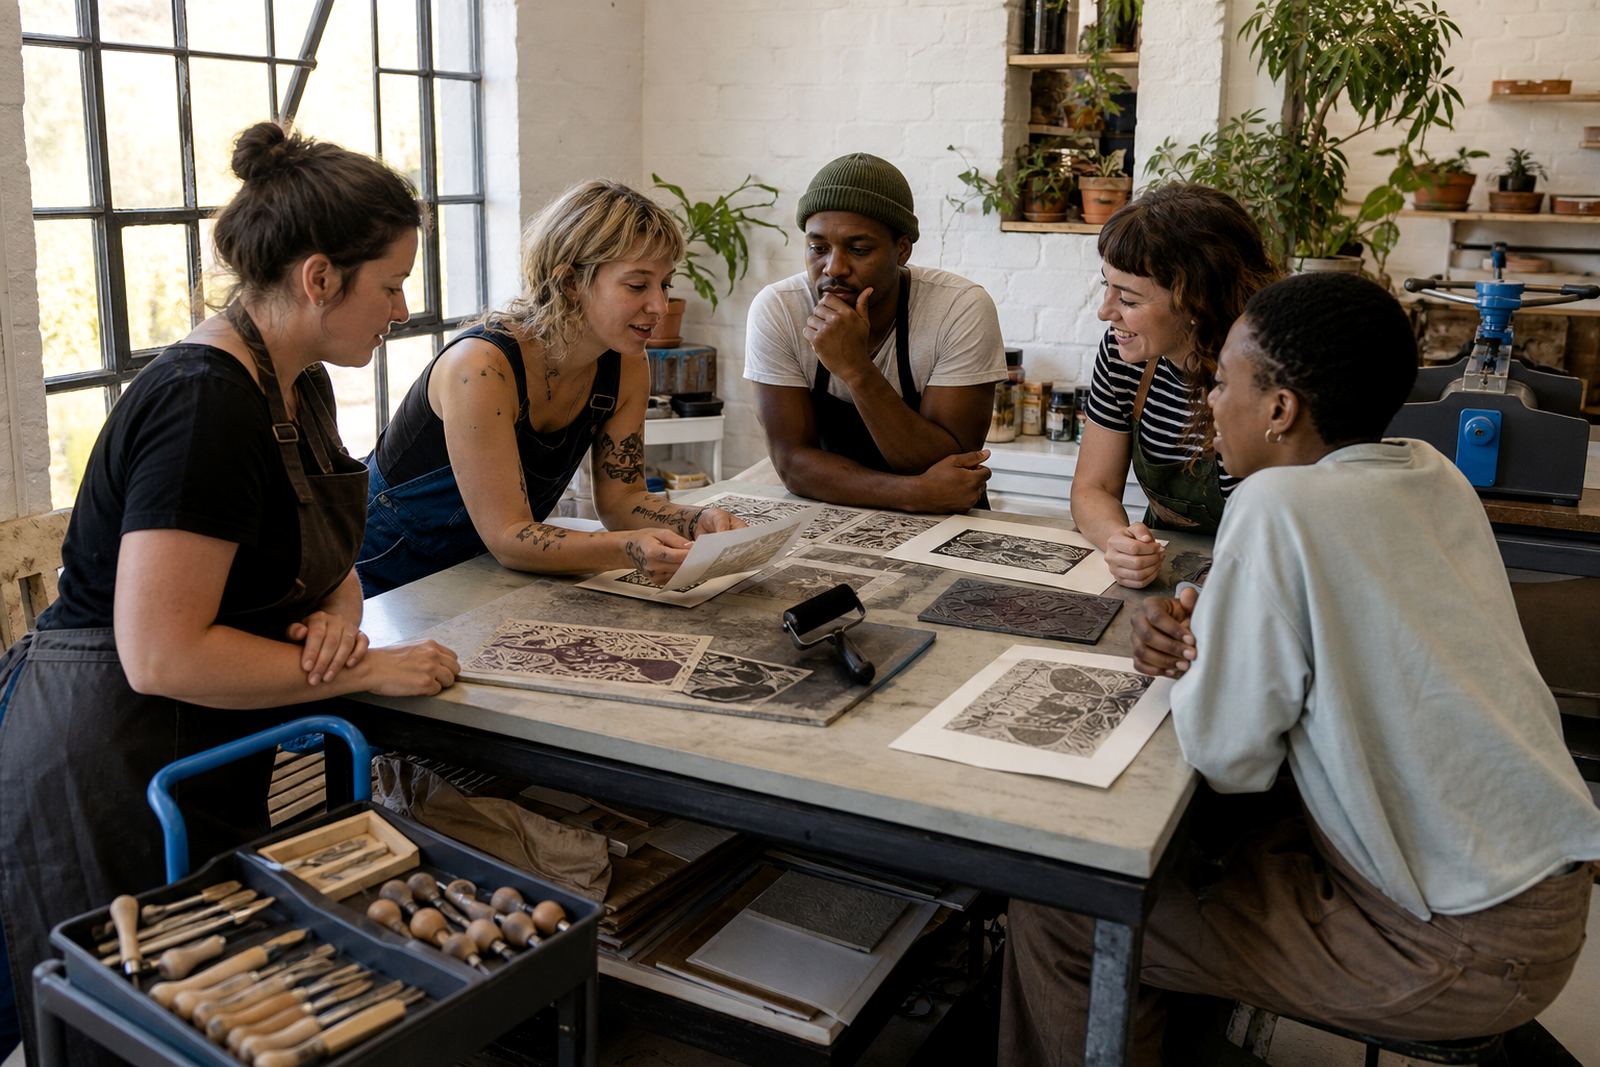
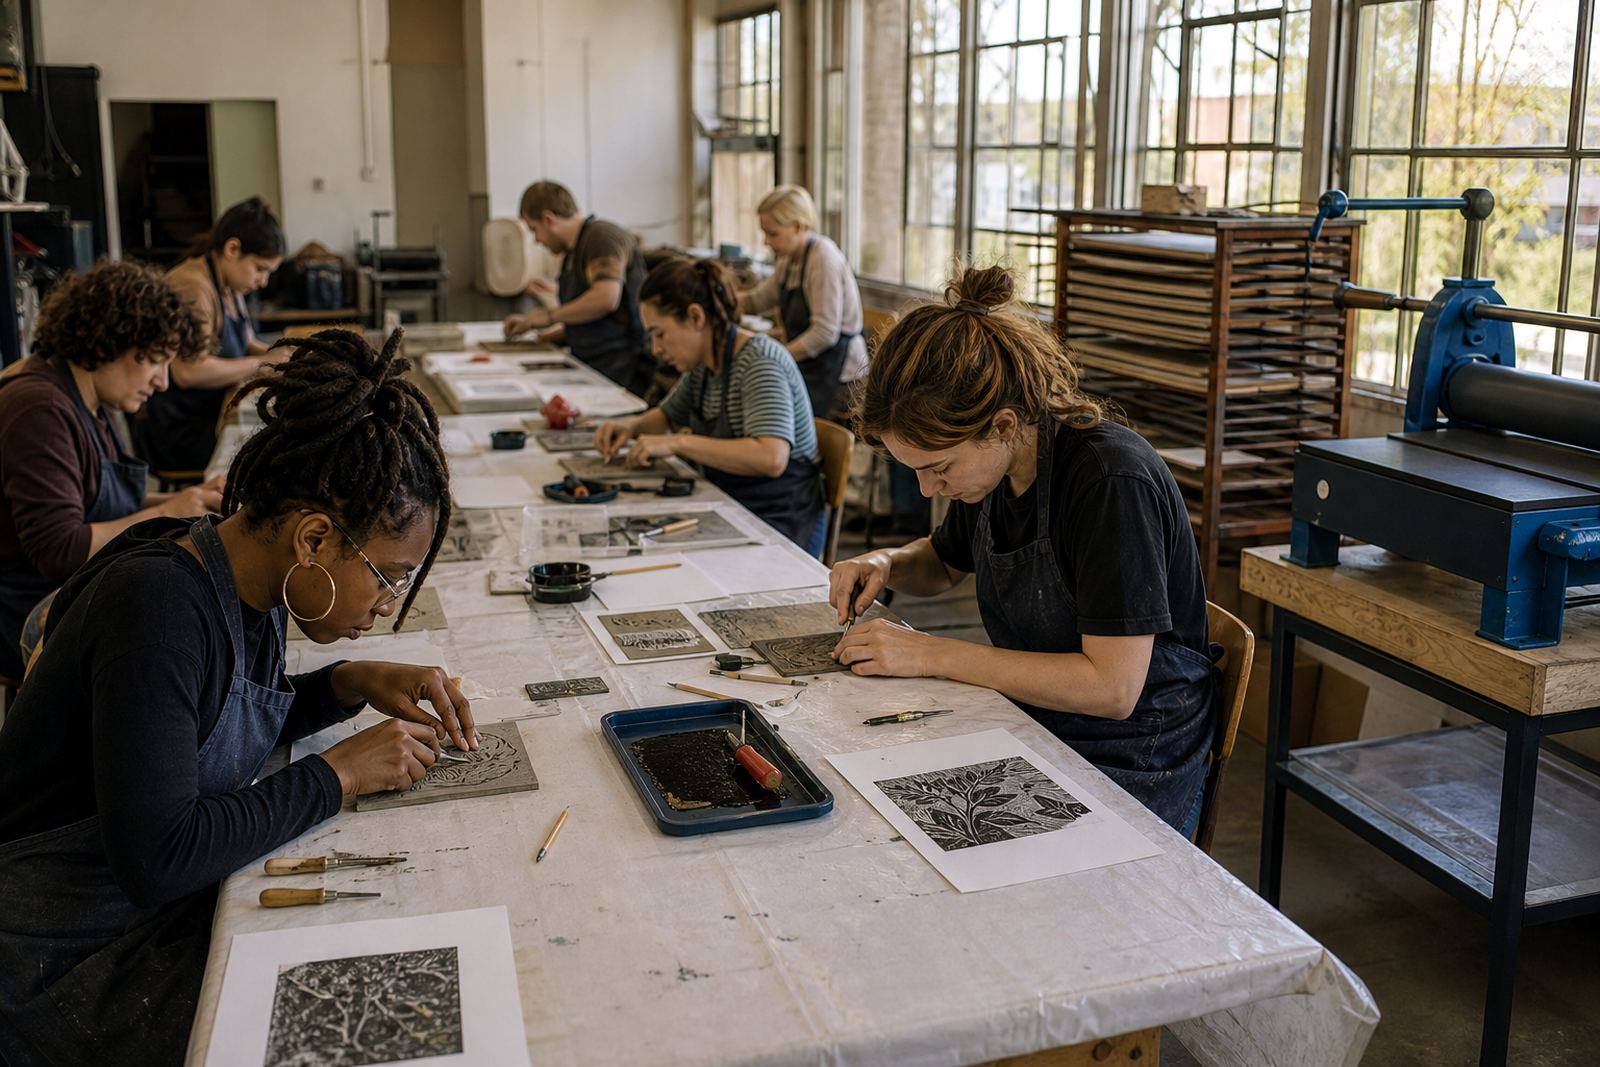
A school class works best when the room is set up in stations. One table holds the drawing stage, another carries carving tools, and a printing table stays clear for ink, paper and finished sheets. That order helps learners move through the process without crowding one another.
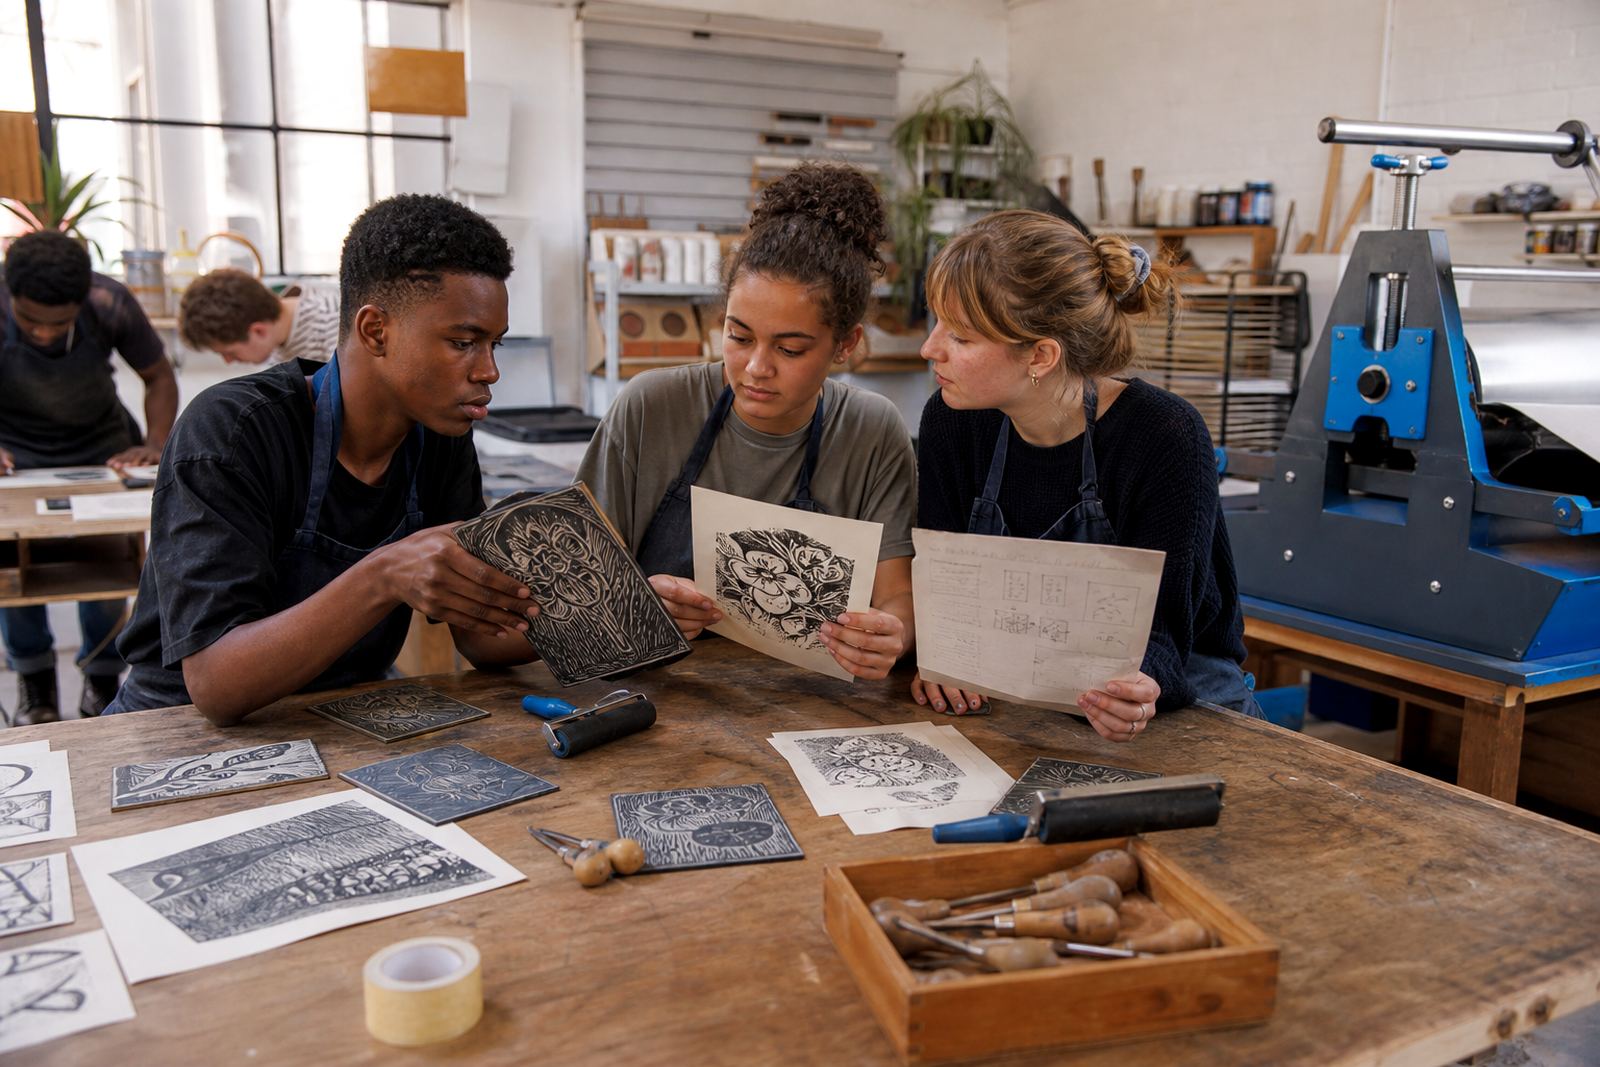
For younger groups, soft-cut blocks and low-risk tools suit early lessons, while older students can handle lino with gouges and V-tools under direct supervision. The core idea stays the same: design, carve, ink, then print. Teachers often use the session to connect art with pattern, mark-making and visual planning.
- Clear tables and dry space for paper
- Safety talk before carving starts
- Short demo before each new step
- Printed samples to show line, texture and tone
Equipment that belongs on a school table
A good school session uses hand tools and print tools that are easy to explain. Students need pencils, tracing paper, soft-cut blocks or lino, carving gouges, V-tools, brayers, water-based block inks, scraps for test prints and clean sheets for the edition. A baren works well for hand pressure, while a small press gives a strong, even print where the room allows it.
Many groups underestimate how important paper choice is. Heavier paper takes ink well and stands up to repeated handling, while lighter sheets suit quick exercises and practice pulls. Registration marks help learners place each sheet in the same position, which matters when they print more than one colour or need a tidy edition.
- Soft-cut blocks for younger learners
- Lino for older groups and more detail
- Brayers sized for group use
- Water-based and oil-based block inks
Planning a classroom or hall layout
In schools, the room needs to work around movement, cleaning and drying time. Tables should allow safe circulation between carving and printing, and the ink station must stay separate from food areas, water bottles and backpacks. A hall works well when classes are large, though a classroom can feel better for smaller groups that need calmer supervision.
For relief printing, a simple layout works best. One side for dry work, one side for wet work, and a final area for drying prints on racks or flat boards. If the session includes a press, the floor should be level and the path clear so learners do not squeeze around heavy equipment. A teacher or staff member can help keep the group moving at a steady pace.
- Keep carving away from the main exit path
- Set drying space before the first sheet is inked
- Use wipe-down covers where ink may spread
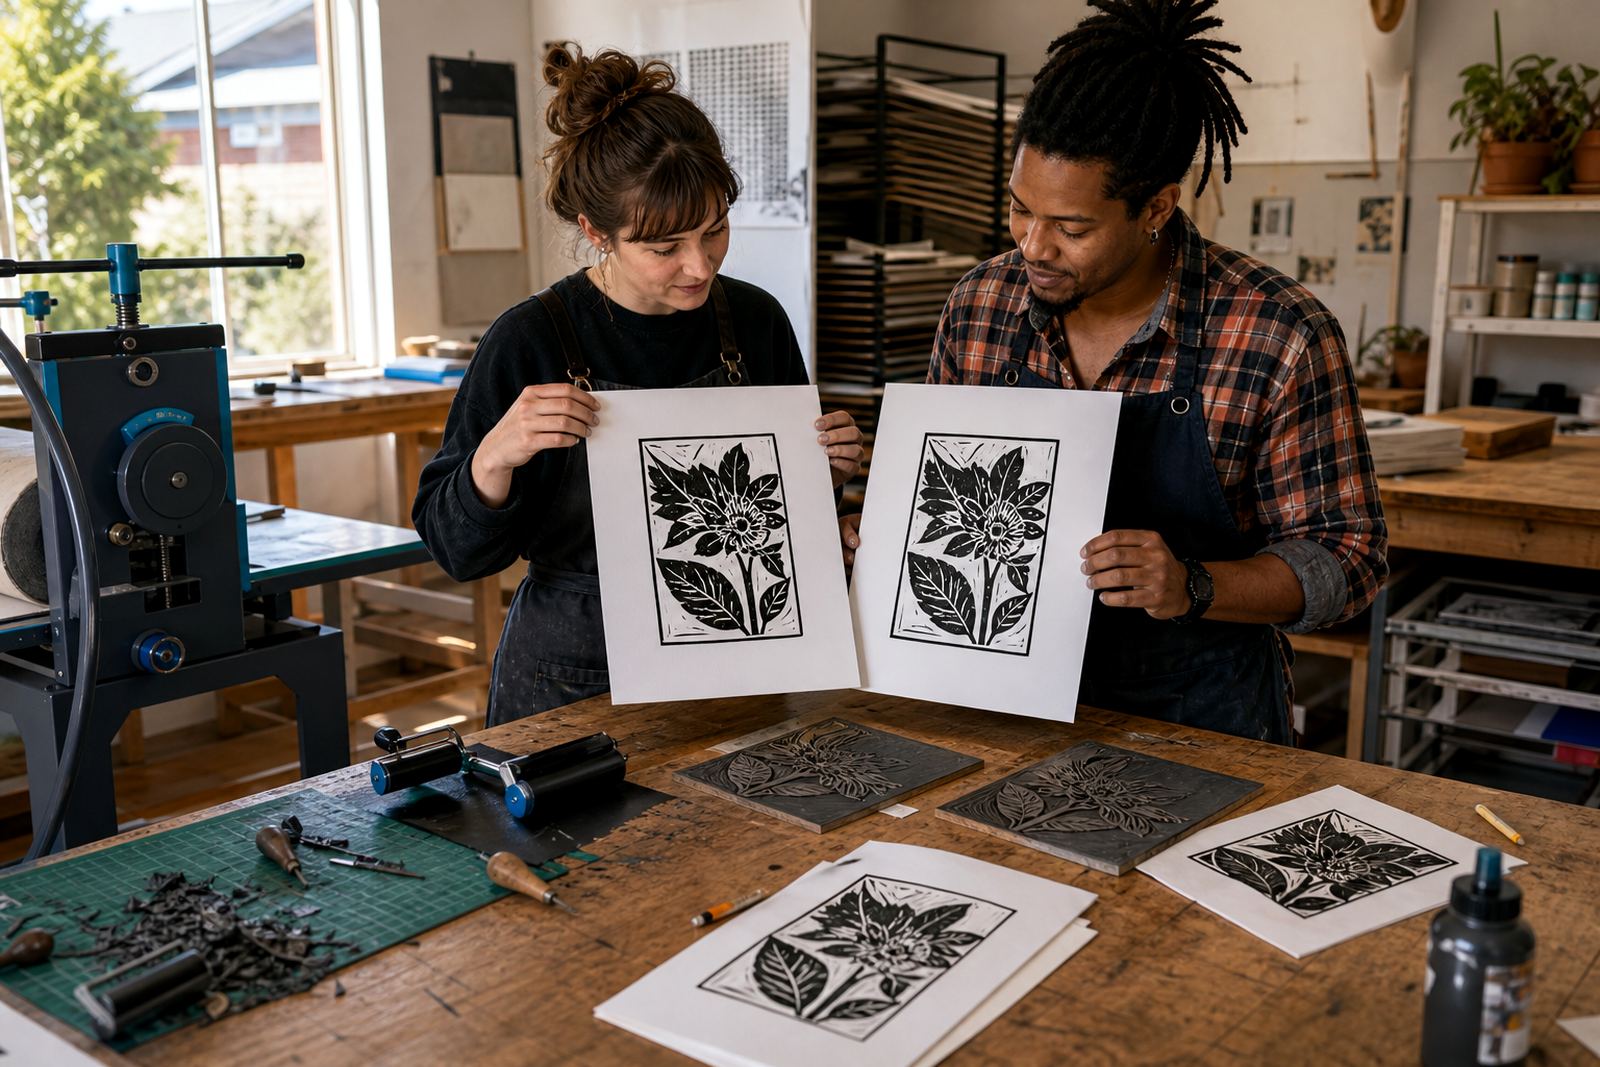
- Keep sample prints where everyone can see them
Where school groups usually slip up
The most common mistake is asking learners to carve too much detail on the first pass. Fine marks can break away, especially in soft blocks, and that leaves a weak print. Another issue is overloading the brayer with ink, which fills the carved areas and flattens the line. A lighter roll often gives a cleaner result.
Some classes rush the first print and skip test pulls. That usually leads to uneven pressure, blurred edges or a block that needs trimming after the fact. Registration also gets missed when groups want more than one colour. A small pencil mark or guide strip saves time and keeps the edition orderly.
- Too much detail for a first block
- Ink applied too thickly
- Paper moved after placement
- Not enough drying space between pulls
Budget ranges that schools often work with
Costs depend on group size, travel, venue setup, the length of the session and whether materials are supplied for every learner. A short introductory class for a small group may sit in the lower range, while a full school programme with blocks, inks, paper and setup support moves higher. When a press is included, the budget changes again because transport and handling need extra care.
For planning purposes, many school briefs fall somewhere between R6 500 and R18 000, while larger multi-class visits or venue-led workshops can sit above that. If the session includes multiple grades, teacher support notes, or a print finish stage, the budget will reflect the added preparation and material use. Paper choice, edition size and travel between towns can also shift the figure.
Schools in Woodstock, Bellville, Stellenbosch, Somerset West, Johannesburg, Pretoria and Durban often work around the same practical questions: how many learners, which tools, how much paper, and whether the class needs a hand-printing demo, a press or both.
A school brief that travels well
HandPrinter Art runs school pop-up workshops from Woodstock, Cape Town and brings the format to halls, art rooms and event spaces across South Africa. The team can shape the class for younger learners, senior students or mixed-age groups, with Thandeka Mthembu guiding the overall direction, Jason Majola leading the workshop flow, Leanne Phiri coordinating the studio side and Sibusiso Kajee handling print technique details.
For schools, the strongest sessions keep the process clear and the equipment simple. Relief printing works well in a group because each learner sees the same sequence, yet ends with a print that feels personal. That mix of structure and individual mark-making is what gives the class its value.
- Suitable for one class or a larger hall group
- Works with beginner or mixed-skill learners
- Can include teacher skills support on request
- Can be paired with a venue setup service