What teacher groups usually need from a print session
A teacher group often comes with a very clear brief: learn the process, judge what is safe for learners, and see how much can be done in one class period. That usually means a session that covers carving, inking, registration and printing without pushing the group into technical detail that is hard to carry back to a classroom.
We work with adults who teach art and with staff who only need a practical introduction. A good session gives them enough understanding to plan with confidence, whether the aim is a single wet ink print, a small edition, or a short skills day before a school project.
- Primary and high school teachers wanting a usable classroom exercise
- Heads of department planning a term project with limited equipment
- Staff teams that need a shared method for supervision and safety
- Teachers preparing for art clubs, holiday programmes or outreach days
The tools that matter in a school print set-up
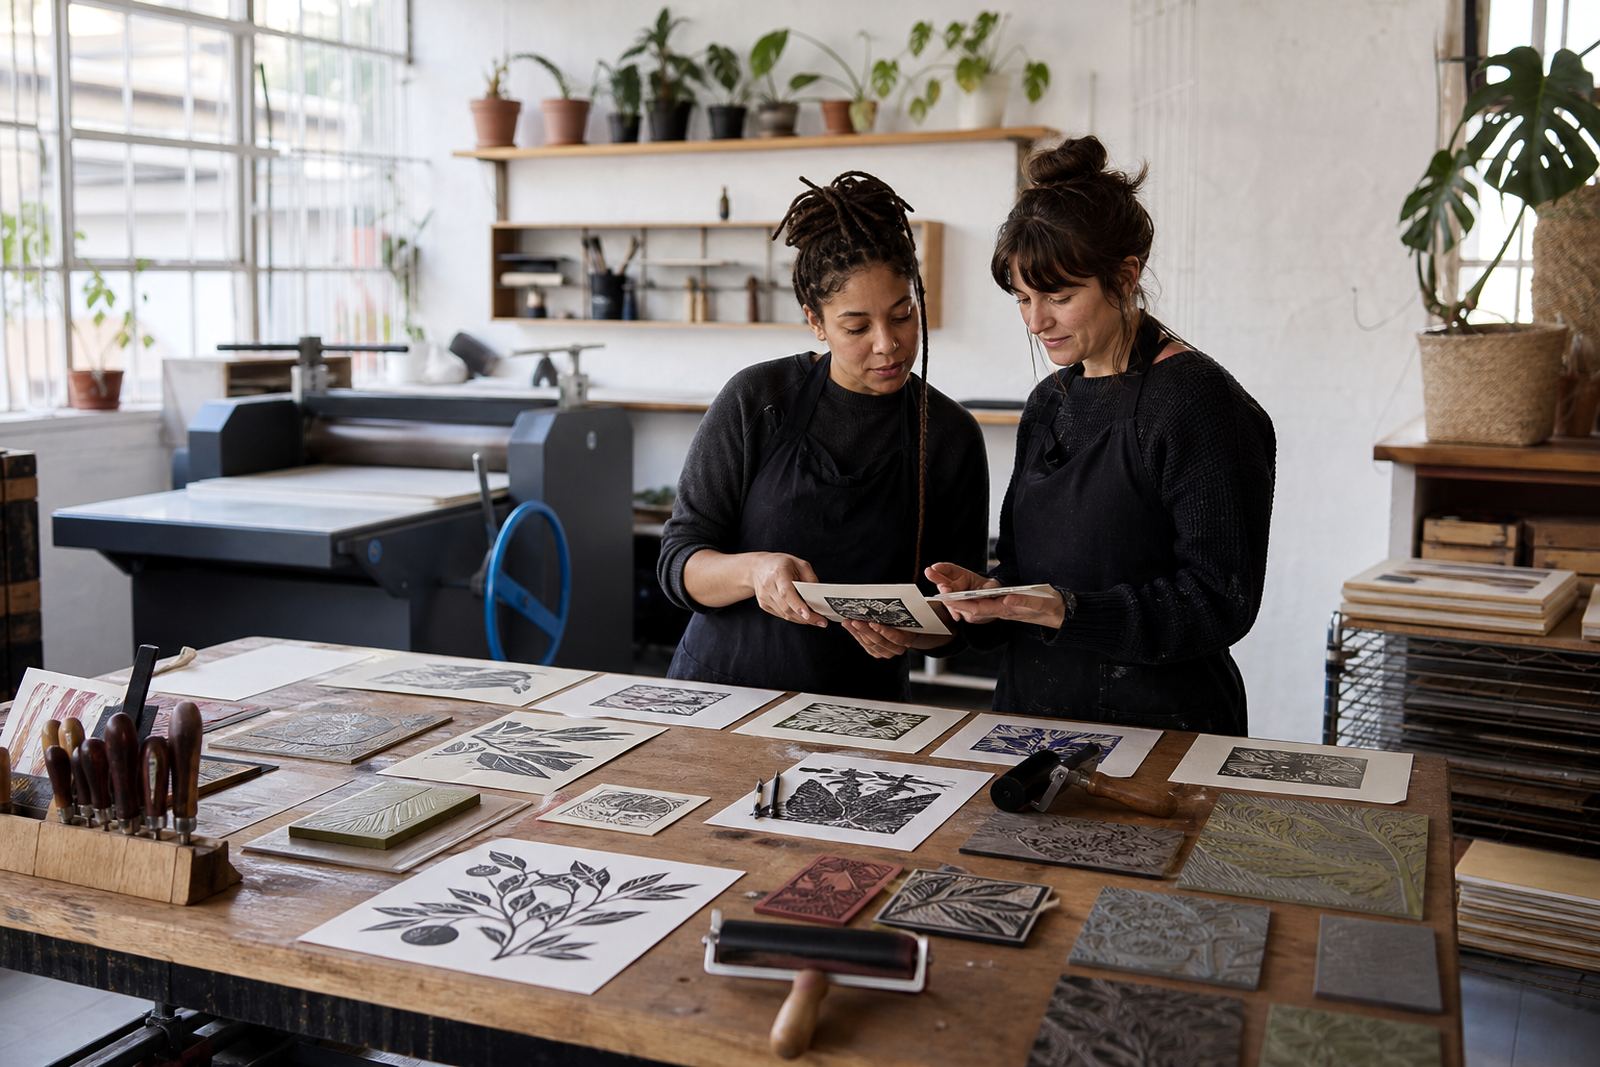
Most teacher workshops use the same core equipment that later appears in school sessions. The block is usually lino or soft-cut rubber, chosen for the age group and the time available. Lino gives a cleaner edge and more resistance under a V-tool, while soft-cut material is kinder for first-time users and younger groups.
We show gouges, V-tools, brayers, barens, trays for water-based ink, clean-up cloths, and papers that take a print well without buckling too badly. Some schools prefer water-based ink because it is easier to manage in a classroom. Others want to understand oil-based block ink for richer colour and a slower working time. The choice depends on the room, the cleaning routine and the level of supervision.
Press printing can be demonstrated too, though many schools work mostly by hand. A simple press is useful for consistency, but a baren and steady pressure can produce excellent results for smaller classes.
- Lino for cleaner cutting and firmer control
- Soft-cut for safer first exercises and younger learners
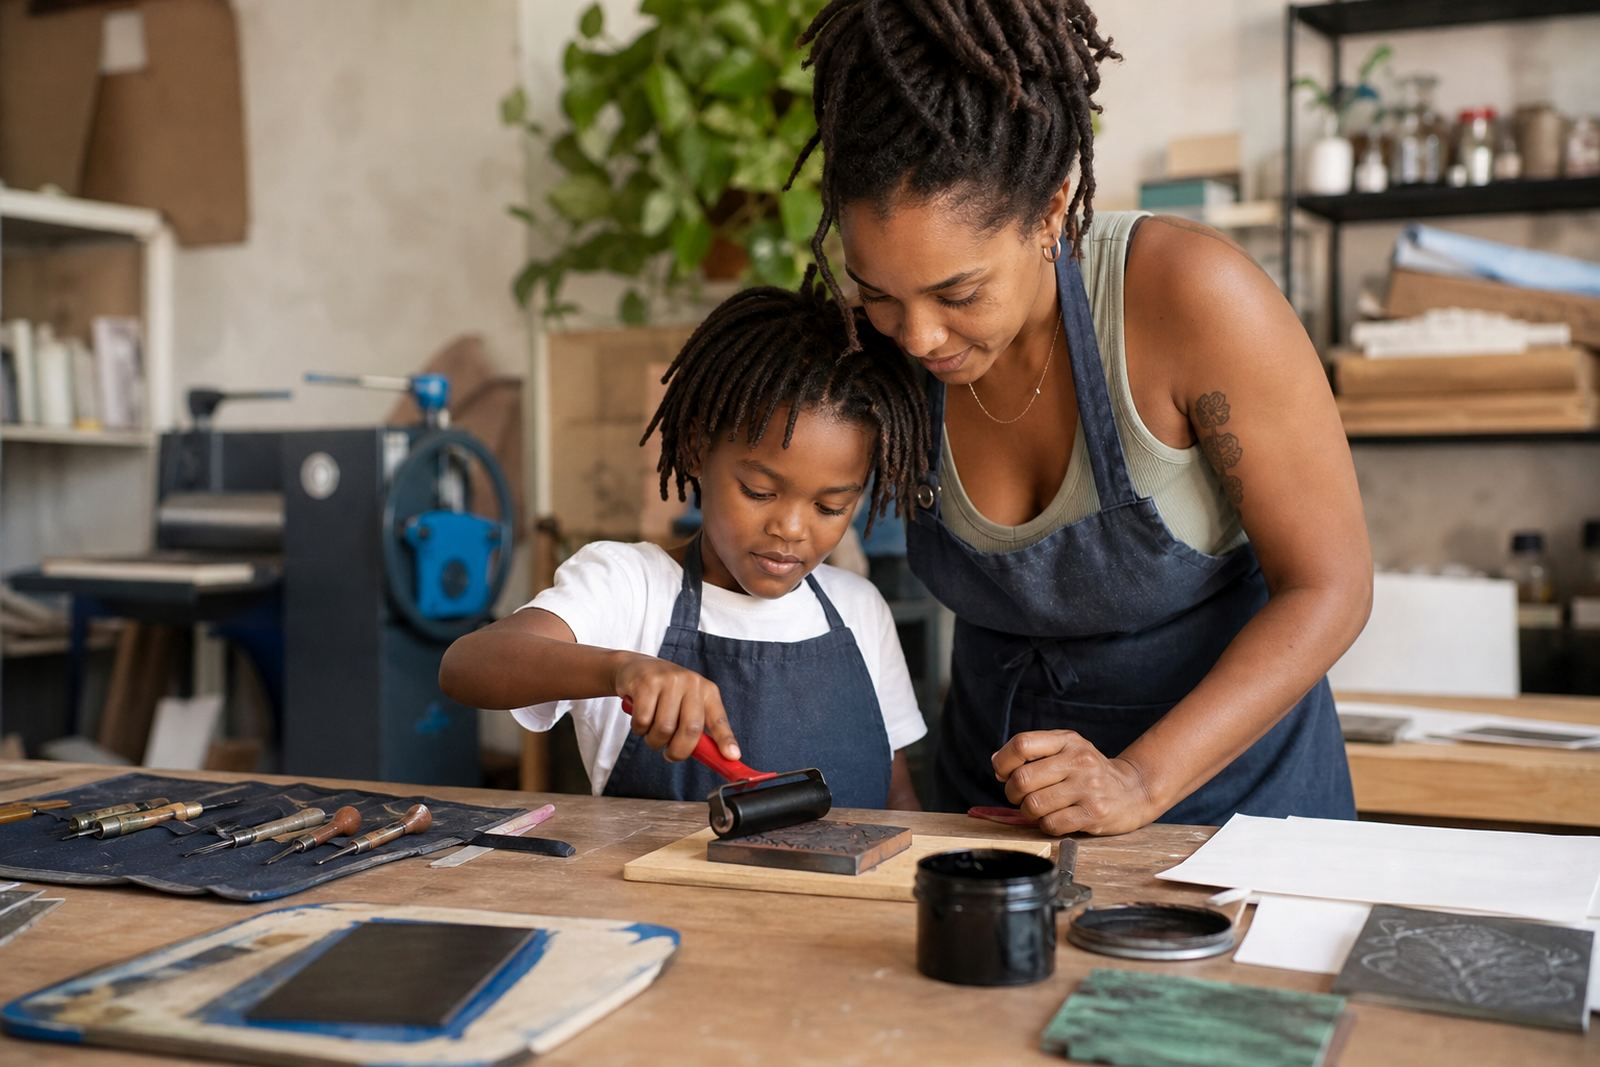
- Brayers for even inking without flooding the block
- Barens or hand pressure for print transfer
- Paper types matched to the ink and the class length
Safety, carving habits and supervision points
Teacher groups usually want the safety talk to be plain and realistic. A block-print class is easy to supervise with a clear carving routine. Hands stay behind the cutting direction, the block rests on a stable surface, and the tool is always used with controlled pressure. Short strokes are safer than trying to force a long cut in one movement.
We also cover how to move a class along without crowding. Tool sharing can work well if the group is divided into carving, proofing and inking stations. That keeps the sharp tools in one zone and allows teachers to manage quieter learners, left-handed cutters and anyone who needs more time with registration or paper handling.
- Keep tools down when someone is walking between tables
- Use separate trays for wet and dry materials
- Label blocks clearly so test prints do not get mixed up
- Build in a clean surface for papers and finished editions
How a classroom layout can make the day easier
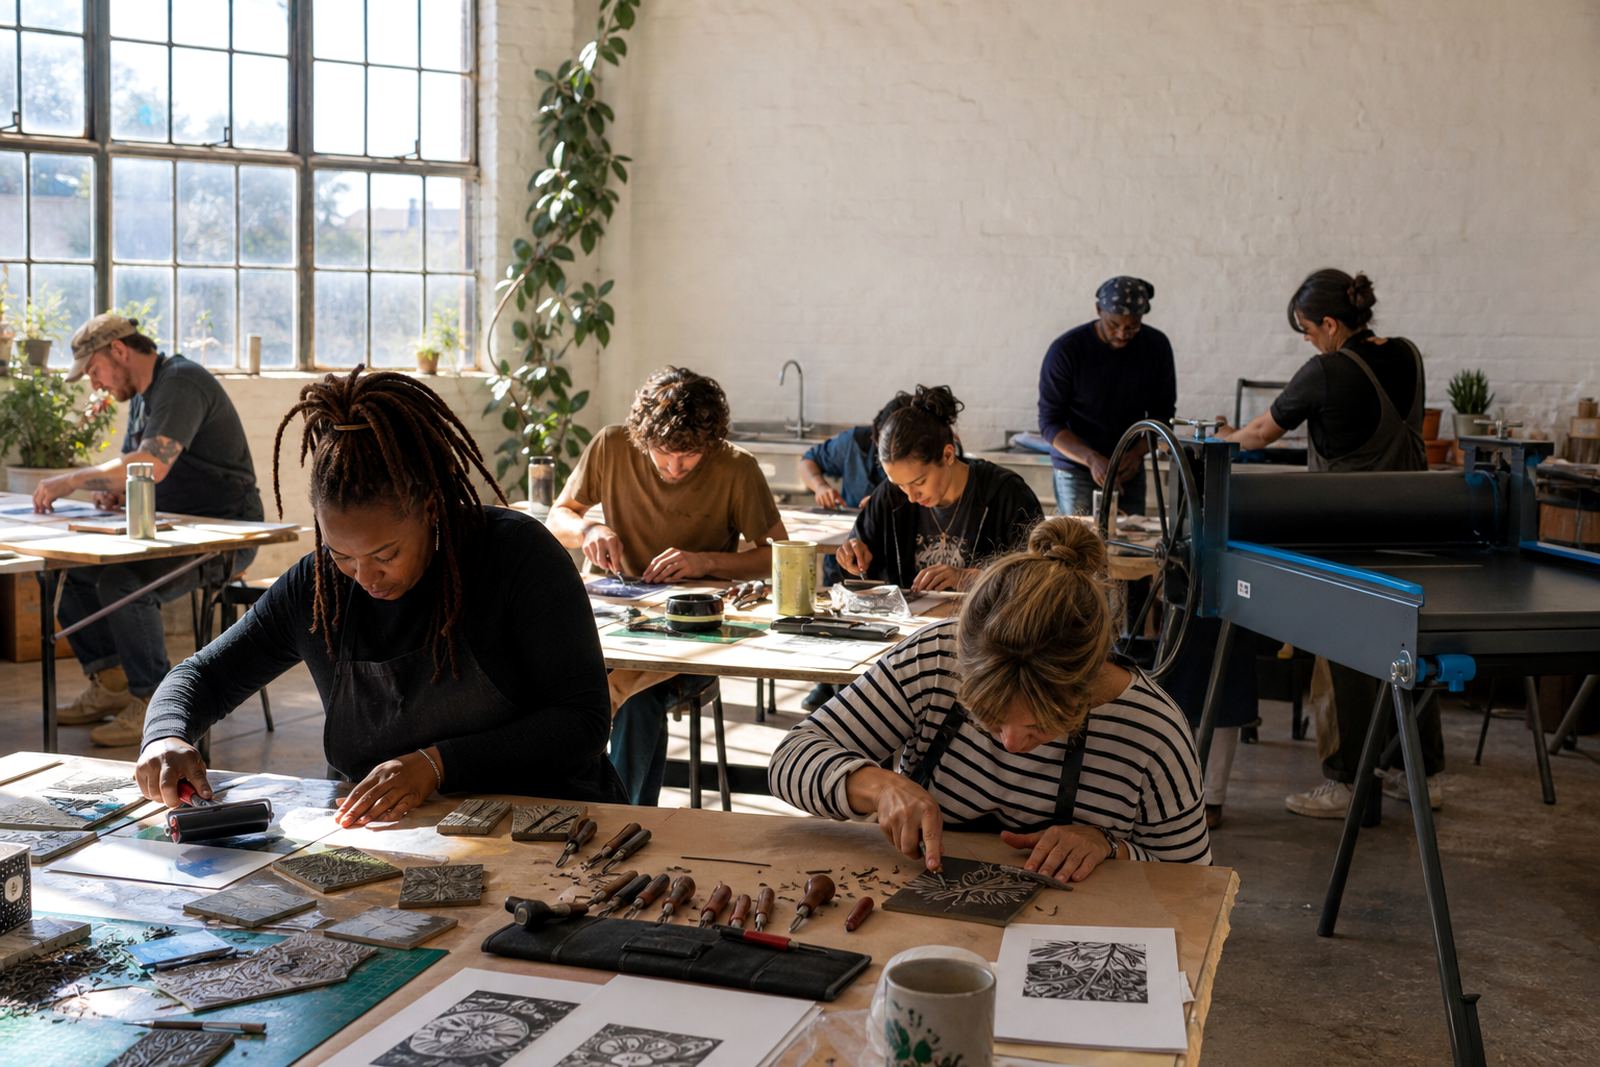
A school room works best when the print process is split into clear stations. One table can hold design sheets and block tracing, another can carry carving tools, and a third can manage inking and printing. If the room is small, the same table can be used in stages, but the order matters. Wet paper should never sit next to a carving area, and ink trays need space away from jackets, bags and lunch crumbs.
For teachers, planning often centres on movement, timing and cleanup. We speak about what fits on each table, how many learners can handle one block safely, and how to keep a lesson moving when one group finishes early. In a larger venue, a press can sit in a fixed corner, while the hand-print area stays near sinks or cleaning space. In Cape Town and nearby towns, that kind of planning matters in community halls, school art rooms and borrowed venues alike.
For visiting sessions across South Africa, we also look at what the room already has. Chairs, wiping space, drying racks and floor protection all affect how smoothly the class runs.
Common mistakes teachers run into with first print lessons
The biggest mistake is usually loading one lesson with too much. A block print has stages, and each stage needs time. If the design is too detailed, the carving slows the class down. If the paper is too thin, it wrinkles under ink. If the image is not planned for reversed printing, text and direction marks can surprise the group.
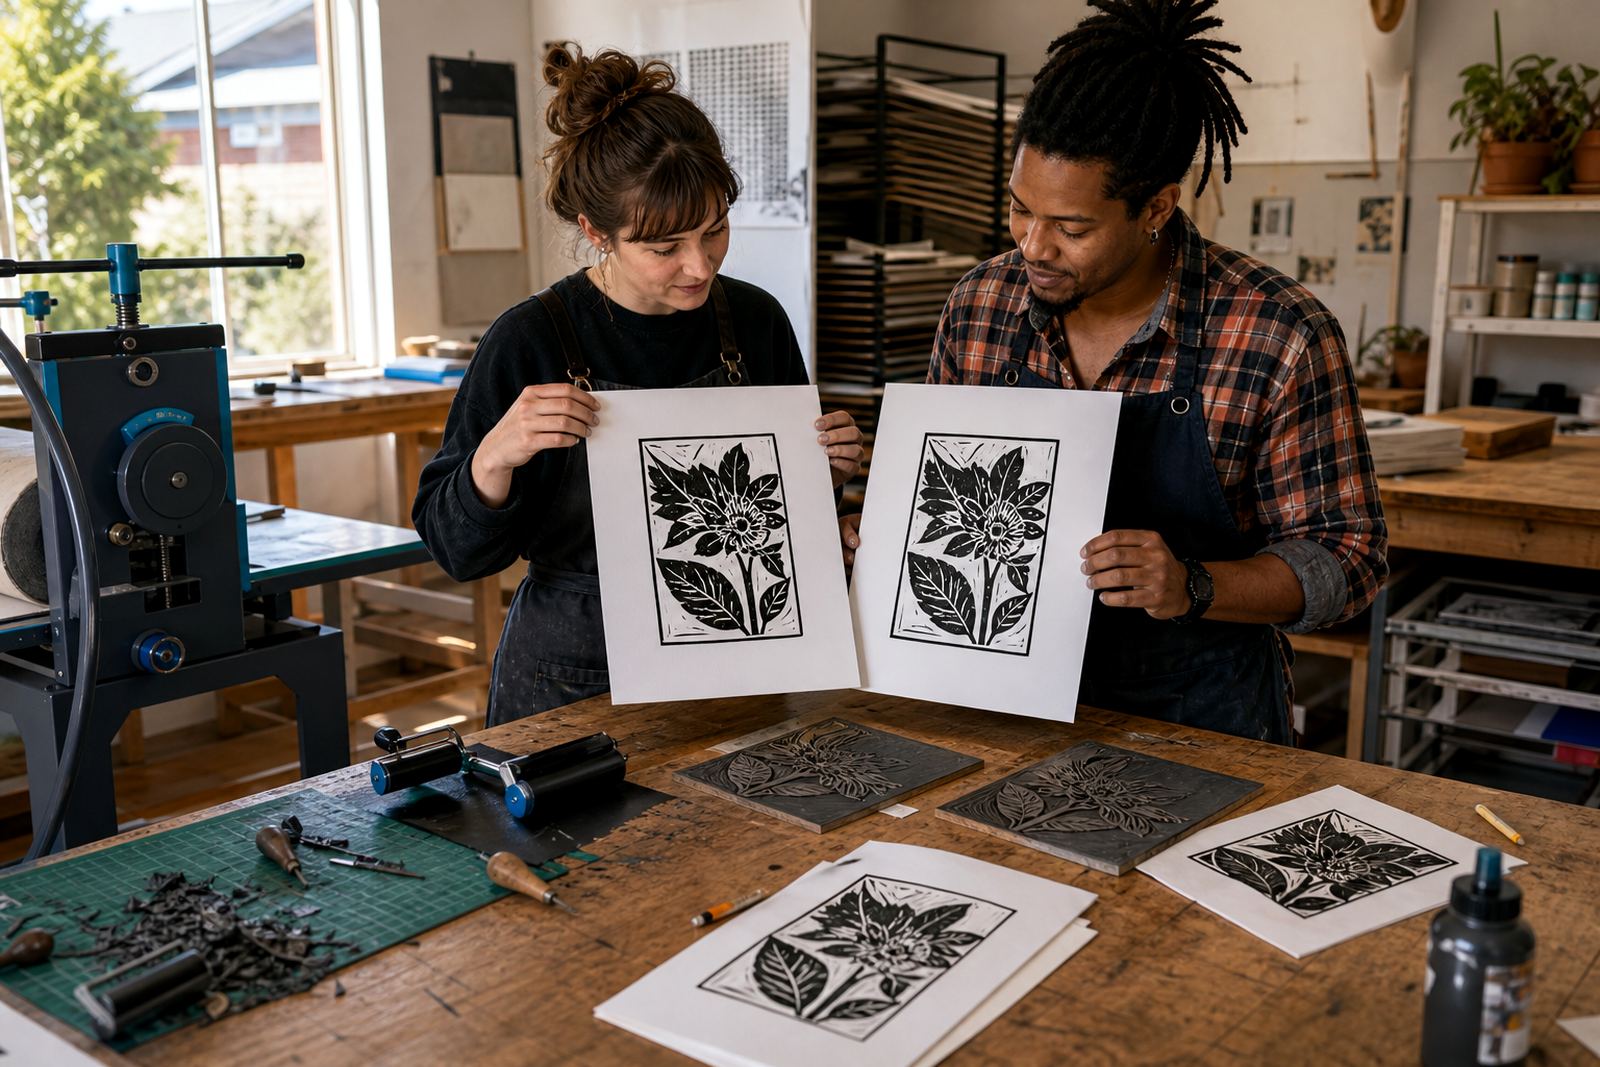
Another common issue is over-inking. New printmakers often load the brayer too heavily, then wonder why the line work fills in. Registration can also be overlooked, especially when learners want to make a small edition. A simple corner guide or pencil mark helps keep each sheet in the same position. Teachers also benefit from knowing that an imperfect first print is still useful. Clear shapes, good contrast and a sensible pace work best.
- Too much detail in the first block
- Paper that curls or tears under pressure
- Ink layers that are too heavy for fine line work
- Poor registration when making more than one print
- Trying to cover carving, inking and finishing in one tight period
Budget ranges for teacher workshop planning in Rand
Teacher groups usually budget in layers. A short skills session for a small staff group costs differently from a full school programme with materials, setup and multiple classes. The main factors are the number of people, whether blocks and tools are supplied, whether the session is on our studio floor or at your venue, and how much consumable stock is needed for ink, paper and cleaning.
For planning, it helps to work with a range instead of one fixed figure. A modest teacher introduction with limited materials sits at the lower end. A larger programme with equipment demonstrations, custom papers and more printing time moves higher. Venue setup, travel across Gauteng, the Western Cape or KwaZulu-Natal, and extra consumables all affect the final budget. Schools in Woodstock, Bellville, Somerset West, Stellenbosch, Johannesburg, Pretoria and Durban often compare the cost of a staff-only session with the value of a fuller learner rollout.
When the brief includes a teacher handover, a safer block choice, or a print demo for several grades, the budget needs a little more room. That is normal. The useful questions are what the session costs and what teachers can realistically repeat with their own learners afterwards.