A family session that keeps everyone making
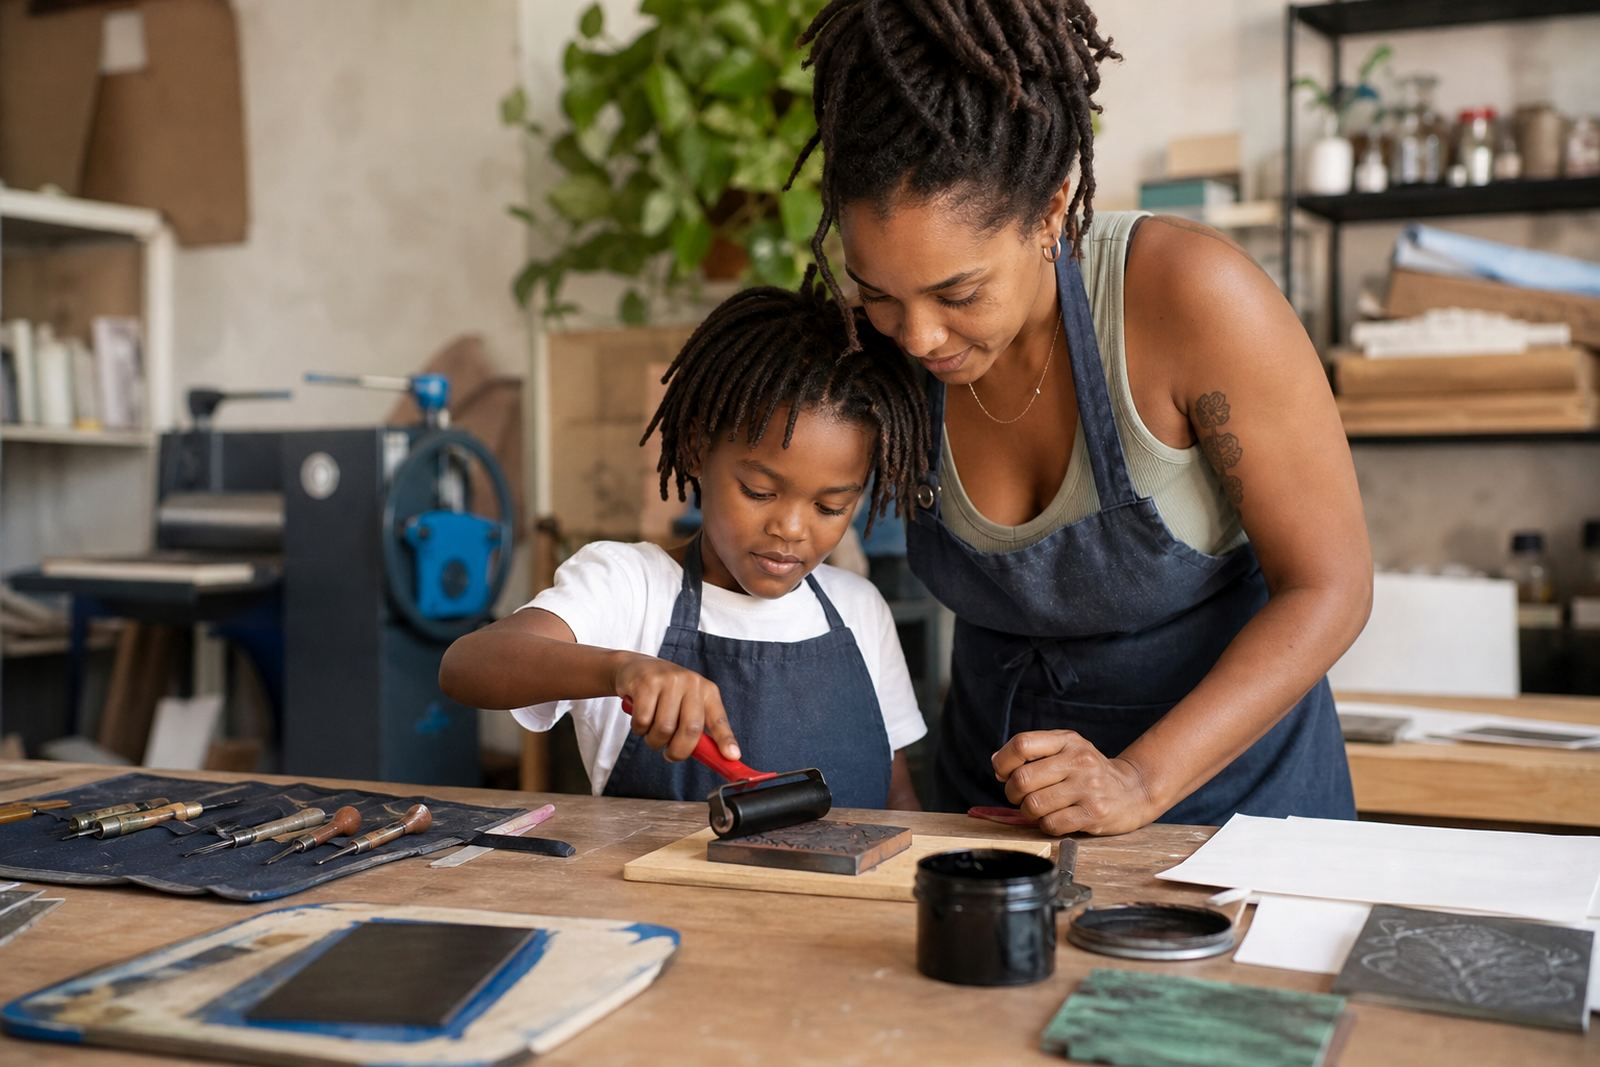
A good family print session gives each person a proper part in the process. One child may sketch the image, another can ink a plate, while an adult handles firmer carving or helps with registration, and everyone gets to see how a single design turns into a small edition of prints.
For younger children, softer blocks are easier to handle and kinder on small hands. Older children, students and adults can work with lino and sharper gouges for finer marks. The rhythm matters too, because printmaking moves from drawing to cutting, then inking, then pulling the print and checking the result before the next sheet goes through.
Family groups usually do best when the subject is simple and familiar, such as animals, initials, leaves, a street view or a holiday memory. That keeps the carving manageable and leaves enough time for clean inking, decent pressure and a few test pulls before the final edition.
Tools that belong on the table
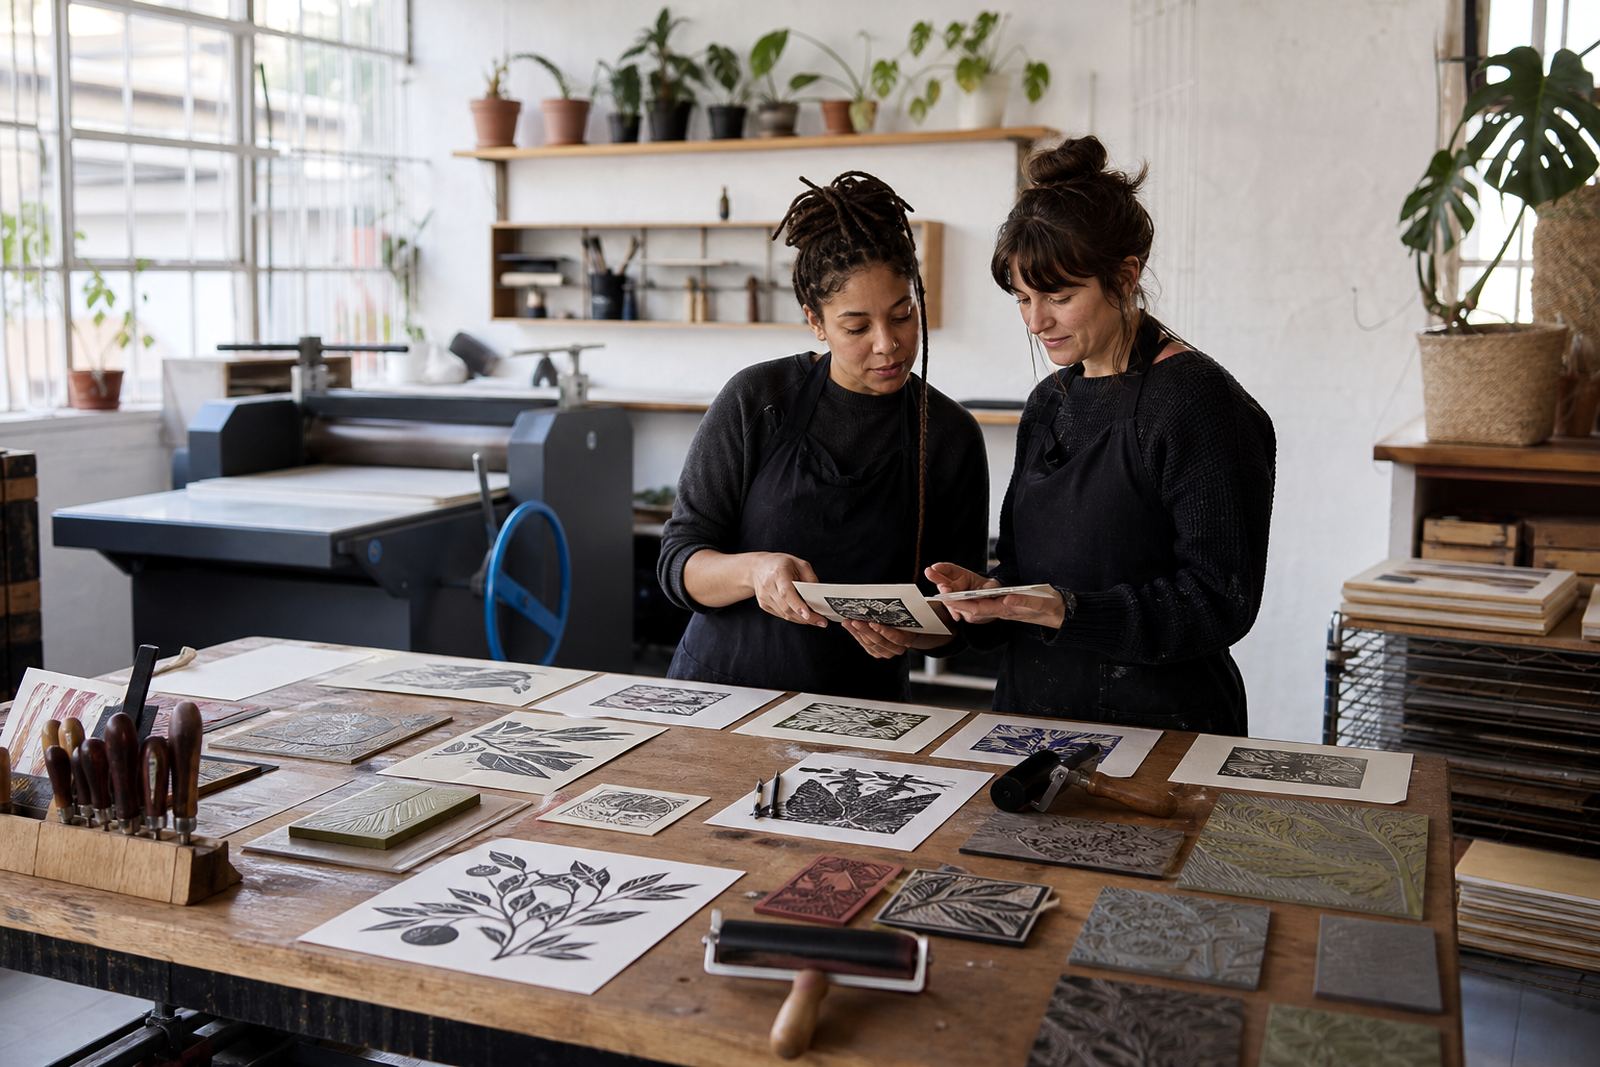
The usual set for a family workshop is modest but specific. Blocks can be soft-cut or traditional lino, with V-tools and gouges for carving lines, edges and small texture. Brayers spread the ink across the block, while a baren or press can transfer the image onto paper with steady pressure.
Water-based inks are often best for mixed-age groups because they are easier to manage at the table and simpler to clean up. Oil-based block inks have their place for deeper colour and certain papers, though they call for more care around handling and cleaning. Good paper matters, because a smoother sheet gives a clearer print while a heavier sheet can carry stronger pressure and richer layers.
- Soft-cut blocks for beginners and younger family members
- Lino for sharper lines and more detailed carving
- V-tools and gouges for safe, controlled cuts
- Brayers for even ink coverage
- Baren or press printing for the final pull
- Paper chosen for the ink and the level of pressure needed
How the room gets set for mixed ages
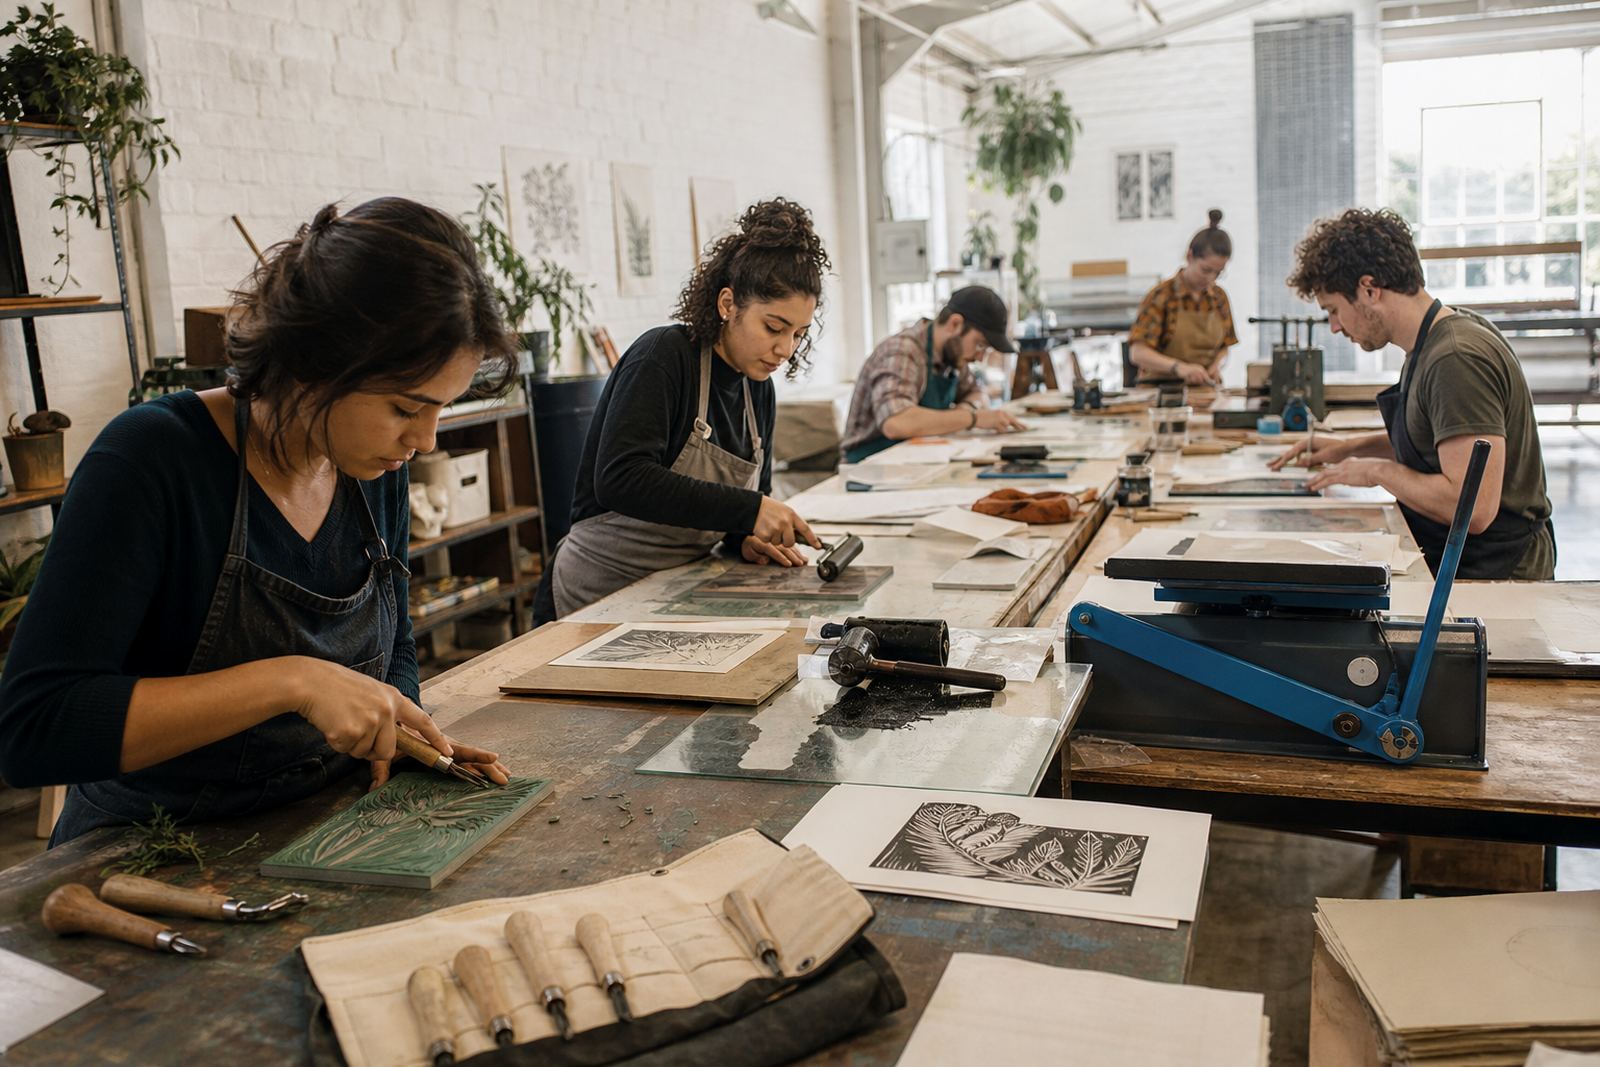
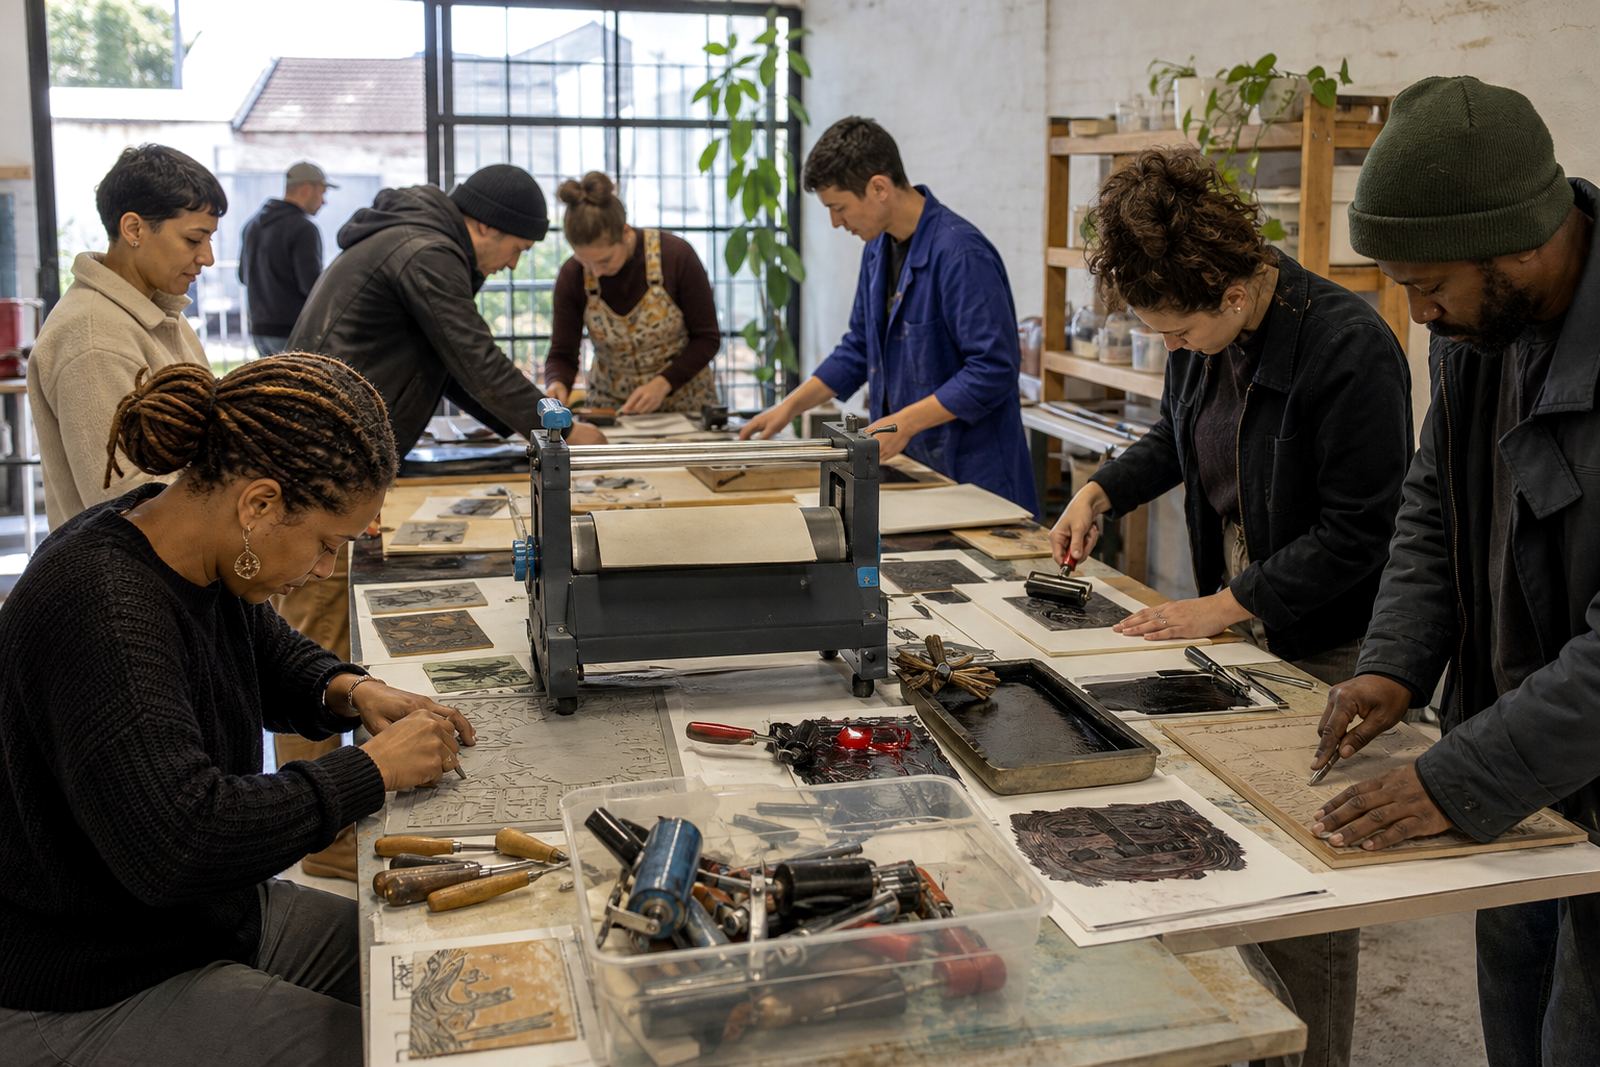
Family printing works best when the table plan is clear before the first cut. Each person needs enough room for a block, a sketch, a cutting cloth and a place to rest tools without crowding the next seat. In a studio session the layout can be tight and tidy. At a school, venue or pop-up class, the table plan needs more margin so that children can move safely between drawing, carving and printing.
It helps to separate the activity into stations. One area can hold sketching and tracing, another the carving stage, and a third the inking and printing side. That keeps wet ink away from sharpened tools, and it also means the group can move in a natural order without everyone waiting for the same part of the table.
- Start with a simple image that prints well in one or two colours
- Keep tools clearly sorted so the wrong hand does not reach for the wrong tool
- Lay out extra paper for test pulls and proofing
- Leave space for drying prints before they are stacked or packed
- Use aprons or old shirts because ink finds fabric fast
Where family workshops tend to go wrong
A frequent slip is making the design too detailed. Tiny shapes, very thin lines and crowded patterns can disappear when a child is carving or when a family wants to finish in one session. Another problem is using too many colours too early. A two-colour print already asks for good registration, clean blocks and careful drying between layers.
Pressure is another point to watch. If the ink is too thin, the print looks pale and broken. If it is too heavy, the carved lines can blur. A rushed pull can also shift the paper and spoil the image. Family groups do better when they accept a few imperfect prints along the way and treat those as part of the learning.
For mixed ages, safety needs plain rules. Cutting always happens away from the body, blocks stay flat while carving, and tools are passed hand to hand only when the person on the receiving side is ready. That may sound basic, but it is what keeps the workshop calm when grandparents, children and parents are all sharing the same table.
Family session prices in rand
Family printing budgets depend on group size, where the session takes place and whether the class includes a full studio setup or a pop-up visit. A small private family workshop with basic materials usually sits in a lower band, while a larger group, a venue setup or a session with more paper, ink and extended assistance moves into a higher one.
As a working guide, a compact family session may sit around R1,200 to R2,500, with more involved sessions ranging from about R3,000 to R7,500 or more when extra materials, travel, table setup and print finishing are included. Final costs usually depend on how many people print, how many editions are pulled, and whether the group wants a press demonstration or a more hands-on carve-and-print format.
If the family wants to keep costs steadier, a single block design, one ink colour and a short print run are the easiest controls. Paper choice also matters, because heavier paper and larger sheets lift the material cost.
When a family session needs a steadier hand
Some families arrive with children who have never used carving tools, while others want a more focused print class with older learners. HandPrinter Art can shape the session around that mix, from beginner carving to inking, registration and edition printing. The result is usually best when the goal is clear from the start: make one strong image, print a useful edition and leave with enough understanding to try the method again later at home or in a studio.
For families in Cape Town, Stellenbosch, Johannesburg, Pretoria or Durban, the same practical rules still apply. Keep the design readable, keep the tools suitable for the age mix, and keep the pace slow enough for careful cutting and clean pulling. When that balance is right, the finished prints feel personal, not rushed, and each person can point to a part of the process they handled themselves.