Club sessions that move from first cut to a finished edition
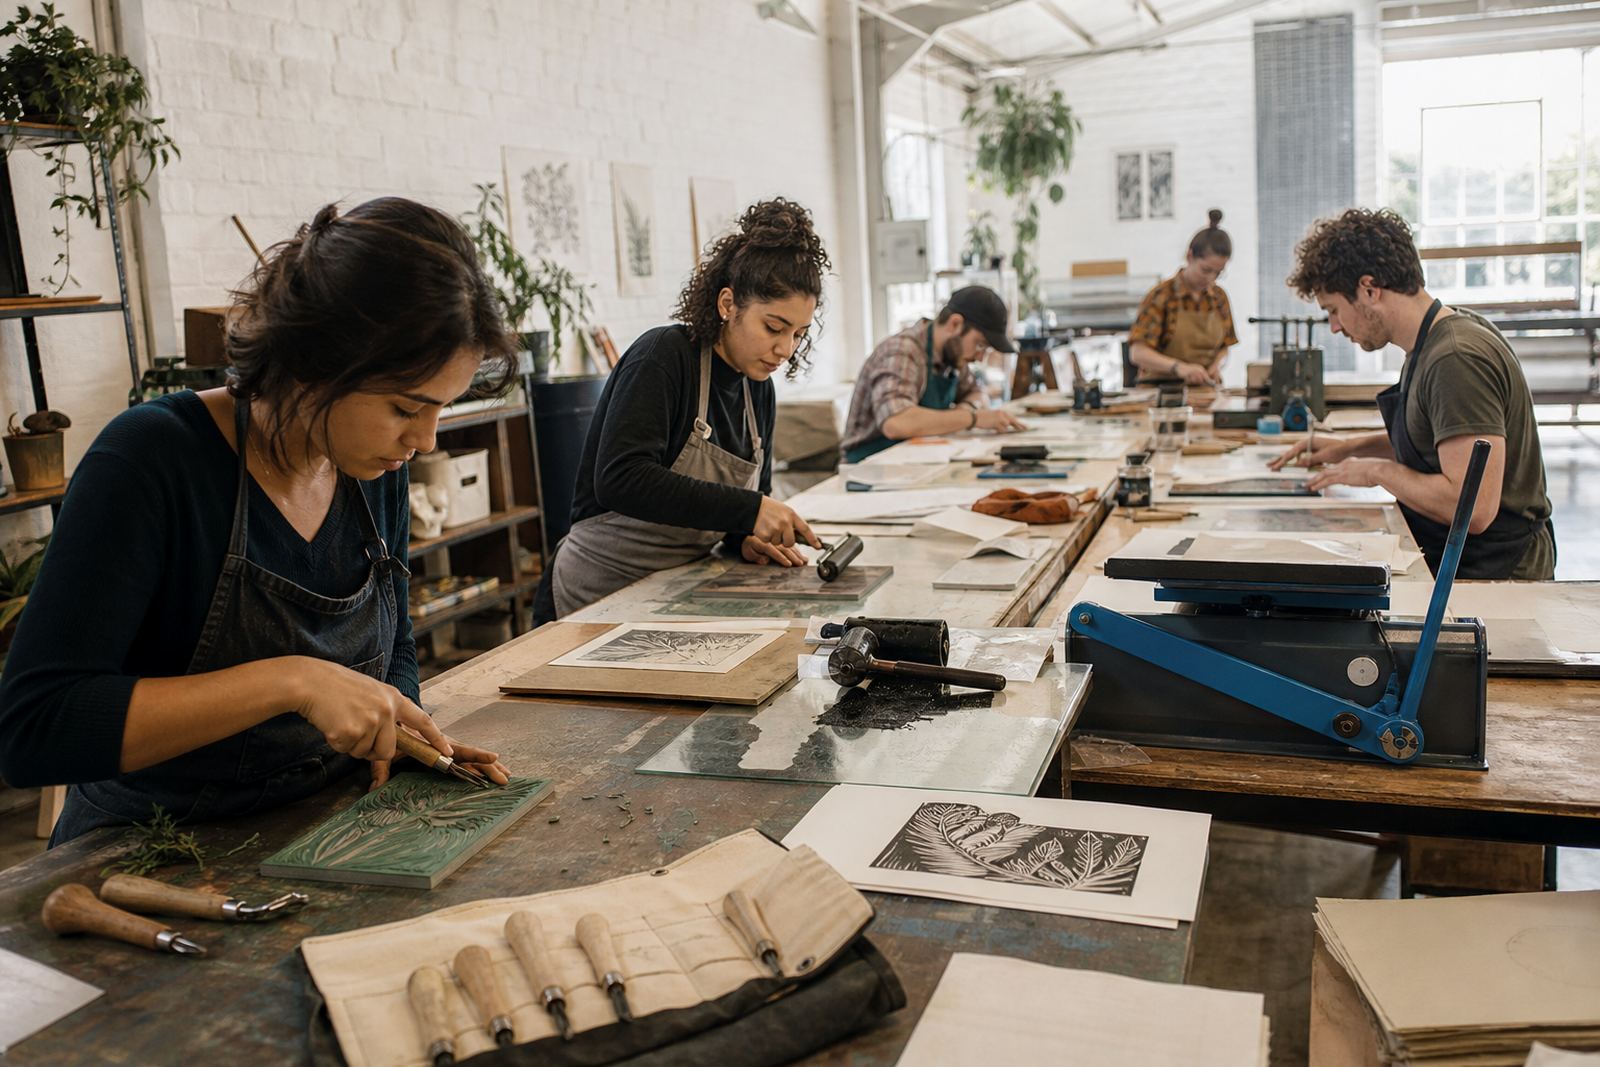
An art club usually needs a format that suits mixed confidence levels, different ages, and a room that may double as a classroom or meeting space. Our club sessions are set up around repeat making: first planning a design, then transferring it to a lino or soft-cut block, carving with gouges and V-tools, and moving on to inking, registration, and printing by hand. The group can work toward one shared theme or each person can build a personal image with the same process.
For clubs in Woodstock, Bellville, Stellenbosch, Somerset West, Johannesburg, Pretoria or Durban, the practical question is usually time and pace. A shorter session can focus on safe carving and a single proof print, while a longer run allows each member to pull an edition, compare results, and learn how slight changes in pressure or ink load alter the final print. That rhythm suits clubs that meet weekly or monthly, because the process teaches repetition without becoming flat.
A useful kit for repeat printmaking nights
Most art club workshops work best with a clear set of tools that can be shared around the table. The essentials are simple but specific: soft-cut or lino blocks, marking pencils, carving tools with protected handles, brayers for rolling ink, flat inking plates, barens for hand pressure, newsprint for proofing, and heavier print papers for final editions. Depending on the session, we may also use a small press for cleaner transfers and for showing how pressure changes the printed surface.
- Blocks in a few sizes so members can choose a smaller or more detailed image
- Gouges and V-tools for line, texture, and larger cut-away areas
- Water-based block inks for quicker studio cleanup
- Oil-based block inks when a richer body of colour is needed
- Registration guides, masking tape, and simple corner stops for repeated pulls
- Paper choices ranging from light practice sheets to stronger art papers
In a club setting, the goal is a simple table. Too many materials at once can slow the group and make the first session feel crowded. A lean kit with the right tools often gives better results than a pile of extras nobody uses.
Planning the room so carving stays calm and clean
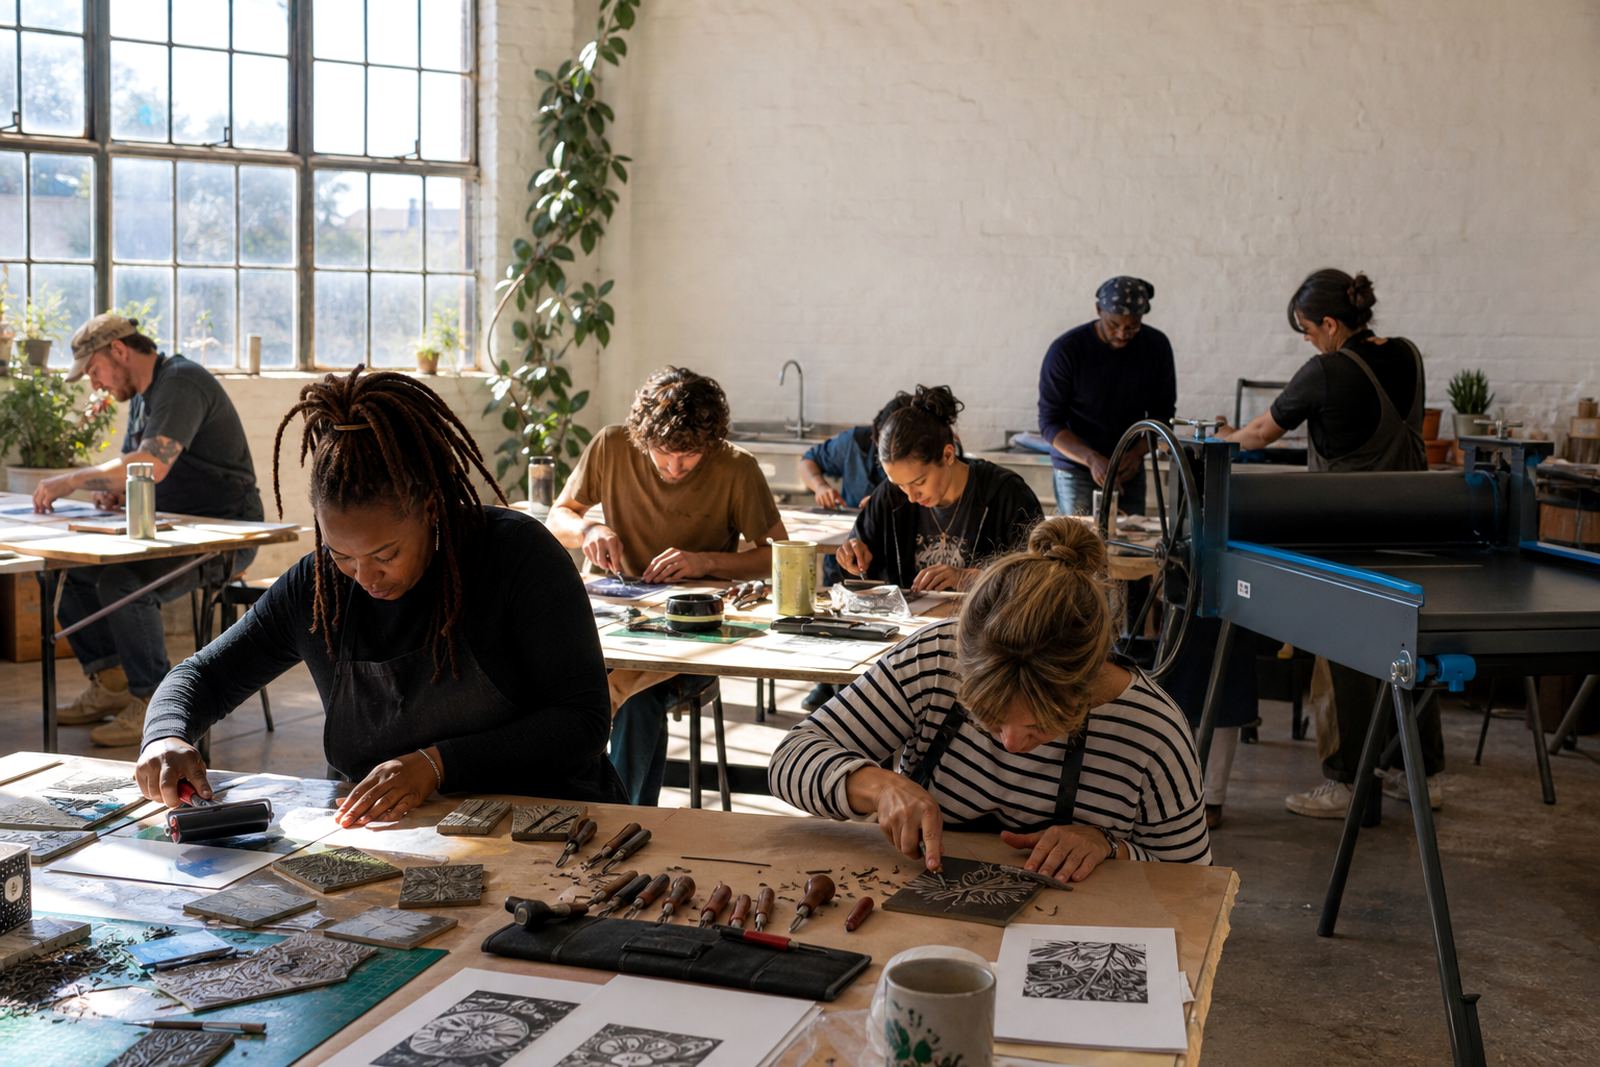
Layout matters more than many people expect. Each participant needs enough elbow room for carving, a stable surface for inking, and a clear place to dry prints without smudging. If the club meets in a school hall, community room, gallery studio, or rented venue, tables should be arranged so the carving area sits apart from the wet-ink area. That small split keeps blocks, paper and hands from crossing too often.
We also plan for ventilation, handwashing points, and a simple drying line or flat-drying space. In Cape Town, coastal humidity can slow drying a little, especially with heavier papers and oil-based inks, so the timetable should leave space for that. The room needs order. A cluttered table makes accidents more likely, and linocut tools deserve steady handling.
- Keep carving faces away from the body and from other members
- Separate clean paper from inked blocks straight away
- Label edition sheets clearly before printing starts
- Set one area for proofs and another for final pulls
- Leave drying space that will not be bumped during pack-up
Common mistakes clubs make in their first print cycle
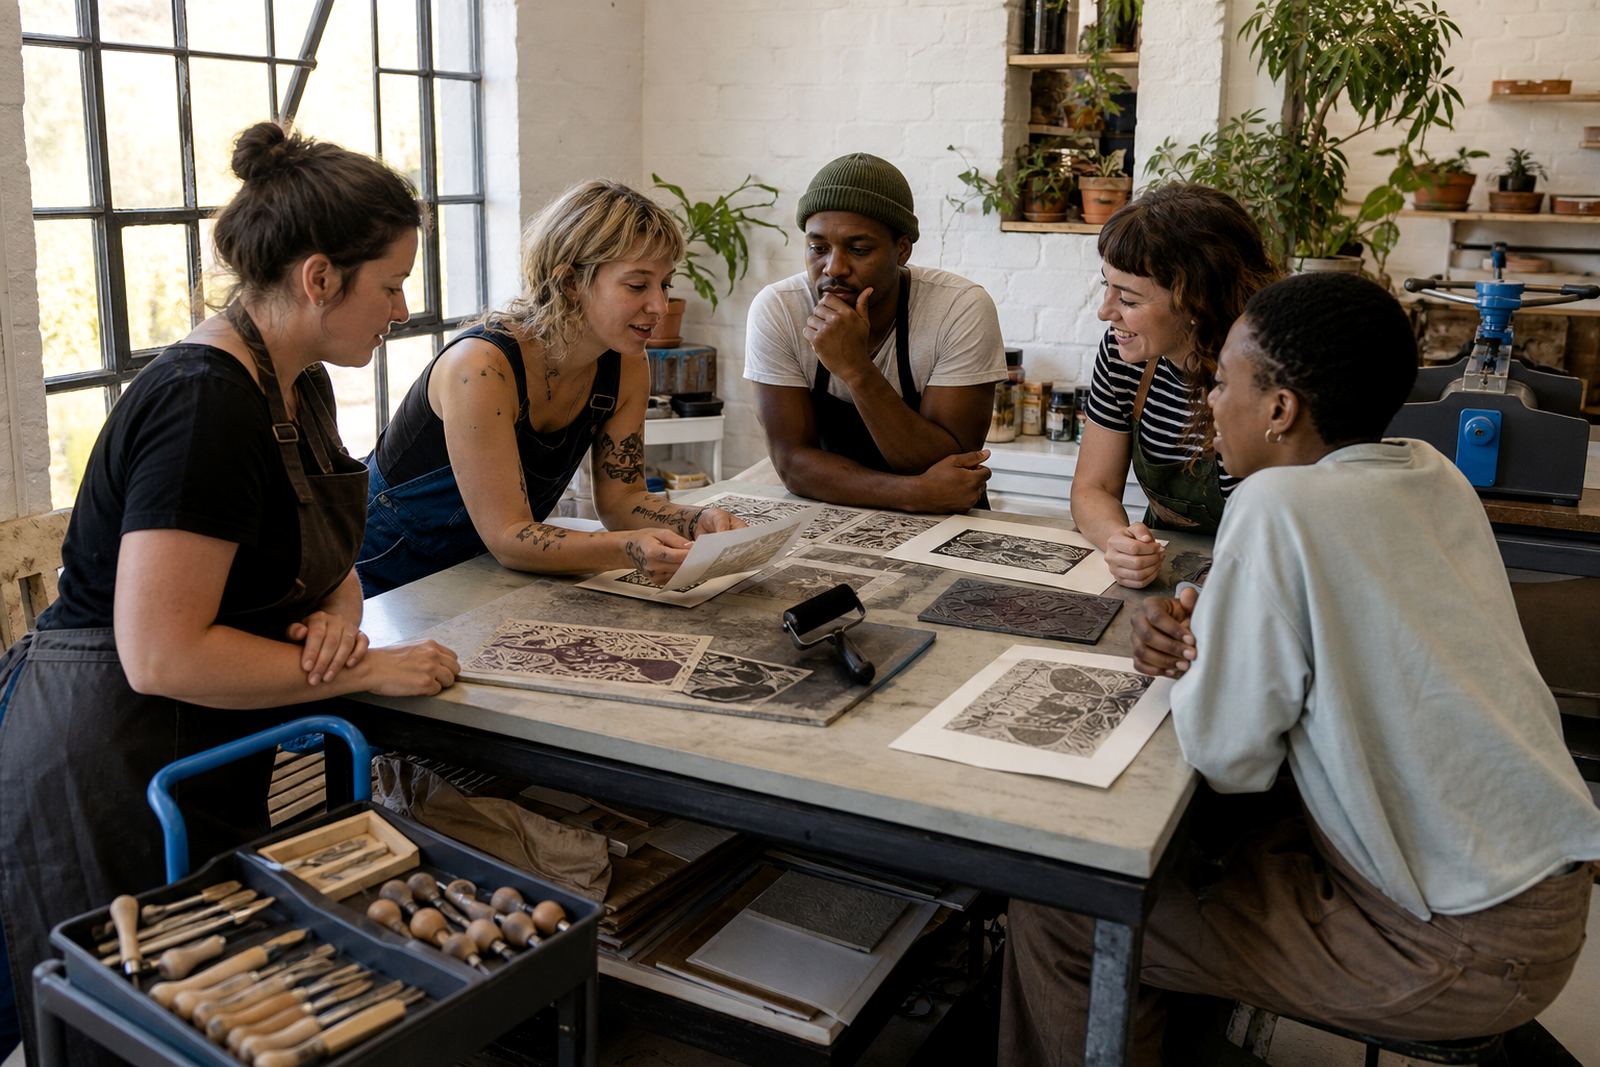
Art clubs often begin with strong ideas and then run into the same few problems. The first is over-detailing the block. Tiny marks that look fine on paper can disappear once carved, inked and printed, so a club image usually works better with bold shapes and firm line decisions. The second is rushing the proof stage. A proof tells you whether the block reads well, whether the pressure is even, and whether the image needs more cut away. Skipping that step usually means wasted paper and a lot of unsentimental corrections.
Another common issue is uneven ink loading. If the brayer carries too much ink, the print can fill in and lose line quality. If it carries too little, the image looks patchy. Registration also needs attention when a club plans more than one colour or a small edition. A few millimetres off is enough to make the print feel untidy, even if the carving itself is good. Clubs that learn these habits early usually get stronger results by the second or third session.
There is also the matter of pressure. Some members press too hard with a baren, others too lightly, and both can change the result in a way that is hard to read at first. A press helps show consistency, but hand printing teaches control in a more direct way. Both methods have their place in a club programme.
What a club can do with one theme across several sessions
A repeat programme works well when the club wants to build confidence over time. One session can be devoted to drawing and planning, the next to carving, then another to proofing, edition printing, and finishing. That format is useful for schools, after-hours clubs, university groups, and community art teams that want a body of work rather than a single workshop result. It also gives members time to adjust their image if the first pull feels too busy or too faint.
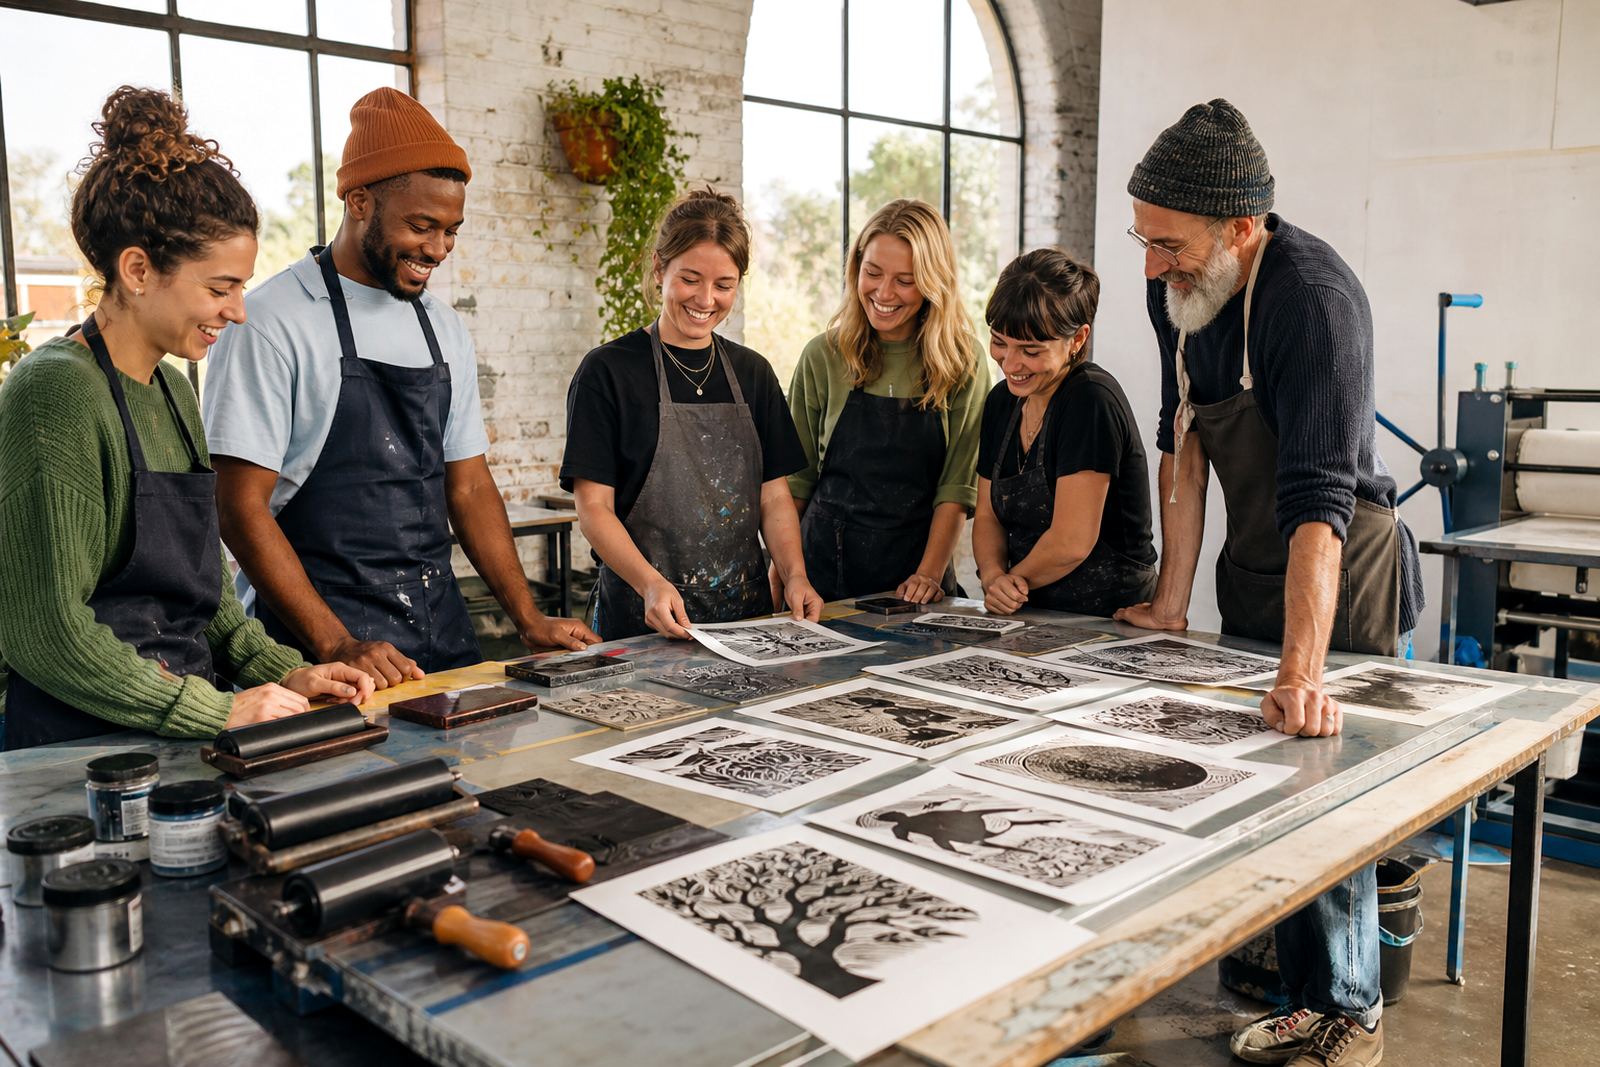
A club can choose one subject and vary the print outcome through line, scale, or colour. For example, the same block can be printed on different papers, with one colour ink, or as a layered edition with careful registration. Some groups prefer a shared collection where each member prints a related image. Others want one large club print assembled from smaller blocks. Both approaches work, but they need planning before the carving begins.
- Theme-led sessions help members compare technique across a group
- Edition printing introduces consistency and careful numbering habits
- Mixed paper weights can show how paper changes the print surface
- Teacher or club facilitator support can keep the pace steady
Budget ranges that suit club formats in Rand
Budgets for art club print workshops usually depend on group size, session length, materials, venue use, and whether the club wants a printed edition to keep. A small introductory session with shared materials will sit in a lower bracket than a multi-session programme with individual blocks, stronger paper, and a more detailed take-home finish. If a press, venue setup, or extra facilitator support is needed, that will also move the figure.
For planning purposes, clubs often look at a range rather than a single number. A compact group session may sit from about R2 500 to R6 000, while a fuller club programme with more materials and longer studio time can sit from about R7 500 to R18 000 or more, depending on the brief. These are working ranges, not fixed rates, because paper choice, ink use, and transport between Cape Town, Johannesburg, Pretoria, Durban or other towns can all affect the final plan. When a club is planning a run over several dates, it helps to separate the costs for tools, consumables, venue handling, and printed outcomes so the budget remains readable.
Clear numbers also help when the group wants a beginner-friendly option versus a more advanced edition print session. A short class is not the same as a club programme with repeated carving, multiple proofs, and a final drying plan, so the budget should reflect that shape from the start.