A touring group needs a tidy flow
Tour groups usually arrive with mixed interests, mixed ages, and not much spare time. A good session has to move cleanly from a short introduction into carving, inking, and printing without losing people who are new to studio work. In our Woodstock studio, or at a venue that can be set up properly, we keep the pace practical and the table layout simple.
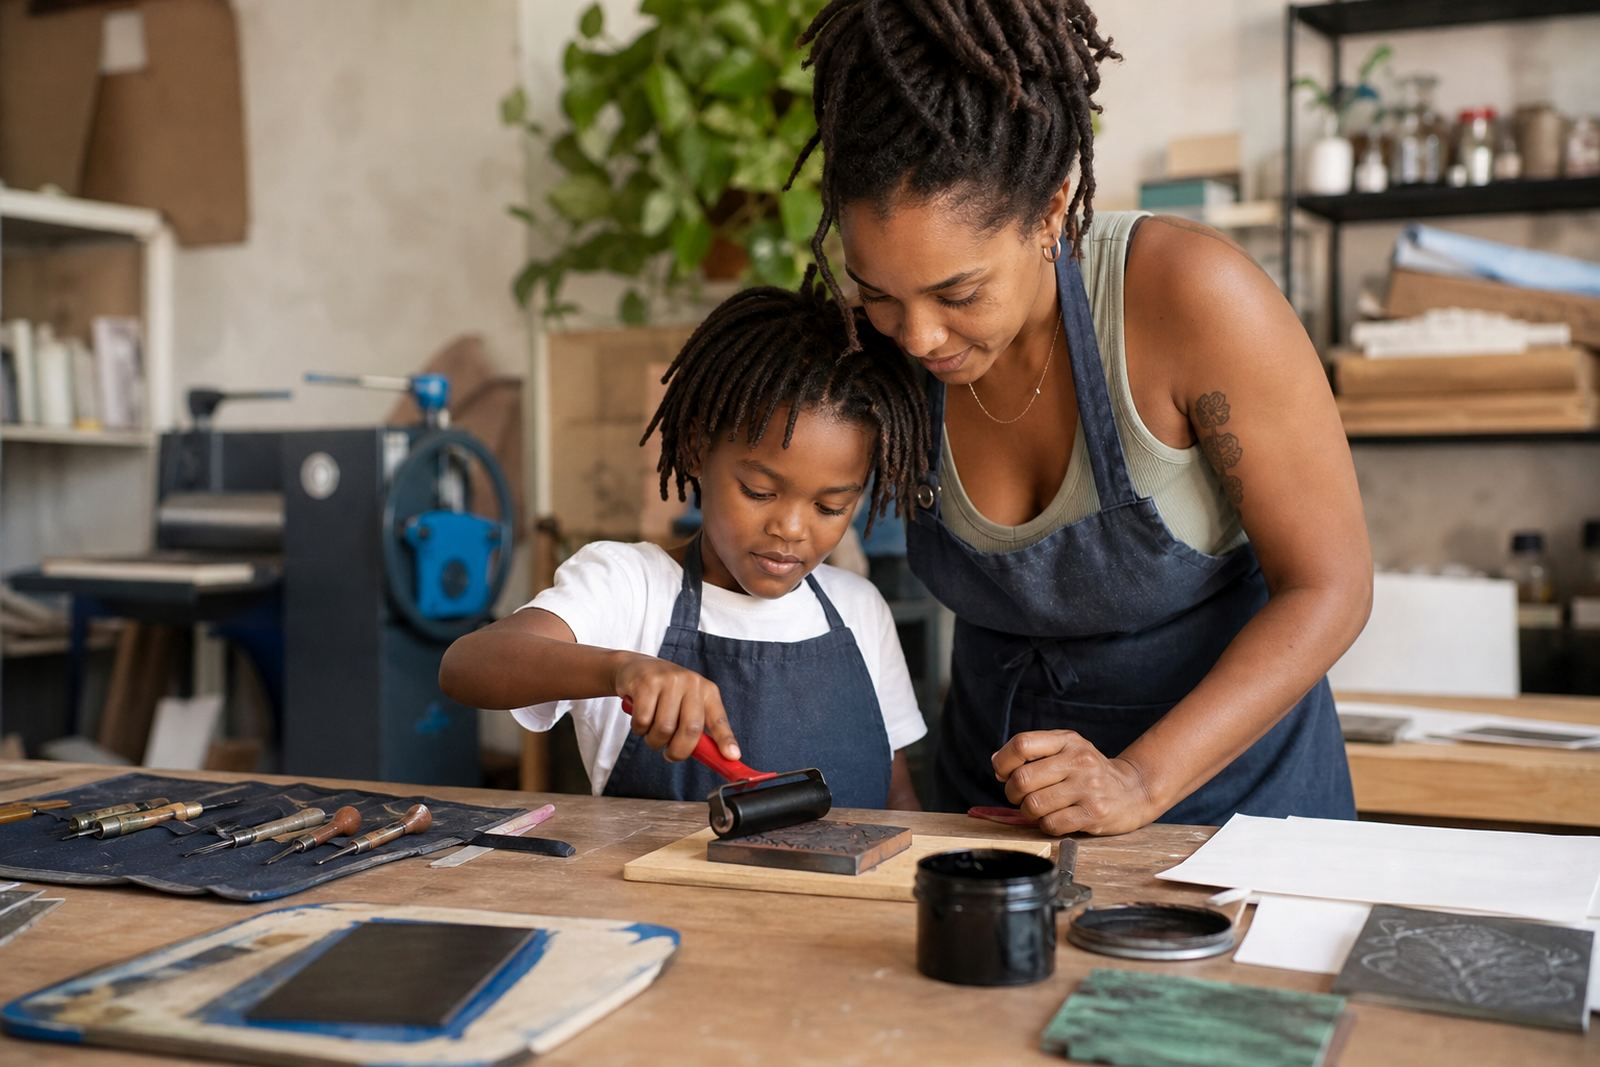
The work is suitable for adults, students, families, and mixed visiting groups. Most groups do best with a project that uses soft-cut blocks for easy carving, though linoleum can be introduced where the group wants a firmer surface and a sharper printed line. The key is to keep the image bold enough for a first print, while still letting each person make something personal.
- Short intro to block printing methods
- Safe carving with gouges and V-tools
- Inking with brayers and water-based or oil-based inks
- Hand printing with a baren or press
- Simple edition making and paper handling
What usually sits on the table for a tour session
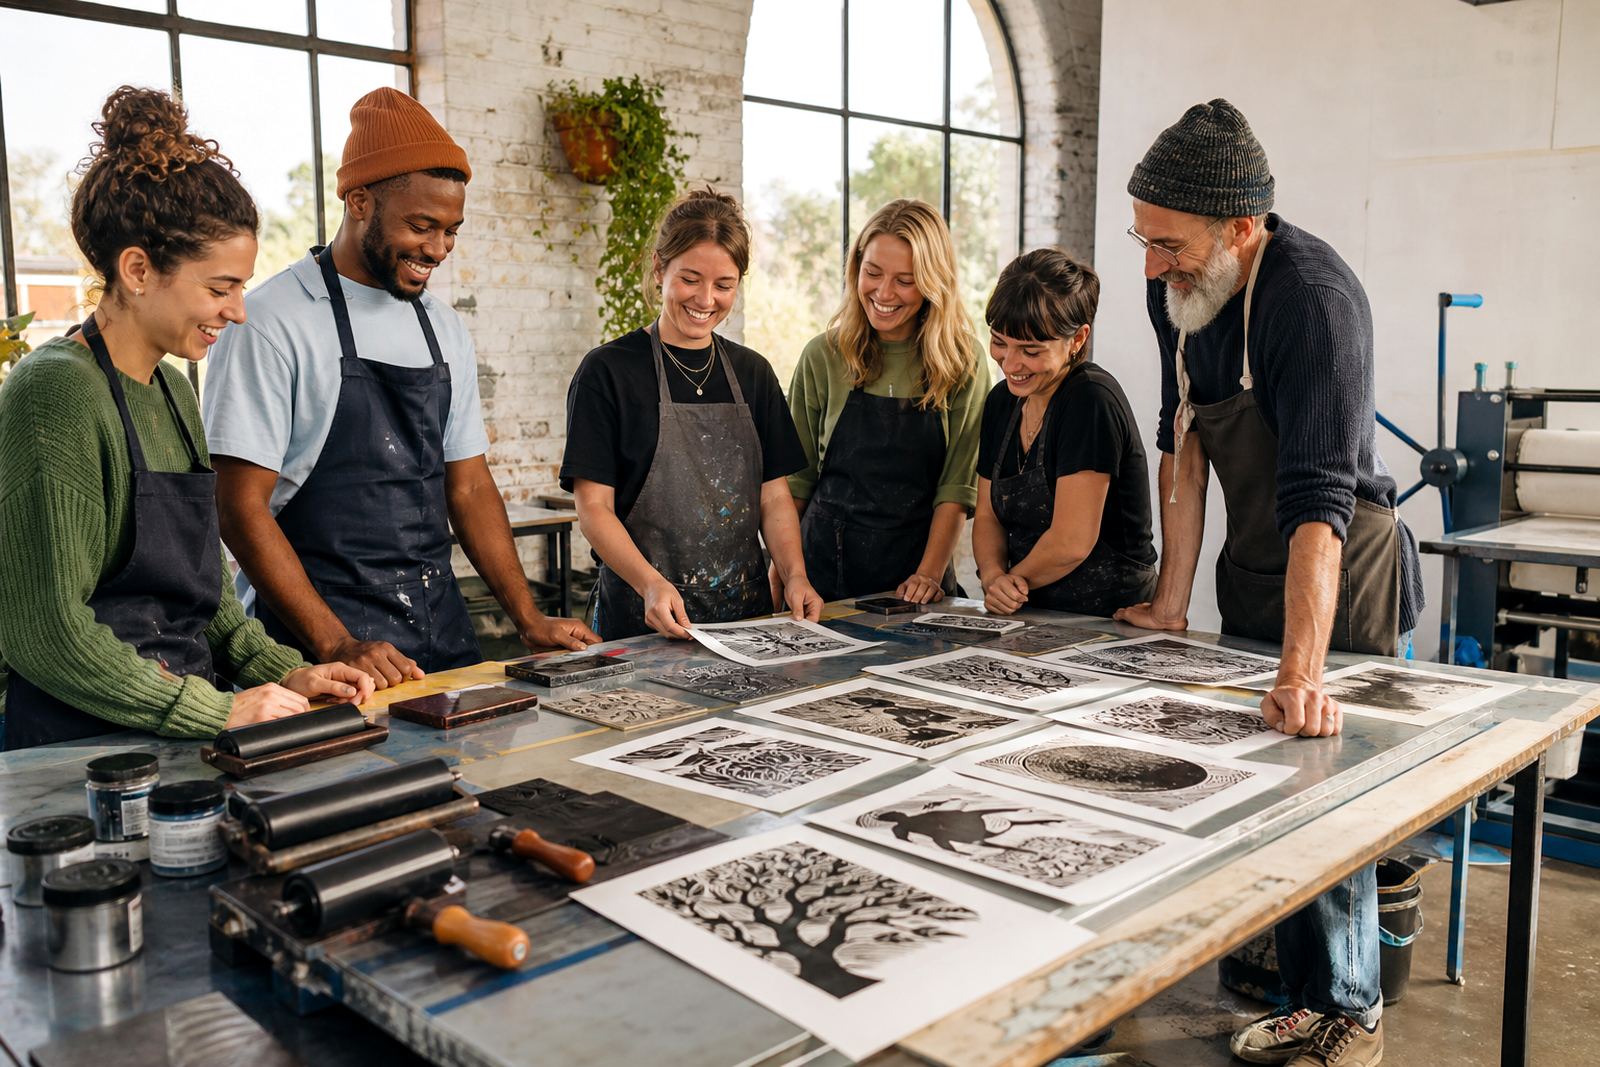
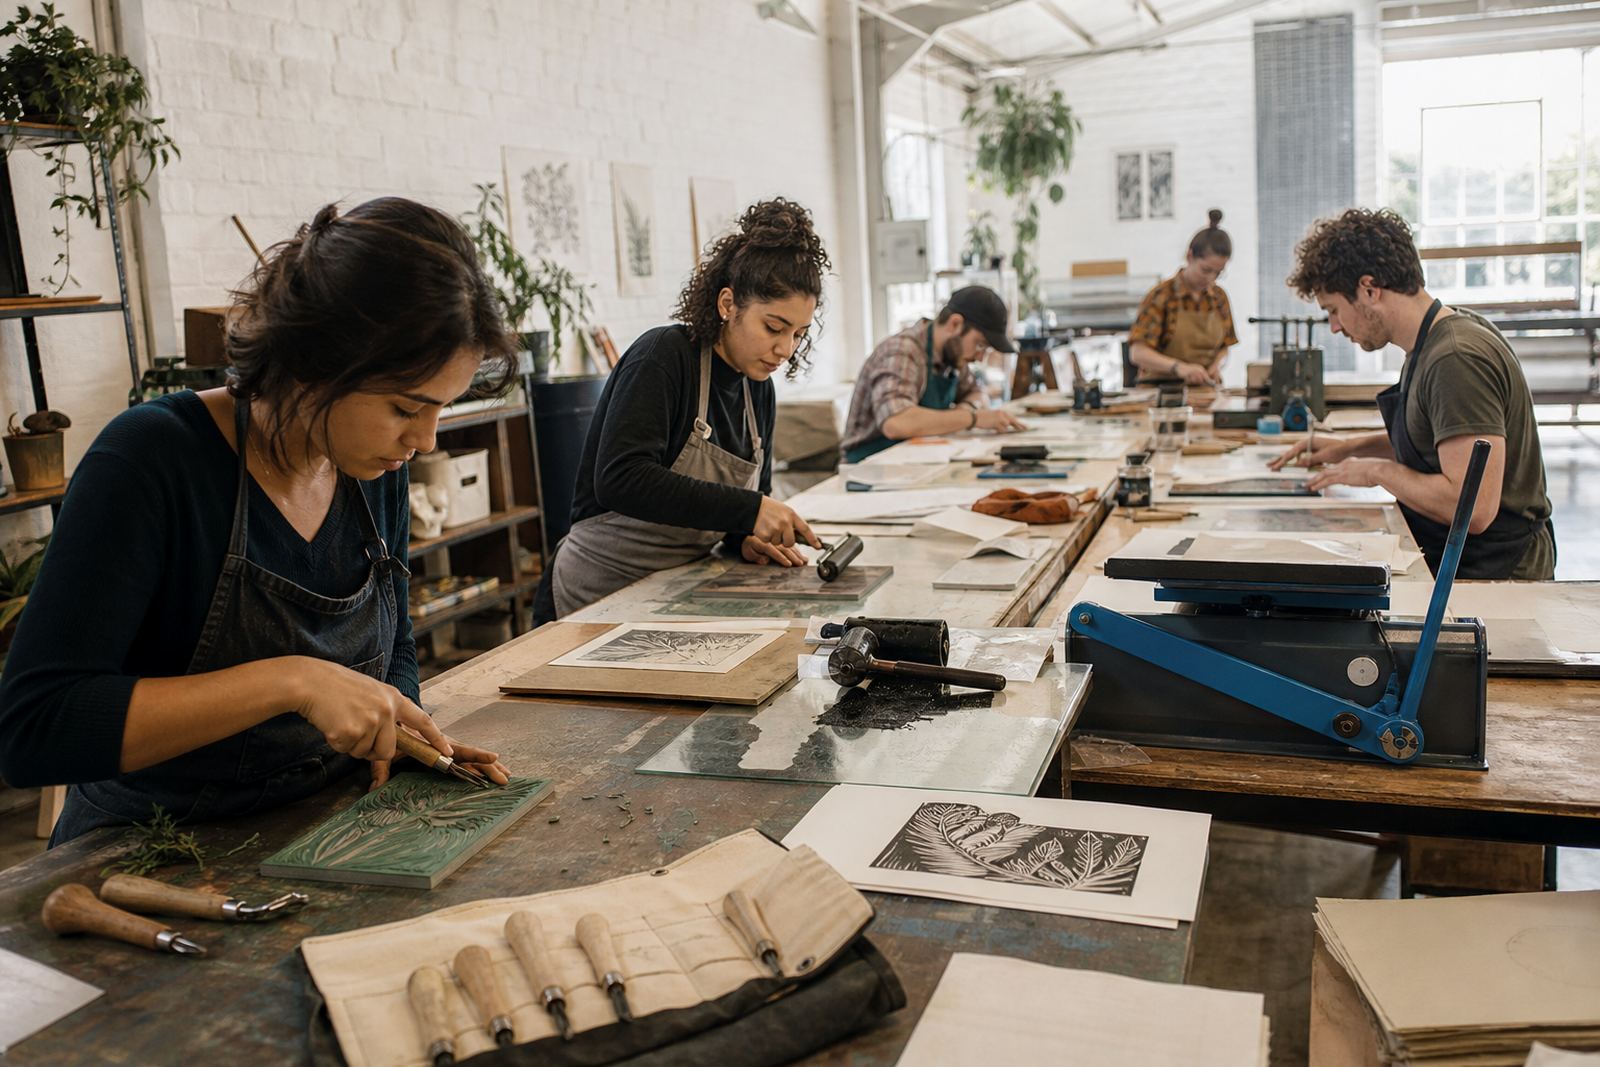
A touring group workshop needs the right tools in the right order. We set up carving boards, soft-cut or lino blocks, pencils, tracing paper, gouges, V-tools, brayers, inks, proof sheets, aprons, cleaning cloths, and drying space. Where a press is part of the plan, it is positioned so the group can watch the print build and understand pressure, registration, and paper placement.
Many visitors underestimate how much paper choice counts. Softer papers can take a lovely hand print, while tougher sheets help when the group is making several editions and wants consistent results. For larger groups, it helps to work with a shared image size so the workshop can move through proofing and printing without crowding the table.
- Blocks: soft-cut for quicker carving, lino for more detailed edges
- Tools: safe carving handles, V-tools, and wider gouges
- Printing: brayers, ink slabs, barens, towels, and drying racks
- Support items: registration guides, pencils, test sheets, aprons
How the room works when visitors are moving through it
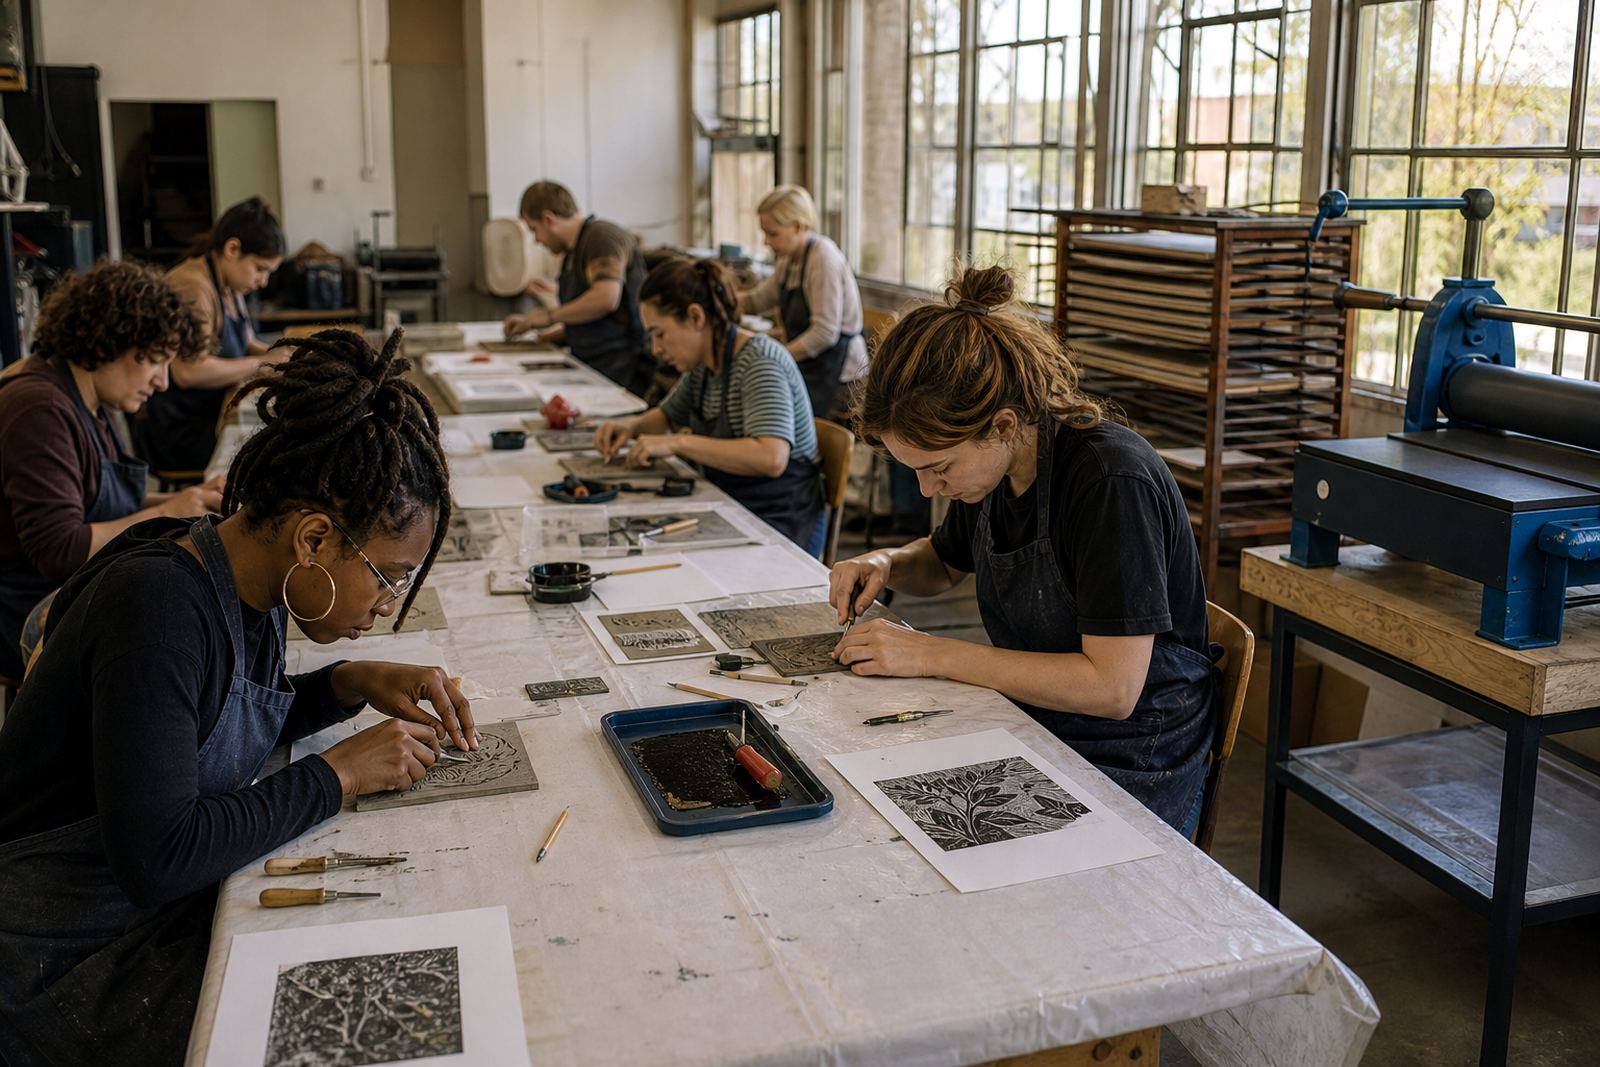
Layout matters because a tour group is usually on a clock and the space may be unfamiliar. The best arrangement gives each person enough elbow room, keeps carving away from the printing area, and leaves a clear path for drying and packing finished sheets. If the session is at a hotel venue, school hall, gallery space, or conference room, the tables need to suit both seated carving and standing printing.
We usually plan for a start point where everyone can see the block, the marks, and the sample print before they begin. After that, the group can split between carving, inking, and printing stations. That setup helps with mixed confidence levels, because slower carvers do not hold up the whole room, and quicker printers can move on to a second proof or edition print.
For coastal routes through Cape Town and Durban, it is useful to think about humidity and drying space. In wetter air, prints need a bit more room and a steadier drying plan so sheets do not smudge during packing. A clear table map also helps staff keep tools apart and keep wet ink from crossing onto finished work.
Common mistakes that make a short workshop feel rushed
The usual trouble is too much detail in the block and too little time for printing. Visitors often sketch tiny lines, then struggle to carve them cleanly in a first session. A stronger plan uses bigger shapes, clear figure-ground contrast, and a print size that can be completed without pressure.
Another common issue is trying to make every person produce a perfect edition on the first pull. Most hand printing works by proofing. The first proof is where the learning happens. Good workshop design leaves room for a test print, a small correction, and then the final print. It also helps to keep the ink layer even, because too much ink can flood the fine cuts and too little will leave a patchy block.
- Overly detailed images that are hard to carve cleanly
- Not enough table space for drying and proofing
- Using paper that buckles too much for the chosen ink
- Poor registration when the group prints more than one colour
- Too many steps packed into one short session
Budget ranges in Rand for tour group planning
Budget depends on group size, venue setup, number of facilitators, paper choice, and whether the session is a straight hand-print class or a more complete edition print workshop. A simple intro session for a visiting group will usually sit lower than a full studio format with press printing, finishing, and extra materials. If the group needs venue setup service, transport of tools, or a school-style pop-up layout, the plan needs to allow for that work as well.
For tour planning, many organisers think in ranges rather than a fixed figure. A smaller shared workshop can fall into a modest band, while a longer private studio session, or a mobile setup with more tools and extra consumables, moves higher. As a rough planning guide, groups often look at budgets from about R2,500 to R12,000 and upward depending on format, group size, and the amount of print material included. Larger mixed programmes with multiple stations, press printing, or separate finishing tables can sit above that range.
It helps to budget for paper, ink, block material, cleaning supplies, drying time, and staff coordination as separate parts of the job. That keeps the quote accurate and avoids last-minute pressure around missing tools or extra sheets.
What a visiting group usually leaves with
Most tour groups want a clear experience and something physical to take away. A good block-print session gives both. Visitors leave with a print that records the marks they carved, the pressure of the baren or press, and the slight variations that make hand printing feel alive. Many groups also like a small explanation of how editions work, so they understand why each pull is related but not identical.
For schools, alumni groups, corporate visitors, and family tours, the session can be tuned to the time available. Some groups only need a beginner carving session with one strong image. Others want an inking and printing class, or an edition print session where the focus is on alignment and consistency. In every case, the workshop has to stay readable for first-timers and still feel grounded in the real craft of linocut and block printing.