Set up your carving space before the first cut
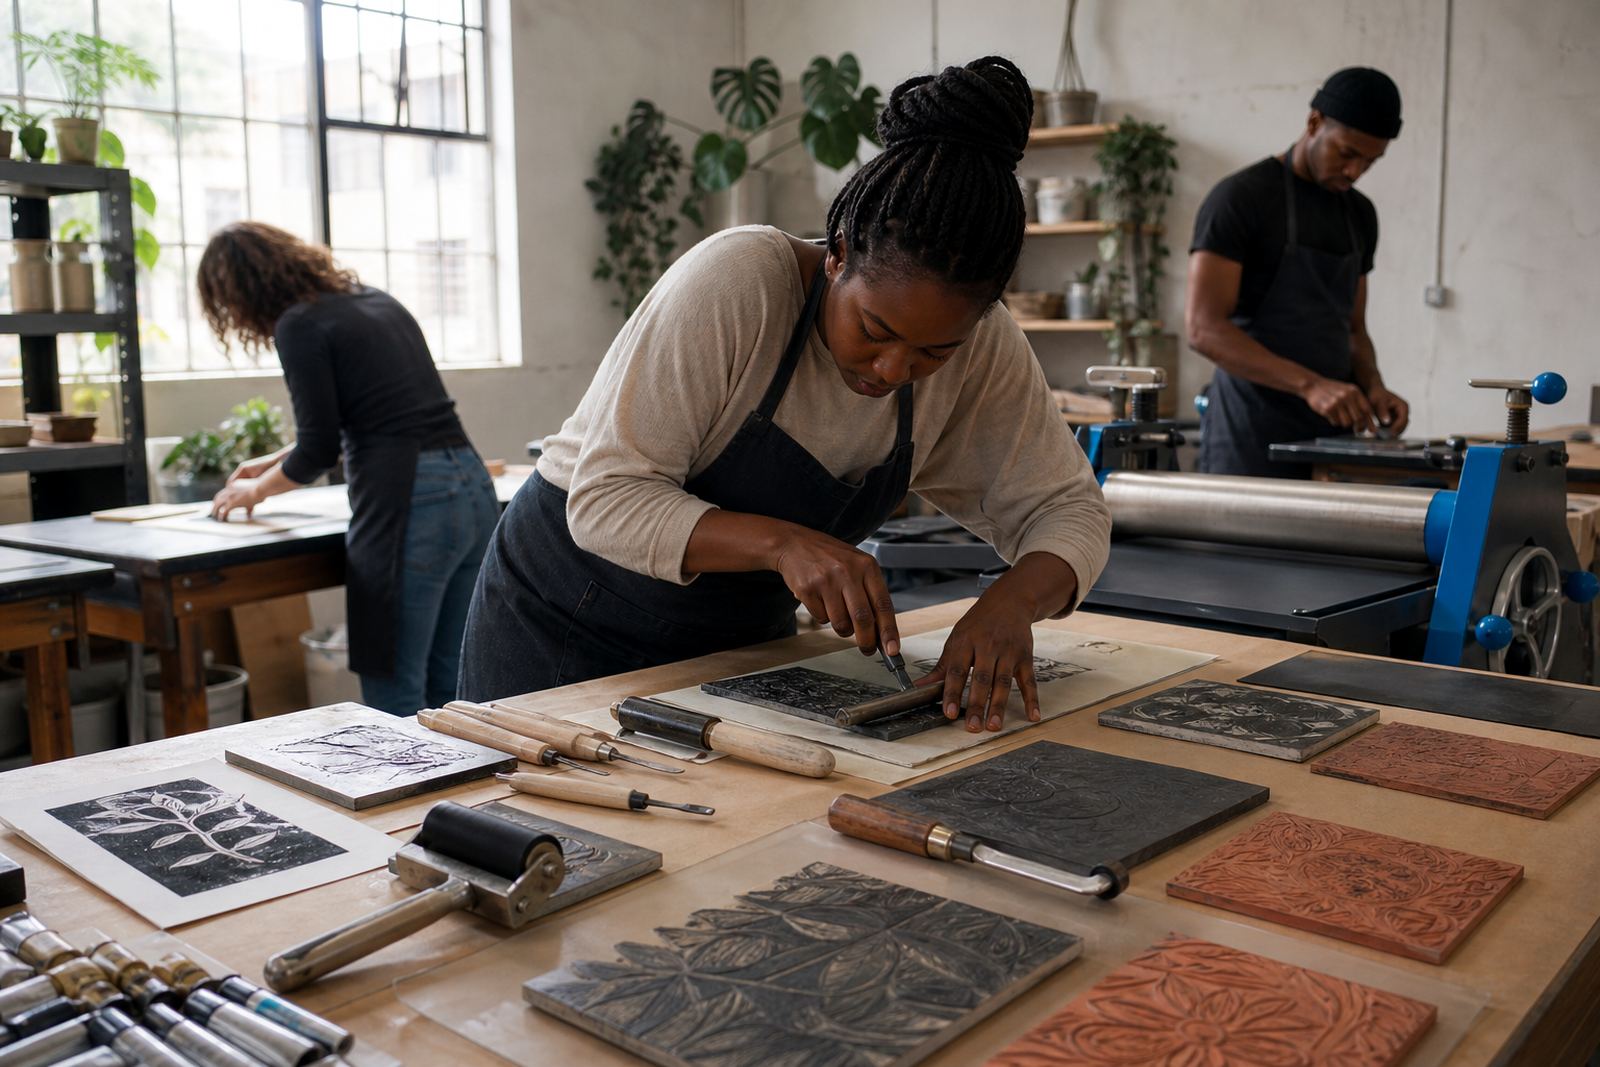
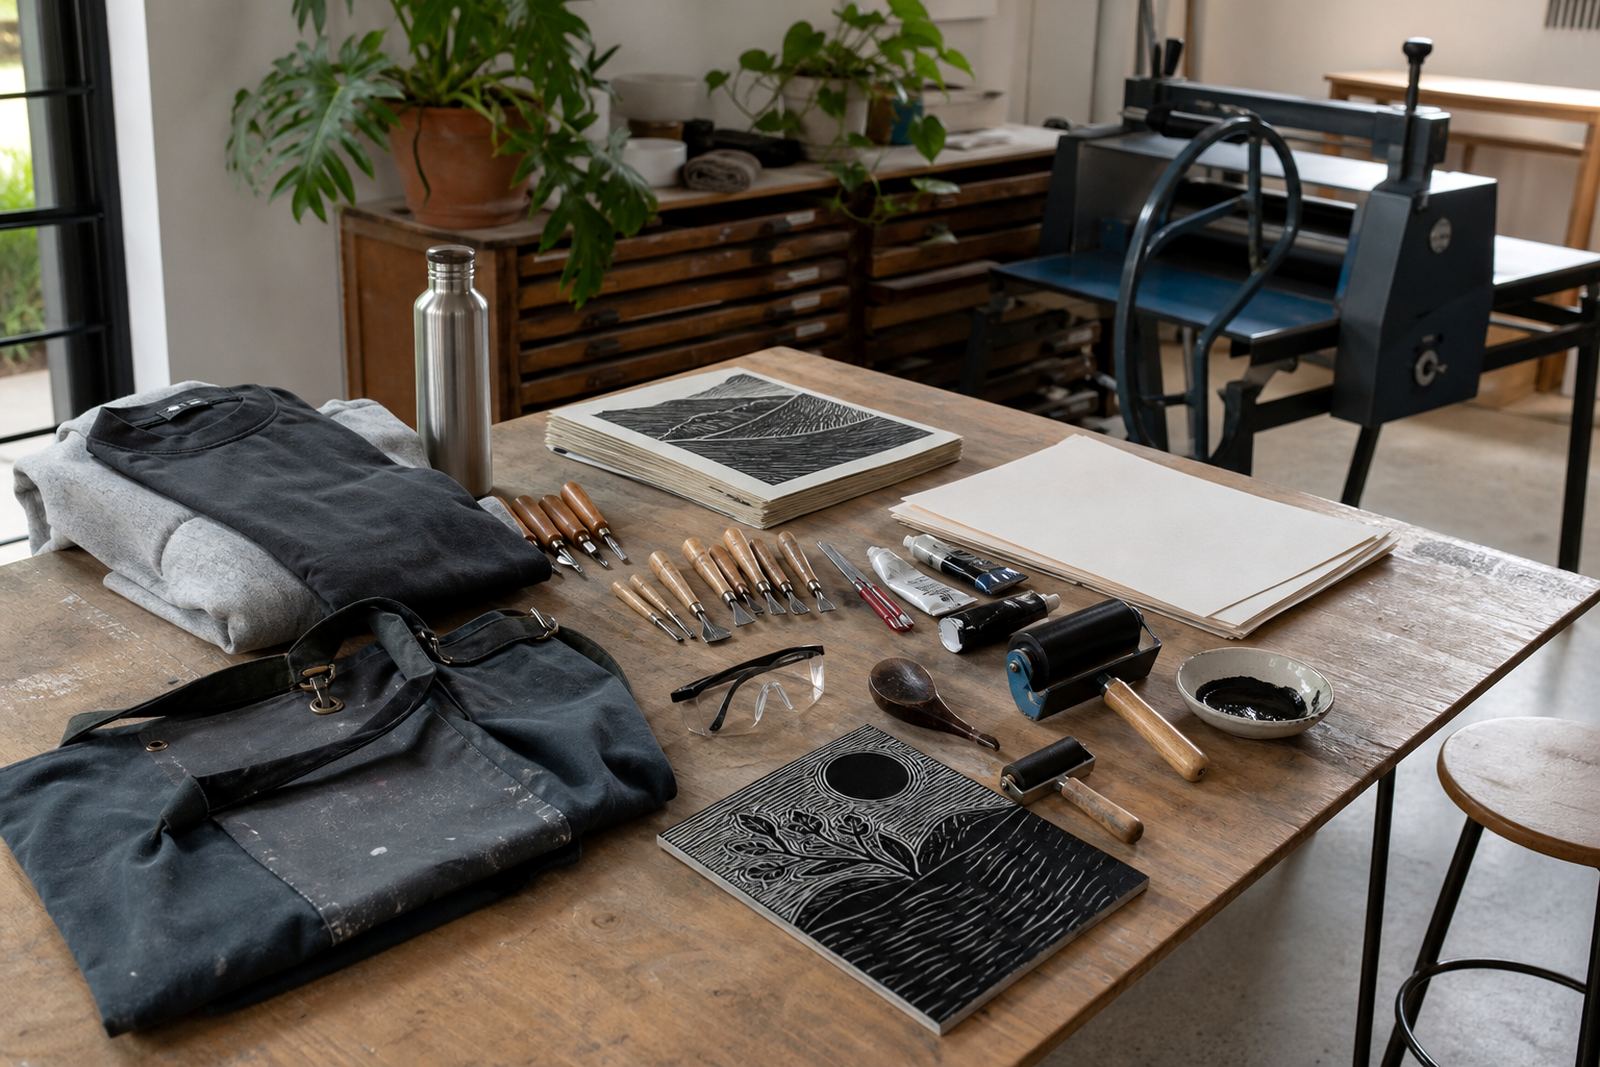
Keep your block flat on a stable surface and clear away pens, cups and loose papers before you pick up a gouge or V-tool. A slip usually happens when the block moves, so place it on a bench hook, non-slip mat or folded cloth that gives it grip without wobbling.
Good light makes carving safer. You need to see the edge of the line, the direction of the grain and where your hand is in relation to the blade. If you are right-handed, work with the cut moving away from the body; left-handed carvers should mirror that habit. Small, deliberate cuts are safer than deep forceful ones.
Handle gouges and V-tools with control
Linocut and soft-cut blocks both respond well to shallow carving. Let the tool do the work and keep your other hand behind the cutting line, never in front of it. Push the blade in short controlled strokes, then lift and reset. A steady rhythm is safer than trying to finish the whole line in one go.
- Check the blade before use for chips, bends or looseness.
- Hold the handle firmly, but not so tight that your wrist locks.
- Cut away from fingers, wrists and forearms at all times.
- Pause if the tool catches, then change angle rather than forcing it.
If a line needs a deeper bite, make two or three passes instead of one hard push. That protects the block and gives cleaner edges in the final print.
Ink stations need order, not crowding
Inking is where clean hands can still make a mess, so keep brayers, inks and palettes in one defined area. Water-based and oil-based block inks behave differently, but both spread better when they are rolled out evenly and not overloaded. A thin, even film is safer and gives a better print than a heavy patch of ink.
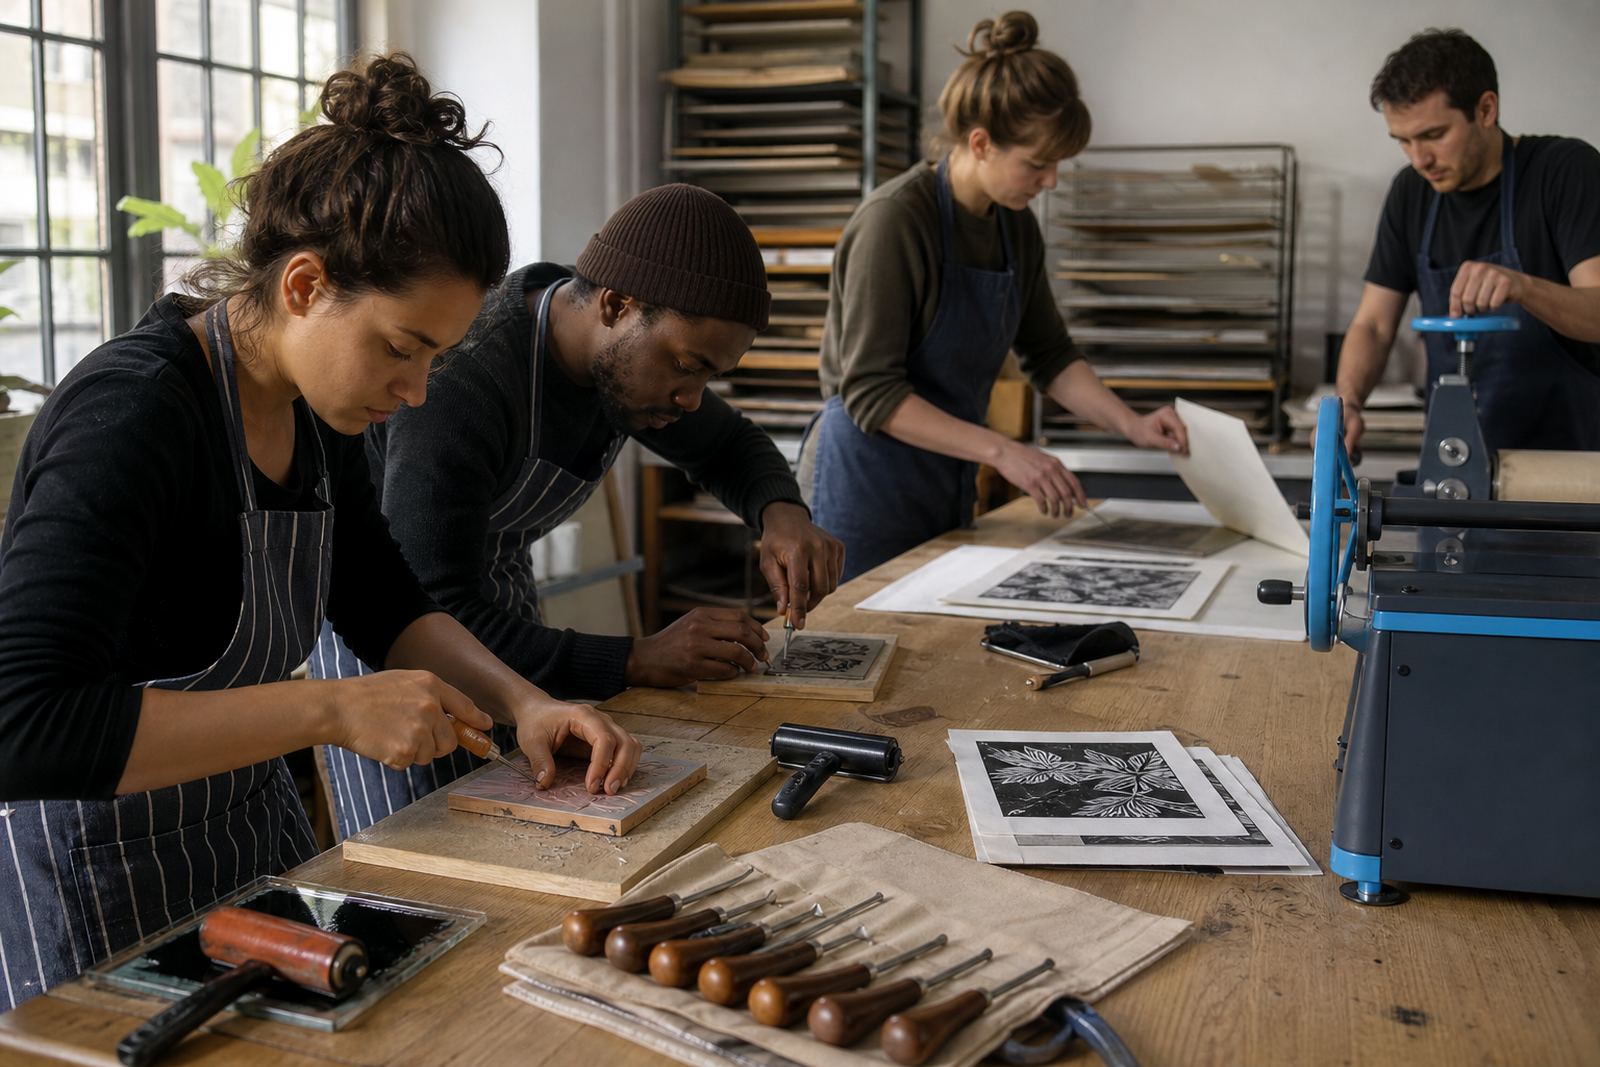
Only one person should work a small inking station at a time unless the table is set out for group use. Keep towels within reach, and move wet prints to a separate drying area so elbows and sleeves do not drag across them. If two people share the same block, agree on who is inking, who is printing and who is cleaning tools between rounds.
- Roll ink out on a flat surface before loading the block.
- Keep brayer handles and roller edges free of dried ink.
- Never leave tools resting in an inky pool.
- Wipe spills before someone steps into them.
Printing by hand means pressure and timing matter
When printing by hand with a baren, apply pressure in overlapping circles rather than pounding one spot. That spreads the ink into the cut lines without damaging the paper. With press printing, the bed, blankets and block should be aligned before the run starts. Misaligned paper can shift under pressure and leave a blurred edge or a doubled image.
Registration marks help each sheet sit in the same place on the block. Keep the paper edges tidy, lift it from one edge only and lower it slowly. Cotton rag papers, cartridge papers and other printmaking papers all behave a little differently, so test the pressure on a proof before running the full edition.
Cleaning up without dulling the tools
Cleanup protects the next user as much as the current one. Wipe away excess ink before it dries on the brayer, palette knife or block edge. Warm water and mild soap work for many water-based inks, while oil-based inks need the right cleaner and more patience. Never scrape dried ink off with the cutting edge of a tool, because that ruins the blade and raises the risk of a slip next time.
Pack the tools away only once they are fully dry. Moisture left in a handle or on a steel edge can shorten the life of the tool, and damp paper scraps can stain a fresh edition. In shared studios, cleaning the station is part of the session.
Shared-workspace habits that keep everyone safer
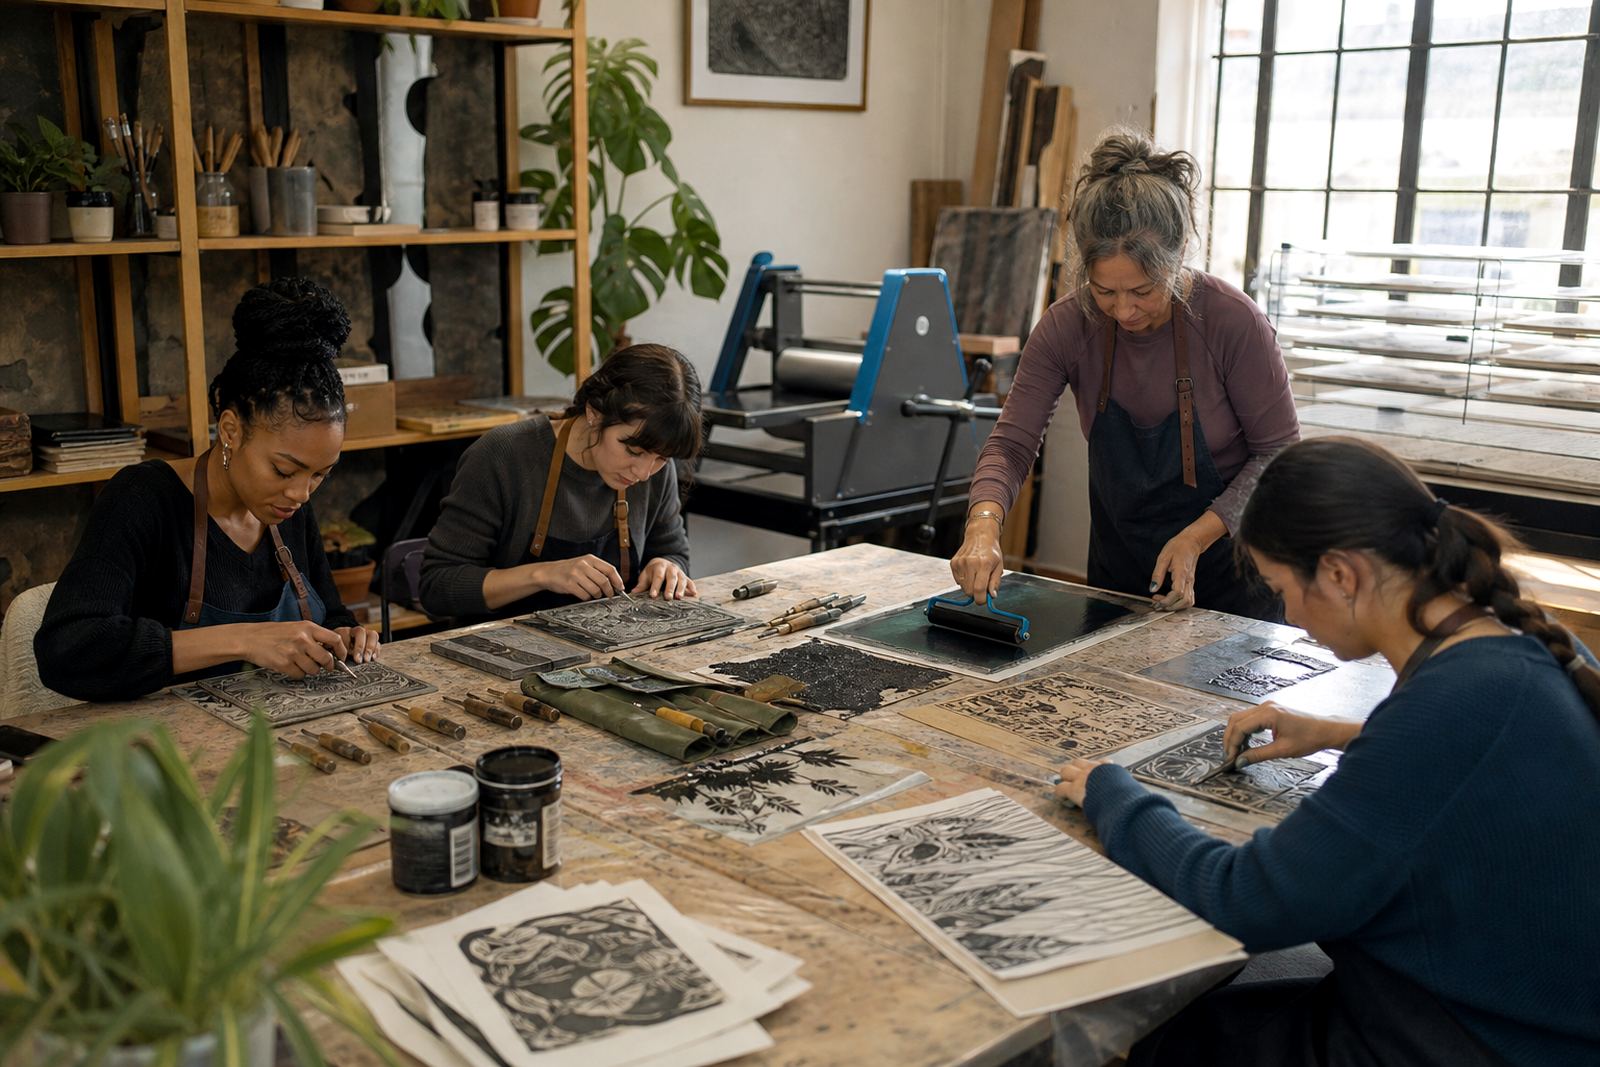
Family sessions, student classes and team groups work best when everyone follows the same small rules. Keep bags off the floor, label wet work clearly and do not wander behind someone who is carving. Children and first-time printmakers should use age-appropriate tools and stay with the cutting tasks that suit their hands and attention span.
If you are running a group session at a school or venue, set one table for carving, one for inking and one for drying. That separation cuts down on crossed hands, wet sleeves and damaged prints. A clear workspace also makes it easier to spot a missing blade or a brayer left on the wrong table.
- Store blades covered when not in use.
- Move slowly around carving stations.
- Keep drinking cups away from ink and paper.
- Check that the floor stays clear of trimmings and scraps.
We use these habits in our studio workshops, pop-up classes and group sessions across Cape Town, Stellenbosch, Johannesburg, Pretoria and Durban, because the work stays calmer when the table stays orderly.