Booking a workshop that fits the group
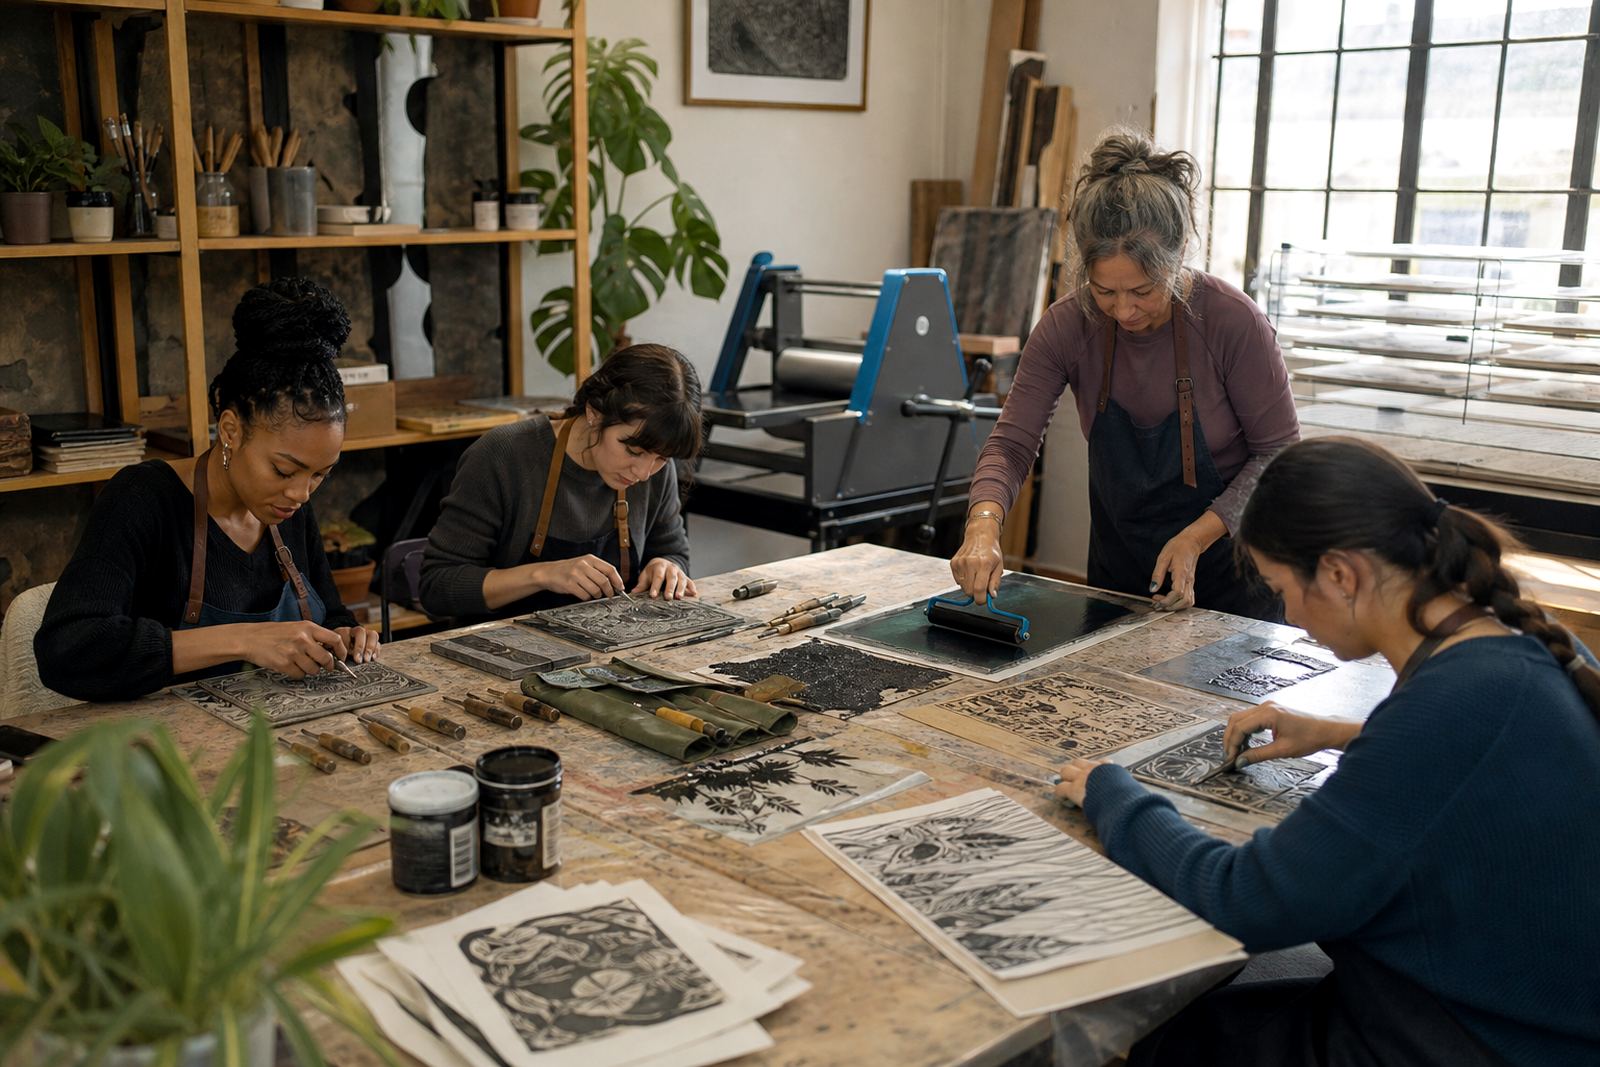
Our workshop options suit adults, students, families and teams, with sessions shaped around the space, the number of people and the print method selected. A private studio workshop feels different from a school pop-up or a venue-based group session, so the set-up is matched to the group rather than squeezed into one format.
For larger bookings, the practical details matter most: table space, drying room, access for materials and enough time for carving, inking and printing. We also plan for the pace of the group, because a first-time linocut session needs more room for handling tools safely and for checking the image before the first pull.
- Private studio workshop for focused hands-on printing
- School pop-up workshop for classroom or hall settings
- Team building session for mixed experience groups
- Family print session for adults and children working together
What the first carving session feels like
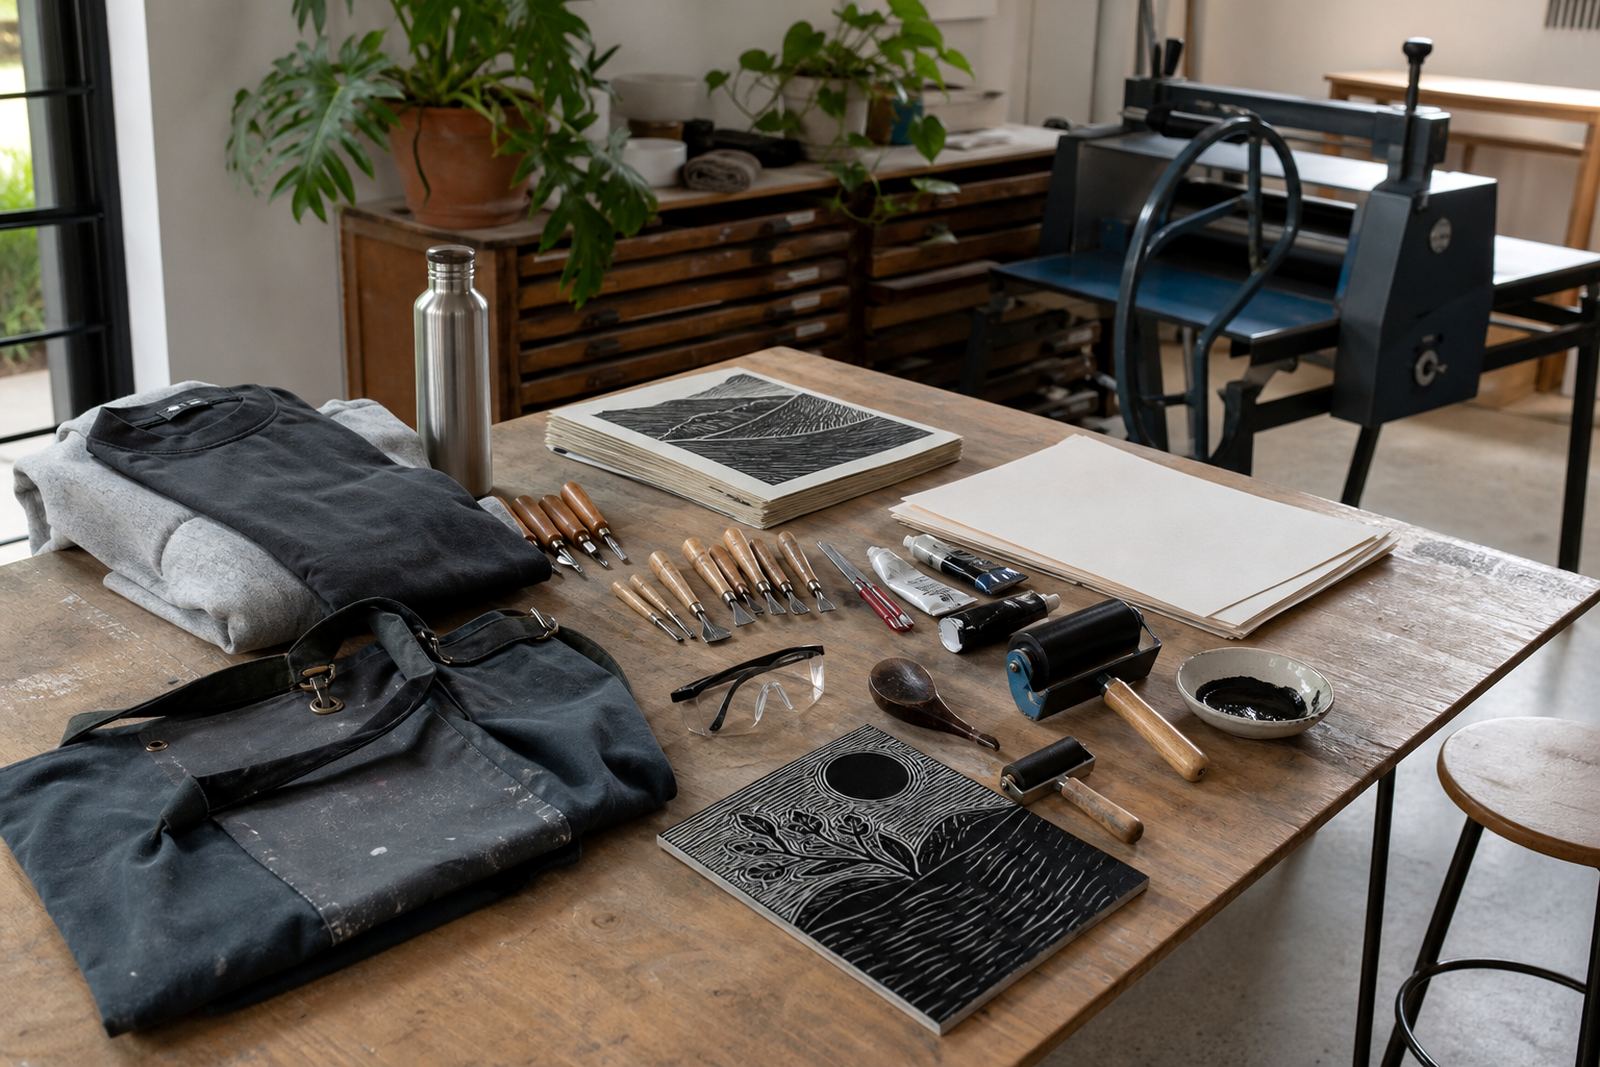
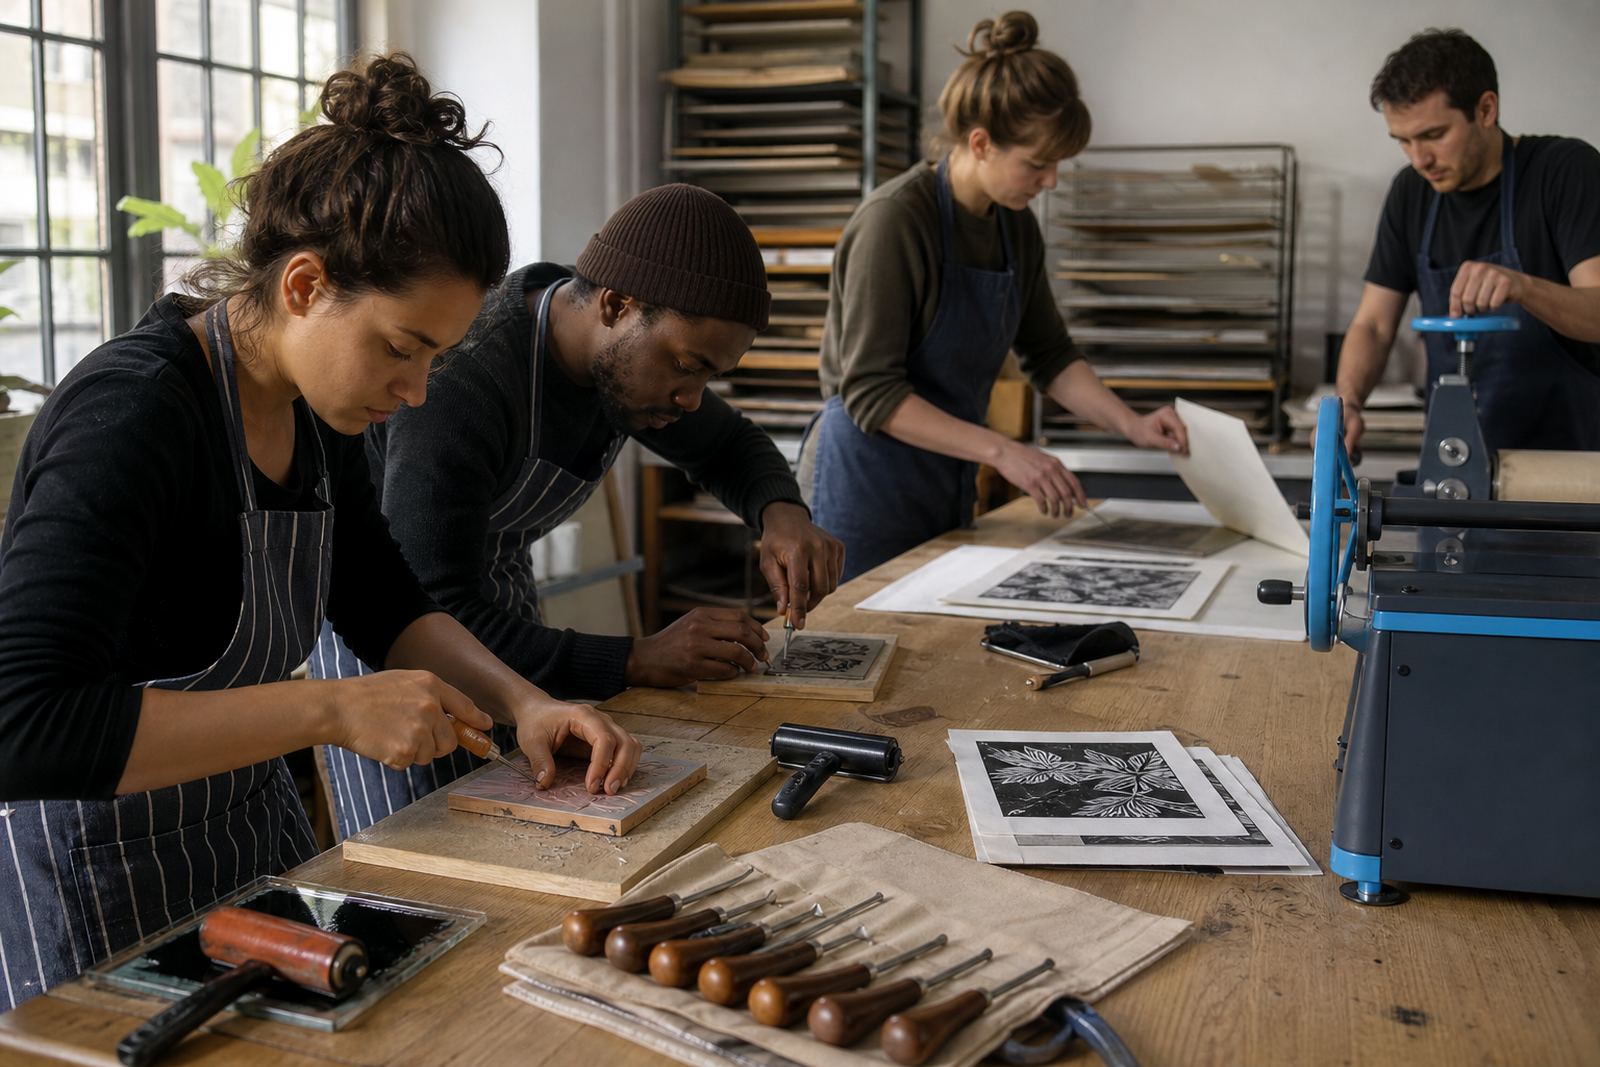
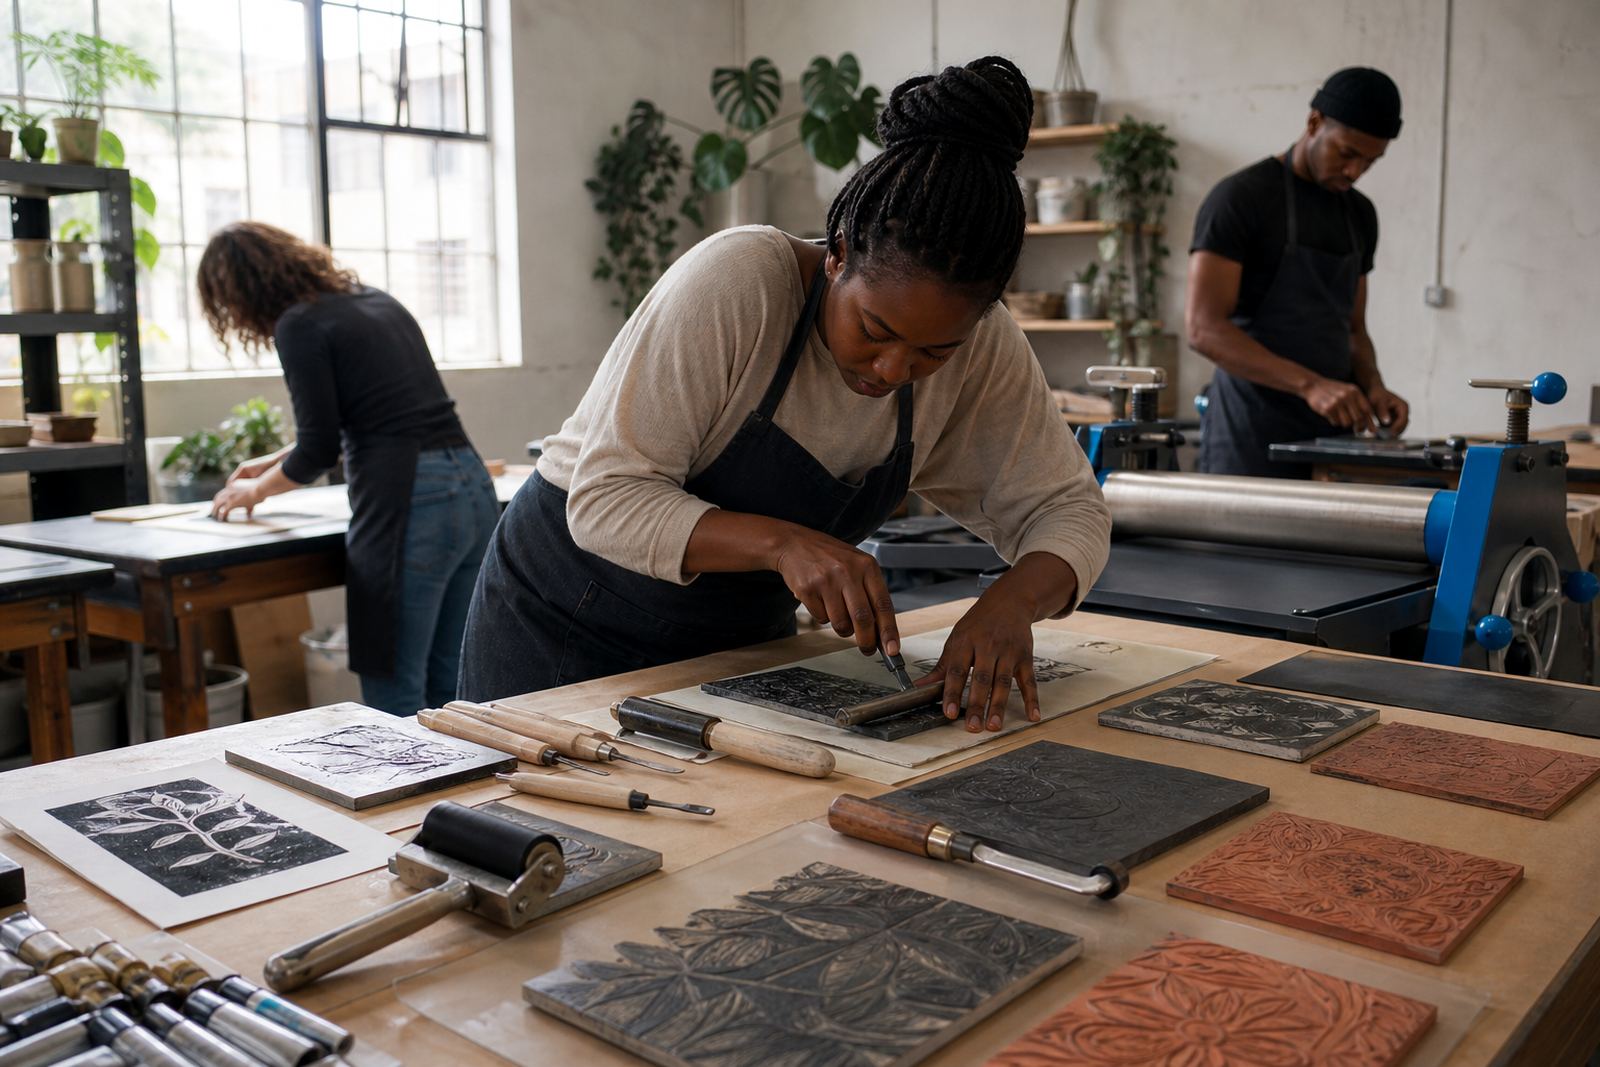
Most people begin with a soft-cut or lino block, a pencil sketch and a short introduction to safe carving. Gouges and V-tools are used to clear the block, with the lines that stay raised becoming the image that prints. The main lesson is to cut away from your hand and keep the block flat on the table, which makes the work far steadier.
Beginners often worry about making the design too detailed, but a strong block print usually works best with bold shapes, clear contrast and clean marks. A simple leaf, portrait, bird or patterned shape can print well on the first attempt and still leave room for a neat edition.
- Trace or draw the image onto the block
- Carve the white areas first
- Test the block before printing the full edition
Ink, brayers and the pull of the print
Once the block is ready, ink is rolled out with a brayer until the surface has a smooth even coat. Water-based inks are common in workshop settings because they are easier to clean up, while oil-based block inks give a different working feel and can suit some papers and editions. The choice depends on the session, the drying time available and the finish the group wants.
Printing can be done by hand with a baren or through a press, and both methods need steady pressure and careful registration. Registration means lining up the paper and block in the same position each time, so the image sits where it should from print to print. That small detail matters a lot when a class is making several copies of the same image.
Papers, editions and drying space
Paper does not take ink and pressure in the same way every time. Smooth papers give a crisp line, while textured papers hold the mark differently and can add character to the final print. We talk through paper choice during the workshop, especially when the group wants a clean edition or a more experimental surface.
An edition is a set of prints made from the same block, and the group usually numbers or signs the better impressions once the proofing is done. Drying space is set aside where possible, since fresh prints need room to lie flat without smudging. If a class is working in a school or venue, the drying plan is part of the set-up from the start.
What to wear and what to bring
Clothes should be comfortable and not too precious, because ink can travel onto sleeves and cuffs during a busy session. Closed shoes are practical and hair tied back is a good idea when several people are carving and passing tools around. If the workshop is a family session, the same basics apply and children need steady supervision from the adults in the group.
- Wear clothes that can handle a little ink
- Bring reading glasses if you use them for close work
- Keep long hair tied back during carving and printing
- Carry a bottle of water for longer sessions
We handle the print materials in the studio or on site, so the group can concentrate on the cutting, inking and printing. Where a venue needs table cover or extra layout planning, that is covered during the booking process and set-up notes.
School visits and venue sessions across South Africa
School pop-up workshops and venue sessions are arranged for Cape Town, Stellenbosch, Johannesburg, Pretoria and Durban, with Bellville and Somerset West also covered for nearby group work. Each space needs a different layout, especially when tables, cleaning stations and drying areas have to fit around normal activity in the room.
Teacher skills workshops and print finish sessions often include more process detail, while team sessions may focus on faster image making and a shared edition. The workshop format changes with the age group and the site, but the core process stays grounded in block cutting, inking and the final pull of the print.
How the print process is checked during a session
The most useful checks happen while the block is still being cut and before the edition starts. A quick proof print shows whether the carved areas are clear enough, whether the lines are too thin and whether the ink coverage needs adjusting. A quick proof on newsprint shows any rough patches before good paper comes out.
From there, the group can refine the image, adjust the pressure and decide whether the print should stay simple or gain more texture. Some people prefer a single bold image, while others want a second layer or a more detailed surface. The studio team keeps the process practical so the class can see how each choice affects the final print.