Let the ink settle before you move the sheet
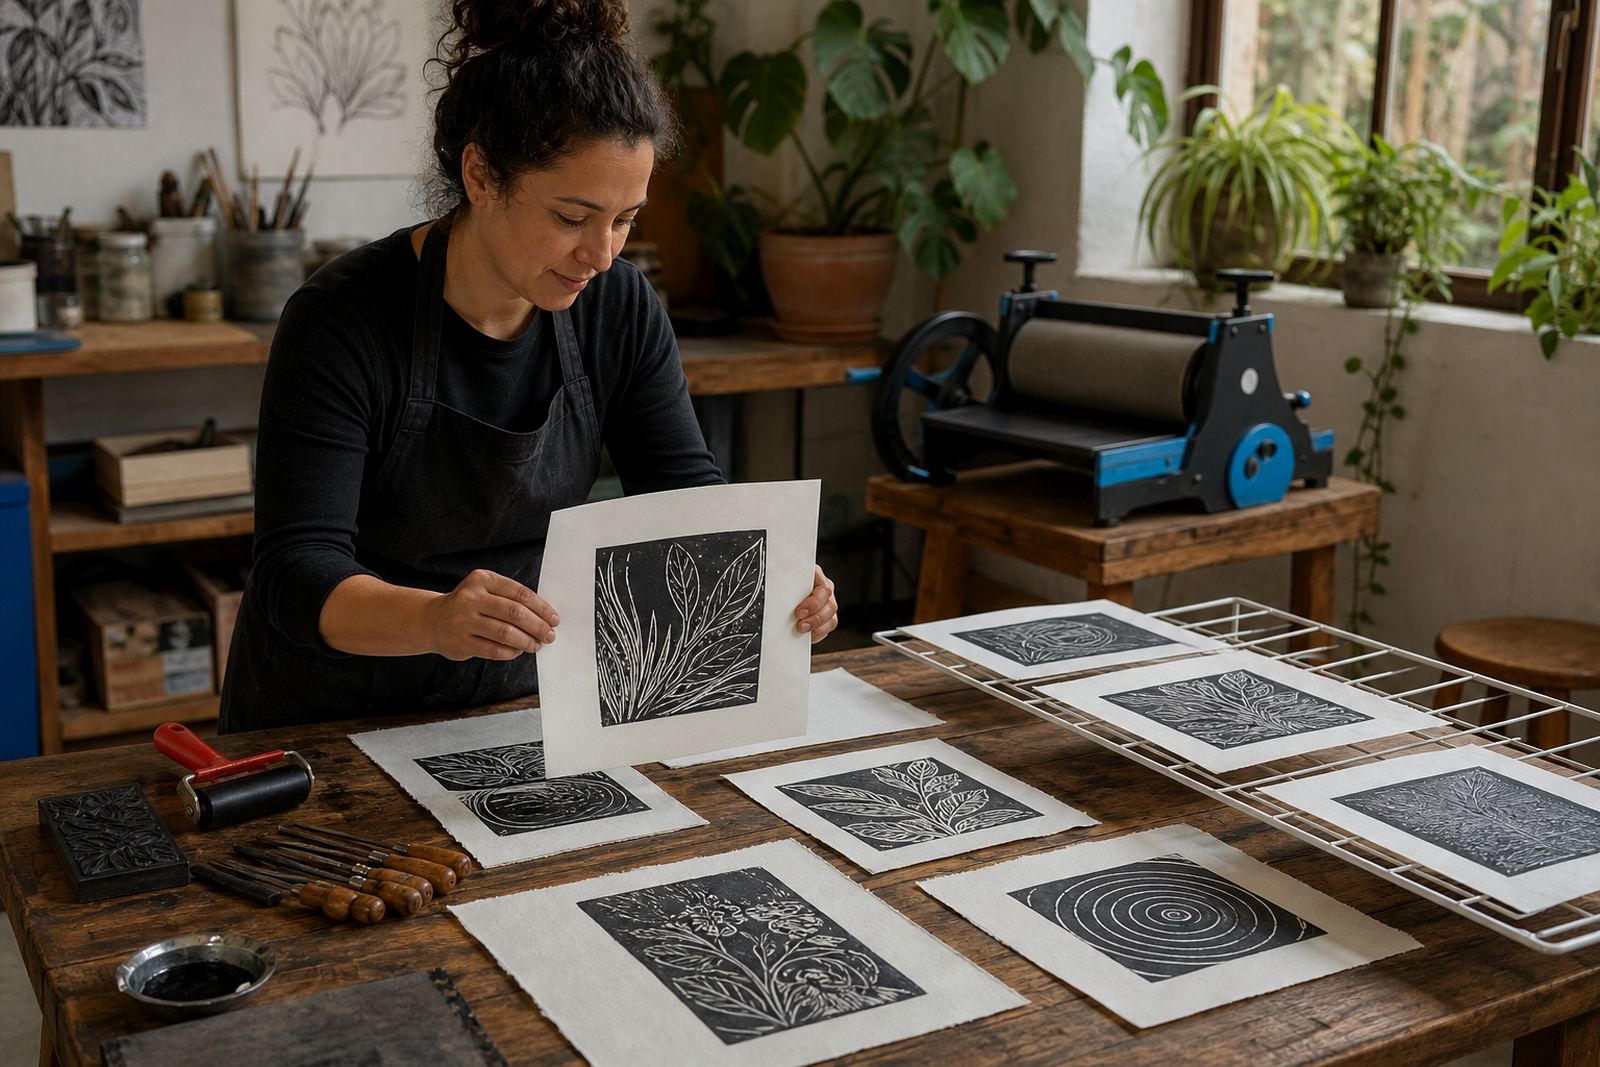
As soon as a print comes off the baren or press, place it on a clean, level surface. A drying rack, newsprint stack or fresh sheet of cartridge paper works well, provided the area stays free of dust and curious fingers. Do not pile damp prints face to face, the pressure can transfer ink and mark the image edge.
Water-based block ink usually feels touch-dry sooner, but it still needs time before you handle it freely. Oil-based ink may stay open longer and can smudge even when the surface looks calm. If the print is a full edition, keep each sheet in the same order from the start so later sorting is not a headache.
- Lay each fresh print flat with air around it.
- Keep wet sheets apart with clean interleaving paper.
- Never stack a damp edition in a tight pile.
- Keep pets, steam and kitchen heat well away.
Drying space that works in a Cape Town studio
Drying is easier when the room is dry, still and out of direct sun. Coastal humidity around Woodstock, the Atlantic side and other seaside areas can slow the process a bit, so give prints more breathing room. Sunlight may seem helpful but it can curl paper and fade some pigments, especially if the sheets sit at a window for too long.
If you are drying several prints after a workshop, place them on clean boards or drying racks with space between each sheet. A paper print with a thick ink film needs extra patience, particularly when the paper is mould-made or heavier stock. Heavier printmaking paper suits a proper edition, because thin office paper buckles too easily and can show every handling mark.
- Use a room with steady, gentle air flow.
- Store prints where sun does not fall directly and where moisture stays away from corners.
- Use clean boards, racks or absorbent paper beneath the sheet.
- Allow thicker ink layers more time before stacking.
Flattening curls without crushing the image
Once the print is dry to the touch, you can flatten it under clean boards and a light weight. Put the sheet between two pieces of plain paper first, then sandwich it between flat boards or mount board. Leave enough time for the paper fibres to relax. If the print has a strong curl from the press or from drying too fast, gentle flattening is better than forcing it straight in one go.
Never use household irons directly on a print. Heat can gloss the ink, shift the impression and leave bright patches where the pressure is too harsh. For delicate editions, flatten a few sheets at a time and keep the stack clean. A slight wave is less serious than a crease from heavy handling.
- Interleave prints with clean paper before pressing flat.
- Use even weight across the full sheet.
- Keep stacks small so edges do not dent.
- Avoid heat, steam and rough cloth surfaces.
Transporting prints across town or to another province
For short trips across Cape Town, use a rigid portfolio, flat box or board-backed envelope. Slip each print between clean sheets of paper or glassine so the surface does not rub. If the work is still drying, keep it horizontal. A loose bag or rolled tube is risky for a fresh lino print because the ink can offset where the sheet touches itself.
When prints travel to Stellenbosch, Johannesburg, Pretoria or Durban, the rule is the same: keep them flat, supported and dry. Bigger editions need corner protection and a firm base board so the edges do not bend in transit. If you are taking workshop work home after a family session or school class, keep it away from drink bottles, lunch crumbs and anything with sharp corners.
- Use a flat portfolio or rigid box for clean transport.
- Separate each sheet with interleaving paper or glassine.
- Keep fresh work horizontal until the ink has settled.
- Protect corners with board, not soft plastic alone.
Editions, proofs and one-off workshop sheets
Edition prints need consistent aftercare because every sheet is part of the same set. Keep the prints numbered and counted only after they are fully dry, so fingers do not disturb the surface. If you are storing proofs beside the final edition, mark them clearly and keep them apart. That keeps the set tidy and makes later checking much easier.
Family sessions and student classes often produce a mix of trial sheets, first pulls and final prints. Group them by paper size and ink colour before storing. If a sheet has a thin mark, a dust spot or a registration shift, place it aside rather than leaving it inside the main stack. Small notes written on the back, in pencil, help when you sort later.
- Keep proofs separate from the final edition.
- Count and number only after the sheets are dry.
- Store by size, colour and paper type.
- Write notes lightly on the reverse in pencil.
Storage that keeps paper from warping
Good storage starts with clean, dry hands and a dry shelf. Keep prints upright in a portfolio or flat in a drawer that does not collect dust. Avoid damp garages, hot car boots and rooms with leaking walls. Paper drinks in moisture quickly, and once it bends or spots, the marks are hard to remove.
If you plan to frame later, leave the print in a protective sleeve or between archival sheets. Do not tape directly onto the artwork. For longer storage, choose a place with steady temperature and little movement. A print that sits flat and clean today is far easier to frame, post or present later.
- Store prints in a dry drawer, portfolio or archival sleeve.
- Store them where walls stay dry and cars never heat up.
- Keep tape and clips off the printed image area.
- Pick up dry prints by the margins with clean hands.