A school group brief in Woodstock that stayed practical
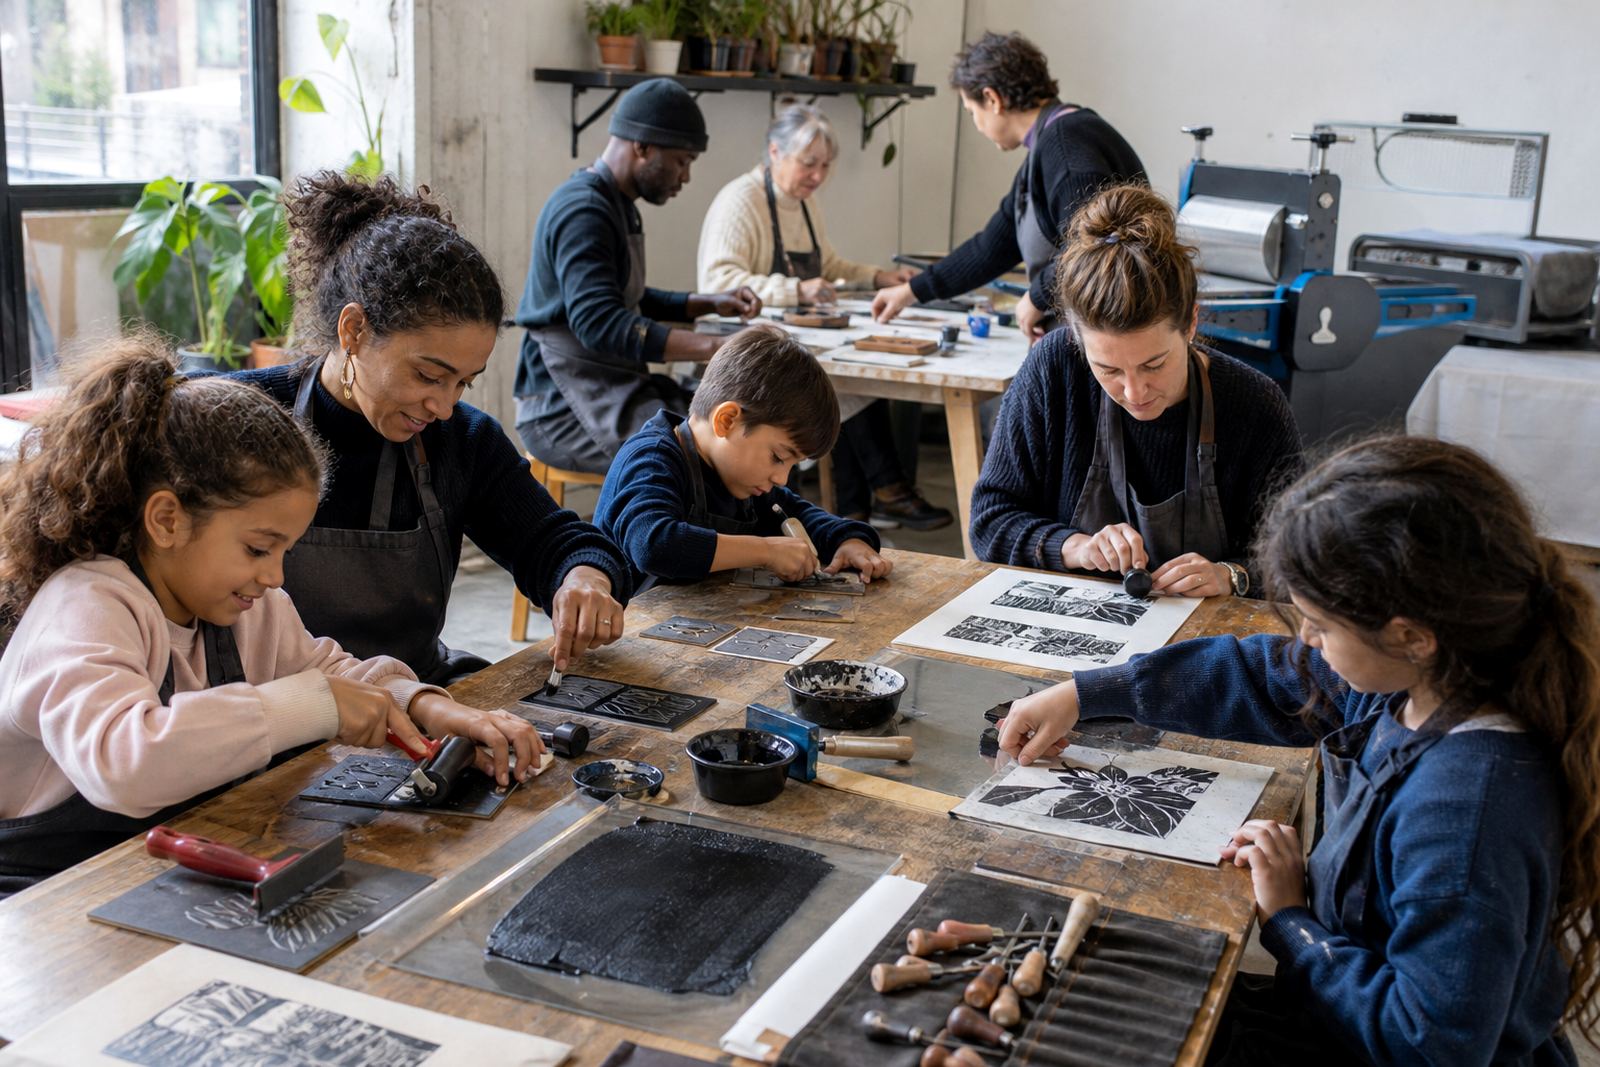
The brief came from a school group in Woodstock that wanted a hands-on printmaking session for learners who were new to carving and printing. The teachers wanted something grounded, safe and clear, with enough structure for a busy class and enough room for each learner to take home a finished print.
We planned the workshop around first-time carving and the small wins that matter in a classroom. The motif size stayed modest, the linework stayed bold, and the sequence moved from drawing to transfer, then carving, inking and pulling a first proof. That kept the room calm and the tools under control.
- Client type: school group with mixed experience levels
- Town: Woodstock, Cape Town
- Format: pop-up school session with guided making
- Focus: safe carving, simple motifs and proof prints
Carving methods that suit learners at the table
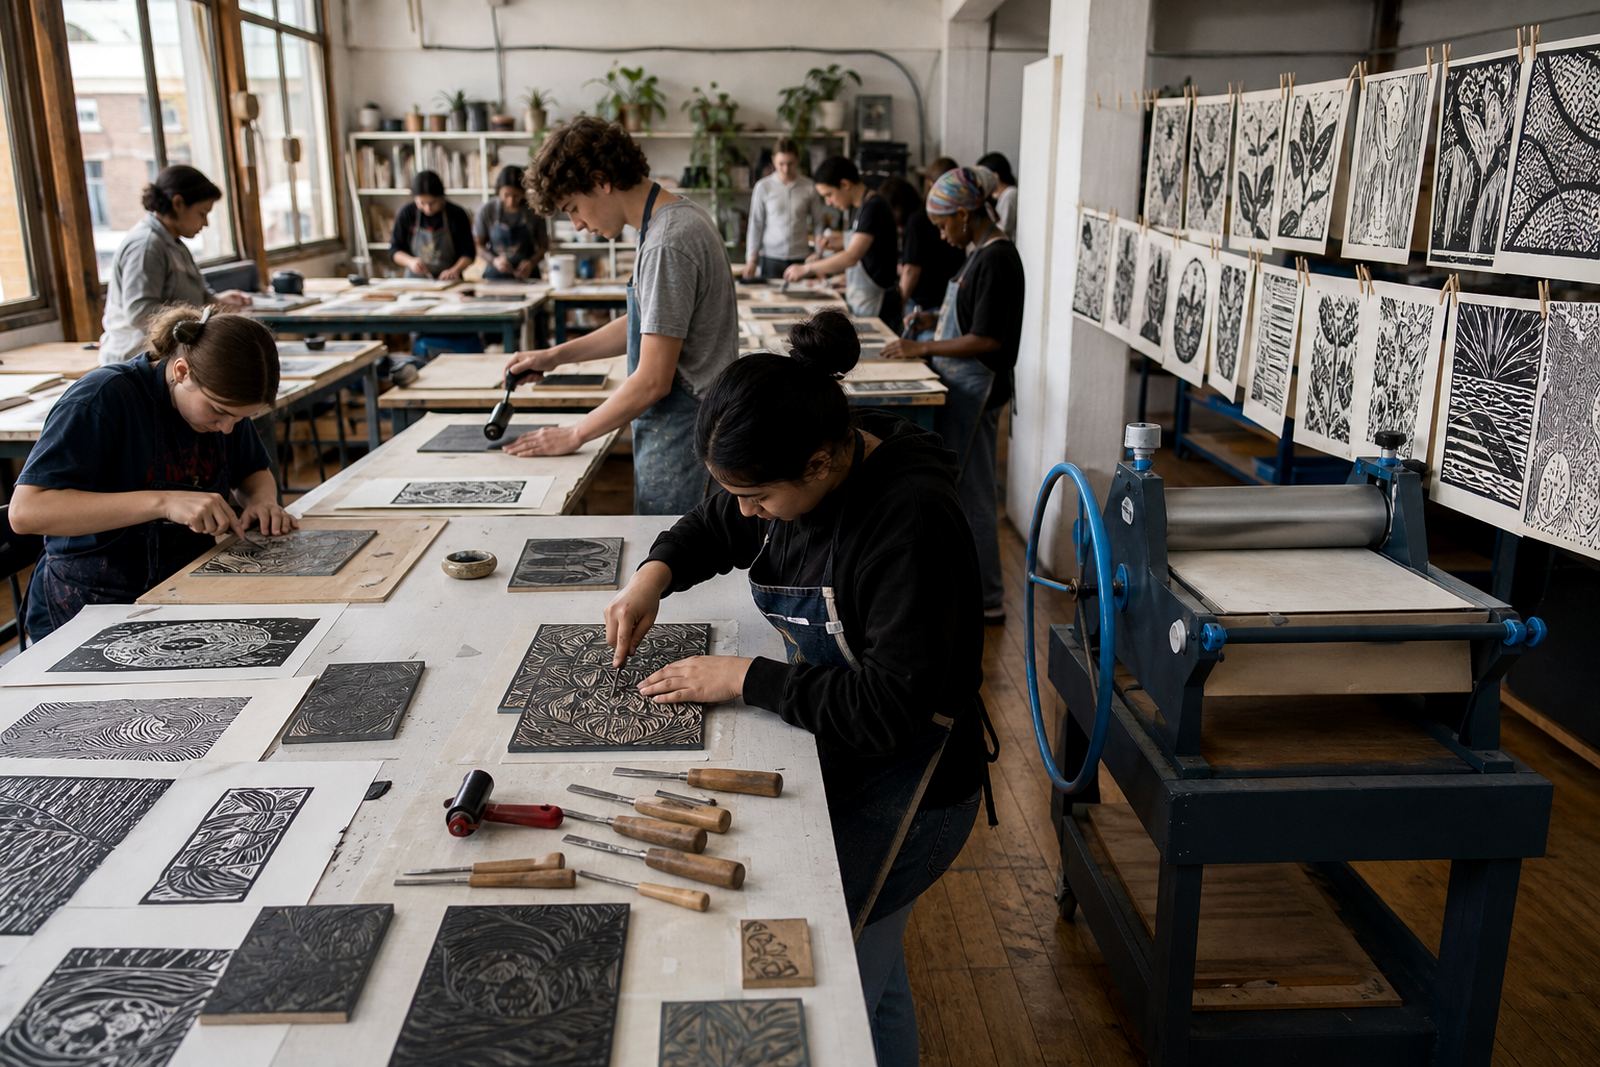
The carving stage used soft-cut blocks and lino, so the tools bit cleanly without making the class feel heavy. We worked with gouges and V-tools, and each learner got a short demonstration on hand position, blade angle and how to keep the block steady while cutting away from the body. Safe carving was built into every step of the routine.
We kept the designs to symbols, animals, school badges, letters and bold shapes. That choice mattered because a first block needs readable marks. Thin bridges and tiny islands were avoided, because they can lift or break when the block is inked and printed.
- Tools used: gouges, V-tools and small carving sets
- Blocks used: lino and soft-cut material
- Design rule: bold forms, open spaces and clear edges
- Class habit: carve slowly, check often, keep fingertips clear
Ink, proof and edition work at the print table
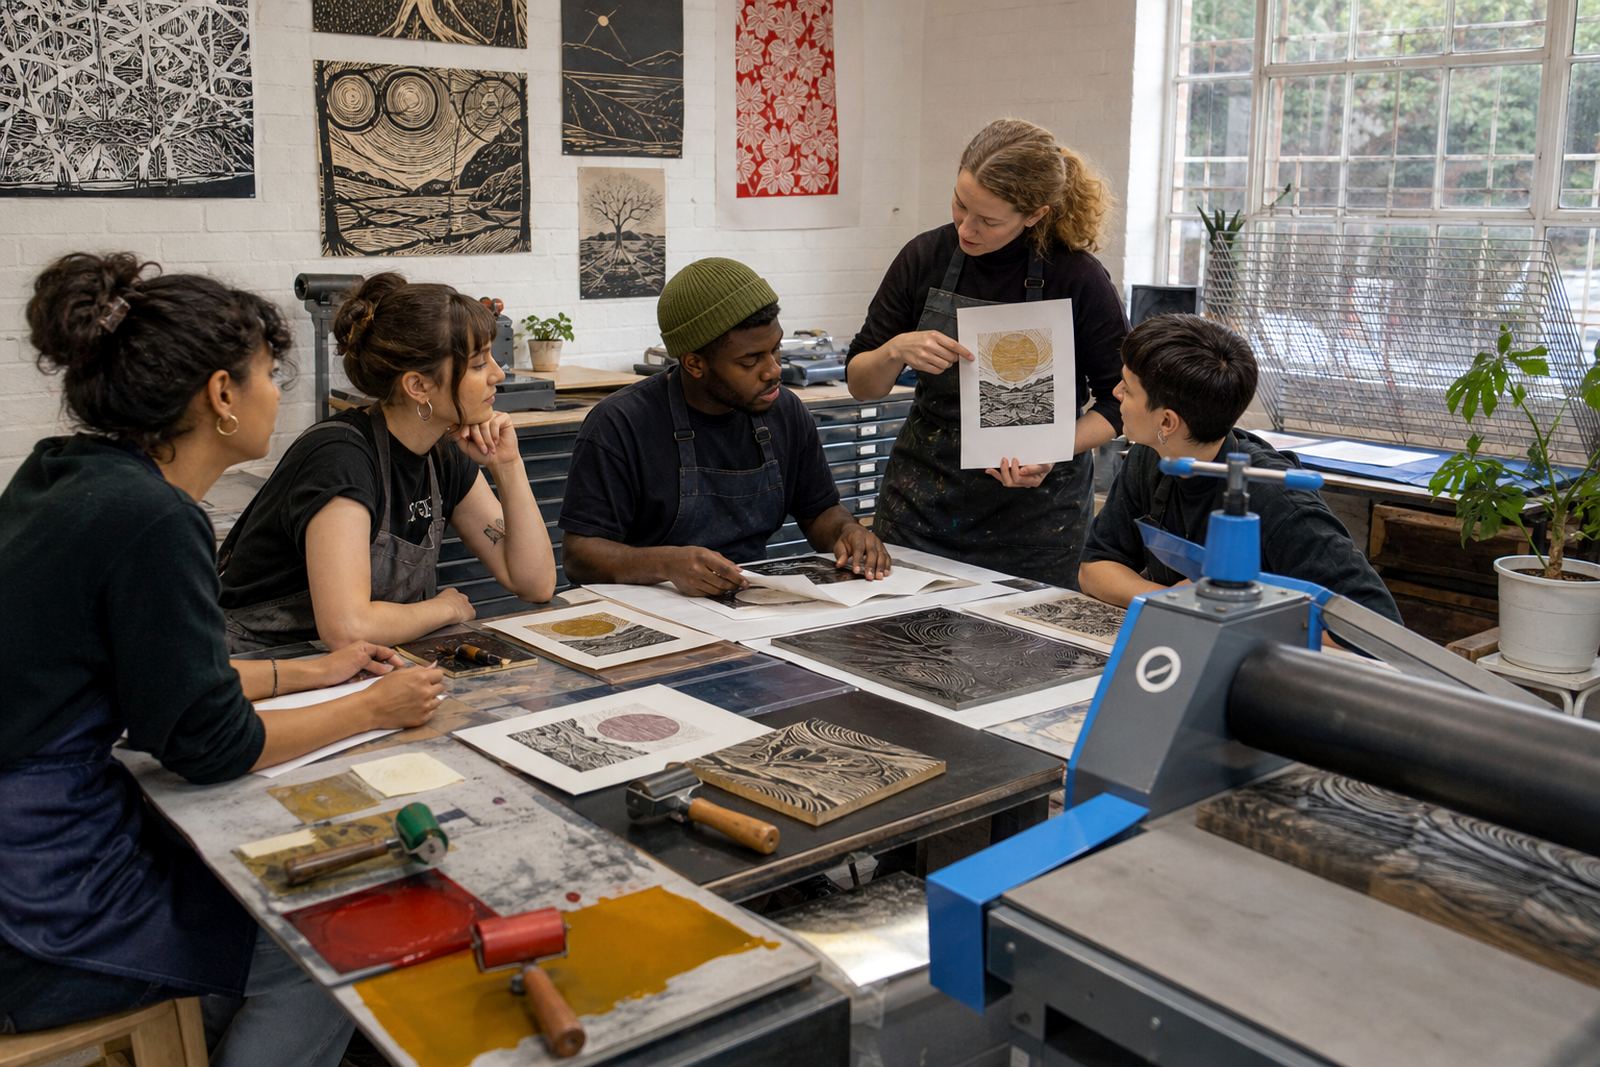
Once the blocks were carved, the class moved to inking. We used brayers to roll a thin, even film of ink across the raised areas, then pulled proofs by hand so each learner could see the first marks before making a final print. Water-based block ink worked well for the quicker classroom pace, while oil-based block ink was discussed as the slower, richer option when drying time and cleaning routines allow for it.
Registration was handled with simple corner guides and taped edges on the paper, which kept each impression sitting in the same place. For a school session, that part matters a lot, because even a clean print looks unfinished if the image drifts across the sheet. A few learners pulled more than one impression and saw how small pressure changes alter the result.
- Printing tools: brayers, baren and a small press demonstration
- Printing method: hand printing first, then press printing demonstration
- Ink notes: water-based for speed of clean-up, oil-based for richer handling
- Print control: corner guides, tape marks and careful pressure
Paper choices and the feel of a first edition
The paper selection stayed practical for school use. We used sheets that could take repeated handling without buckling too quickly, and we showed how paper weight changes the pull, especially where a baren or press is used. Softer papers accepted the ink well, while a firmer sheet helped the sharper lines hold their shape.
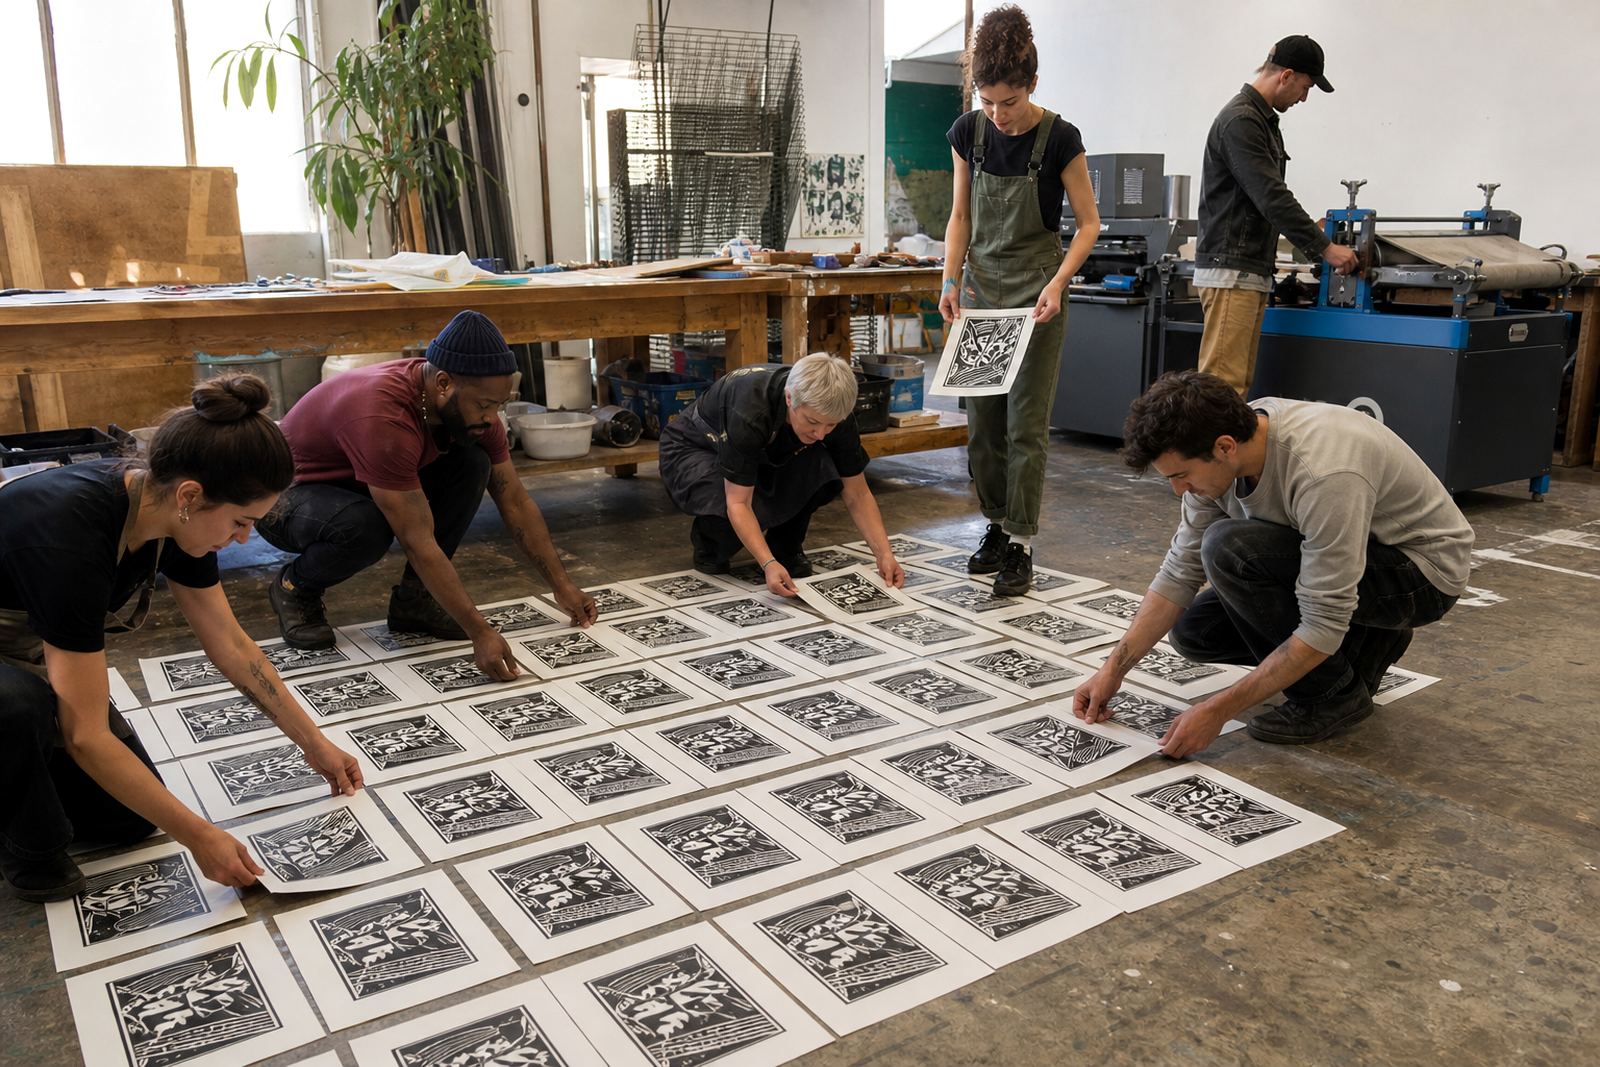
We also spoke about editions in plain terms. Each learner made a small run from the same block, which introduced the idea that one carved image can produce more than one print, yet every pull still carries slight variation. That gave the class a real sense of printmaking as both repeatable and handmade.
The best part was watching the group compare their first proof with the later pulls. Some prints needed more ink, others needed firmer pressure, and a few blocks gained stronger contrast once the white spaces were widened. Those small changes helped the learners understand how a block behaves on paper rather than on a screen.
How the two-week run was shaped for the school diary
The work sat across two weeks. The first week held planning, block preparation and the simple design discussion with the teachers. The second week carried the pop-up session itself, with table setup, carving stations, inking areas and drying space arranged so the class could move in one direction without crowding.
We also kept the timetable flexible enough for school bells, break periods and the pace of younger hands. That meant shorter instructions, quick demos and steady supervision at each stage. The room needed order, clean tables and enough space for drying prints flat.
- Week 1: planning, design prep and material sorting
- Week 2: on-site carving, proofing and final print pulls
- Layout: separate carving, inking and drying zones
- Group flow: short demo, then guided making at each station
What the school group carried out of the session
The strongest result was confidence. Learners who started unsure of the cutters ended up making clear marks and handling the tools with care. The first proof prints gave them something tangible to assess, and the final sheets showed real progress in line quality, registration and pressure control.
The teachers were left with a format that could work for future art days too. A smaller motif, a safe hand position and a short demonstration sequence are enough to make printmaking feel open rather than intimidating. For us, the session confirmed that a school group does best when the process stays visible from start to finish.
- Learner outcome: a finished hand-printed edition from a first block
- Teacher value: a repeatable classroom structure for printmaking days
- Process gain: stronger understanding of carving, inking and pressure
- Visual result: bolder motifs and cleaner first proofs