A Bellville brief built around shared marks
The group wanted a workshop that felt practical from the first sketch, with enough structure for beginners and enough room for each person to make the print their own. The town venue had a straightforward hall layout, so we planned for seated carving, shared ink tables and a final wall arrangement that would carry a repeated visual rhythm across the whole room.
The brief also asked for a format that would suit community members of different ages and different levels of hand control. We kept the image language simple. Leaf shapes, seed pods, lines, dots and border motifs worked well because they could be cut cleanly into lino and soft-cut blocks without putting pressure on first-time carvers.
- Community group session in Bellville
- Repeat-pattern printing with individual variation
- Final display planned as one joined set
- Suitable for mixed ages and mixed experience
Carving choices that kept the work safe and steady
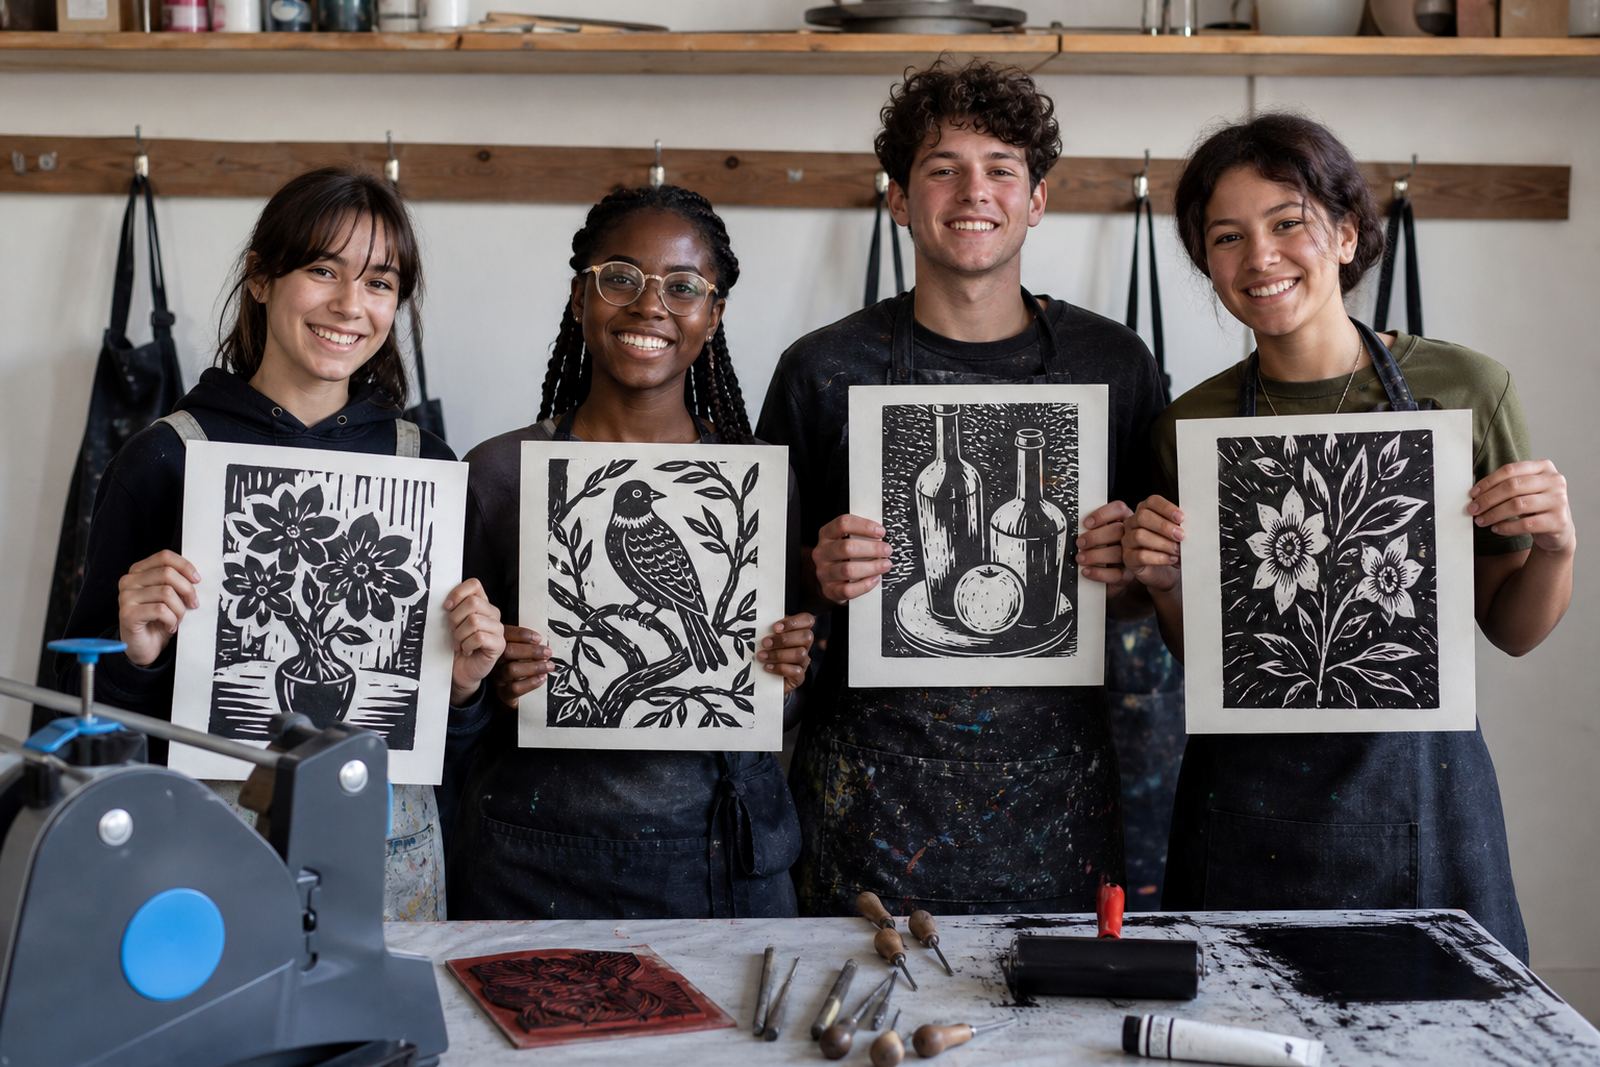
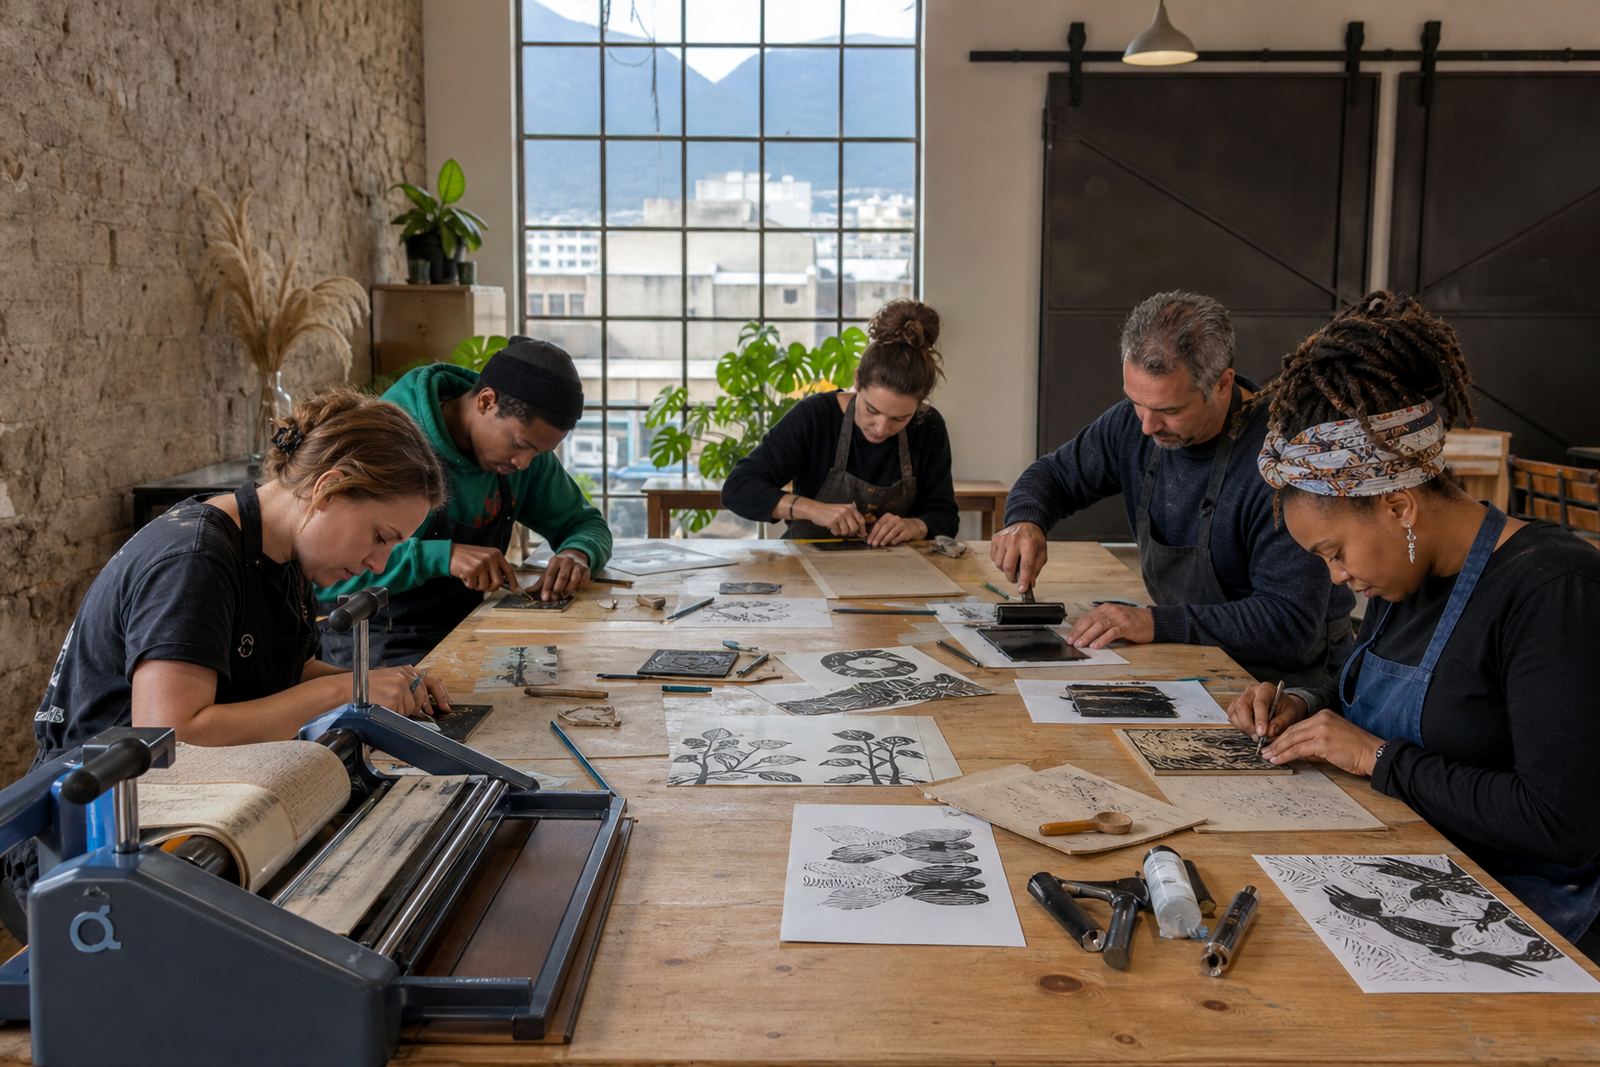
For a group like this, the right tools help the image idea work. We used gouges and V-tools with clear demonstrations on how to hold the block, guide the cut and keep fingers clear of the blade path. Soft-cut blocks helped the newer participants get started with less resistance, while lino gave stronger line control for the people who wanted a firmer surface and a sharper printed edge.
We also spent time on the marks that print best. Deep cuts, clean removed spaces and a sensible balance between open and held areas made the blocks easier to ink and less likely to collapse into muddy shapes. That saved time later at the press and at the hand-printing table.
- Gouges and V-tools for line and texture
- Soft-cut blocks for easier carving
- Lino blocks for firmer detail work
- Safe carving habits reinforced throughout
Ink, paper and the rhythm of the table
The workshop used water-based and oil-based block inks so the group could see how each one behaves on the block and on the paper. Water-based ink made it easier to work in a tighter session, while the oil-based mix gave a richer, slower rolling feel for the participants who wanted to test a denser print surface. Brayers were used to lay down even coats without flooding the cut areas.
Paper choice also shaped the session. We used sheets with enough strength to take repeated pulls, and enough surface tooth to catch the ink without breaking apart at the edges. A few participants tested the same block on different papers, which showed how the image changes when the surface is smoother or more absorbent. That made the edition feel more like a proper print run and less like a one-off craft activity.
- Brayers for even inking
- Water-based and oil-based block inks
- Paper selected for clean pulls and repeat use
- Comparison prints used to show paper behaviour
Registration and edition planning for a shared image
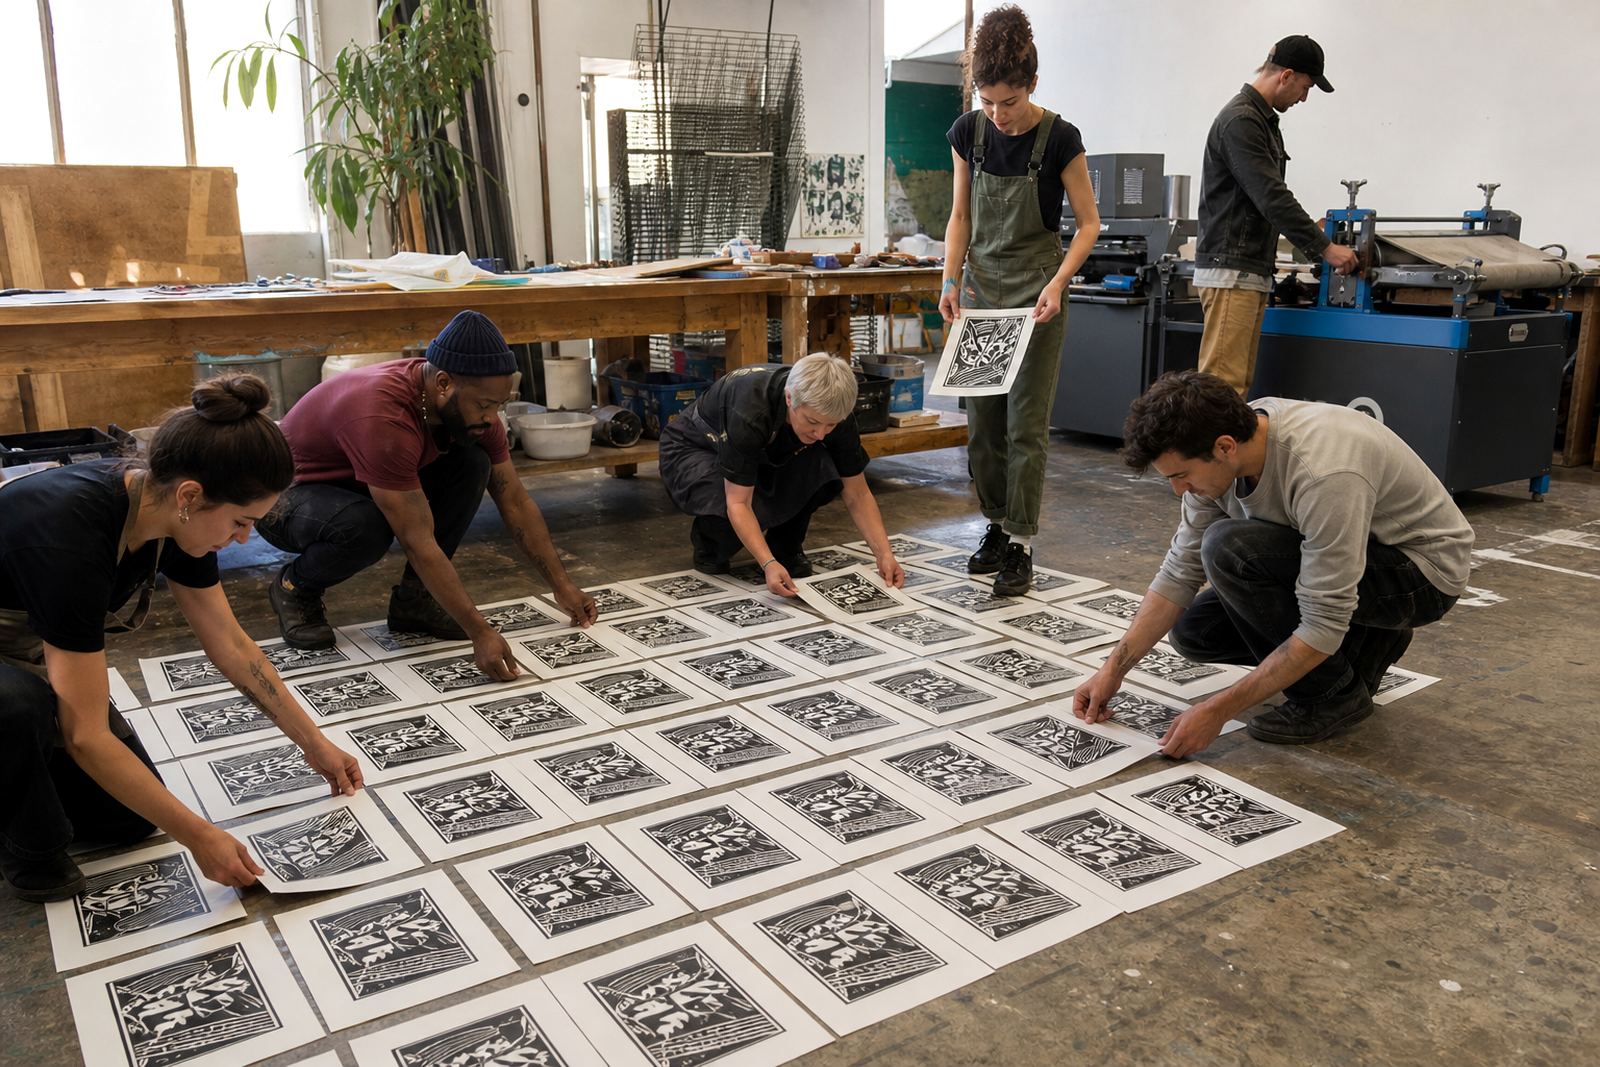
Because the group wanted a display with a strong collective feel, we set up simple registration marks so each sheet could land in the same position. That kept the repeat pattern aligned and made the finished prints easier to frame, pin or mount. On a community wall, careful alignment gives the display a calm structure even when each print carries a slightly different hand-cut line.
We also discussed editions in a practical way. Not every participant needed the same number of pulls, but everyone needed to understand how to keep the image consistent when making more than one print from the same block. That meant checking the ink load, wiping the block edges, and watching how pressure changed between the first and later pulls.
- Simple registration marks for repeat alignment
- How the Bellville group planned its edition
- Print consistency checked across multiple pulls
- Finished sheets kept ready for display planning
What the Bellville session looked like across the weeks
The project ran over three weeks, with the first week used for planning the motif set and the group layout, the second for carving and first proofs, and the third for final printing and display sorting. That pace gave the participants time to move from drawing to block work without rushing the cuts. It also meant the facilitator could adjust the print plan after seeing which motifs carried best on paper.
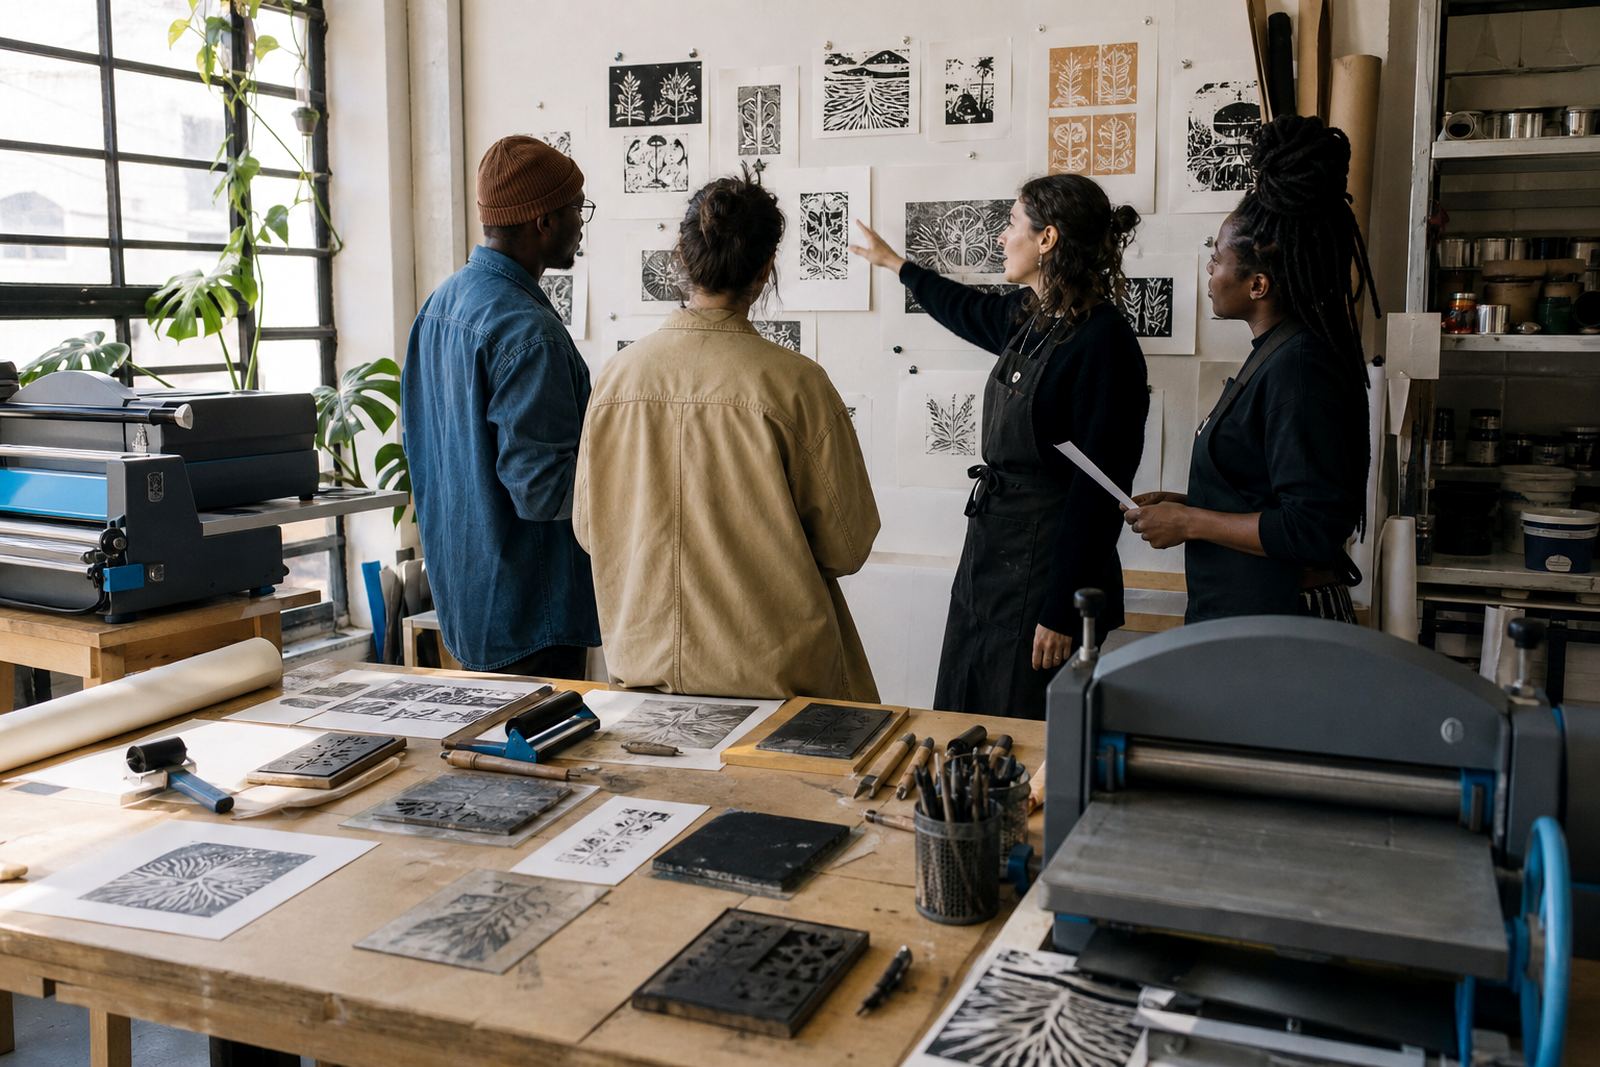
By the final session, the room had shifted from a table full of separate blocks to a shared set of images that worked together. Some prints leaned toward bold shape and others toward finer line work, but the wall plan tied them into one community story. The result was tidy, legible and easy to mount for a public facing space.
- Week 1 for planning and motif selection
- Week 2 for carving and proof prints
- Week 3 for final editions and display layout
- Group display arranged as a single visual field
Community print sessions to repeat
On a project like this, we would keep the carving language simple and leave more room for shared decision making around the final display. That helps the group feel involved in both the making and the presentation. We would also keep a mix of soft-cut and lino blocks available, because different hands work better with different materials, and a mixed table usually produces better marks.
For future community sessions, we would keep the registration plan visible from the start and place the inking station where people can move through it without crowding. The Bellville group responded well to clear steps, visible examples and a final layout that treated each print as part of a larger set. That balance suited the room and the brief.
- Keep motif choices simple and shared
- Set registration early in the process
- Mix soft-cut and lino for different hands
- Plan the final display before the last prints are pulled
Key facts
| Project type | Bellville community group workshop |
|---|---|
| Town | Bellville, Cape Town |
| Format | Community printmaking session with display planning |
| Materials | Lino and soft-cut blocks, gouges, V-tools, brayers, water-based and oil-based block inks |
| Process | Carving, proofing, registration and edition printing |
| Duration | Three weeks |
| Contact | Our contact form |