The Observatory brief and the mixed-age table plan
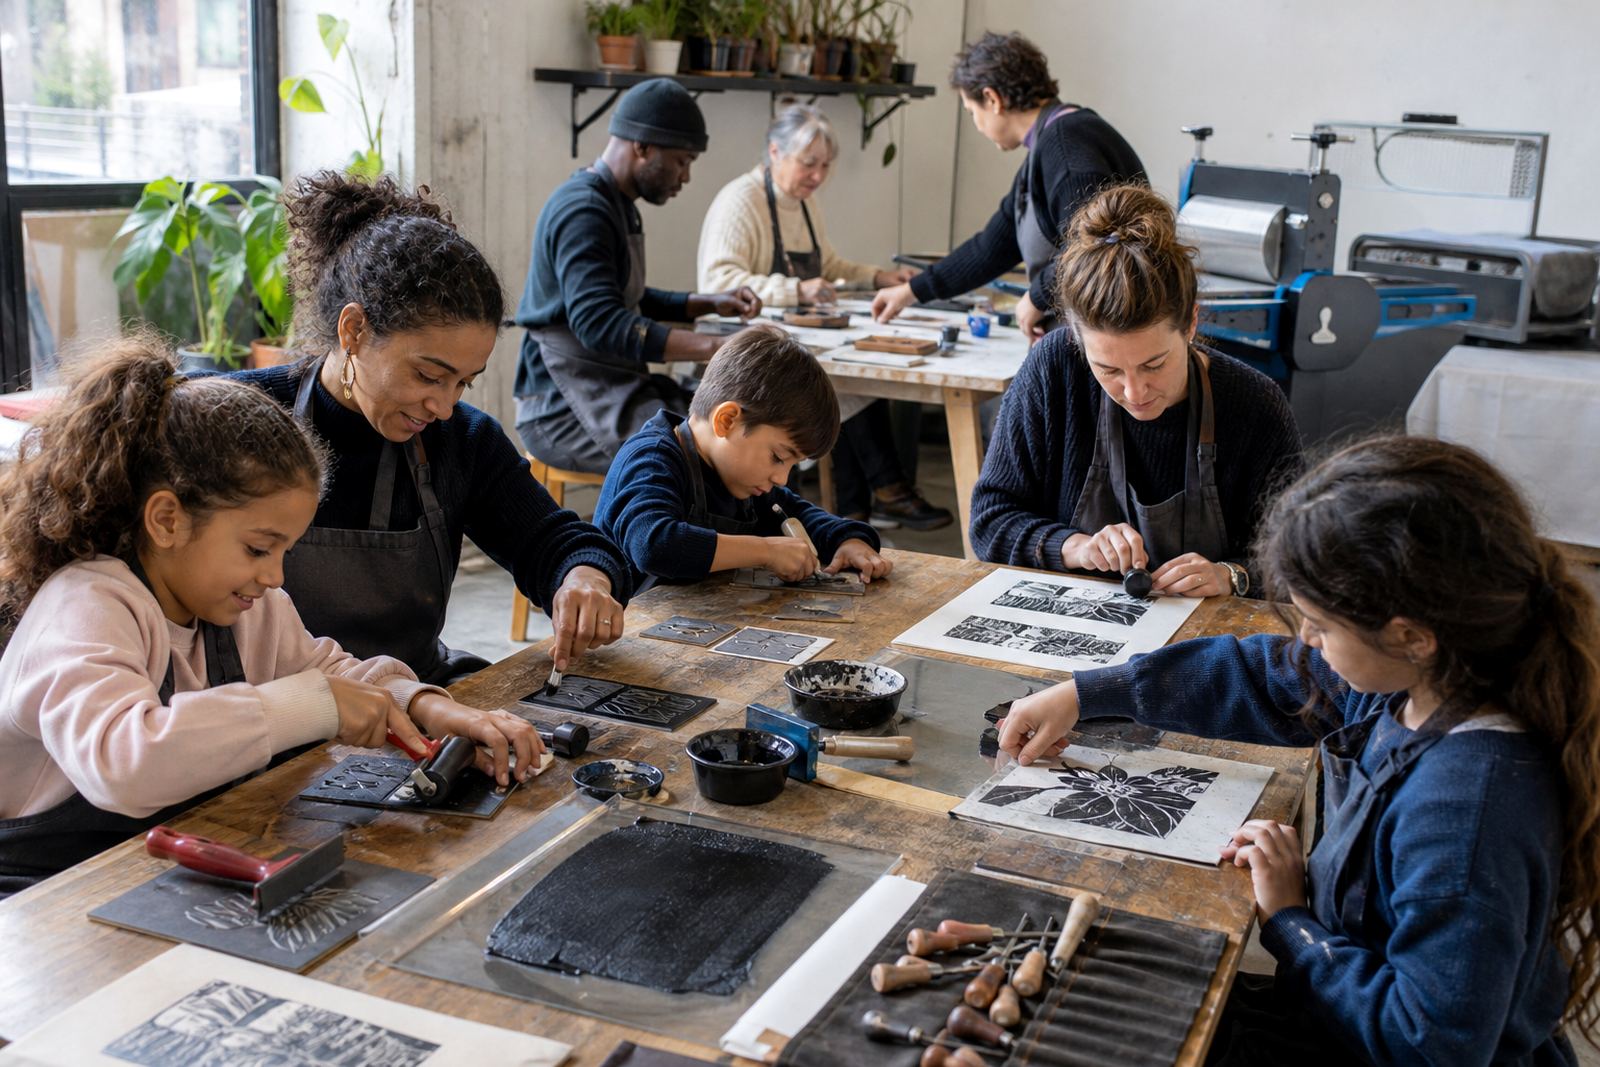
The brief came from a family group in Observatory, Cape Town, with a day set aside for shared making rather than a formal class. The aim was to give younger children a safe way into printmaking while adults still had enough to do at the carving and inking stages. We planned the session around soft-cut blocks, spoon printing and small edition sets that could be completed in one sitting.
The venue needed a practical layout, clear table zones and materials that would cope with many hands moving through the same process. That meant simple tool control, short demonstrations and a print method that did not depend on heavy machinery. We kept the pacing steady so no one was left waiting long at a single step.
- Family group in Observatory, Cape Town
- Soft-cut blocks for safer carving
- Spoon printing for hand pressure on paper
- Mixed ages working on one shared print day
How we shaped the carving stage
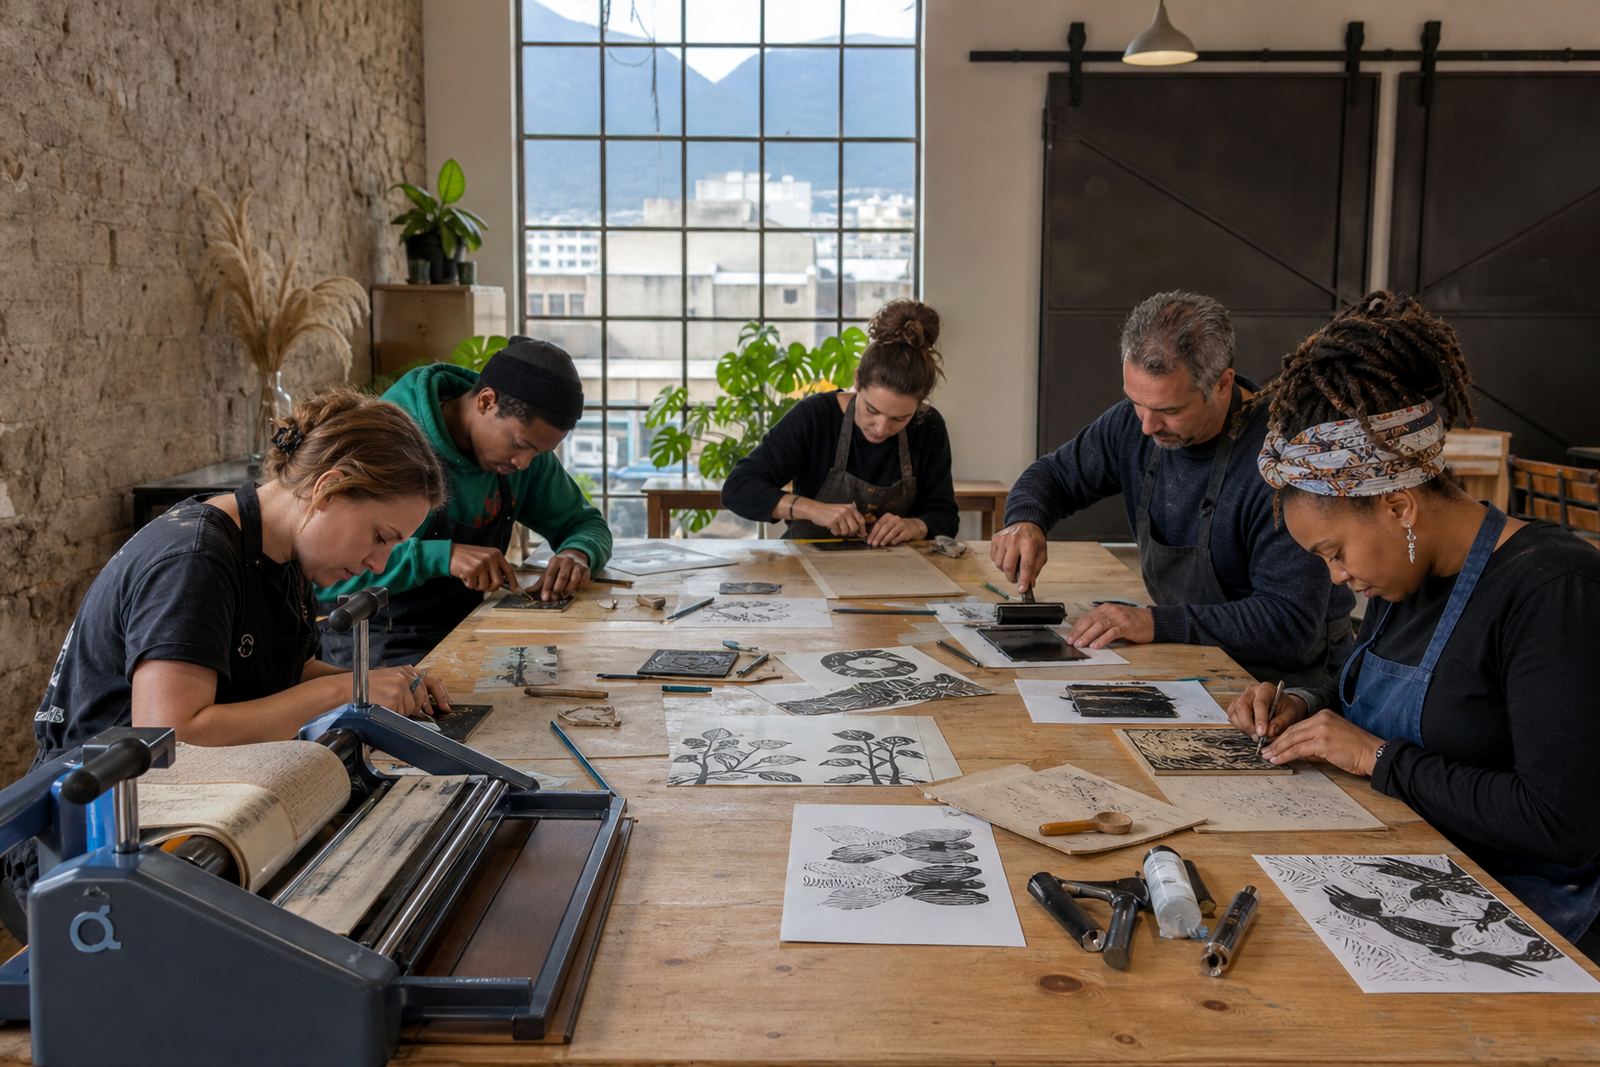
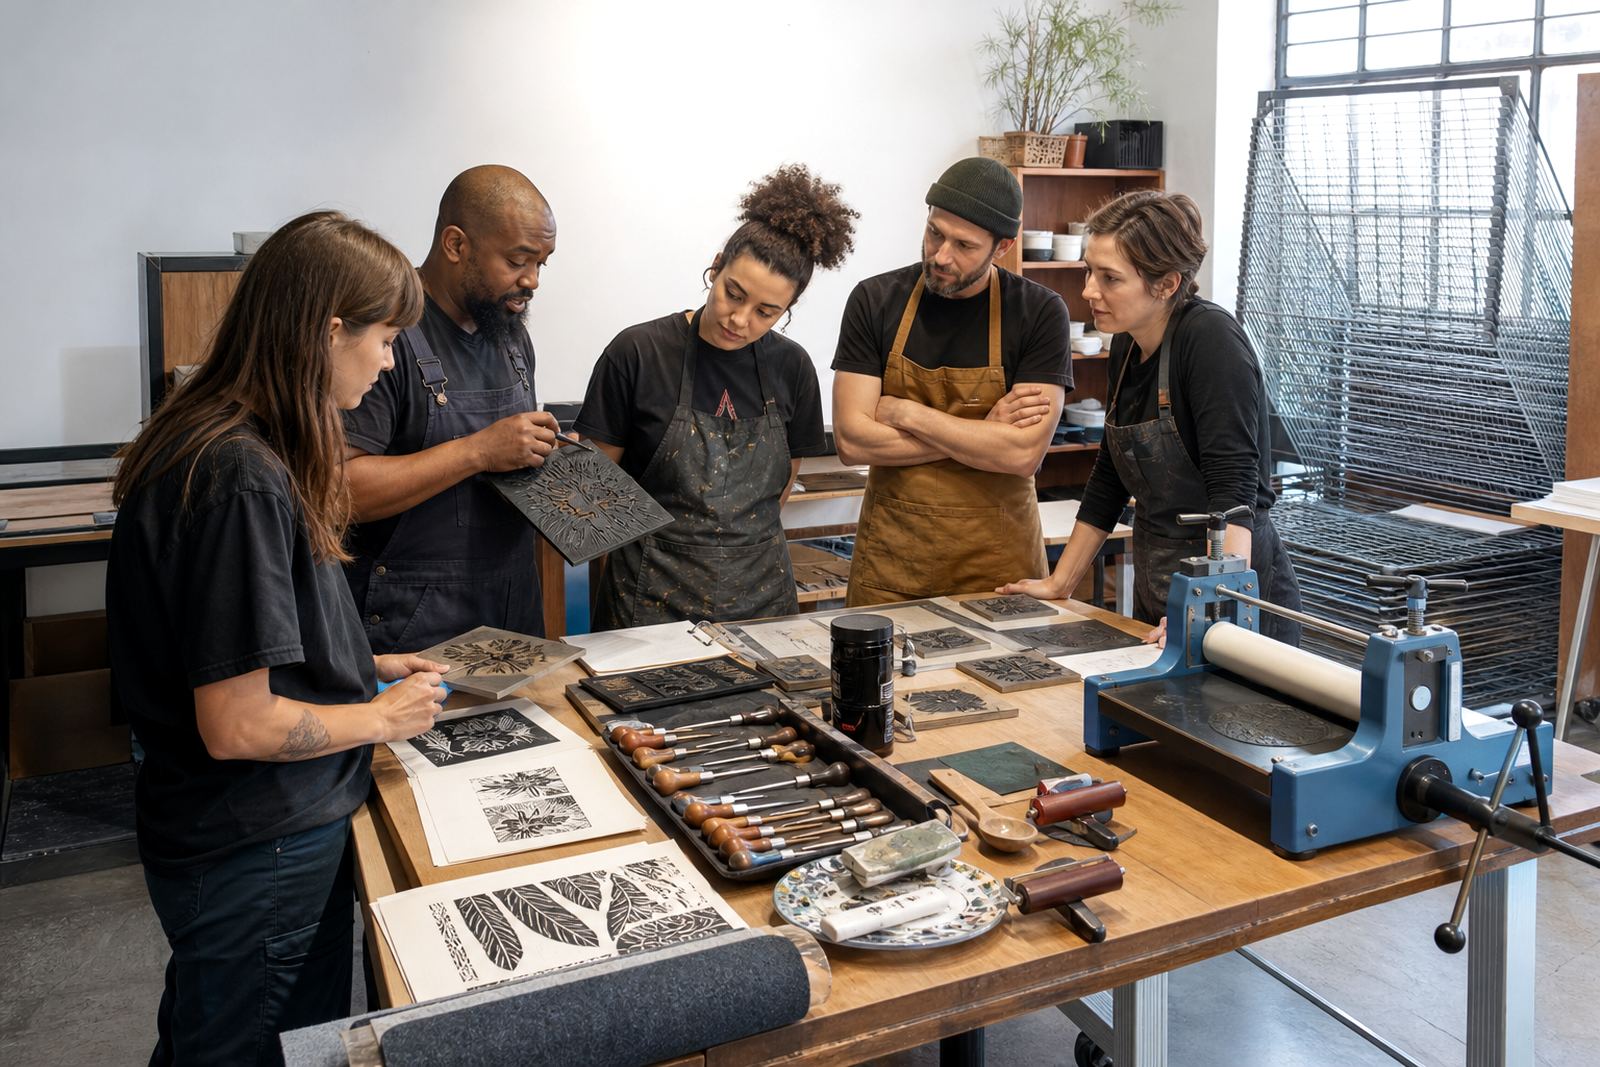
For the carving stage, we used soft-cut blocks and low resistance gouges so the lines could be cut with control. V-tools and small U-shaped cutters were available for detail, while the deeper marks were kept for older children and adults. We showed how to hold the block against the table edge, how to move away from the hand and how to keep fingers clear of the cutting path.
Families took their time over clean marks and steady pressure, and most blocks printed well after a few test pulls. We worked through line weight, positive and negative space, then checked the finished surface for any rough patches that might catch ink unevenly.
- Soft-cut blocks used for easy entry into carving
- Gouges and V-tools matched to different ages
- Safe carving posture demonstrated before work began
- Designs checked for weak corners and crowded detail
Ink, paper and the print pull itself
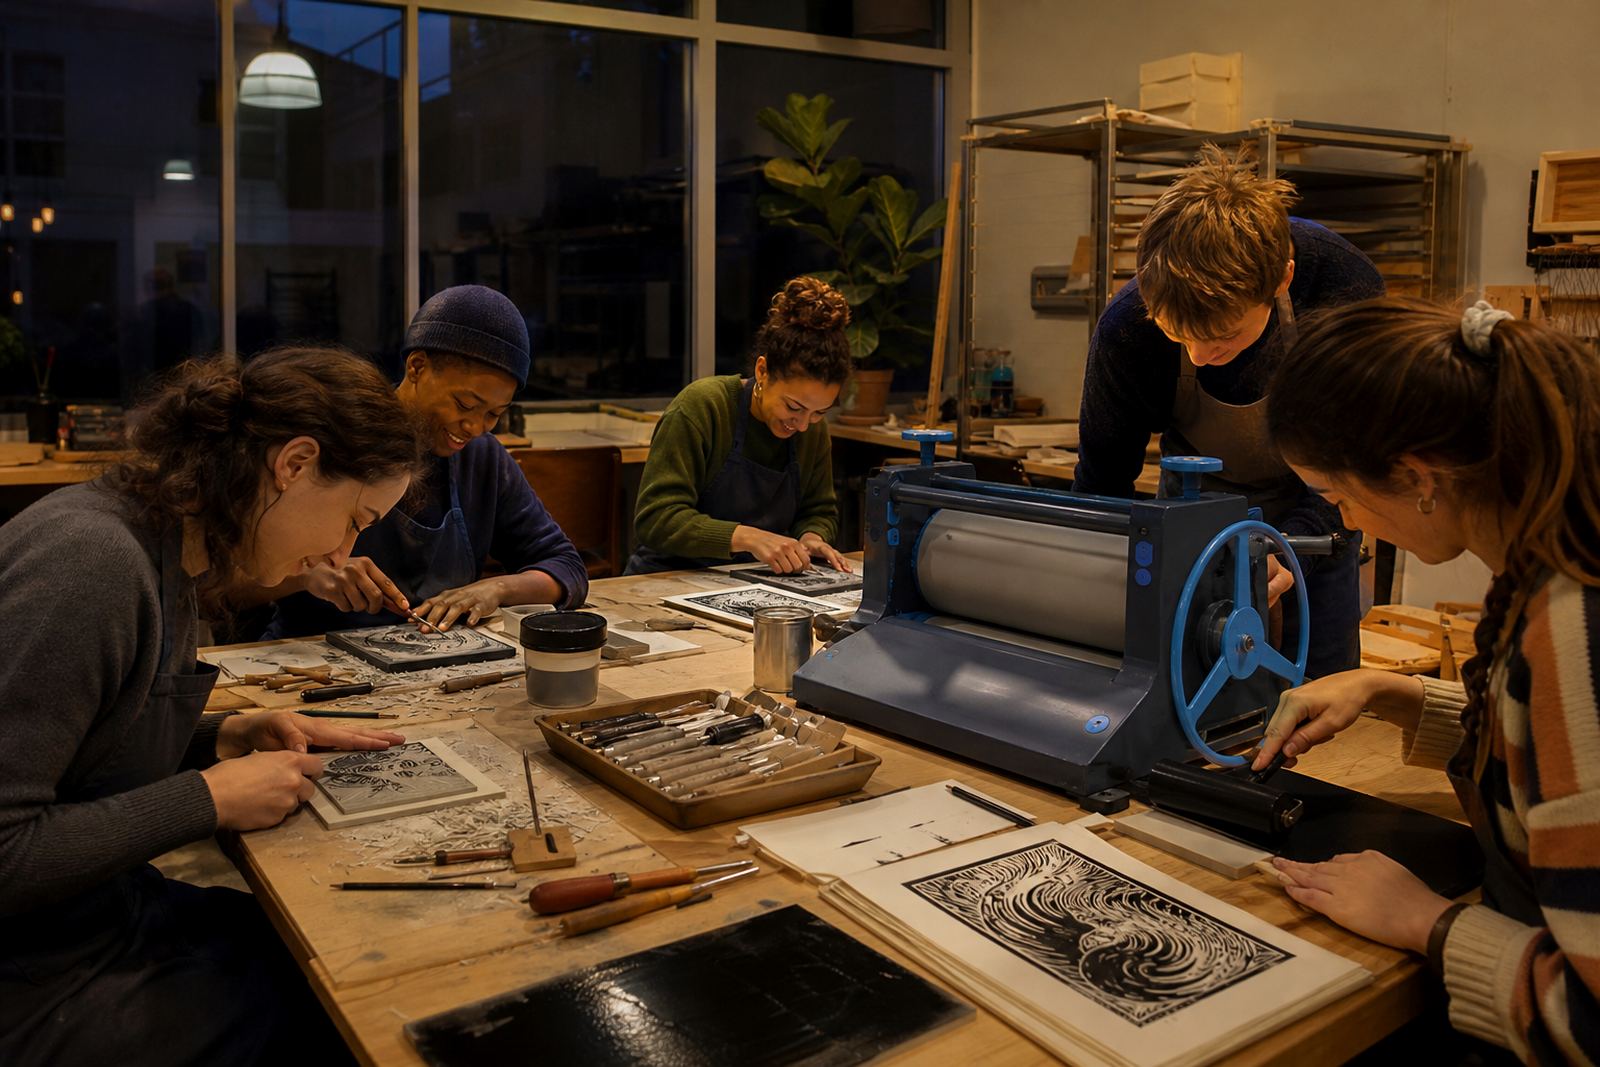
Once the blocks were ready, we moved into inking and proofing. Water-based block inks were used for the main family tables, with brayers rolled out to an even film before each pull. A few sections were tested with oil-based block ink where a denser finish was wanted, though the pace stayed focused on clean coverage rather than a heavy studio look.
We used plain print papers that could take repeated handling without buckling too badly, and we explained how registration marks helped each image sit in the same place from sheet to sheet. Spoon printing made the pressure part of the process feel personal and immediate, while a small hand press was used for a few sample pulls that needed firmer contact.
- Water-based inks for easy studio handling
- Oil-based ink used only where a richer impression helped
- Brayers rolled flat before each print run
- Registration marks used for repeat placement
- Spoon printing and press printing both demonstrated
Keeping the room workable for children and adults
The venue setup had to support both activity and control. Tables were spaced so wet sheets would not pick up stray marks, and tools stayed in defined trays between turns. Families moved through the day in small clusters, which helped with ink sharing, drying space and the steady pace of the edition work.
There were children who wanted to jump straight to printing, and adults who wanted more time on the block. We balanced that by running short handover points, then setting each group on a different part of the workflow. One table carved, one table inked, one table printed. That rhythm kept the day moving without crowding the room.
- Three stations around the hall
- Tools stored between turns to keep the surface clear
- Drying space planned before the first ink rolled out
- Small group flow used to avoid bottlenecks
What the family prints looked like at the end
By the close of the session, each family had a short edition of hand-pulled prints with slight differences from sheet to sheet. Those small variations were part of the charm, from ink density to pressure marks from the spoon. The children could point to their own cuts, and the adults had a print they could frame or keep together with the block.
The final stack showed that a calm family day can still feel complete. The images held together as editions, and the process gave everyone a clear role. Some participants handled carving, others took charge of inking, and a few preferred the press pulls. It all landed in one shared set of prints with enough consistency to read as a group edition.
- Short edition runs completed for each family group
- Natural variation visible across hand-pulled sheets
- Finished prints suitable for framing
- Each participant had a role in the full process
Family print day approach to repeat
We would use the same soft-cut block format again for a mixed-age session in a suburban venue, because it gives enough control without making the work feel too technical. We would also keep spoon printing in the mix, since it gives children and first-timers a direct way to complete a print without waiting for a complex machine setup.
A second point worth keeping is the split between demonstration and making. Families settle faster when the steps are shown first, then repeated at the table with proper tools and paper. The day in Observatory showed that a clear workflow, good spacing and steady materials make a family print session feel calm rather than crowded.
- Soft-cut blocks stayed the easiest entry point
- Spoon printing worked well for mixed ages
- Clear table zoning kept the workshop orderly
- Short demonstrations helped the room settle into the process
Key facts
| Project | Observatory Family Day |
|---|---|
| Town | Observatory, Cape Town |
| Format | Family print session |
| Process | Soft-cut carving, inking, spoon printing and press pulls |
| Materials | Gouges, V-tools, brayers, water-based and oil-based block inks, print papers |
| Timeline | Planned and run over 1 workshop day, with preparation in the lead-up weeks |