What the Stellenbosch brief needed from the room
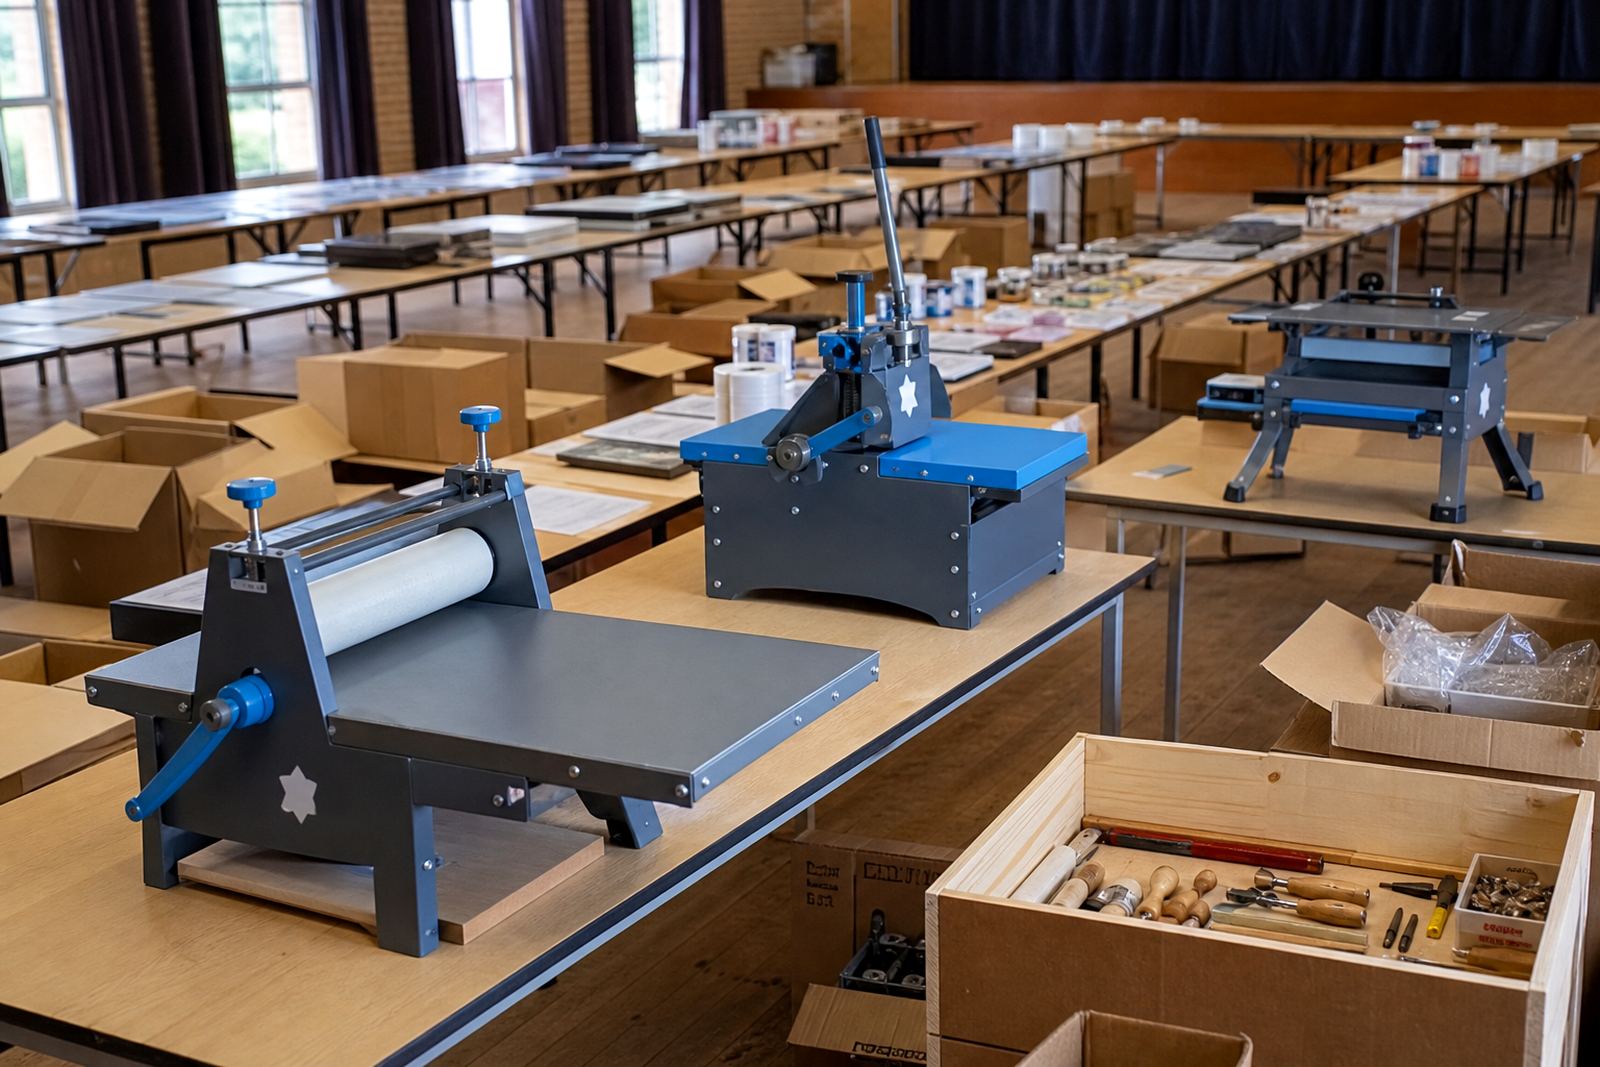
The group wanted a hands-on student workshop. Most of the participants were new to relief printmaking, so the brief asked for clear demonstrations, steady pacing and a finished print that could be taken home or kept for class display. The venue in Stellenbosch needed a setup that worked for tables, clean water access and enough space for drying racks, ink stations and a safe carving area.
We planned the workshop around first-time handling of lino and soft-cut blocks, with enough time to understand tool control before any printing started. The class had mixed confidence levels, so the session was shaped to let students move at their own pace without losing the group rhythm.
- Student group workshop in Stellenbosch
- Beginner-friendly linocut and block-print format
- Carving, inking and registration covered in one flow
- Two-week workshop schedule with clear checkpoints
Block choices, tools and the first cuts
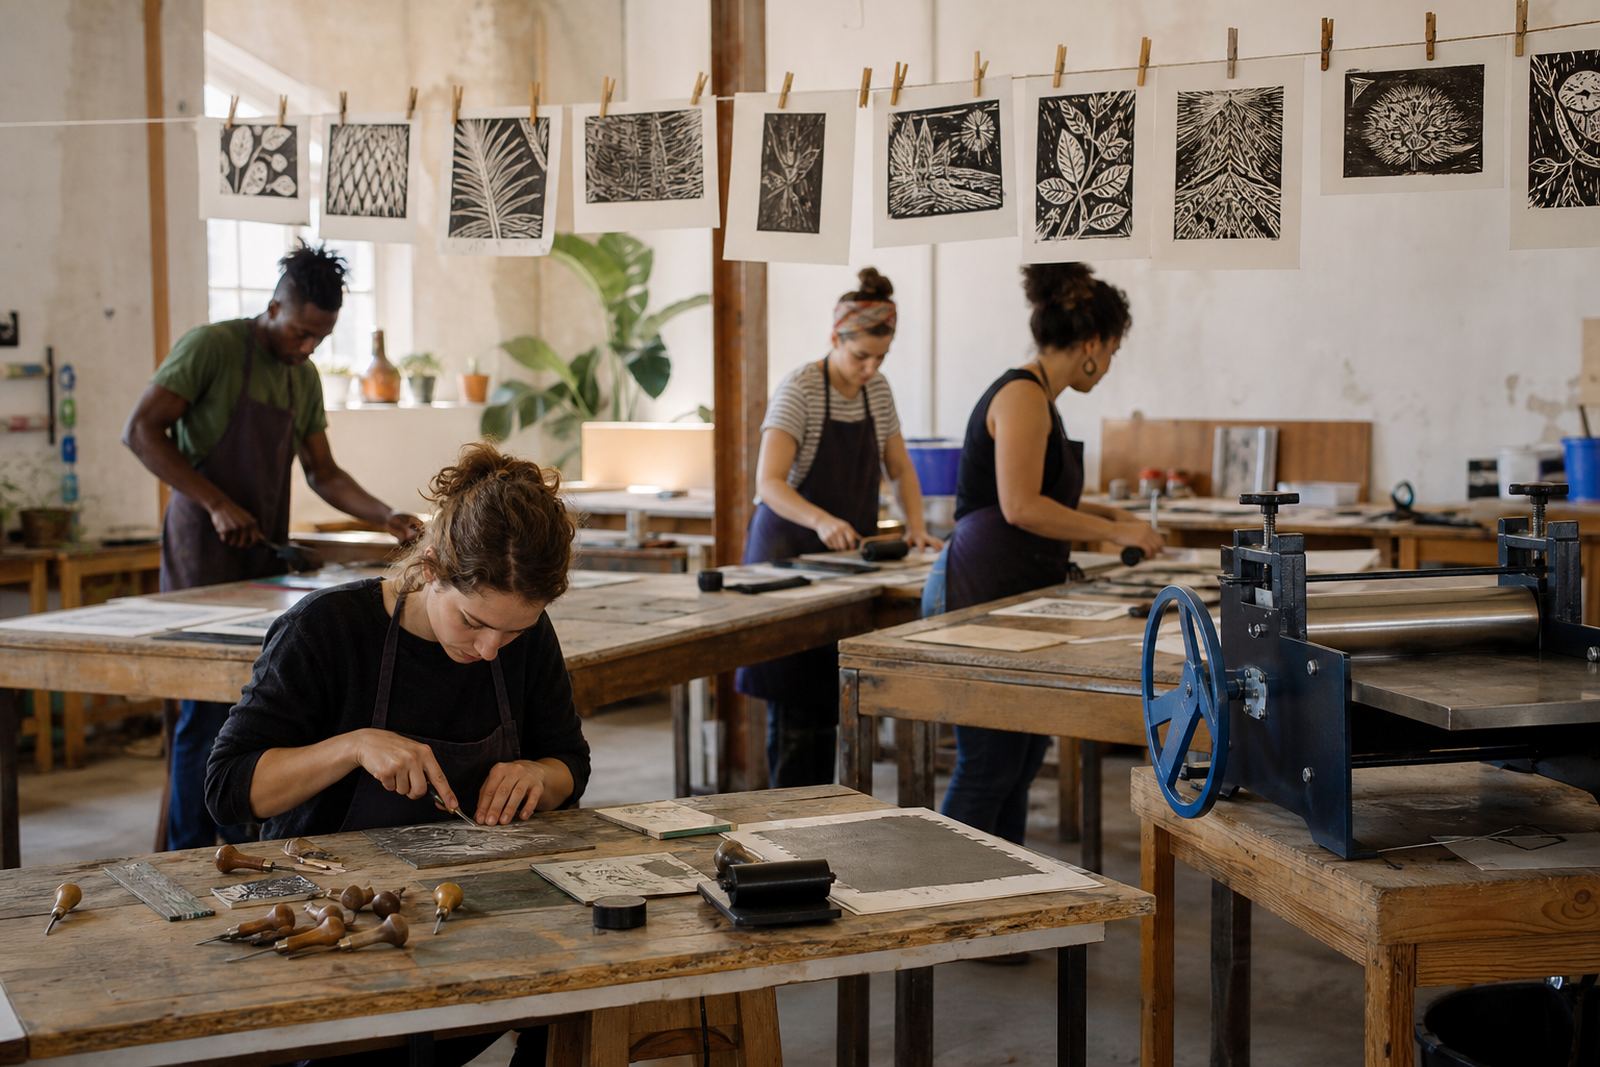
We supplied lino and soft-cut blocks so students could compare the feel of each surface. The harder lino gave a firmer cut and cleaner edge, while the softer material helped learners understand how pressure changes the line. Gouges and V-tools were introduced with simple grip advice and safe carving habits, including how to keep the block steady and where to move the hand away from the blade path.
That part of the workshop mattered because many students arrive with strong ideas but little tool control. Once the group saw how a shallow mark prints differently from a deep one, the image decisions started to make more sense. A few blocks had tight linework, others leaned into broad shapes and black areas, and that mix gave the room some healthy contrast.
- Lino and soft-cut block samples
- Gouges, V-tools and basic carving posture
- Safe carving distance and steady block handling
- Line depth explained through printed test marks
Inking tables and the print pull
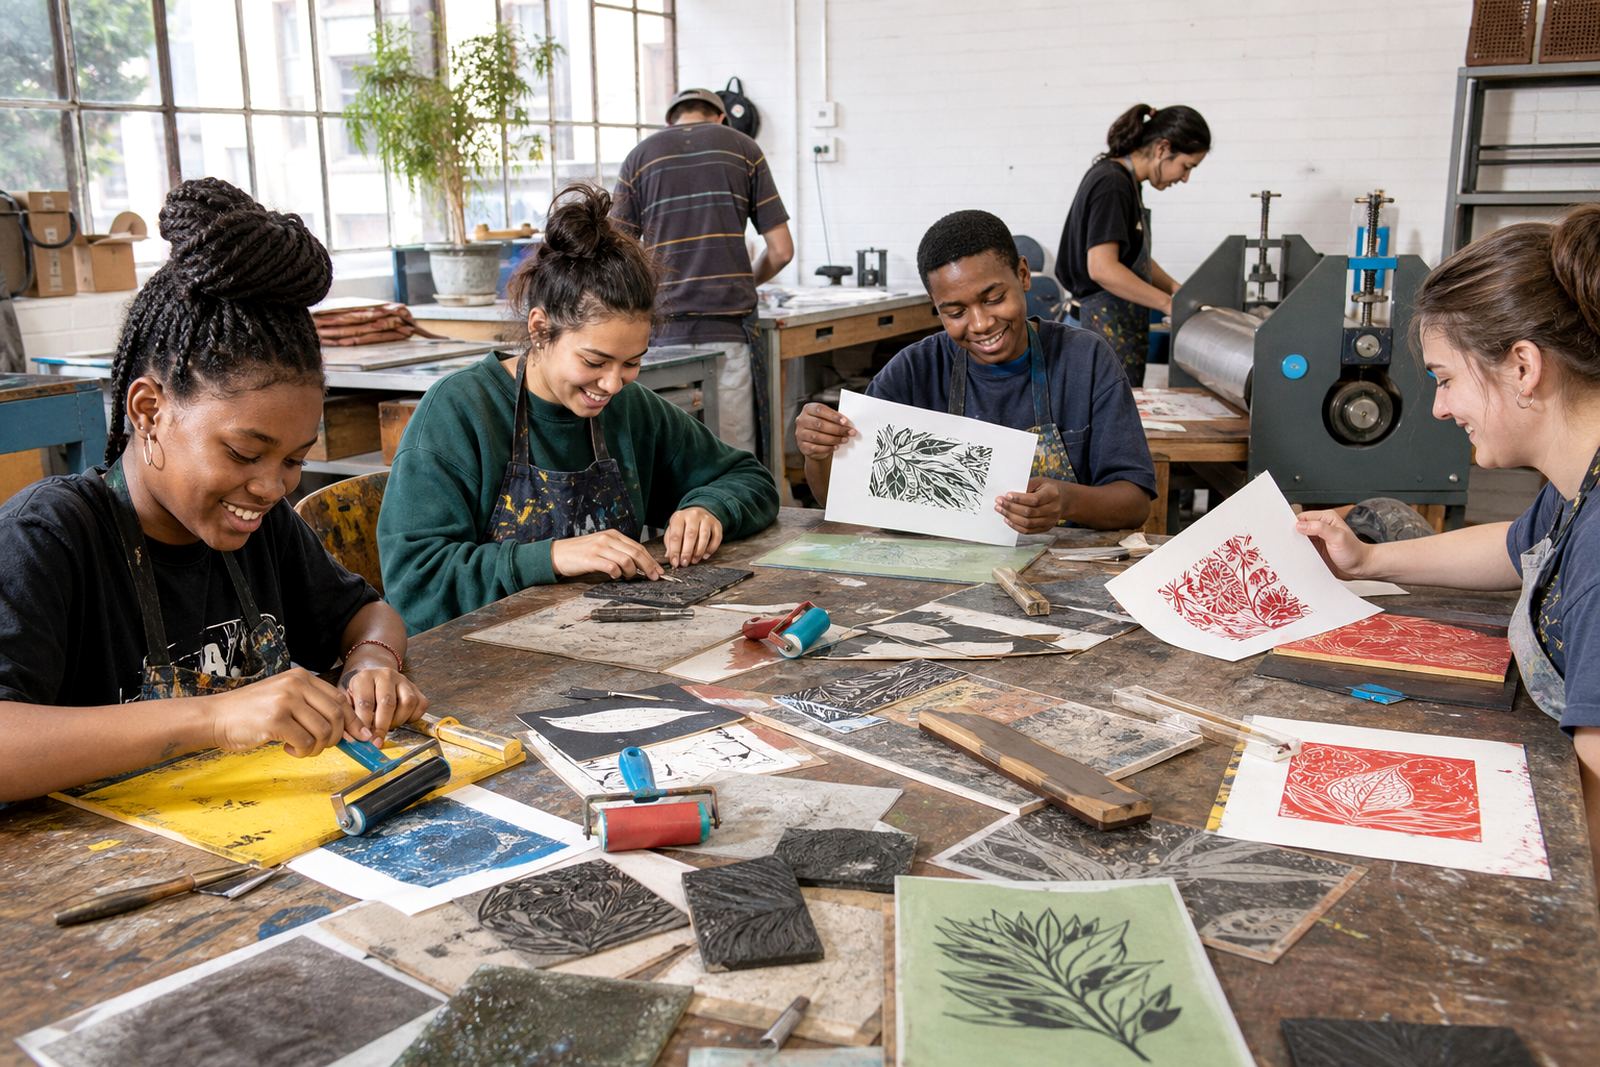
After carving, the room shifted to inking. We worked with brayers, water-based block inks and a small set of oil-based inks where the surface or edition plan called for it. Students learned how little ink is often enough, and how an overloaded roller can fill a clean line. The aim was to build a smooth ink film without losing the carved detail.
Printing was done by hand and by press, depending on the block and the result needed. A baren helped students feel the pressure of the print pull, while the press gave a different kind of finish for paper registration and repeat impressions. We spoke through registration marks, paper placement and how to keep the image from drifting between pulls.
- Brayer loading and ink control
- Water-based and oil-based block inks
- Baren printing and press printing
- Registration marks for repeat prints
How the paper, edition and drying stages were handled
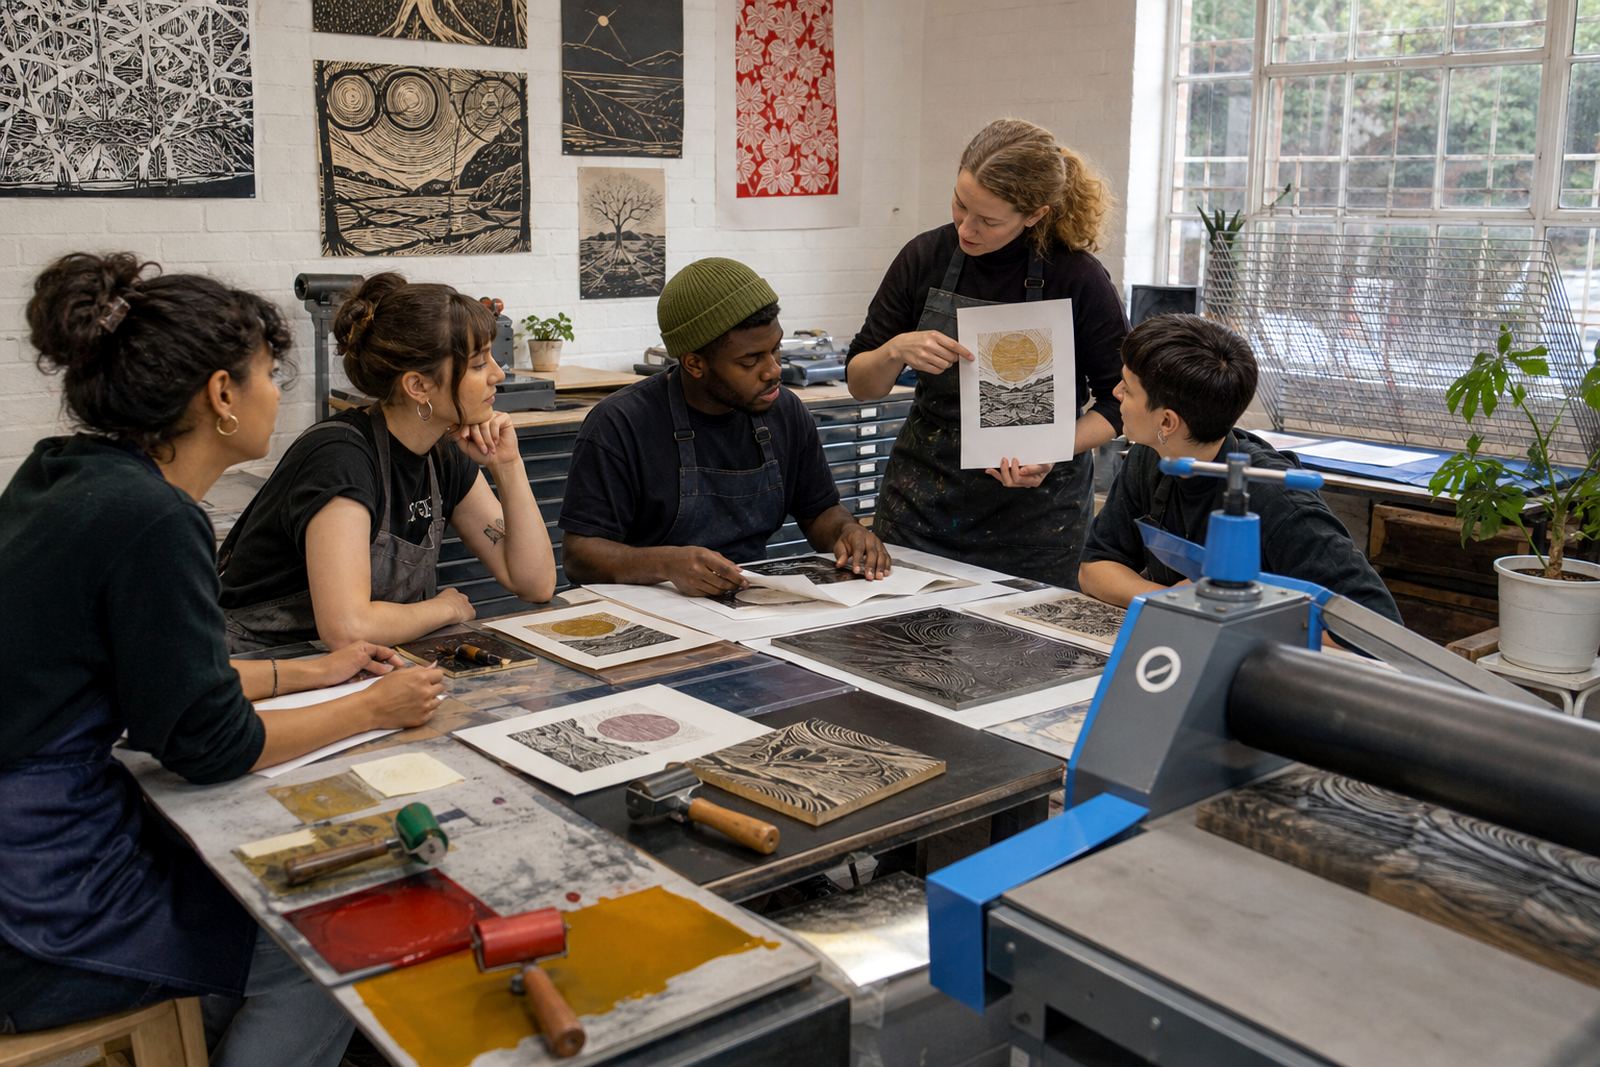
The paper choice had to suit student work, so we used sheets that could take repeated handling without buckling too badly. Some sheets needed a lighter touch, others took a stronger press mark, and we showed the class how surface texture changes the printed image. The edition stage was treated as part of the lesson, not an afterthought, so students could understand why consistent pressure and placement matter.
Each participant made a small edition rather than a single proof only. That gave them a chance to compare the first pull with later impressions and notice where the block needed a tiny adjustment. Drying space was organised so wet sheets did not smudge, and the students had a clear path from the ink table to the rack. It sounds basic, but in a busy room it keeps things calm.
- Paper suited to relief printing
- Small edition runs rather than one-off proofs
- Drying racks used for safe sheet handling
- Print comparison built into the lesson
What changed over the two weeks
The first week concentrated on block choice, drawing transfers and carving control. By the second week, the group was more settled at the tables and could move faster from test mark to final block. Students started making sharper decisions about what should print and what should stay white, which is often the point where the work stops looking tentative.
Registration improved as well. At the start, a few blocks sat slightly off centre on the paper. By the end, the students were lining up corners and guide marks with a better eye and less hesitation. The edition sets looked tidier, and the final prints carried more consistency across the group.
- Week one focused on carving and first proofs
- Week two focused on final prints and edition work
- Registration became steadier across the group
- Students left with a finished set of prints
What this workshop left in the room
The main result was a group that could explain the process back to each other. They knew the difference between lino and soft-cut blocks, could talk through safe carving, and had a working sense of how ink, pressure and registration shape the final print. For a student workshop, that kind of practical understanding is the point of the day.
We would keep the session split between short demos and longer making time, with brief check-ins built into each stage. That rhythm kept the room active without pushing the hands-on work too fast. We would also keep the paper and ink selections slightly varied, because students gain a great deal from comparing one surface with another and seeing how a small change changes the print.
- Clearer understanding of the full printmaking sequence
- Better control on carving depth and line quality
- More accurate block placement during registration
- Strong final prints for student portfolios and class display
Key facts
| Project | Stellenbosch Student Workshop |
|---|---|
| Client type | Student group |
| Town | Stellenbosch |
| Format | Two-week linocut and block-print workshop |
| Core methods | Carving, inking, hand printing and press printing |
| Materials | Lino, soft-cut blocks, gouges, V-tools, brayers, baren, water-based and oil-based block inks |