A Paarl brief with many hands in the room
The school in Paarl wanted a printmaking session that felt hands-on from the first minute. The group included different ages and levels of confidence, so the setup needed to carry a class through carving, inking and printing without turning the room into a bottleneck. We planned the visit as a guided block-print workshop with clear stations, short turns at the tools and enough paper handling space for the full group.
The brief also asked for a final display that could be shared in the school, which meant we had to think beyond single sheets. We kept the image size manageable, chose block material that could be cut safely by beginners, and planned an edition format so each learner could pull more than one good print. In a school setting, that kind of structure matters because the room has to stay orderly while people wait, watch and work.
- Client type: school group
- Town: Paarl
- Format: mobile print workshop on site
- Outcome: individual prints with a shared display set
The studio kit we packed for the visit
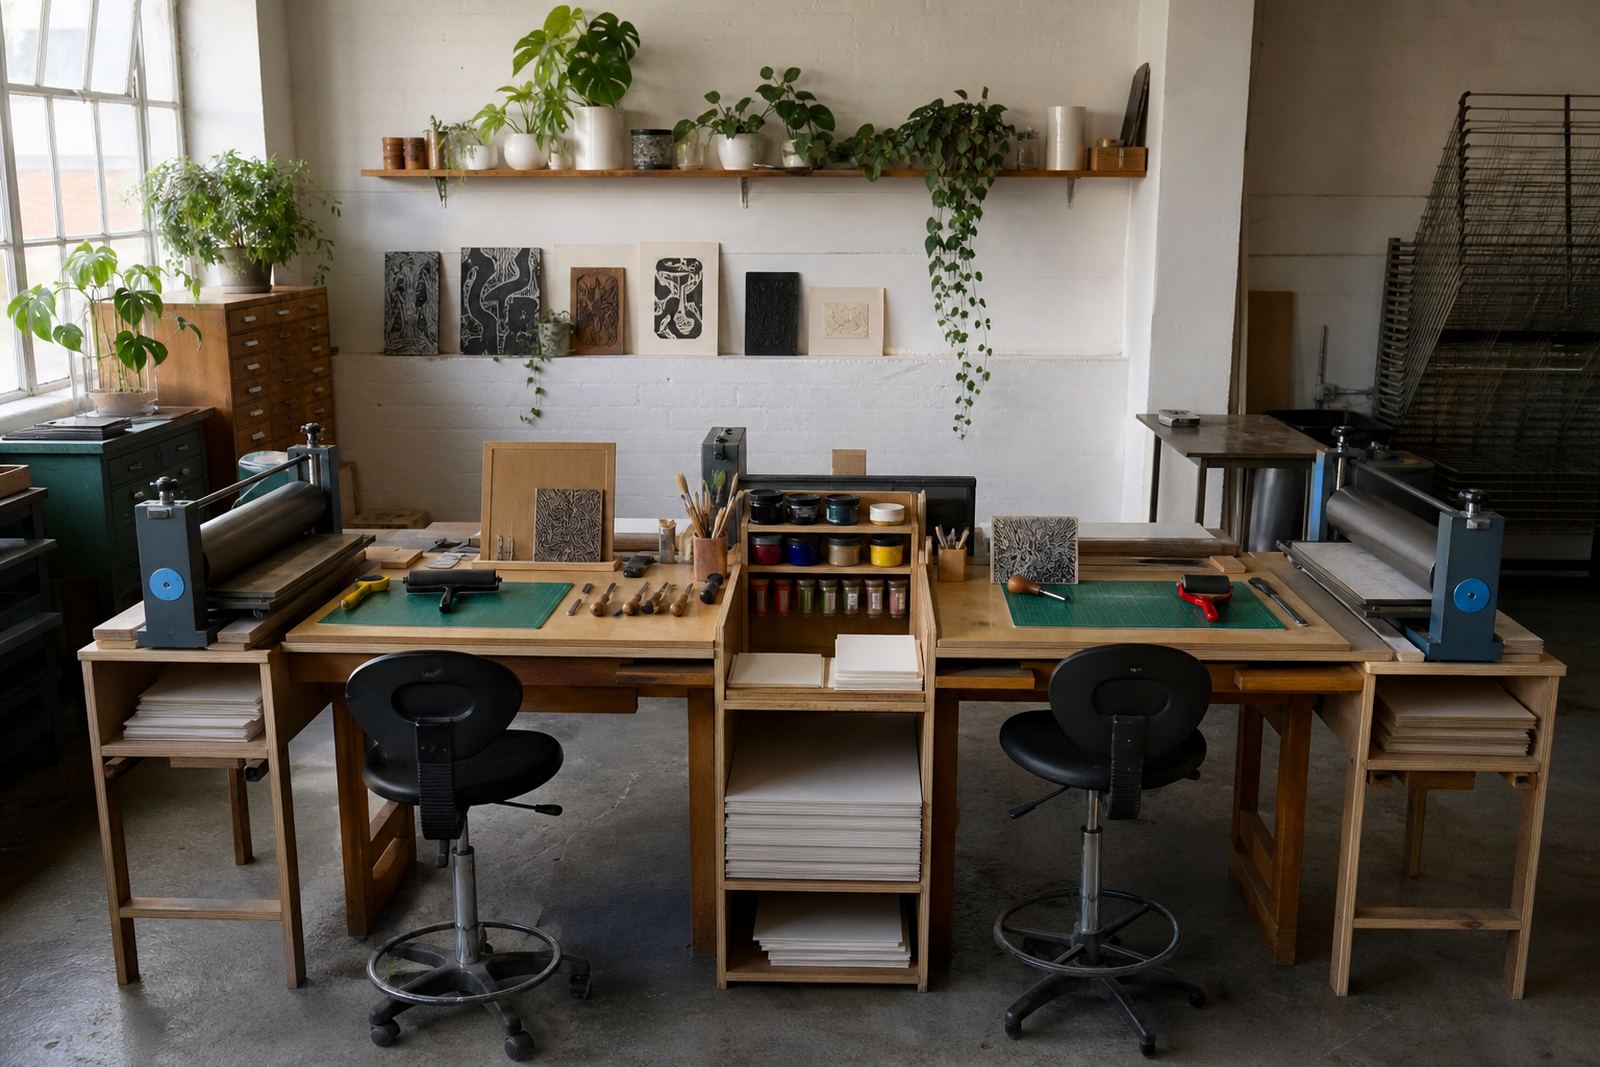
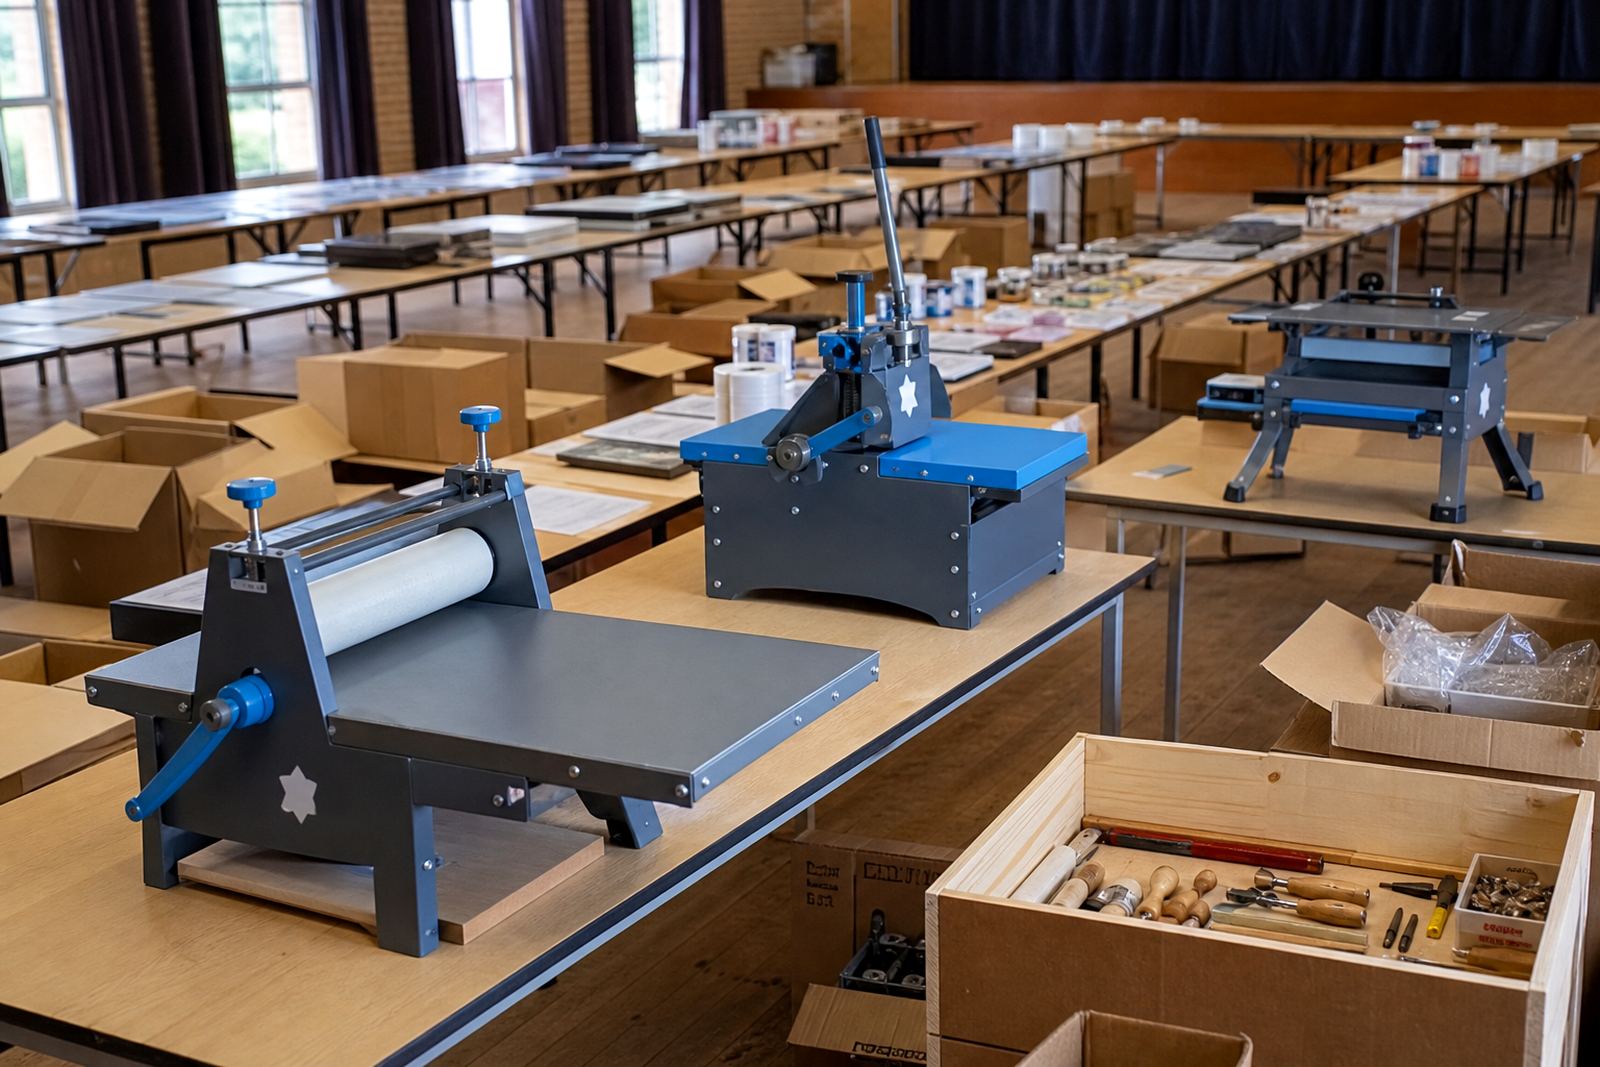
For this visit we brought a compact mobile print setup that could be laid out quickly on school tables. The kit included soft-cut blocks for safer carving with gouges and V-tools, brayers for rolling ink evenly, water-based block inks for the main class flow, and barens for hand burnishing where a press was not the best fit. We also brought a portable press for demonstration and for selected prints that needed stronger, more even pressure.
Paper choice mattered as much as the tools. We used print papers that could take a clean impression without buckling too quickly, and we kept a separate drying area so fresh sheets would not smear on the way out. Registration marks and simple alignment guides were built into the setup, because even a short shift on the paper can throw off a two-colour print. The school needed the room to stay tidy, so trays, wipes and drying boards were part of the kit from the start.
- Soft-cut blocks for beginner-friendly carving
- Gouges and V-tools for line control and texture
- Brayers for even ink loading
- Barens and a portable press for hand and press printing
- Water-based block inks with controlled colour handling
How the session moved from carving to edition work
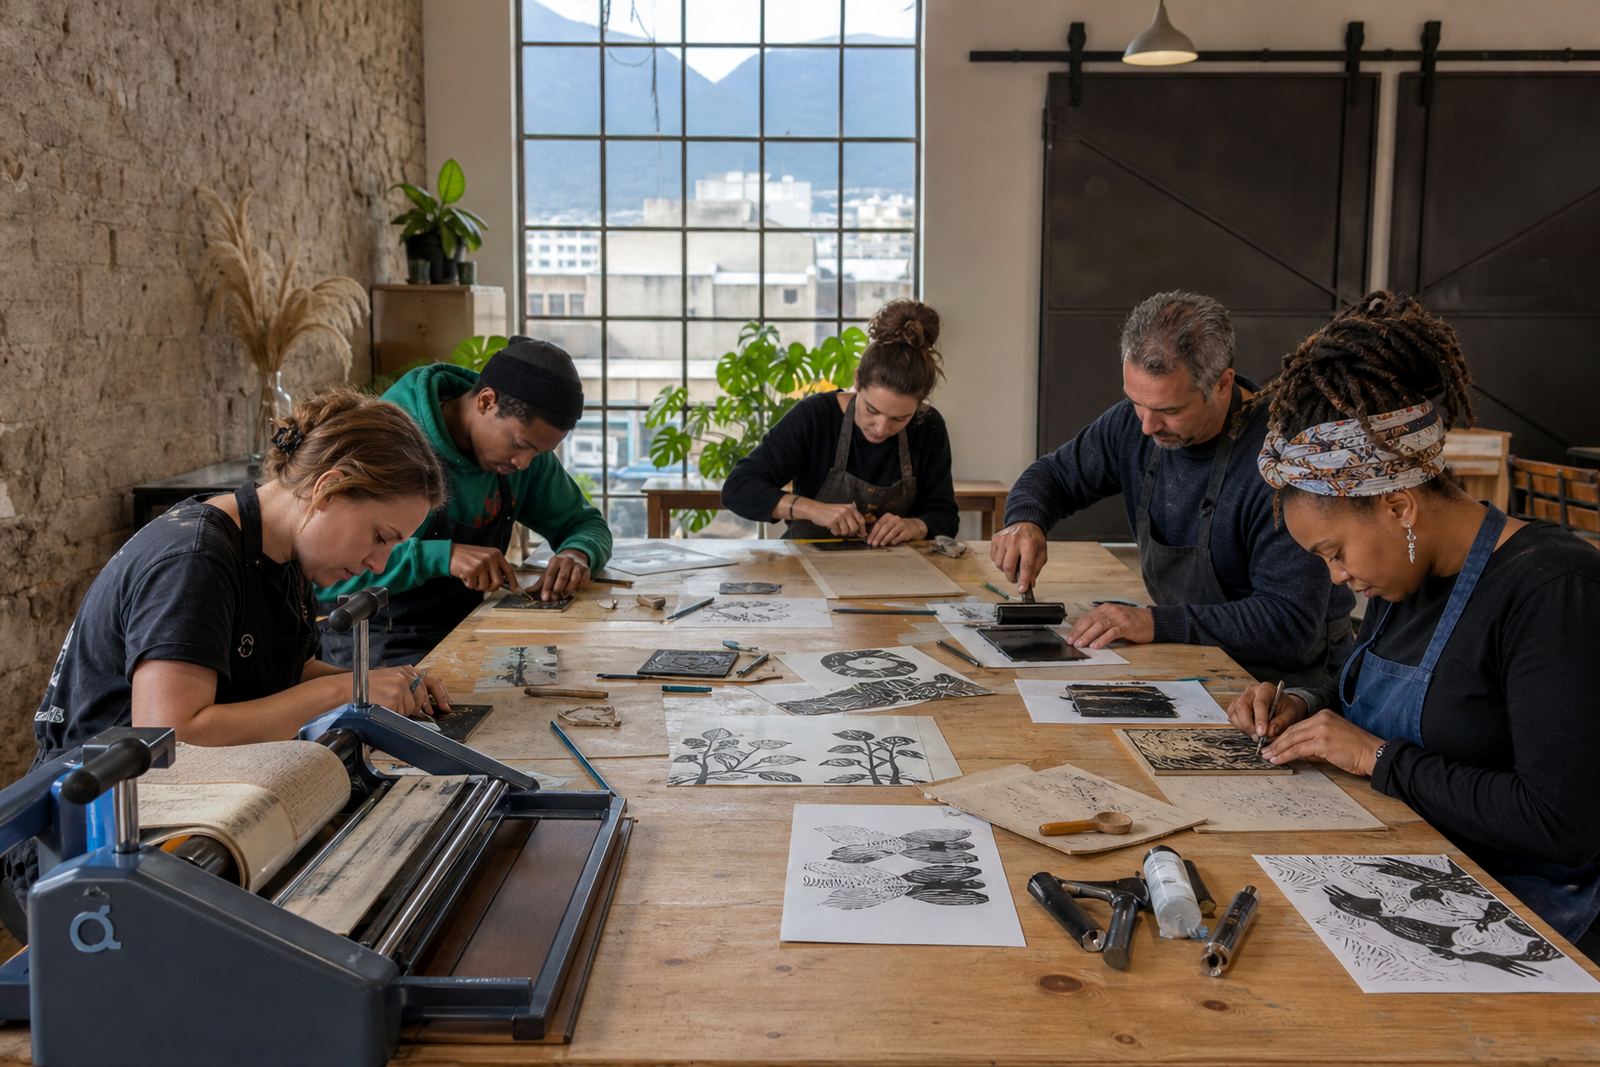
We opened with a short explanation of how relief printing works, then moved straight into safe carving. The learners started with transfer lines and simple motifs so nobody had to wrestle with a complicated image before understanding the grain of the block. Once the first cuts were made, the room settled into a good rhythm. People could see how a clean line, a shallow cut and a careful angle changed the print later on.
After carving, we set up ink stations and showed how to load a brayer without flooding the block. This part of the class usually tells you a lot about confidence, because too much ink gives muddy edges and too little leaves patchy areas. Each participant pulled test prints first, then moved to the edition sheets once the block was balanced. A few learners used the press, while others printed by hand with a baren so they could compare the marks and pressure.
The group also had a chance to register a second layer on selected blocks. That gave the class a clear sense of how alignment works in multi-colour printing, even when the design itself stayed simple. By the end of the session, the learners had seen the whole cycle from first cut to final impression, and the teachers had a working example they could refer to in future art lessons.
Keeping a large school group steady and safe
Large groups need structure. They need a layout that stops tools crossing over each other and keeps wet prints out of the carving zone. We split the room into carving, inking and drying areas, with one table for review sheets and one table for finished work. That reduced waiting time and helped the teachers keep track of who was at which stage.
Safety was handled through simple routines rather than constant stopping. Learners held the block against a non-slip base, cut away from the body, and moved tools back into a central tray when they were done. We watched the ink stations closely so the rollers stayed clean and the paper did not pick up stray marks. In a busy school room, those small controls keep the session working.
- Separate zones for carving, printing and drying
- Tool handling explained before any cutting began
- Simple registration marks for each print pass
- Central cleaning point for brayers and trays
- Clear flow for learners moving between stages
What the school wanted on the wall at the end
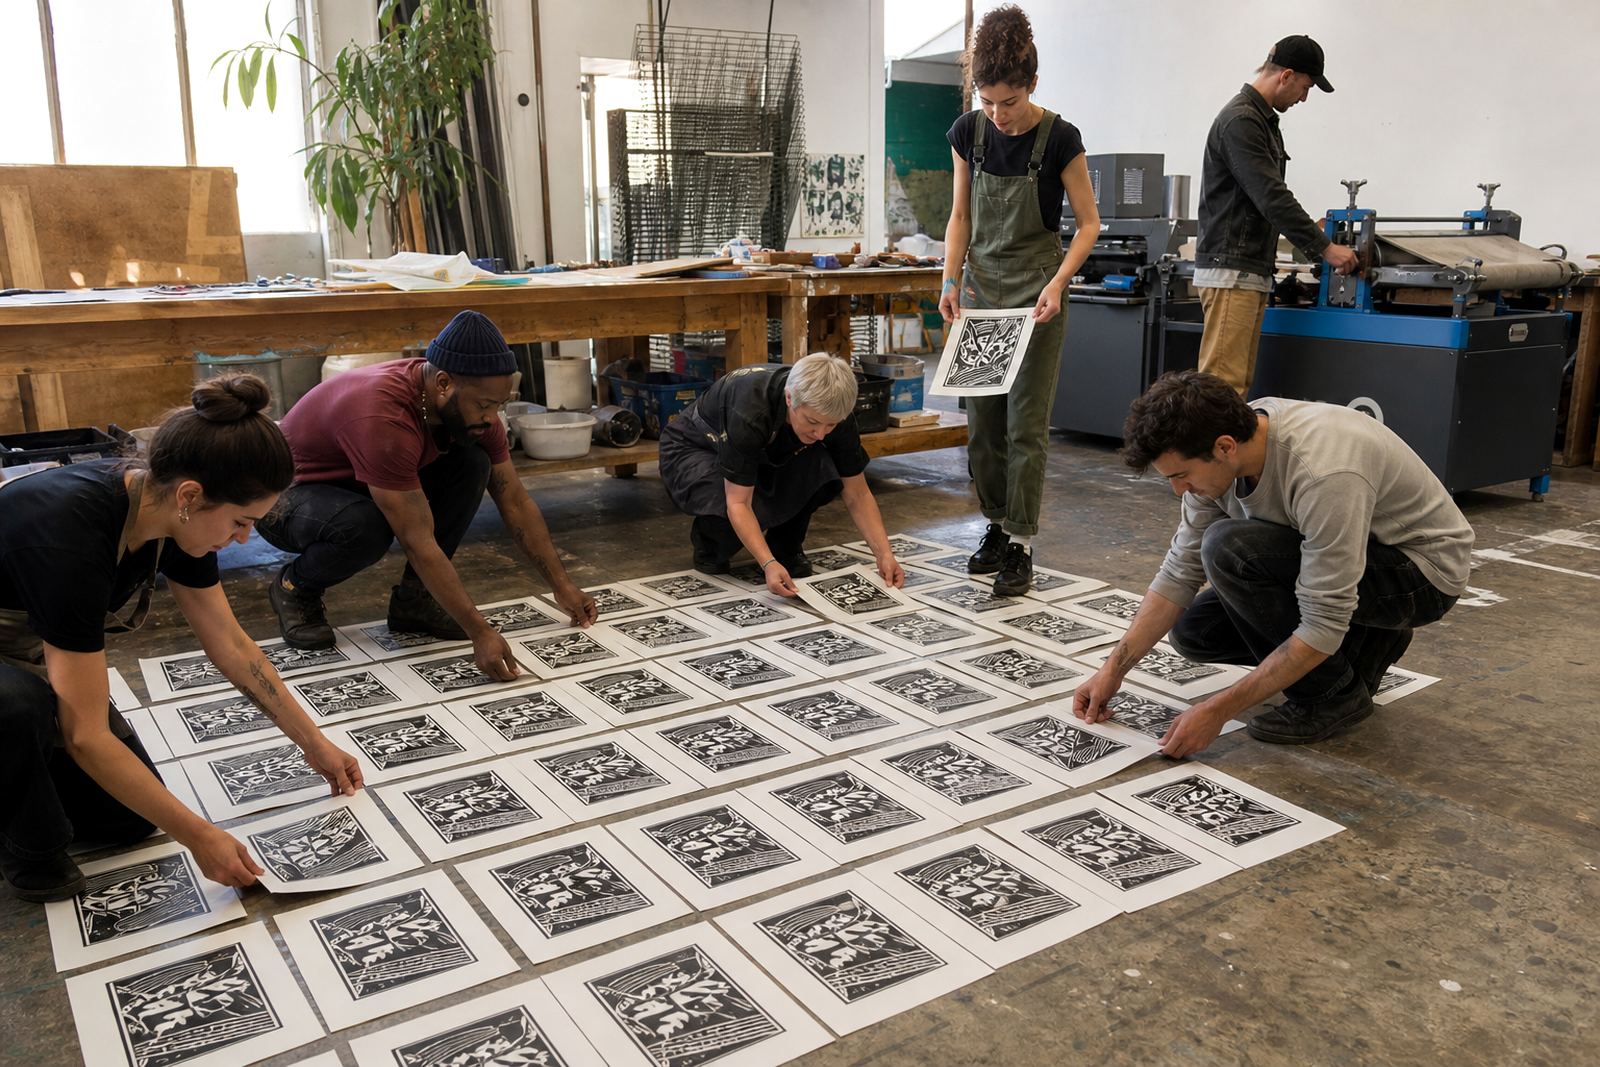
The shared display was part of the brief, so we treated every print as both an exercise and a finished piece. We selected a paper size that could be hung neatly in rows and left enough blank border for labelling. That made it easier for the school to present the work in a corridor or hall, where viewers would stand back and see the variations in line, pressure and colour from print to print.
The strongest result was the range. Some prints carried bold, deep blacks with rough carved texture, while others showed lighter ink loads and softer edges from the hand-press method. That variety gave the display real character. The learners also saw that an edition can stay controlled while each sheet still shows the hand.
Teachers commented on how well the class held attention once the practical part began. A school visit can lose energy when the setup is too small for the room, but here the mobile layout let several learners work at once without crowding the table. The final sheets dried cleanly and could be stacked without scuffing, which made packing out easier than it often is after a wet print session.
What we'd pick again for a Paarl project
This kind of project works best when the plan is clear before the first block is touched. We would use the same mobile mix of soft-cut blocks, brayers, barens and a press, because it gives the group two ways to print and keeps the workshop flexible when numbers shift. We would also keep the lesson split into short steps, because learners handle the process better when carving, inking and printing are not all thrown at them at once.
The shared display format is worth keeping too. It gives the school a reason to keep the prints visible after the workshop and gives the learners a final target while they work. A good school session ends with an organised room, a class that understands the process and a set of sheets worth pinning up.
- Use compact blocks for faster class movement
- Keep one colour path clear before adding layers
- Plan a drying lane before the first print starts
- Leave space for both test sheets and final editions
Key facts
| Project type | School visit with mobile print workshop |
|---|---|
| Town | Paarl |
| Group format | Large mixed-age learner group |
| Methods used | Block carving, hand printing, press printing, edition printing |
| Materials | Soft-cut blocks, brayers, gouges, V-tools, water-based block inks, barens, print papers |
| Result | Individual prints assembled for a shared school display |