A holiday club brief with busy hands and short attention spans
The group came to us from Durban with a holiday programme in mind. They needed a print activity that would keep mixed ages engaged, work in a single session, and still leave everyone with a finished linocut print to take home. The subject matter had to feel fun and direct, with strong shapes that could survive repeated printing across a small run.
The brief called for a workshop that made room for first-time carvers and those who already had some art experience. We planned for soft-cut blocks as well as traditional lino, with simple motifs, clean outlines and a pace that allowed each person to move from drawing to carving, then to inking and printing without the room turning chaotic.
- Group type: Durban holiday club
- Workshop style: hands-on printmaking session
- Main materials: soft-cut blocks, lino sheets, water-based inks
- Printing method: hand burnishing and press printing where needed
Cut shapes, safe carving and a clear print process
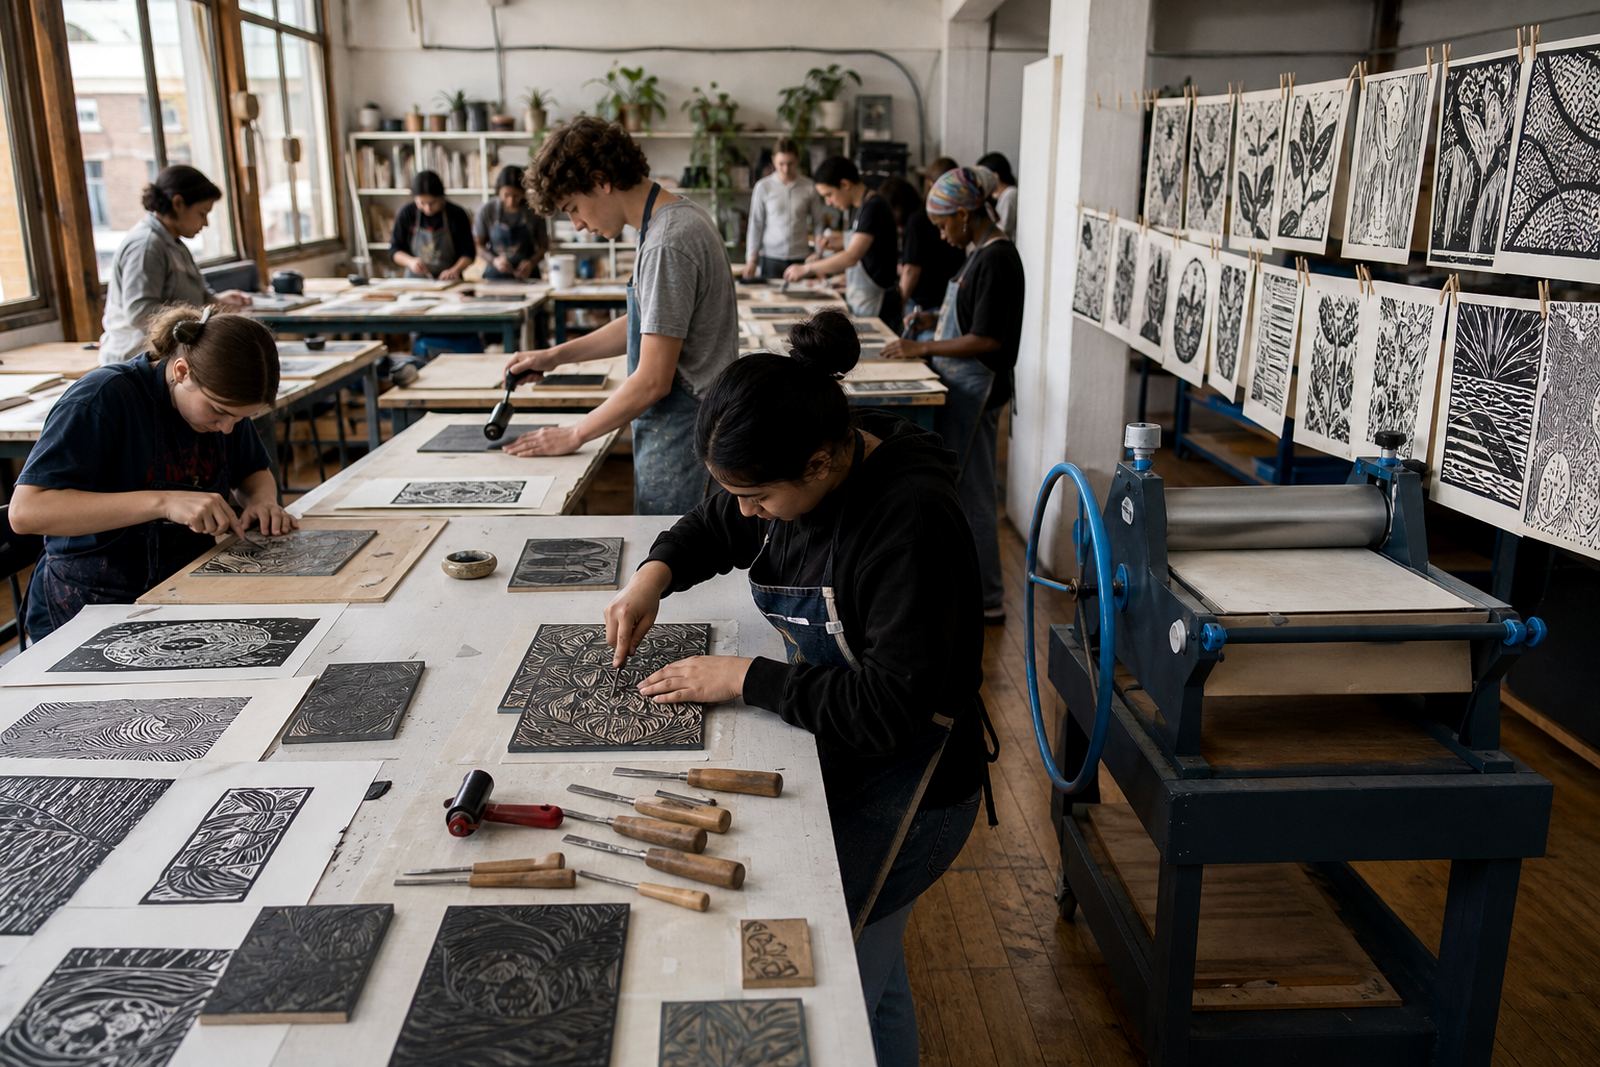
Because the group included younger learners and adults, the carving stage needed careful supervision and a practical tool set. We used gouges and V-tools with clear handling guidance, keeping the cuts shallow enough for control while still letting the block carry a strong image. The shapes were planned so each block had open areas, thicker lines and fewer fragile details, which helped reduce breakage during the run.
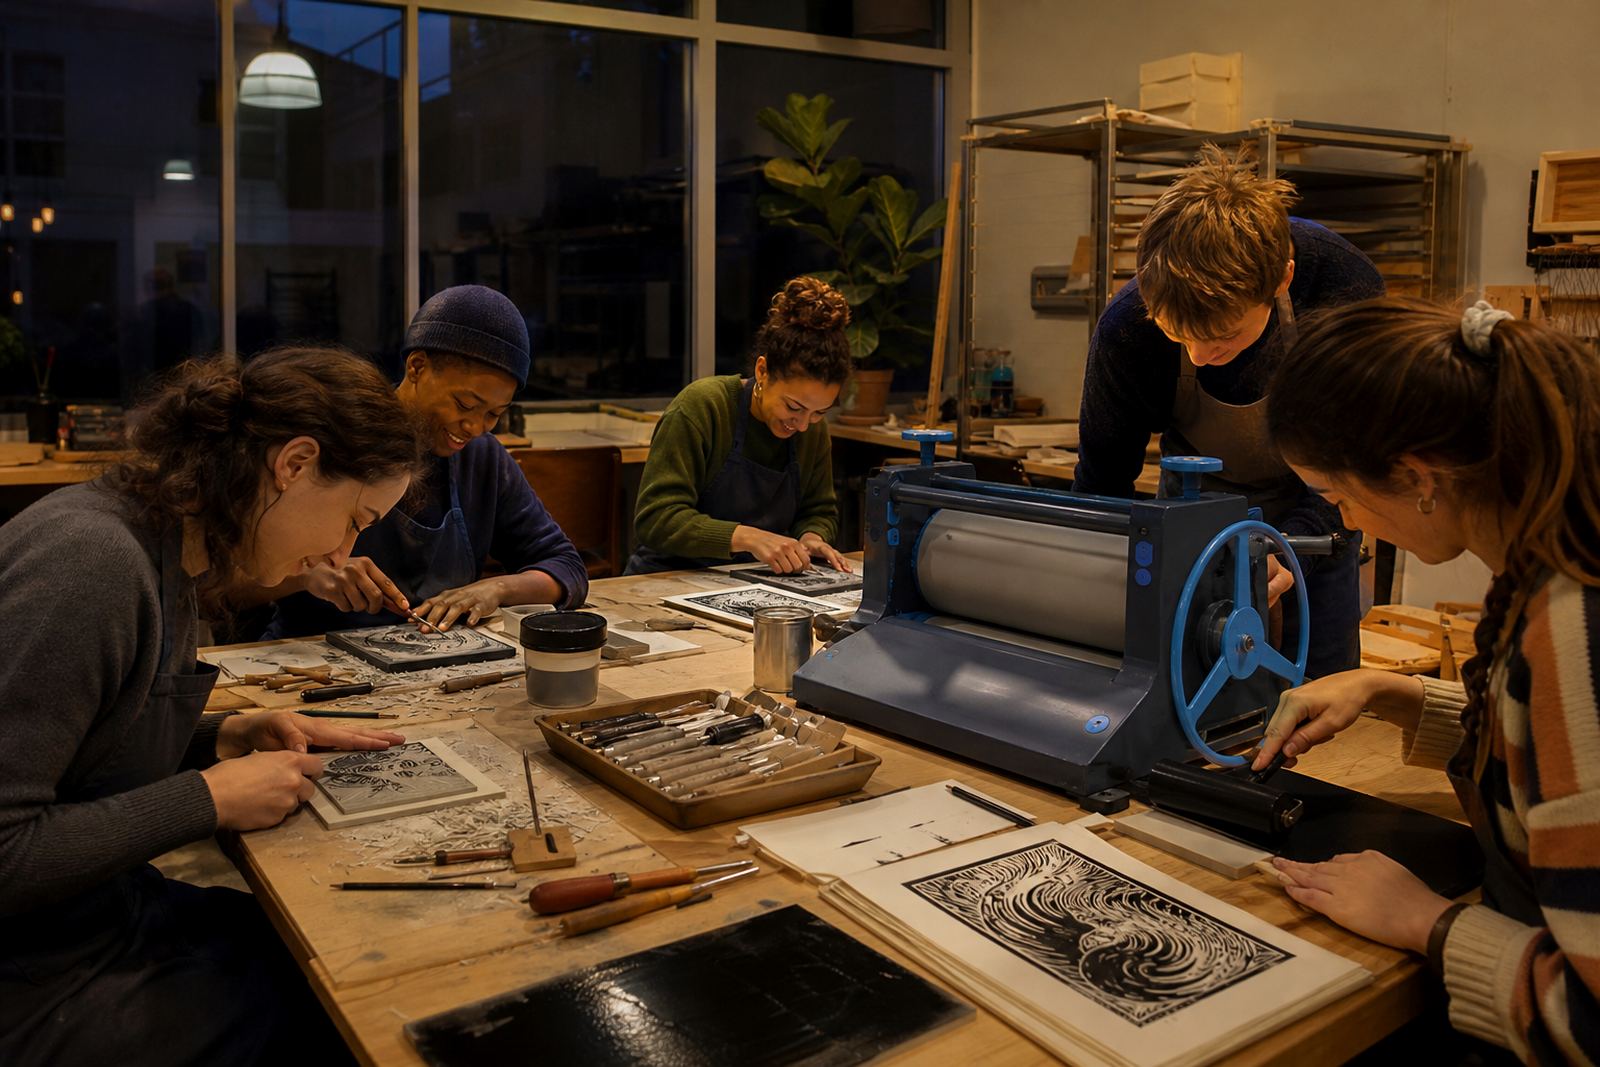
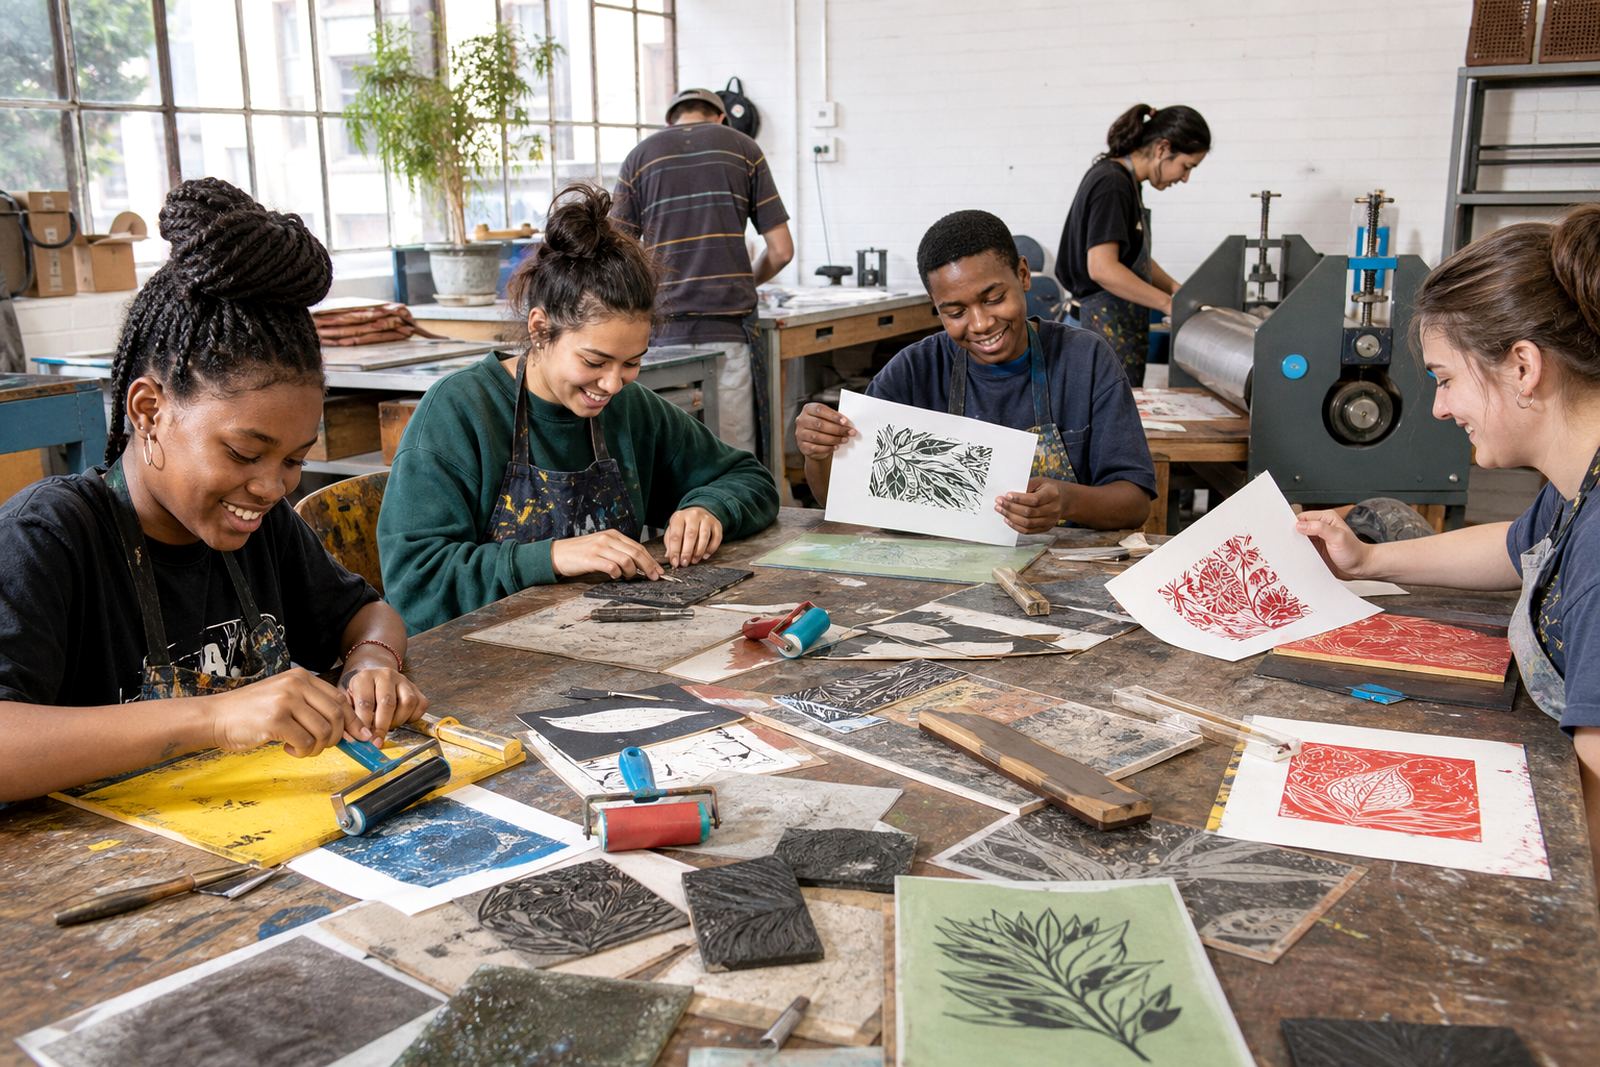
For the inking stage, we kept to washable inks for most of the session, which suited the holiday setting and the need for easy clean-up. Brayers were used to roll out an even film of colour, then each participant pulled prints by hand with a baren, and a few test sheets went through the press to compare pressure and coverage. That mix helped the group see how the same block behaves differently under hand pressure and press pressure.
- Tools: gouges, V-tools, brayers, baren
- Inks: washable water-based inks, with select oil-based tests
- Print methods: hand pull, baren burnish, press printing
- Paper: mixed stock for proofing and final editions
The workshop flow we set up in the studio
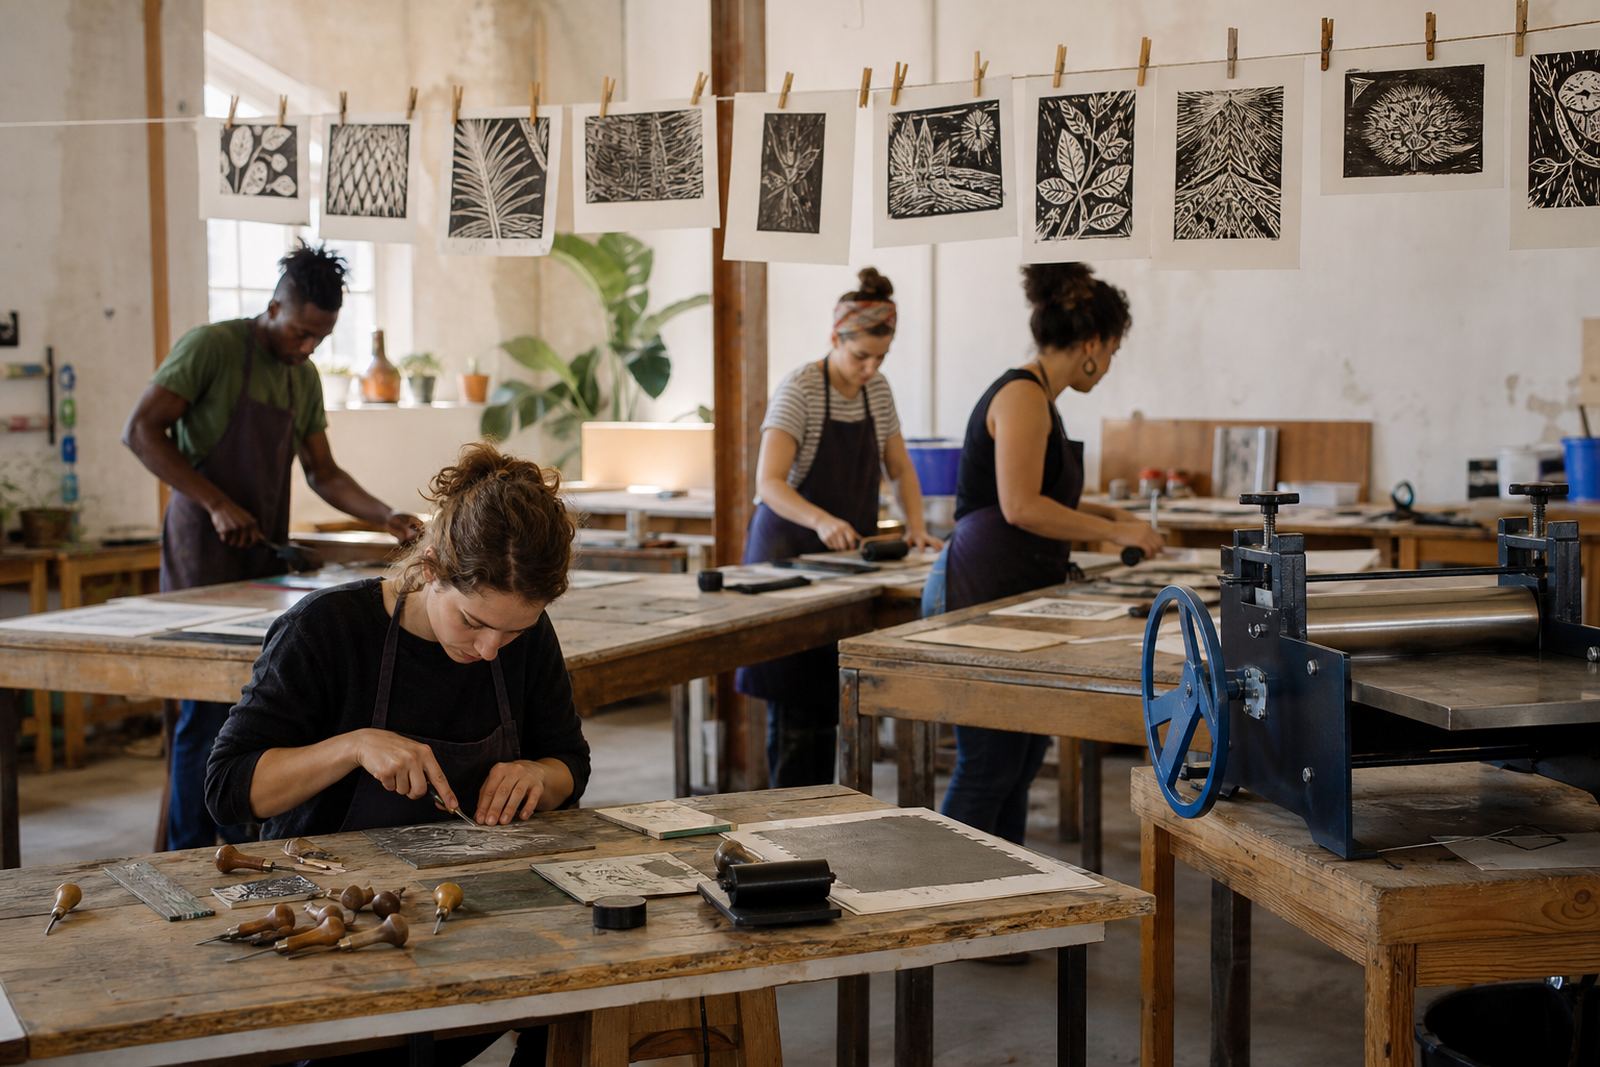
We split the session into short stages so the room stayed organised and every table had a job. First came image planning on paper, then tracing and transferring onto the blocks. After that, carving was done in small passes, with checks for line depth and safe finger placement before anyone moved to the inking table. Final printing happened in short runs so there was enough time for drying, stacking and signing.
The edition size stayed modest, which suited the holiday format and kept the print quality consistent. We also added a registration guide so the paper could be placed squarely on each pass, a small detail that helps when the aim is matching colour or keeping a border straight. Some participants chose one colour, others tried a second layer, and the more confident printers explored a cleaner register with overprinted shapes.
- Session stages: drawing, transfer, carving, proofing, edition printing
- Edition style: short runs rather than large batch work
- Registration: simple corner guide and alignment marks
- Finish: drying racks and flat stacking for transport
Materials that suited a holiday group
For a group that needed good results without demanding studio habits, the material choice had to be practical. Soft-cut blocks gave beginners a forgiving surface, while lino offered a firmer cut for those who wanted sharper edges. We paired those blocks with papers that took ink well and held up to handling, including lighter sheets for proofing and sturdier sheets for the final edition.
Washable inks were the main choice because they handled the pace of the room and the clean-up afterwards. Where a deeper black or denser colour was wanted, a small amount of oil-based ink was tested on a separate station so participants could see the difference in body and finish. The result was a useful comparison without turning the session into a materials lesson that dragged on too long.
The holiday club also needed prints that were easy to carry, so we kept the formats compact. That meant fewer corners to crease and less chance of smudging before the work was packed. It sounds small, but in a group with moving hands and fresh ink, practical sizing saves the day.
What the Durban group left with after the final pull
By the end of the workshop, the group had a set of short-run prints that showed clear line, solid colour blocks and enough variation to feel personal. Some learners kept to one colour and a single pass, while others tried layered prints and small shifts in pressure. The strong shapes made the images easy to read, and the editions had that hand-made look that printmaking gives when the block has been cut well and the inking stays even.
The holiday club organisers wanted an activity that felt creative, but still had enough structure to manage a mixed group. The finished prints gave them that balance. People could see how a carved line shifts on paper, how a block aligns from one pull to the next, and how a small edition is built through careful repetition rather than speed. That lesson stayed in the work itself.
- Outcome: finished prints for each participant
- Visual style: bold shapes and readable line work
- Learning points: carving control, inking, registration, edition making
- Group fit: adults, students, families and holiday club learners
For the next holiday club
For a similar holiday club brief, we would keep the same mix of short stages, strong block shapes and manageable edition sizes. The room benefits when carving, inking and printing all have a clear station, and when the subject matter can be translated into simple forms without losing character. That structure leaves space for the group to work at a useful pace, and for the facilitators to keep an eye on clean cuts and tidy proofs.
We would also keep the choice of inks flexible, with washable water-based ink for the main run and a small test area for any deeper tone or finish that might be needed. A simple registration guide, a mix of soft-cut and lino blocks, and paper that handles both hand pull and press printing are the parts we would keep in place. In a holiday setting, those practical choices carry the day.
The Durban group showed that linocut works well when the block is built for the room it is used in. Clear cuts, short runs and a clean table make the whole session easier to follow, and the final prints look more confident for it.
Key facts
| Client type | Durban holiday club group |
|---|---|
| Workshop location | Woodstock, Cape Town |
| Project focus | Bold cut shapes and short print runs |
| Printing methods | Hand pull, baren burnish and press printing |
| Inks used | Washable water-based inks, with oil-based tests |
| Block materials | Soft-cut blocks and lino sheets |
| Timeline | Planned and delivered over 2 weeks |