A Somerset West group, a first block and a steady bench
The brief came from a beginner group in Somerset West that wanted a practical introduction to linocut and block printing, with enough structure for complete newcomers but room for each person to work at a different pace. The group wanted to understand the full path from a drawn image to a printed sheet.
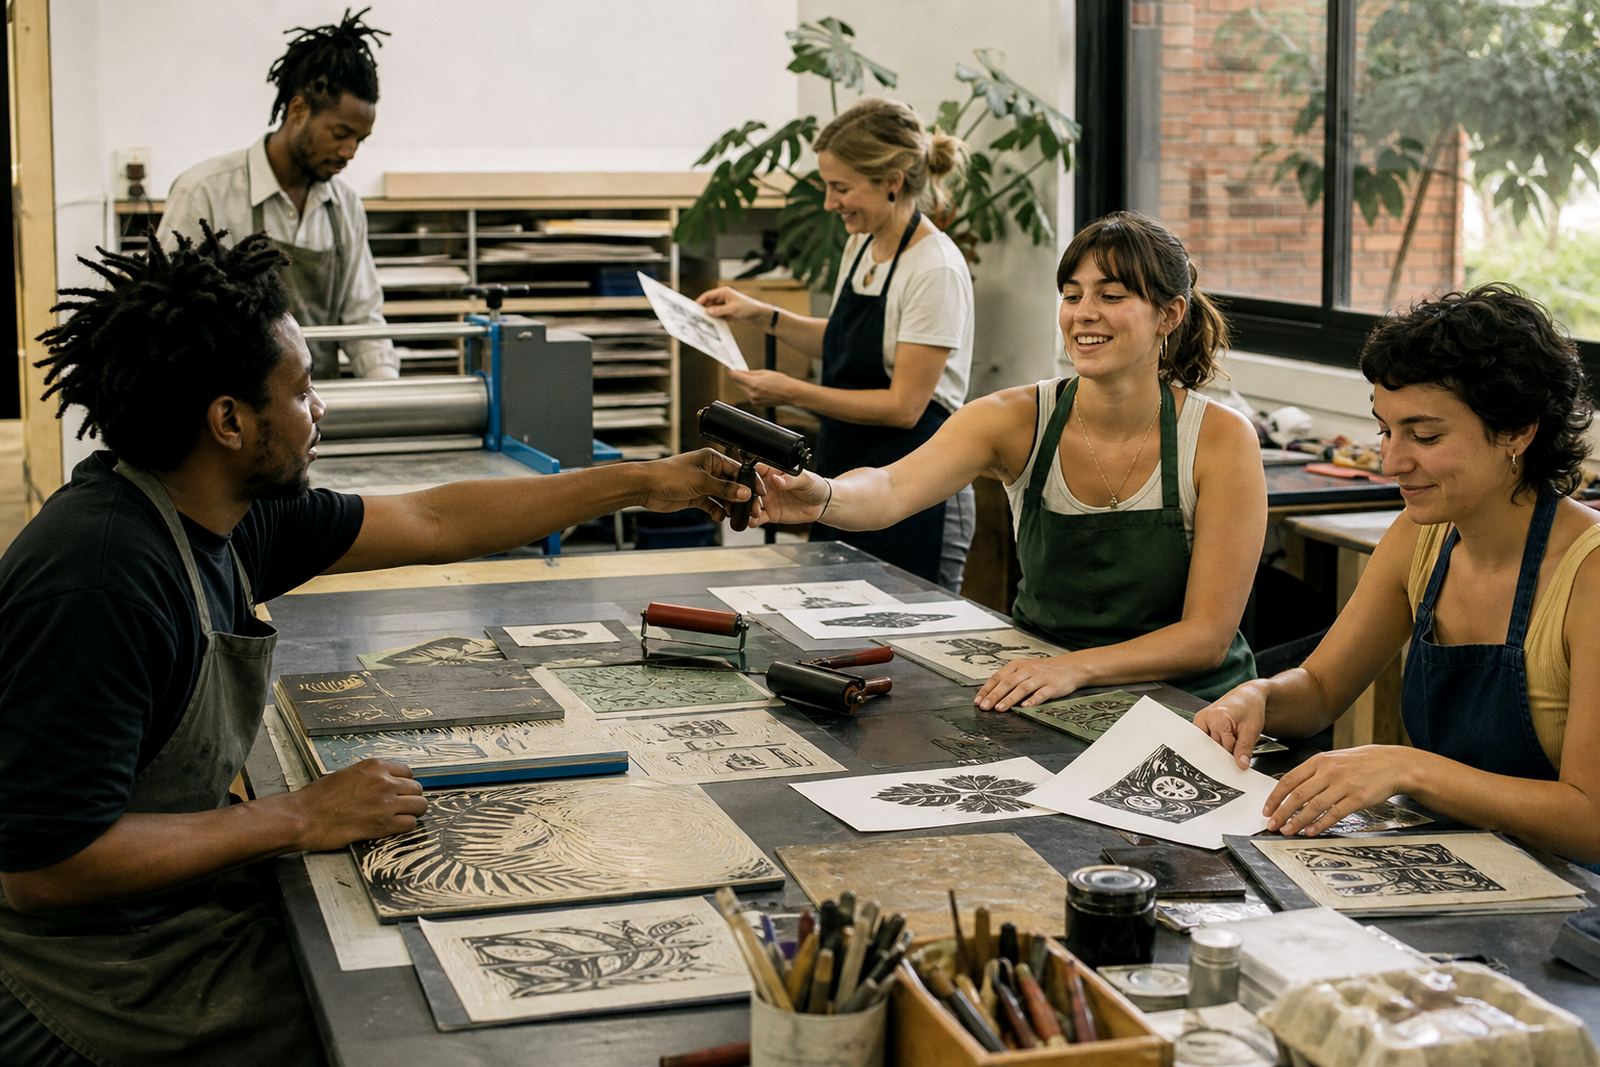
We planned the session around bench setup, tool handling and a single-colour print in black ink. That kept the moving parts manageable while still giving the group the core steps of carving, rolling ink, placing paper and pulling an edition by hand. The setting was indoor and calm, with enough space for brayers, barens, papers and drying sheets without crowding the room.
- Group type: beginner adults with mixed print experience
- Town: Somerset West
- Format: guided studio-style workshop with practical making
- Core print method: linocut on soft-cut blocks
What the brief asked us to cover
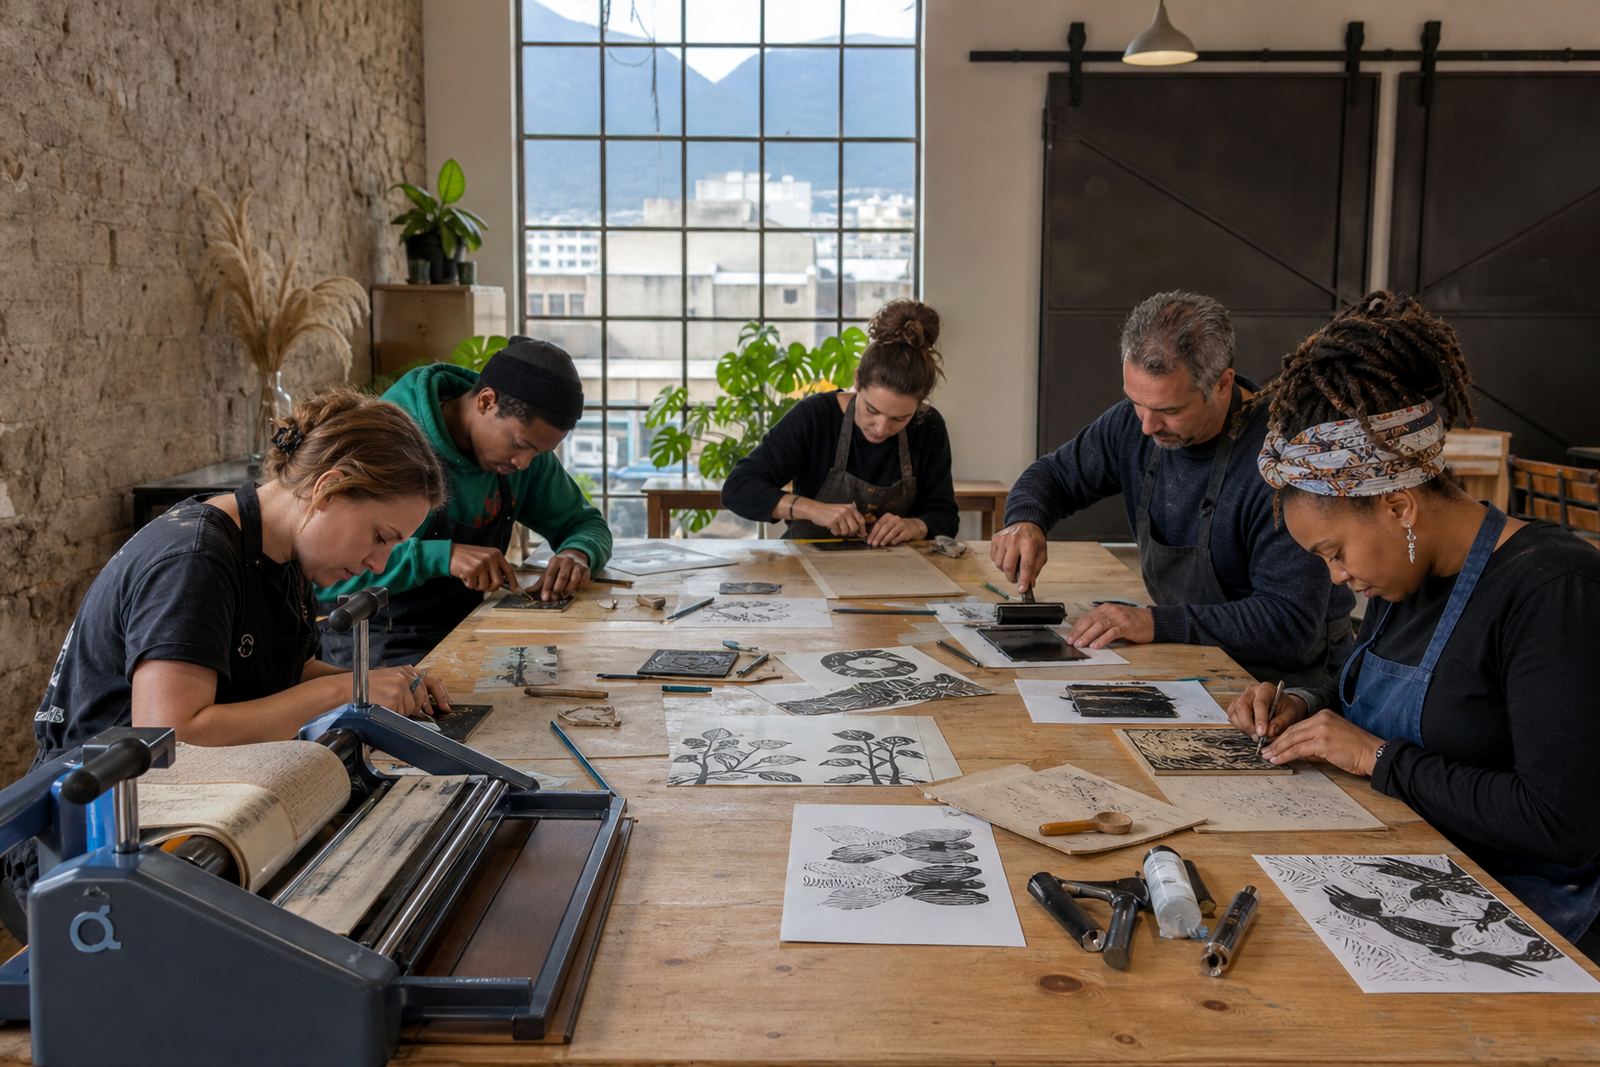
The group asked for a lesson that started with the safest way to hold a gouge and read the cut before moving into actual printing. We covered how a V-tool differs from a wider gouge, how to keep carving away from the body, and how to plan raised and cut areas so the final image would print cleanly. The focus was on good habits from the start.
They also wanted to see the difference between water-based and oil-based block inks, and how pressure changes the mark on paper. We used black ink for the printed edition so the group could watch line, tone and negative space clearly. Press printing and baren printing were both shown, so people could compare hand pressure with a more even mechanical pull.
- Safe carving grip and bench positioning
- Tool choice for lines, corners and wider removed areas
- Ink roll-out with brayers
- Registration for repeat printing on paper
- Editioning and numbering basics
Materials, tools and paper choices at the bench
For a beginner group, the materials have to behave well under instruction. We brought soft-cut blocks for the first pass, then explained where a firmer lino sheet is useful once hand control improves. Soft-cut lets beginners understand cutting direction without fighting the surface, while lino gives a sharper, slightly harder response under the tool. Both have their place in a workshop setting.
The paper choice mattered too. We used paper that could take a clean impression without buckling too badly under black ink, and we kept extra sheets ready for test pulls. A good stack of paper changes the rhythm of the room because people can retry registration and compare results without feeling rushed. The baren was useful for hand pressure on small editions, and the press helped show how even pressure carries detail into the fibres of the sheet.
- Soft-cut blocks for the first cuts
- Linocut block for sharper line work
- Gouges and V-tools for different mark types
- Brayers for even ink coverage
- Baren and press printing for comparison
The workshop flow over two weeks
The project ran across two weeks. The first session covered drawing transfer, bench setup, tool handling and test cuts. People worked through small sample marks before committing to the main design. That approach gave everyone a feel for cutting direction and helped prevent the common beginner problem of overcutting a detail before the block is ready.
In the second week, the group moved into inking and printing. We used black block ink, set up registration marks and talked through how a slight shift in paper placement can change the whole impression. Each person pulled a short edition, then reviewed the differences between the first pull, the cleaner second pull and the later prints where the block had settled in better.
- Week 1: drawing, transfer and controlled carving
- Week 1: test marks and block review
- Week 2: inking, registration and printing
- Week 2: edition pull and finish check
What the Somerset West group took from the session
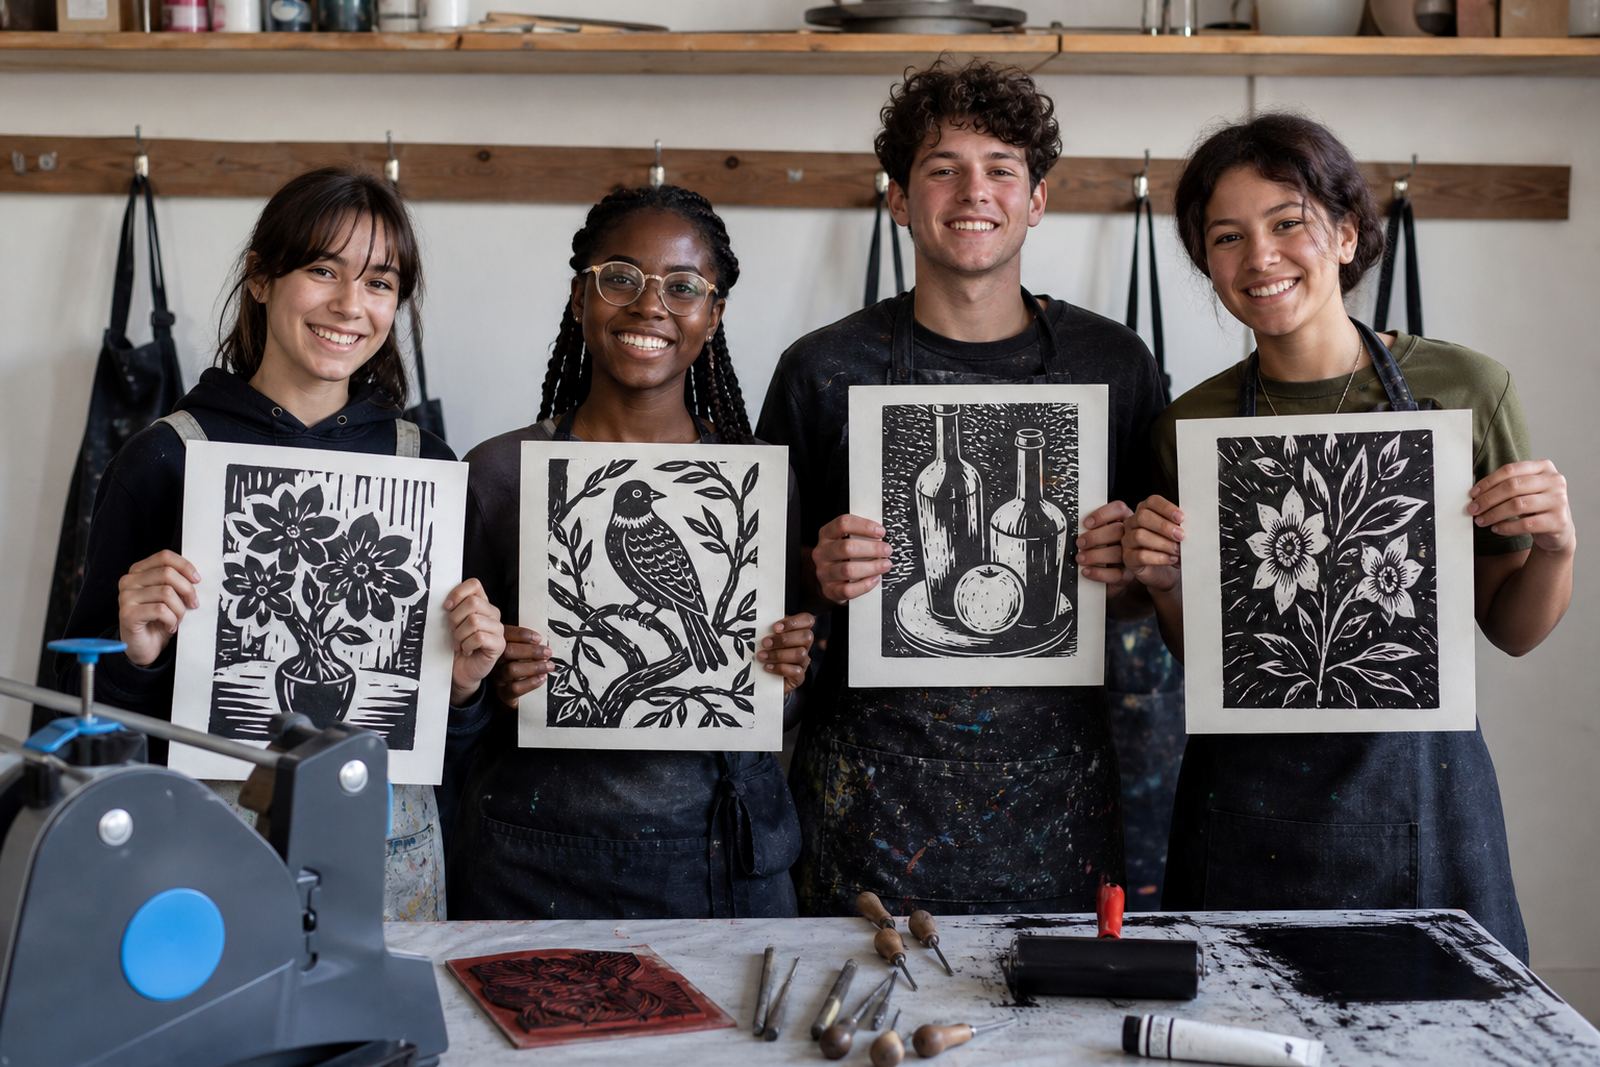
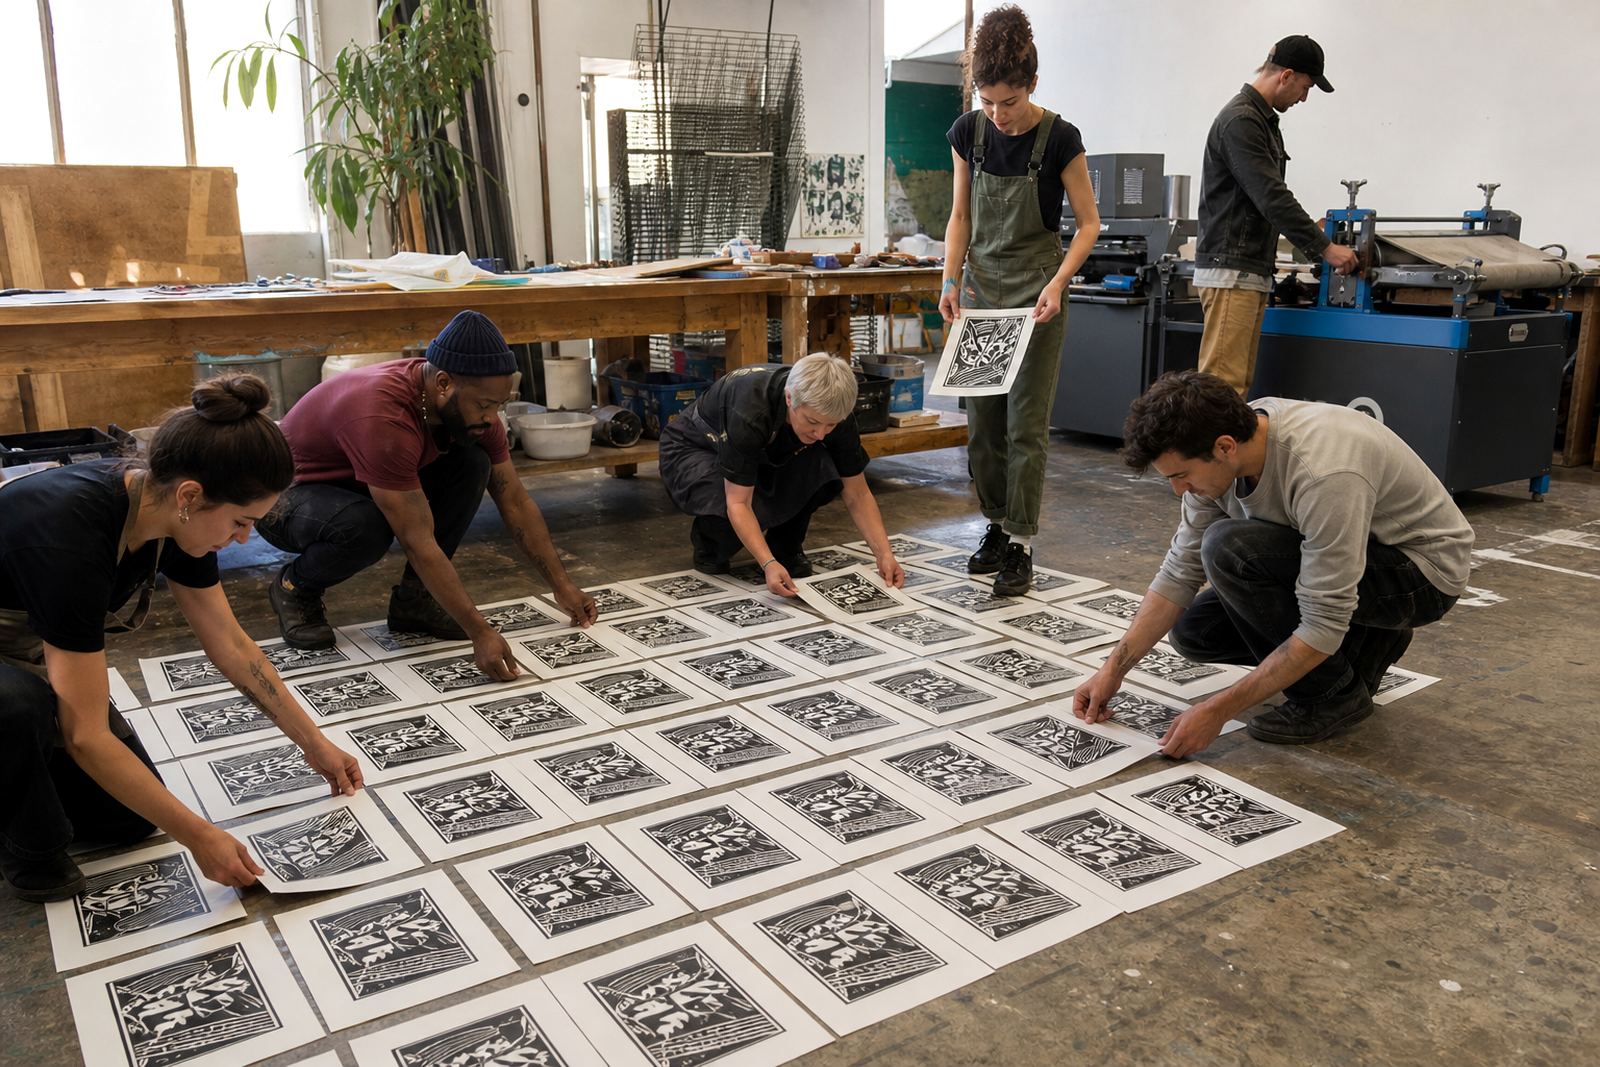
The main result was confidence. By the end of the session, people could tell which direction to cut for a cleaner line, how much ink to load on a brayer and what happens when paper sits a little off register. The black prints were consistent enough for the group to compare them side by side, which made the lessons easier to remember.
There was also a clear shift in how the group spoke about the process. At the start, most people described printmaking as a single action. By the end, they could break it into drawing, carving, inking, placement, pressure and drying. That change matters because it turns a one-off craft activity into a repeatable studio method that can be used in schools, family sessions or team groups.
- Better control of cutting direction
- Clearer understanding of registration
- Comfort with black ink roll-out
- More confidence using baren pressure
Next time with beginners
We would keep the same order of teaching: bench setup first, then carving, then a short print run. Beginners settle faster when the tools are introduced one at a time and the block is tested before the full edition begins. The mix of soft-cut and lino also worked well, because it let people feel the difference without turning the lesson into a technical lecture.
For a similar group, we would keep the paper count generous and the examples close at hand. A live demonstration of a clean pull, a slightly light print and a shifted registration mark helps people understand the process much better than a spoken explanation alone. That was true in Somerset West, and it will stay true in another beginner room with the same kind of practical brief.
- Start with tool handling and bench layout
- Use one colour for the first edition
- Show both hand pressure and press printing
- Leave space for test pulls and corrections
Key facts
| Client type | Beginner group |
|---|---|
| Town | Somerset West |
| Workshop format | Two-session beginner linocut workshop |
| Block materials | Soft-cut and linocut blocks |
| Inks used | Black water-based and oil-based block inks shown |
| Timeline | 2 weeks |