A Sea Point evening with room to print
The brief came from a social group in Sea Point that wanted a hands-on evening. The plan needed to suit mixed confidence levels, so the format leaned on short steps, clear demos and blocks that could be handled safely by people who had not carved before.
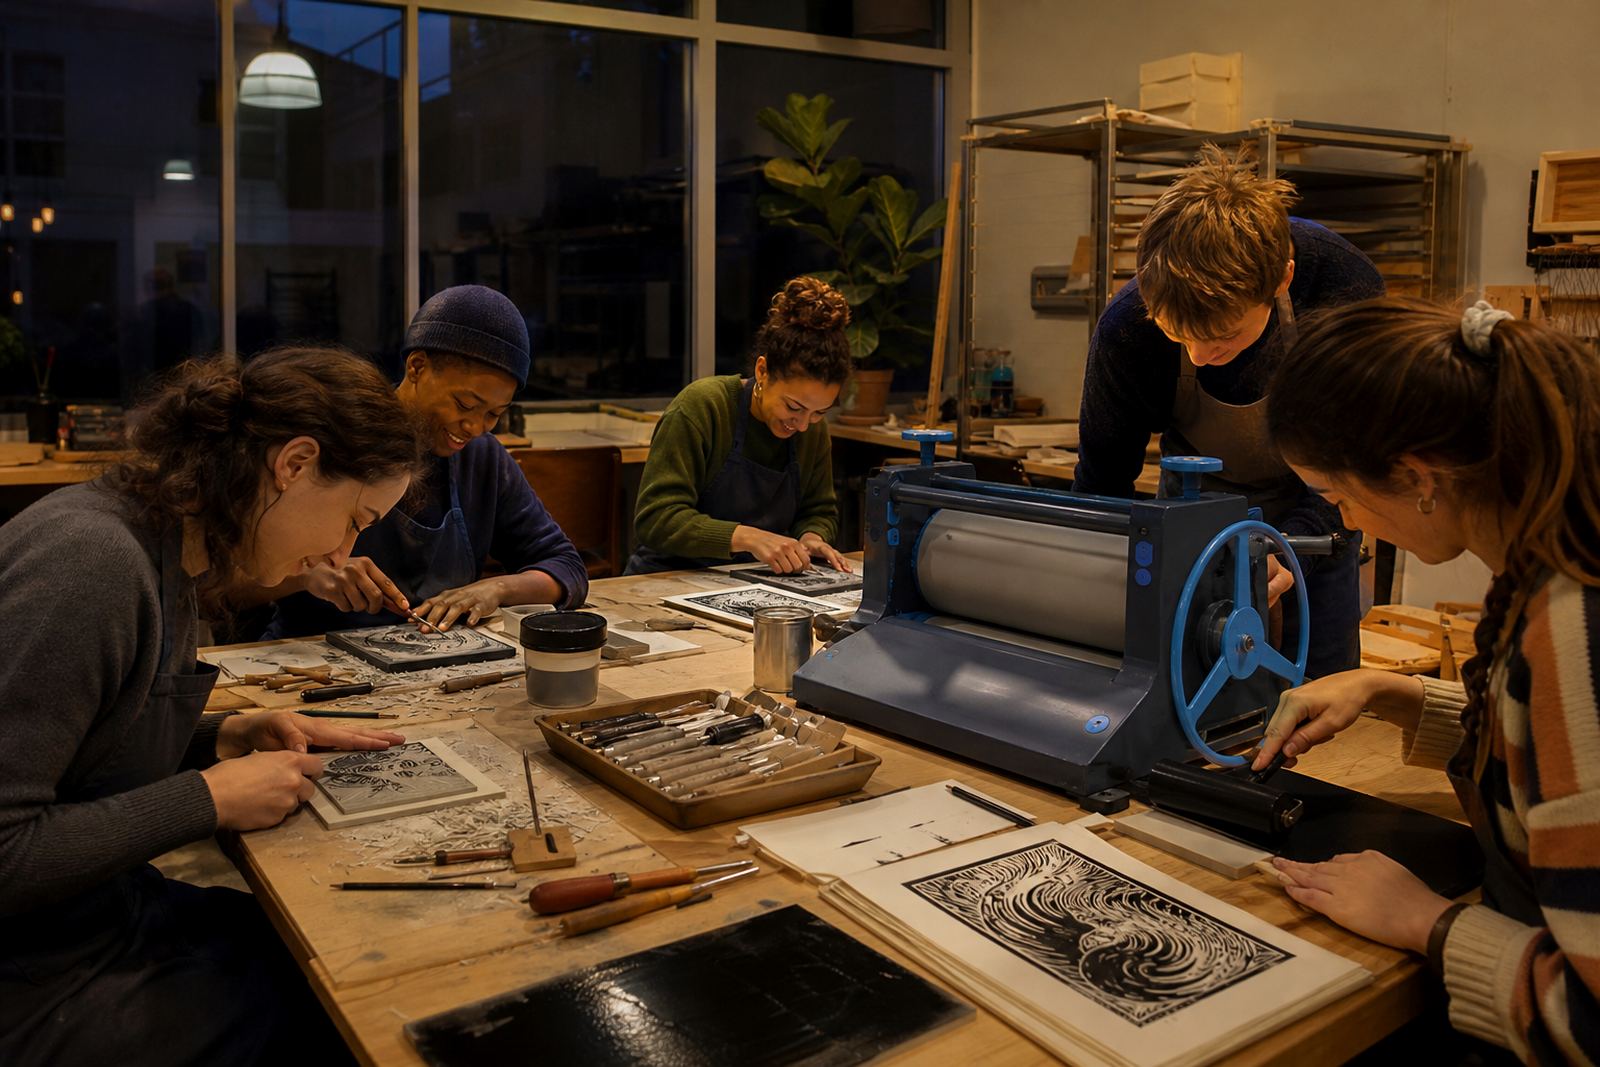
The room had to stay open and social, with people able to talk across tables while still keeping their tools, paper and inks under control. We set the workflow so each person could move from drawing to carving to printing without crowding the table edges.
- Client type: private social group
- Town: Sea Point, Cape Town
- Workshop style: relaxed evening print session
- Group mix: adults with mixed experience
Compact stations for easy making
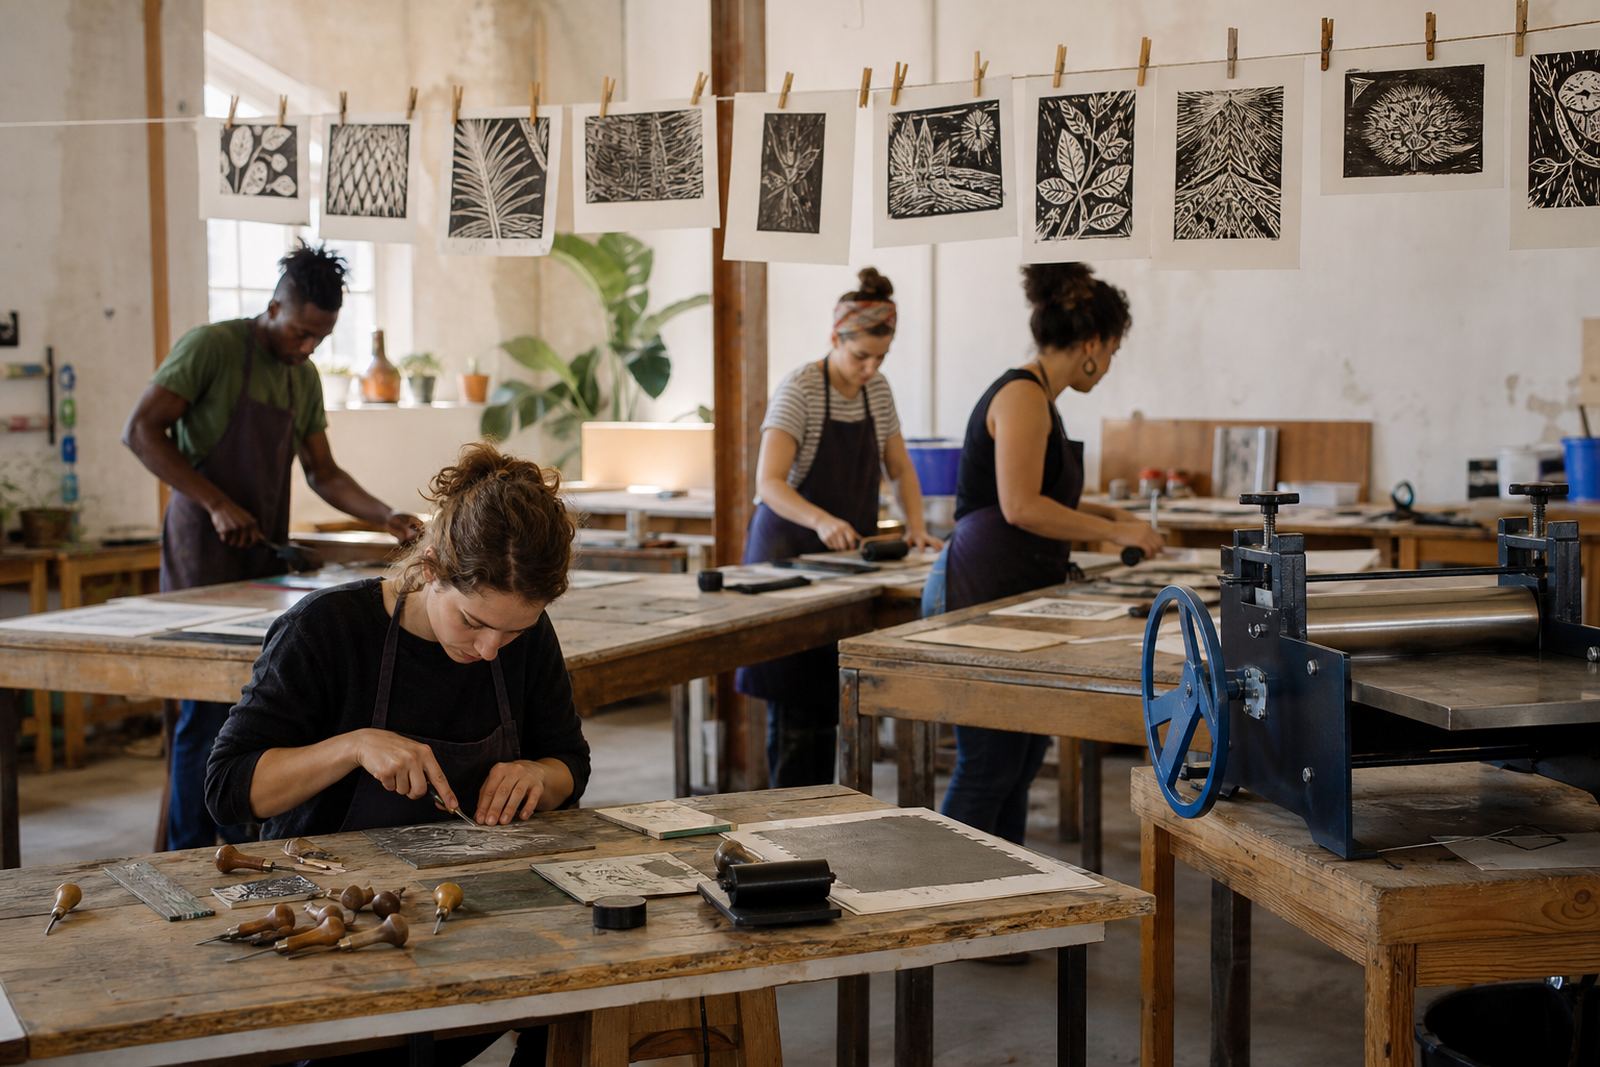
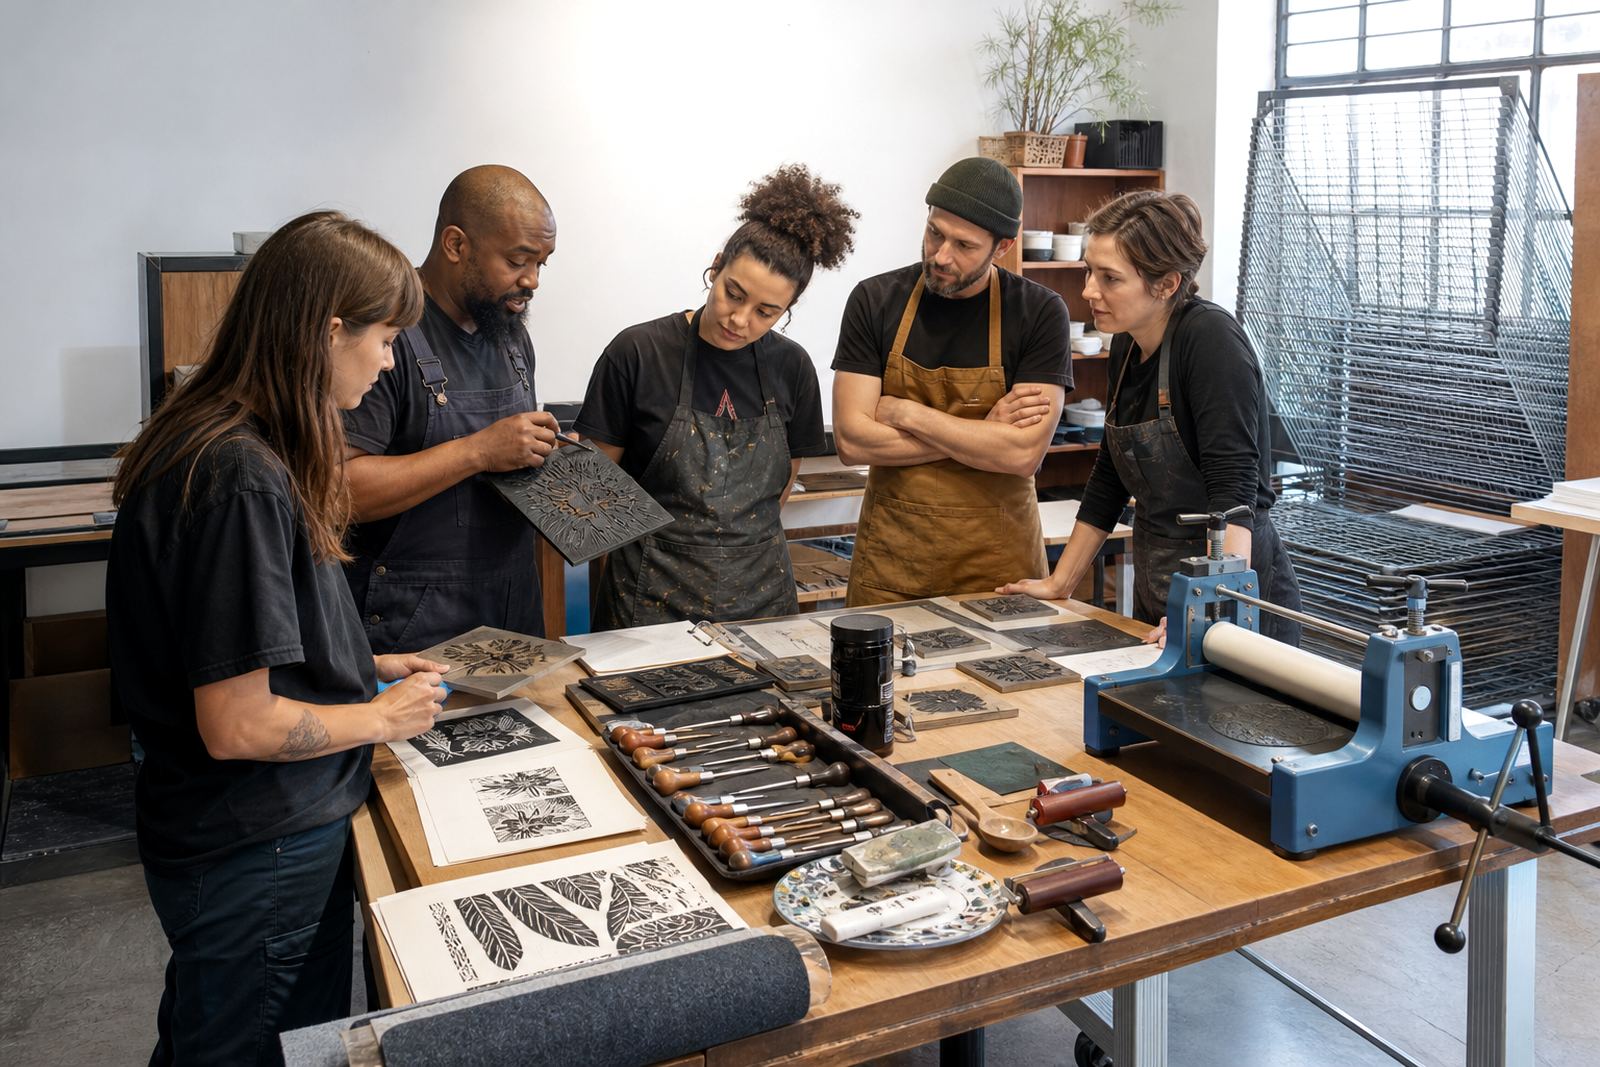
We kept the setup light and tidy, using compact stations that could be reset without much fuss. Each station carried a soft-cut or lino block, pencils, a simple transfer sheet, carving tools with guarded handling, a brayer, inks, paper and drying space. That made the room feel organised even with several people moving at once.
The motifs were chosen for quick wins. Sea shapes, shells, fish forms and bold graphic repeats all print well without needing intricate line work, and they give a strong result even when the carve is still developing. That mattered here, because the group wanted a social night and not a technical exam.
- Blocks: lino and soft-cut
- Tools: gouges and V-tools
- Printing method: hand burnish with baren, plus press printing for selected pulls
- Inks: water-based and oil-based block inks, matched to the paper and the pace of the room
Keeping the carving safe and steady
Safety was part of the rhythm from the first demonstration. We showed how to brace the block, keep hands behind the cutting line, and work from the edge into the image rather than pushing towards the palm. That approach matters in a room where people are chatting and swapping ideas, because it keeps the pace calm and avoids rushed handling.
The group also got a short look at registration, which helped them line up their paper for a second pull. A simple guide board and corner marks were enough for this session, since the aim was clean repeatable prints rather than a complex multi-colour setup. The paper choices were kept practical, with a range that took ink cleanly and held the details from the carved areas.
- Two pencil corners on the board
- Editioning: small hand-pulled sets per person
- Paper handling: flat lay, labelled stacks and drying separation
What we provided and the way the evening unfolded
We supplied the workshop kit, set out the stations and handled the print-side flow through the evening. That included the blocks, inks, brayers, tools, paper, drying racks and clean-up materials. The layout let people see the process from start to finish, which helped those who were unsure at the start settle into the work.
The session moved in clear stages. First the motif sketch, then the transfer, then the carve, then the ink and pull. Because the group was social, we left enough breathing room between steps for people to share ideas and compare cuts without holding up the whole table. A few participants preferred the press for consistent pulls, while others liked the direct feel of the baren and hand pressure.
- Supplied materials: blocks, tools, inks, paper and drying support
- Process: sketch, transfer, carve, ink, print
- Output: finished single-colour prints and small editions
Three weeks from brief to printed night
The job ran over three weeks. The first stretch went into shaping the station count, confirming the workshop flow and matching the motif style to the group. The next stage was kit preparation and print testing, so the paper and ink pairing stayed predictable on the night. The final stage was the setup in Sea Point, with the room arranged for movement, conversation and drying space.
That pacing suited the format. It left enough room to prep the materials properly and enough freedom on the night for people to make work that felt personal. The group needed a clear route from first cut to final print.
- Week 1: brief and layout planning
- Week 2: kit prep and print testing
- Week 3: Sea Point workshop setup and delivery
What the prints looked like at the end
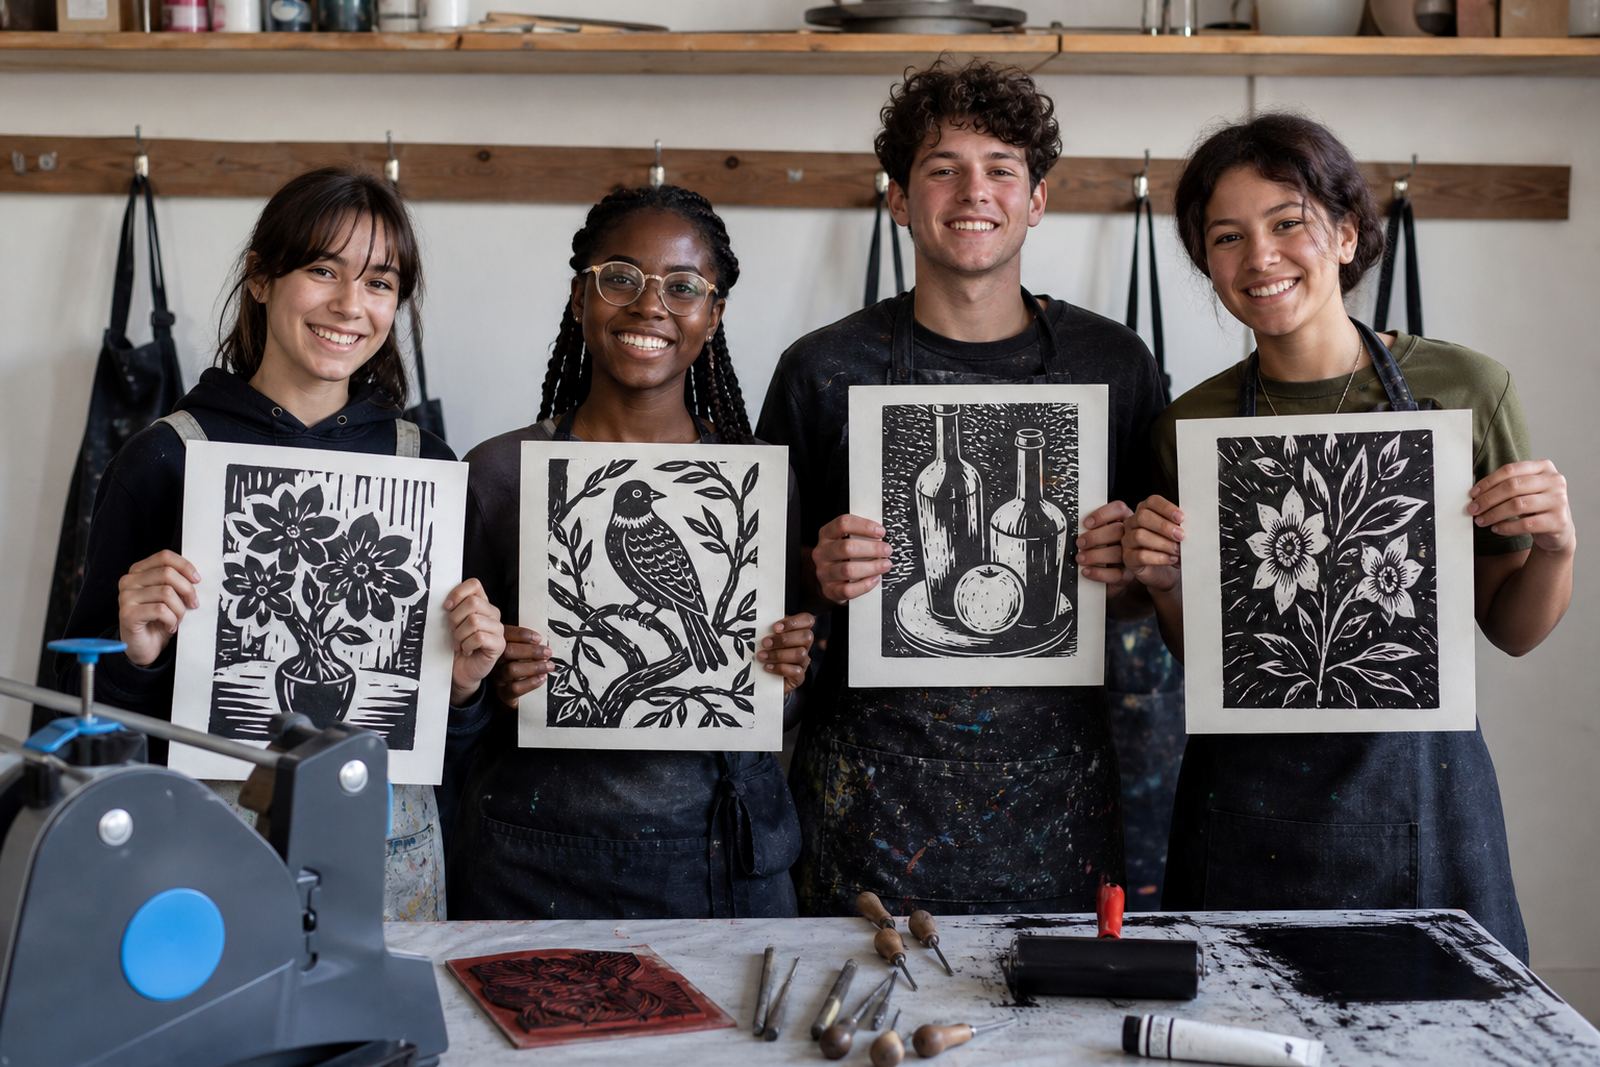
The strongest result was the mood in the room. People stayed engaged because each pull showed its result straight away, and every sheet held a little surprise. Even the simpler motifs carried texture, while the carved areas gave each sheet a clear handmade character. The group left with prints that looked personal rather than mass produced, which suits a social night like this.
For a session like this, people leave with the final sheet and the confidence that comes from controlling the whole process. They handled the tools, saw how the image reversed on the block, learned how ink sits on the raised surface, and finished with a small edition they could take home.
- Outcome: a social workshop with finished hand-printed editions
- Format gain: easy entry for first-time printmakers
- Visual result: strong shapes, clean inking and clear handmade texture
A format that suits another Sea Point group
If a similar evening is set up for another Sea Point group, the compact station plan would still be the right fit. The balance of safe carving, simple motif choices and hand-pulled printing gives people enough structure without flattening the social side of the room. That mix worked well here, and it would suit adults, students or mixed family groups who want a print session that feels active and easy to follow.
We would keep the same practical rhythm: short demos, clear tool handling, straightforward registration and paper that behaves well with the inks chosen for the session. That way the workshop stays focused on making.
- Best fit: social groups that want hands-on making
- Useful format: compact stations with easy-to-print motifs
- Print methods: hand burnishing, baren work and press pulls where needed
Key facts
| Project | Sea Point Friends Night |
|---|---|
| Town | Sea Point, Cape Town |
| Workshop type | Social linocut and block-print session |
| Duration | 3 weeks from brief to delivery |
| Station style | Compact individual print stations |
| Print method | Hand-pulled editions with baren and press support |