What the Pretoria workshop needed
The group needed a training day that felt practical for real classroom use. The teachers wanted a lesson structure that could move from drawing to carving, then to inking and printing, without turning the room into a long clean-up task.
The brief also called for methods that could work with older learners and younger helpers in the same room. That meant keeping the tools familiar, the steps visible, and the material list tight enough for school storage and budget control.
- Relief-print planning for class groups
- Safe carving habits with clear hand positions
- Ink handling that stays orderly on school tables
- Cleanup routines that suit shared spaces
The workshop structure we set up
We built the session around a teacher-friendly flow. First came the block drawing stage, then the transfer of a simple image onto lino or soft-cut. After that we moved into gouges and V-tools, keeping pressure controlled and cutting direction easy to read.
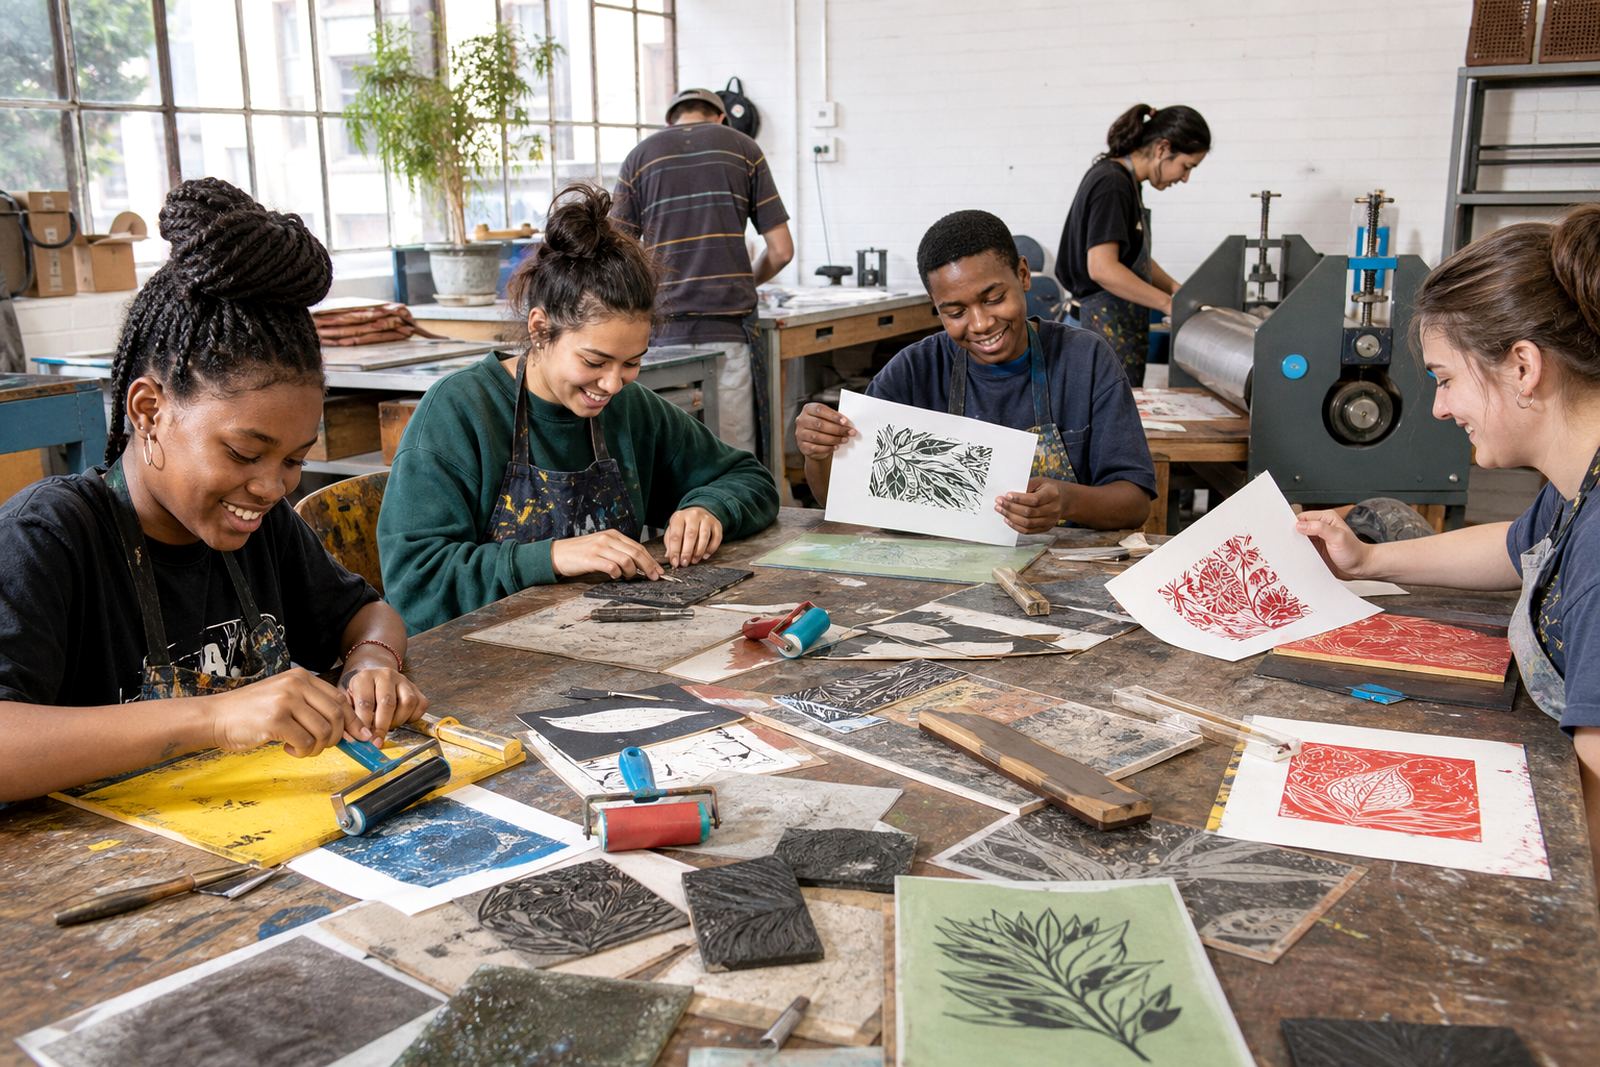
From there, the group worked through brayers, rolling an even layer of block ink across the raised surface. We covered water-based and oil-based block inks, then showed how paper choice changes the final print, especially when students use lightweight sheets, cartridge paper or heavier printmaking paper.
- Design transfer and block planning
- Safe carving with bench control
- Brayer loading and ink coverage
- Paper handling for neat pulls
Materials, tools and print methods we covered
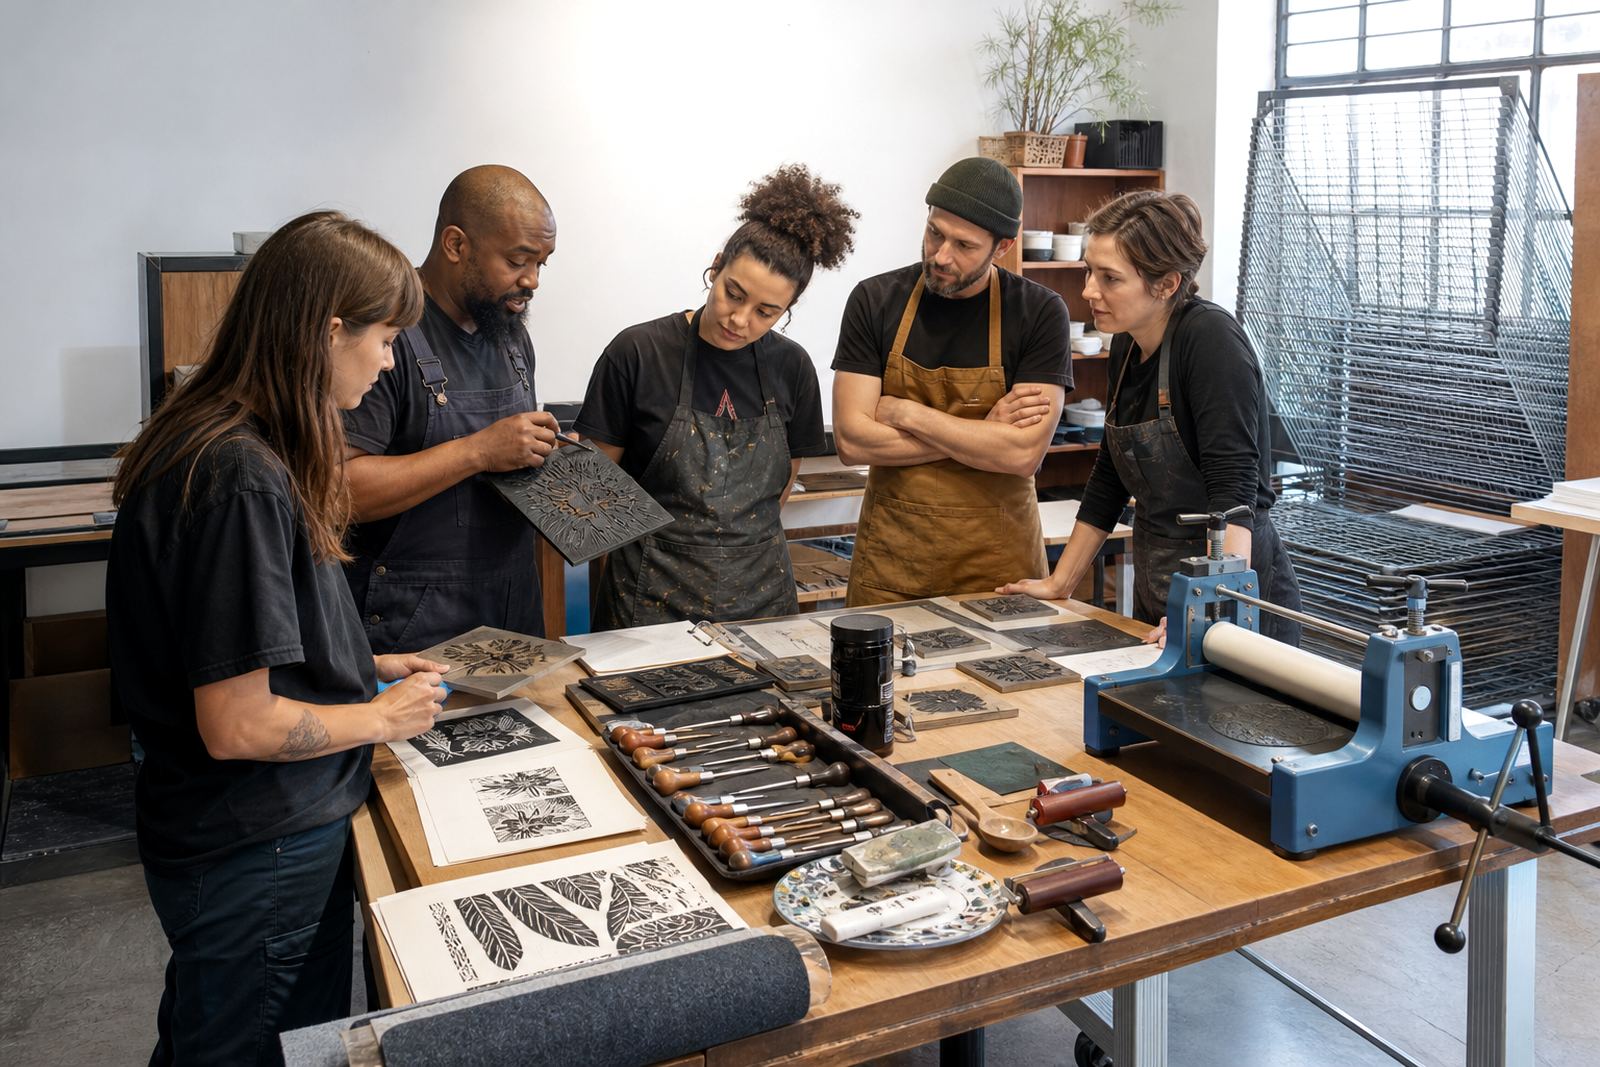
The training kept the kit straightforward, but still close to what printmakers use in a proper studio. We showed how lino differs from soft-cut blocks, and why each one suits a different age group or lesson goal. Lino gives a firmer cut and a more pronounced mark, while soft-cut is easier for first-time carving and quicker classroom handling.
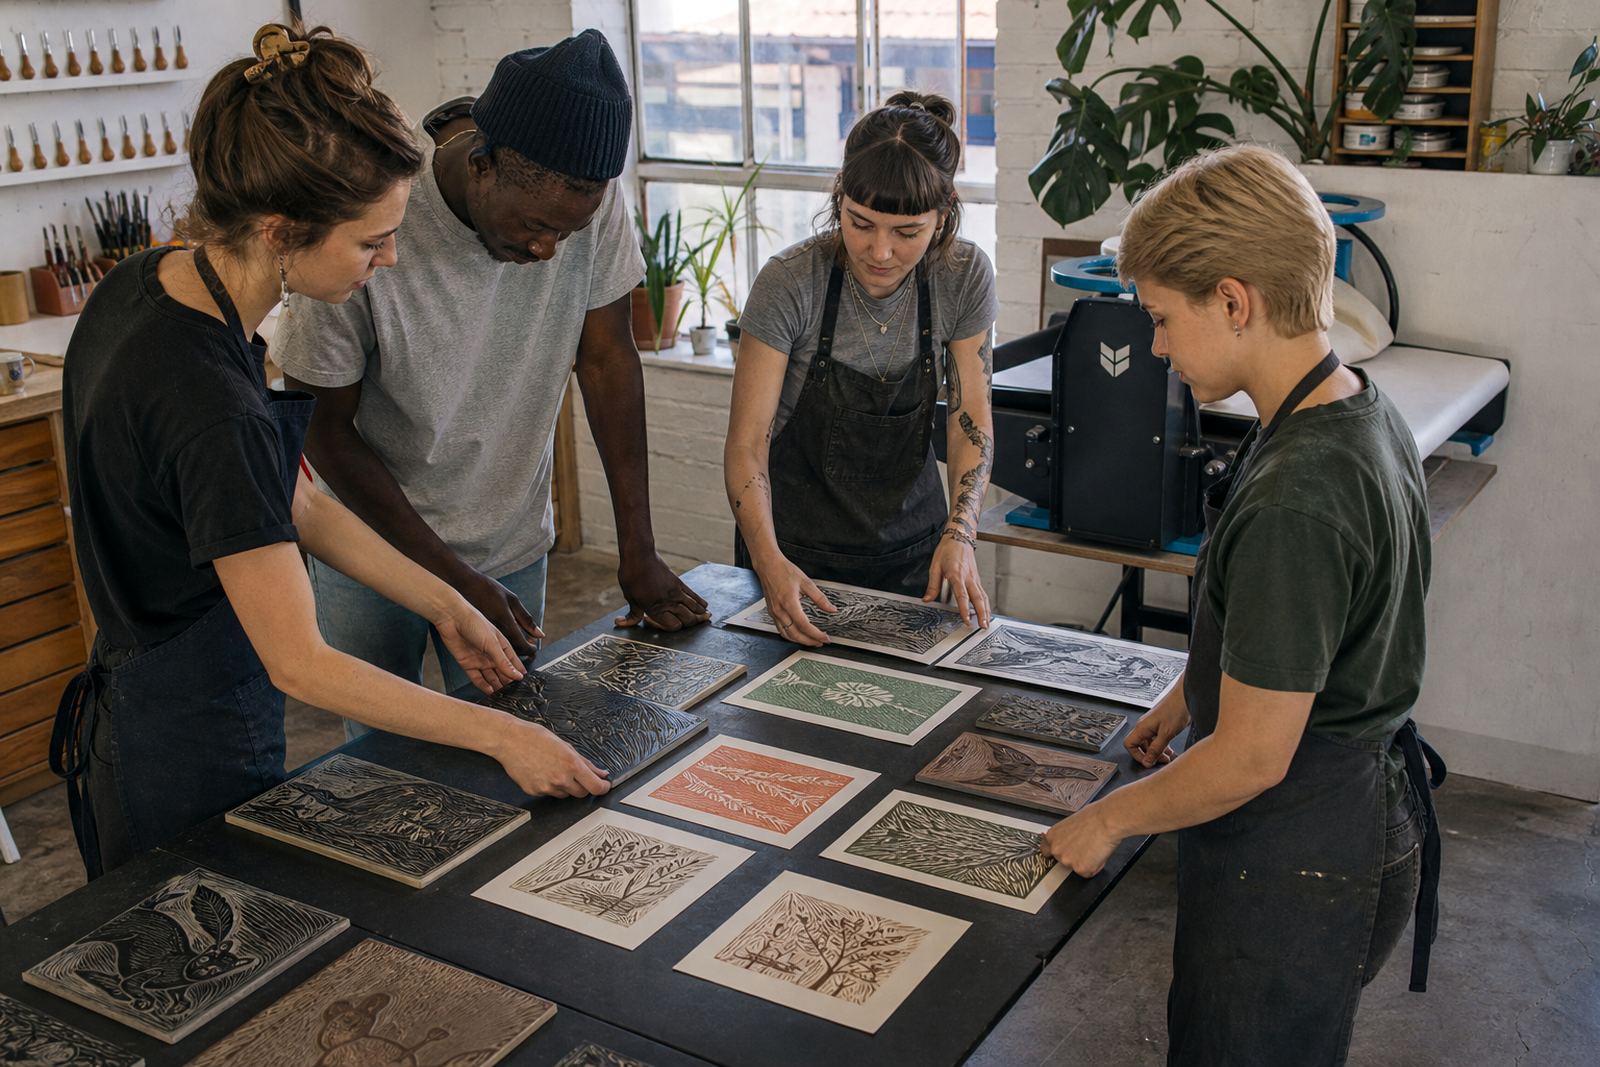
Teachers also practised registration, so repeated prints could sit in the same position on the page. We demonstrated baren printing for hand pressure, plus press printing where the block goes through a press for a sharper and more even impression. The group also looked at edition printing, proof sheets and the small checks that help a class keep track of each print.
- Lino and soft-cut block differences
- Gouges, V-tools and safer carving angles
- Barens and press printing methods
- Registration marks for editions
How the day ran in Pretoria
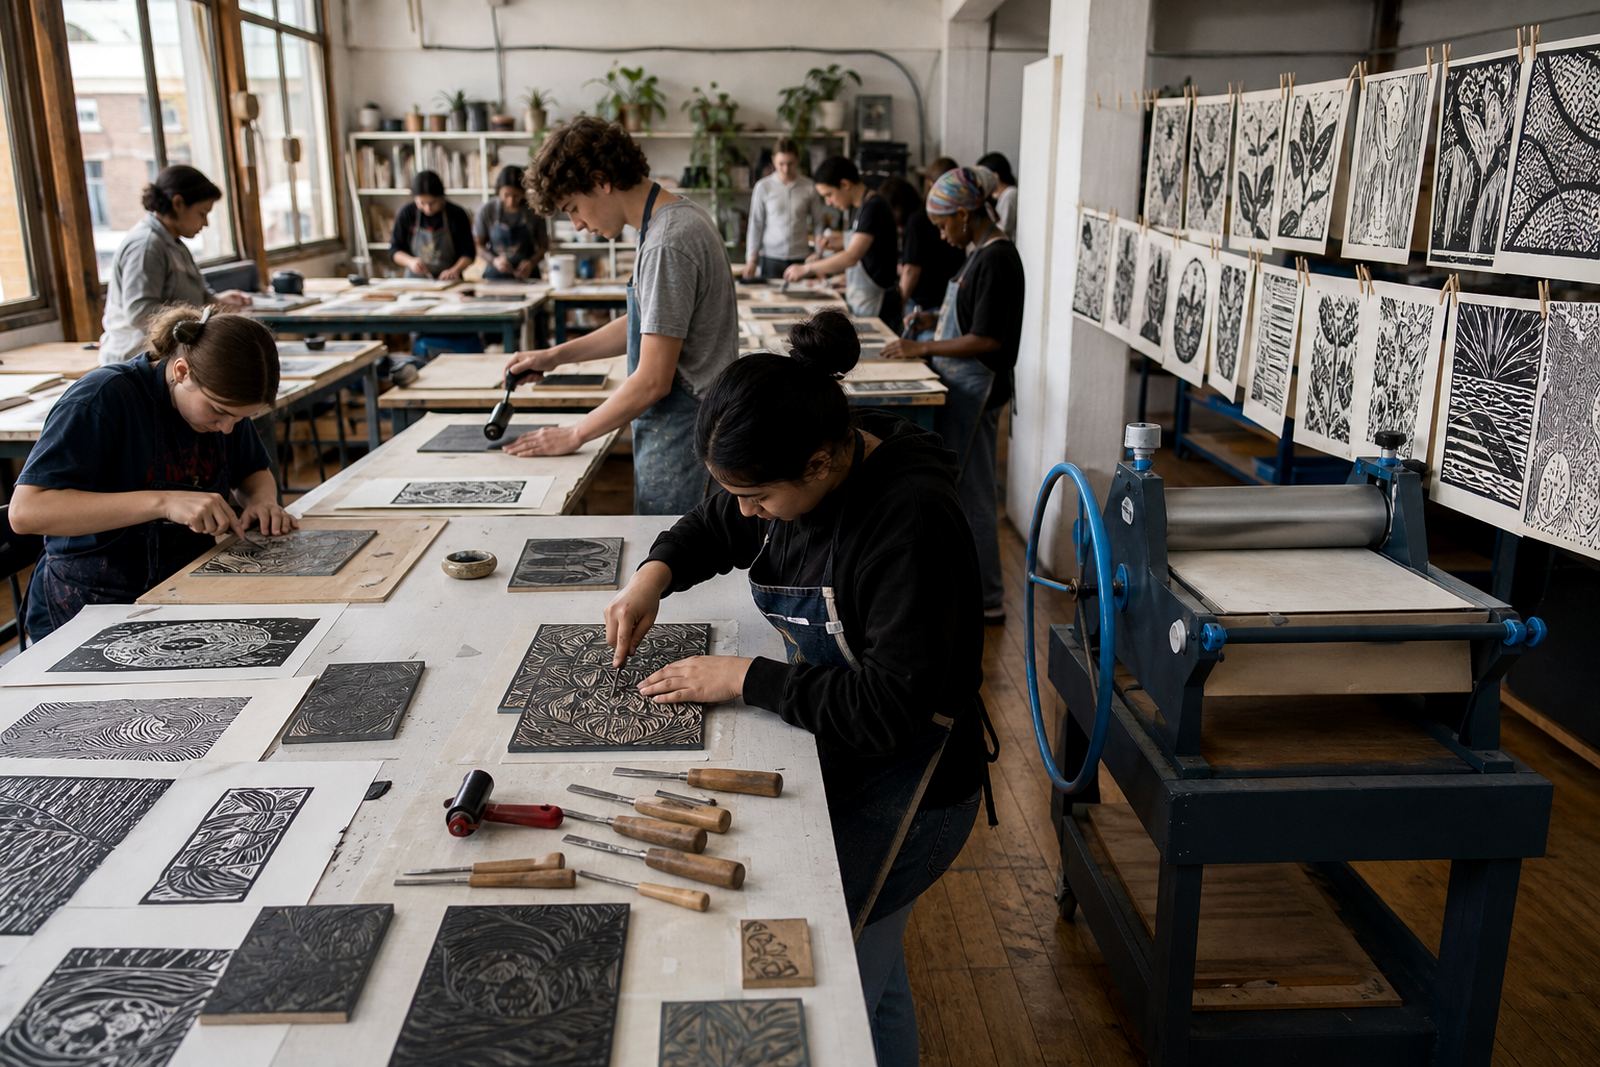
The training ran over one workshop day, with room for demonstration, hands-on making and teacher discussion. The pace stayed steady so everyone could test the sequence from design to final print, then talk through how the same lesson could be adapted for different grades and available periods.
Because the school environment has its own constraints, we kept the mess points contained. Inks stayed on lined trays, tools had a clear place on the table, and paper drying was organised before the prints started stacking. That kept the room usable while the group worked through the process.
- One day of teaching and demonstration
- Step-by-step practice with teacher input
- Contained ink areas for easier table care
- Drying and stacking methods for classwork
What the teachers took into their own lessons
By the end of the session, the teachers had a lesson shape they could repeat without guessing the order of the work. They left with a clearer sense of how to introduce a block-print lesson, how to pace carving safely, and how to manage prints once the first edition starts coming off the paper.
The clean-up routine mattered as much as the print itself. We covered wiping tools, scraping plates, collecting offcuts and dealing with ink residue before it dries hard on benches. That practical routine makes a real difference when a class ends and the room needs to be ready for the next group.
- Lesson order that fits school periods
- Cleanup steps for tools and surfaces
- Edition control for class print runs
- Better planning for shared art rooms
School print training approach to repeat
On a similar briefing, we would keep the same balance of demonstration and hands-on work. Teachers learn faster when they can feel the block under the hand, see how much ink is enough, and watch a print lift from the paper with one clean pull. That physical sequence makes the method easier to carry into the classroom.
We would also keep the material list short and the examples direct. A school session works best when the tools, papers and inks are chosen for repeat use. In a mixed class, that kind of structure gives the teacher more control and leaves less room for confusion.
- One job per teacher at each table
- Direct demos before table practice
- Printable steps for classroom use
- Simple edition tracking for learners
Key facts
| Project type | Teacher training for relief printmaking |
|---|---|
| Town | Pretoria |
| Focus | Lino and soft-cut block printing |
| Tools covered | Gouges, V-tools, brayers, baren and press printing |
| Format | One workshop day |
| Use case | School lessons, teacher upskilling and cleanup planning |