Salt River brief, kept practical
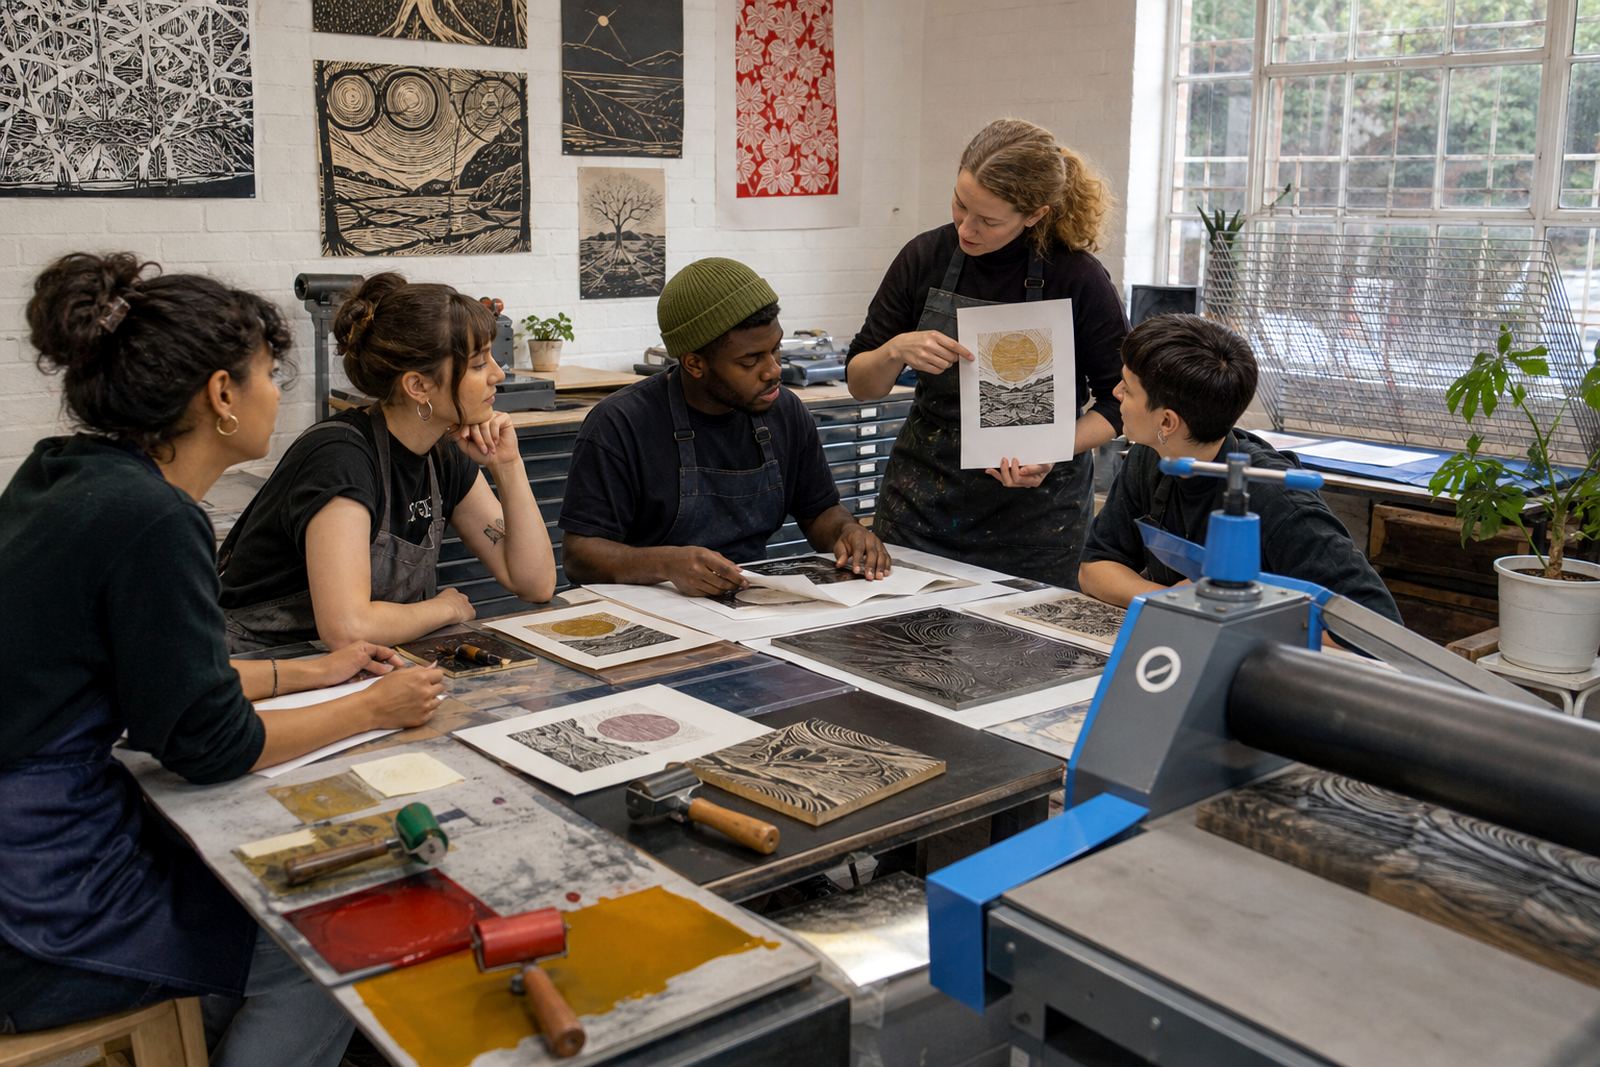
The group in Salt River wanted a session that felt active rather than lecture-led, with enough structure for first-timers and enough print discipline for people who had carved before. The workshop had to work for a mixed table of adults, and the finished sheets needed to look like a proper edition rather than a stack of near-identical trial pulls.
The brief also called for materials that were easy to handle in a shared studio setting. We brought soft-cut blocks and lino, carving gouges and V-tools, brayers, water-based inks for cleaner handling, and a small set of oil-based inks where a slower rolling mix made sense. Registration marks, clean paper handling and careful drying space all mattered on the day.
What the session needed from the room
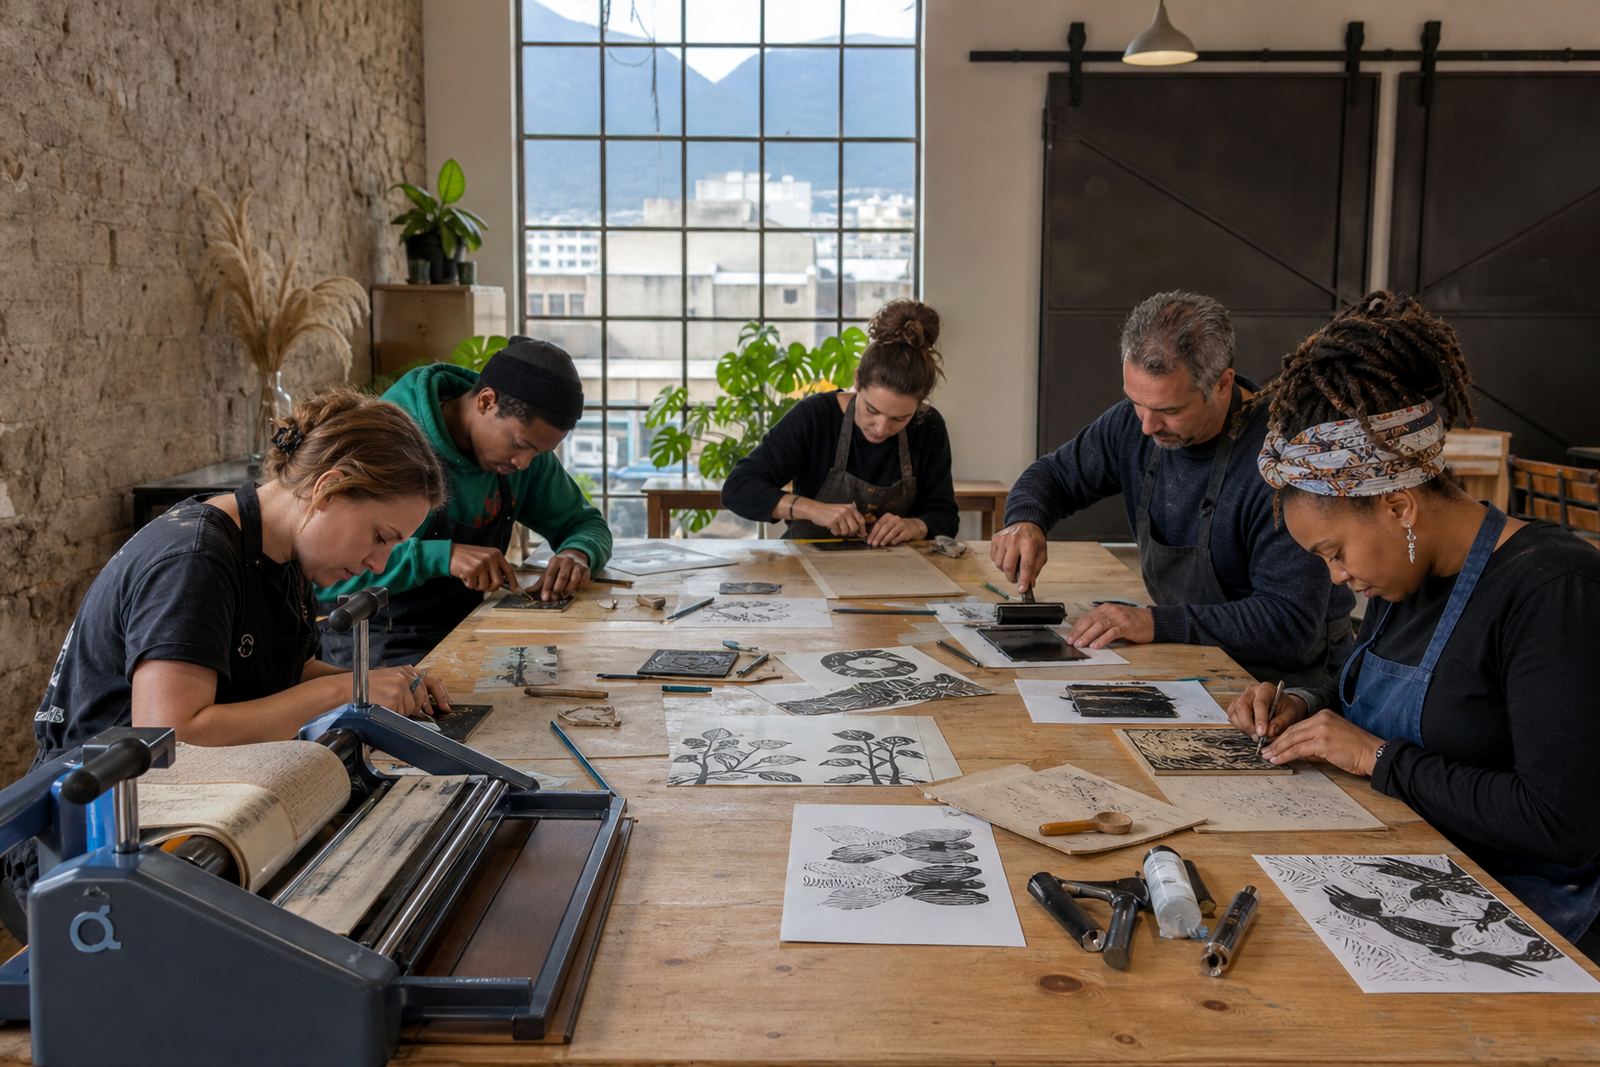
The venue in Salt River had to hold a working print table, a safe carving zone and a drying area without feeling crowded. That meant planning the flow before anyone touched a tool. We set out the work so that carving, proofing and printing did not happen over one another, which kept the session steady when several people were moving through different stages at once.
- Safe carving setup with seated and standing options
- Clear cutting direction for gouges and V-tools
- Separation between wet ink work and dry paper stock
- Room for brayer rolling, baren printing and press pulls
- Enough space for edition stacking and drying
Because the group was working across different skill levels, we kept the demonstration direct and practical. The team could see how to transfer a sketch onto the block, how to trim safely around marks and how pressure changes the print when a baren or press is used.
Two weeks of planning and print prep
The project lasted two weeks, from the brief to delivery. The first stage was about shaping the session around the group size, the venue and the amount of carving that could be completed in one sitting. The second stage focused on preparing blocks, inks, papers and the printing order so the workshop would stay on track.
We also checked which paper weights would sit well with the inks and the available printing method. A heavier sheet handled press printing neatly, while a lighter sheet gave the group a faster result when using barens for hand pressure. That balance helped the workshop keep moving without rushing the drying stage or flattening the relief marks in the block.
- Session plan and table layout mapped before the day
- Blocks selected for first-pass carving and cleaner edges
- Paper sorted by weight and print finish
- Edition order set so each pull stayed readable
- Cleaning materials packed for shared use between steps
Carving, transfer and edition pulling
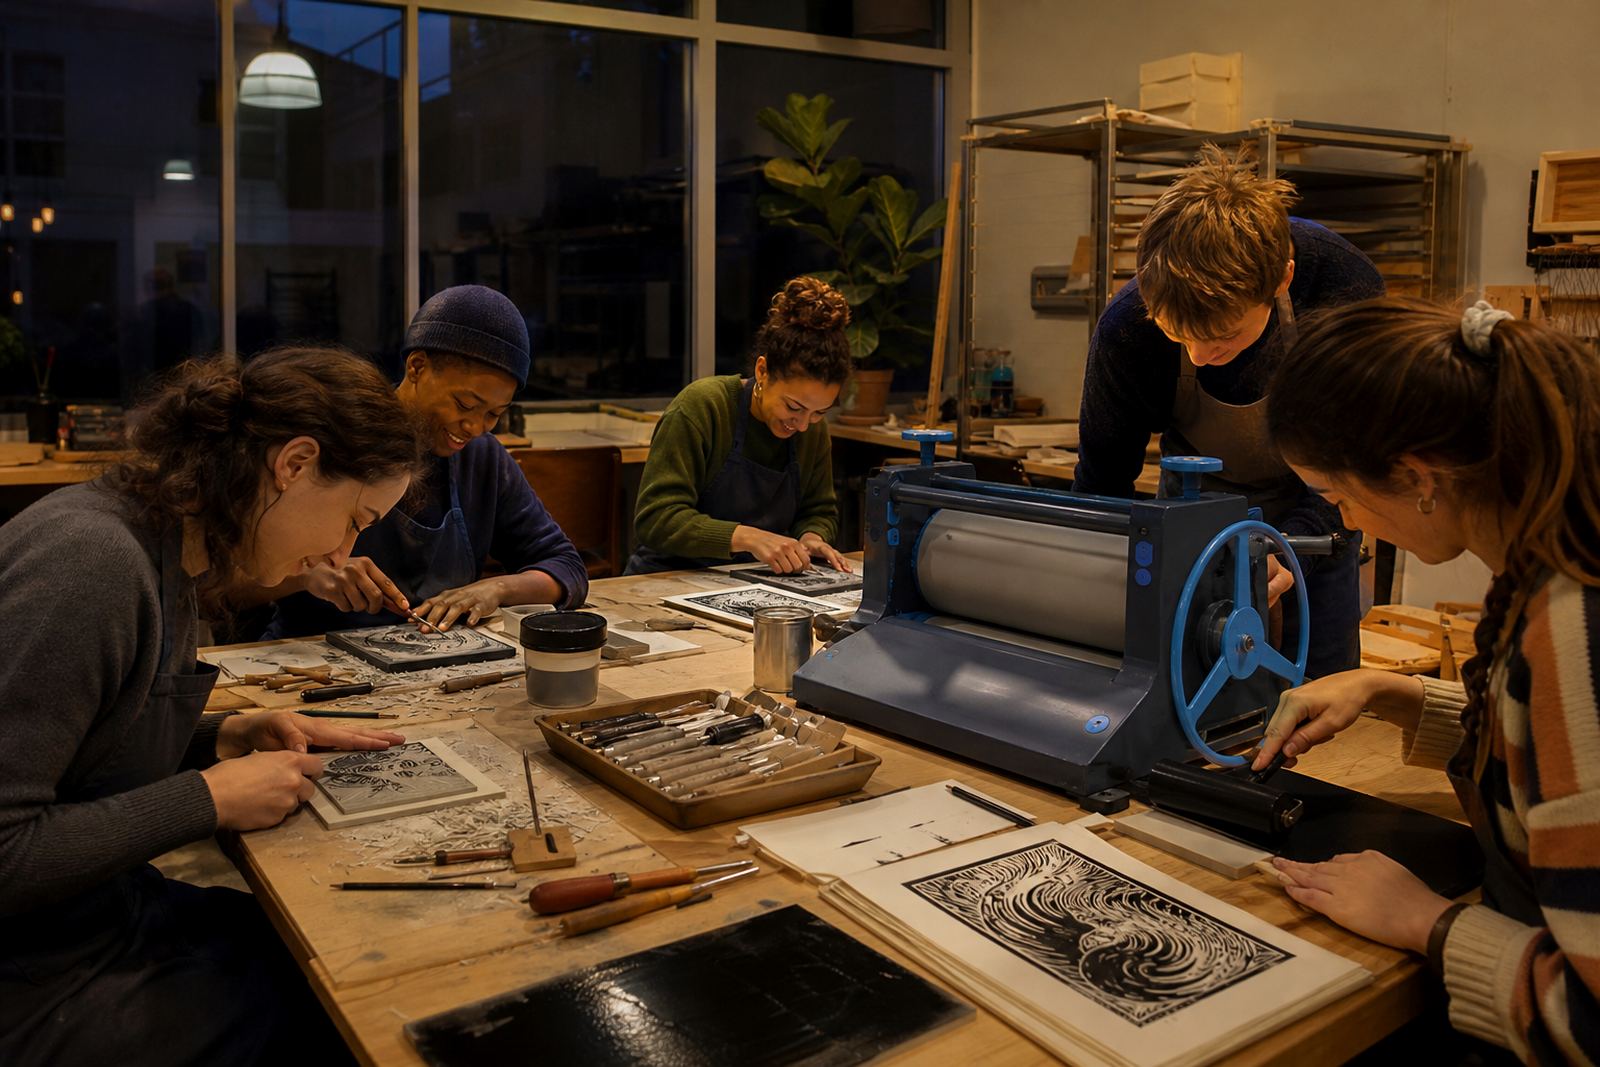
The session moved from drawing to transfer, then into carving with close attention to safety. Some participants worked on soft-cut blocks, while others used lino for a firmer surface and a sharper line. We showed how to cut away from the hand, how to keep the block steady and how to read the image in reverse before ink ever touched the roller.
Once the marks were carved, the group rolled ink with brayers and tested the density on scrap sheets. The first proofs told us where lines were too tight or where a surface needed clearing. From there, the edition pulling started, with consistent registration and patient pressure so the image could hold across several prints without losing detail.
- Design transfer checked before cutting began
- Ink rolled to an even film on the slab
- Proof prints used to confirm line and tone
- Edition sheets pulled in a controlled sequence
- Each print lifted and set aside to dry flat
What the group took from the table
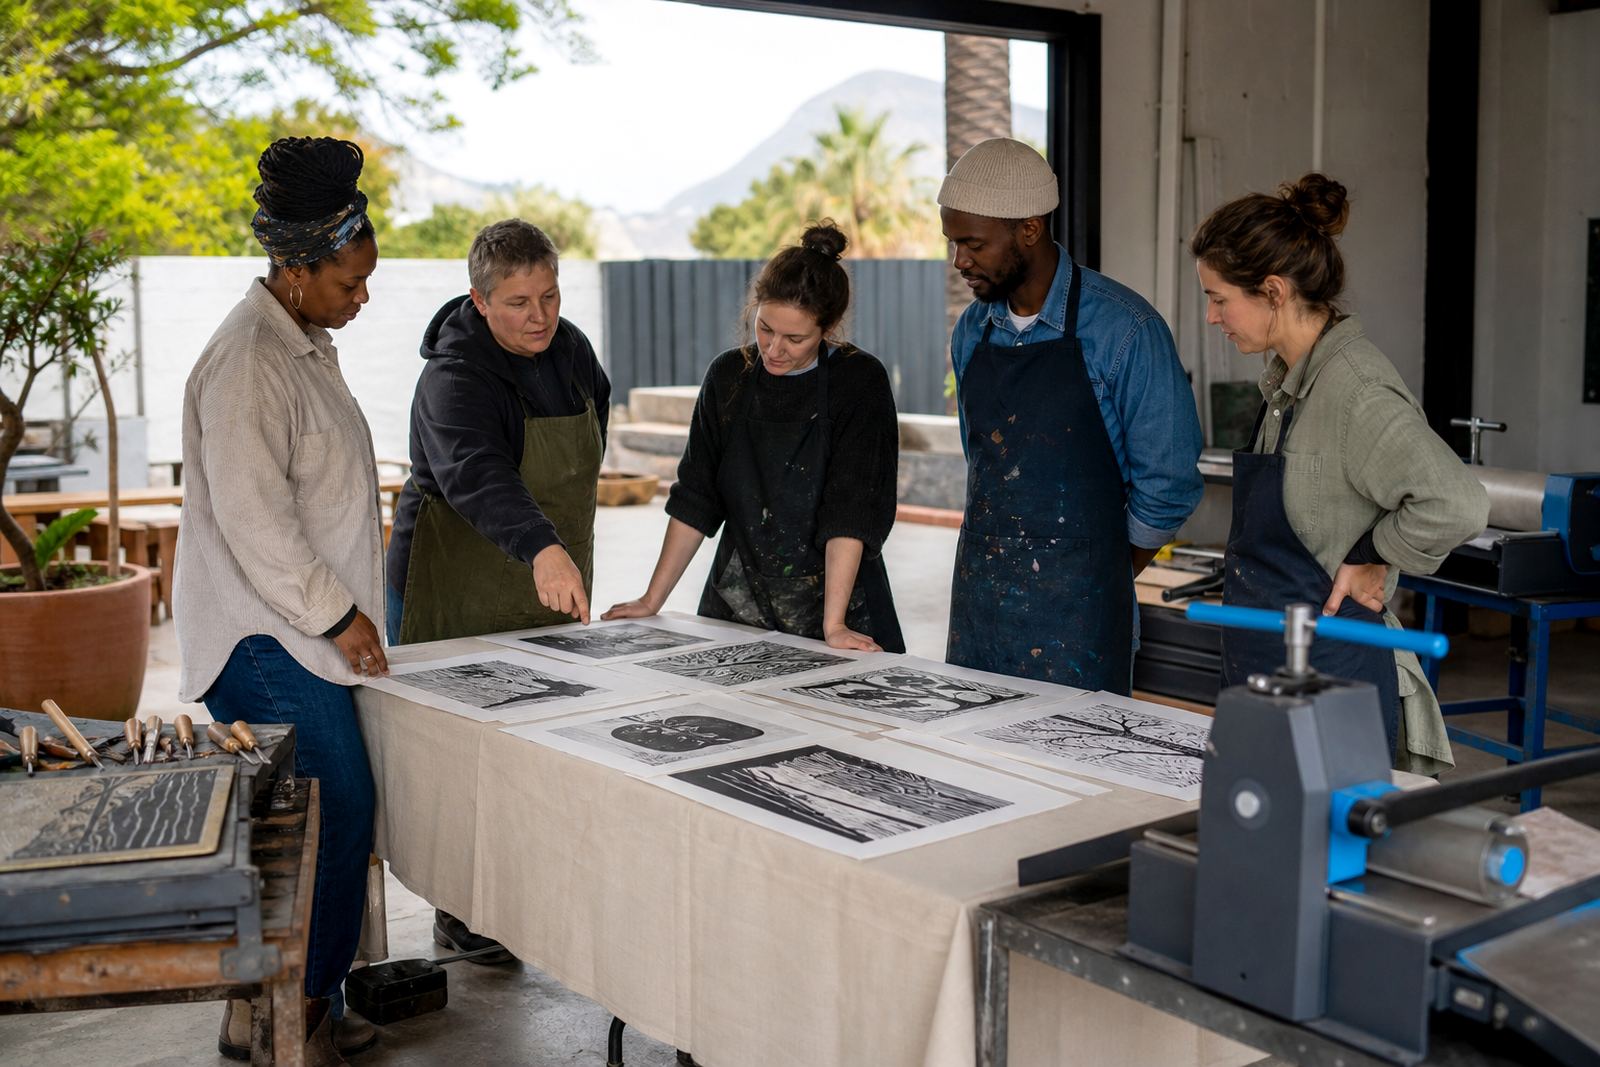
The strongest result was the way the group read the process by the end of the session. People who arrived uncertain about carving left knowing how a block changes through each cut, and how the printed image depends on pressure, clean edges and the order of the edition. The finished sheets carried clear differences in line weight and texture, which suited the hand-made look the brief called for.
The venue host also saw a practical benefit. The setup worked with the available tables and allowed the room to be reset without fuss. For a mixed group in Salt River, that is important because it keeps the workshop usable for another session or a different audience the next day.
How we would approach a similar Salt River session
For a similar brief, we would keep the same balance of demonstration, safe handling and time for edition pulling. The strongest rhythm was the one that let people test, adjust and print without crowding the room. We would also keep the paper choice tied to the ink and printing method, because that affects both the feel of the sheet and the clarity of the mark.
If the group included more beginners, we would bring more soft-cut blocks and spend extra time on transfer and carving control. If the group leaned toward sharper line work, we would lean further into lino, firmer gouges and a tighter edition structure. Either way, the workshop works best when the tools, paper and room layout are treated as one plan.
- Keep the carving stage short and well spaced
- Match paper weight to the print method
- Use proofing to catch weak areas early
- Leave enough drying space for the full edition
- Keep inks, rollers and tools assigned by station
Key facts
| Project | Salt River Team Session |
|---|---|
| Town | Salt River, Cape Town |
| Session type | Guided team print workshop |
| Duration | Two weeks from brief to delivery |
| Methods | Linocut, soft-cut, hand printing and press printing |
| Materials | Blocks, gouges, V-tools, brayers, inks, paper and drying racks |