The brief from a Mowbray portfolio group
The group came to us with a clear studio need: make the print process visible, keep the tools manageable for mixed skill levels, and leave each participant with both study material and finished sheets. They wanted work that could sit in a portfolio, so the plan had to show carving marks, proofing choices, registration checks and the final pull without losing the feel of hand-made printmaking.
The group included adults and students, with a few people who had not handled carving tools before. That meant the pace had to stay measured and the instructions had to stay practical. We built the session around lino and soft-cut blocks, then used selected papers so the samples would show the difference between test proofs and edition sheets. The aim was a proper print session with enough structure for clean results.
- Portfolio focus with process samples and finished edition sheets
- Mixed skill group, including first-time printmakers
- Clear stage-by-stage handling from carving to final print
Materials, tools and print structure
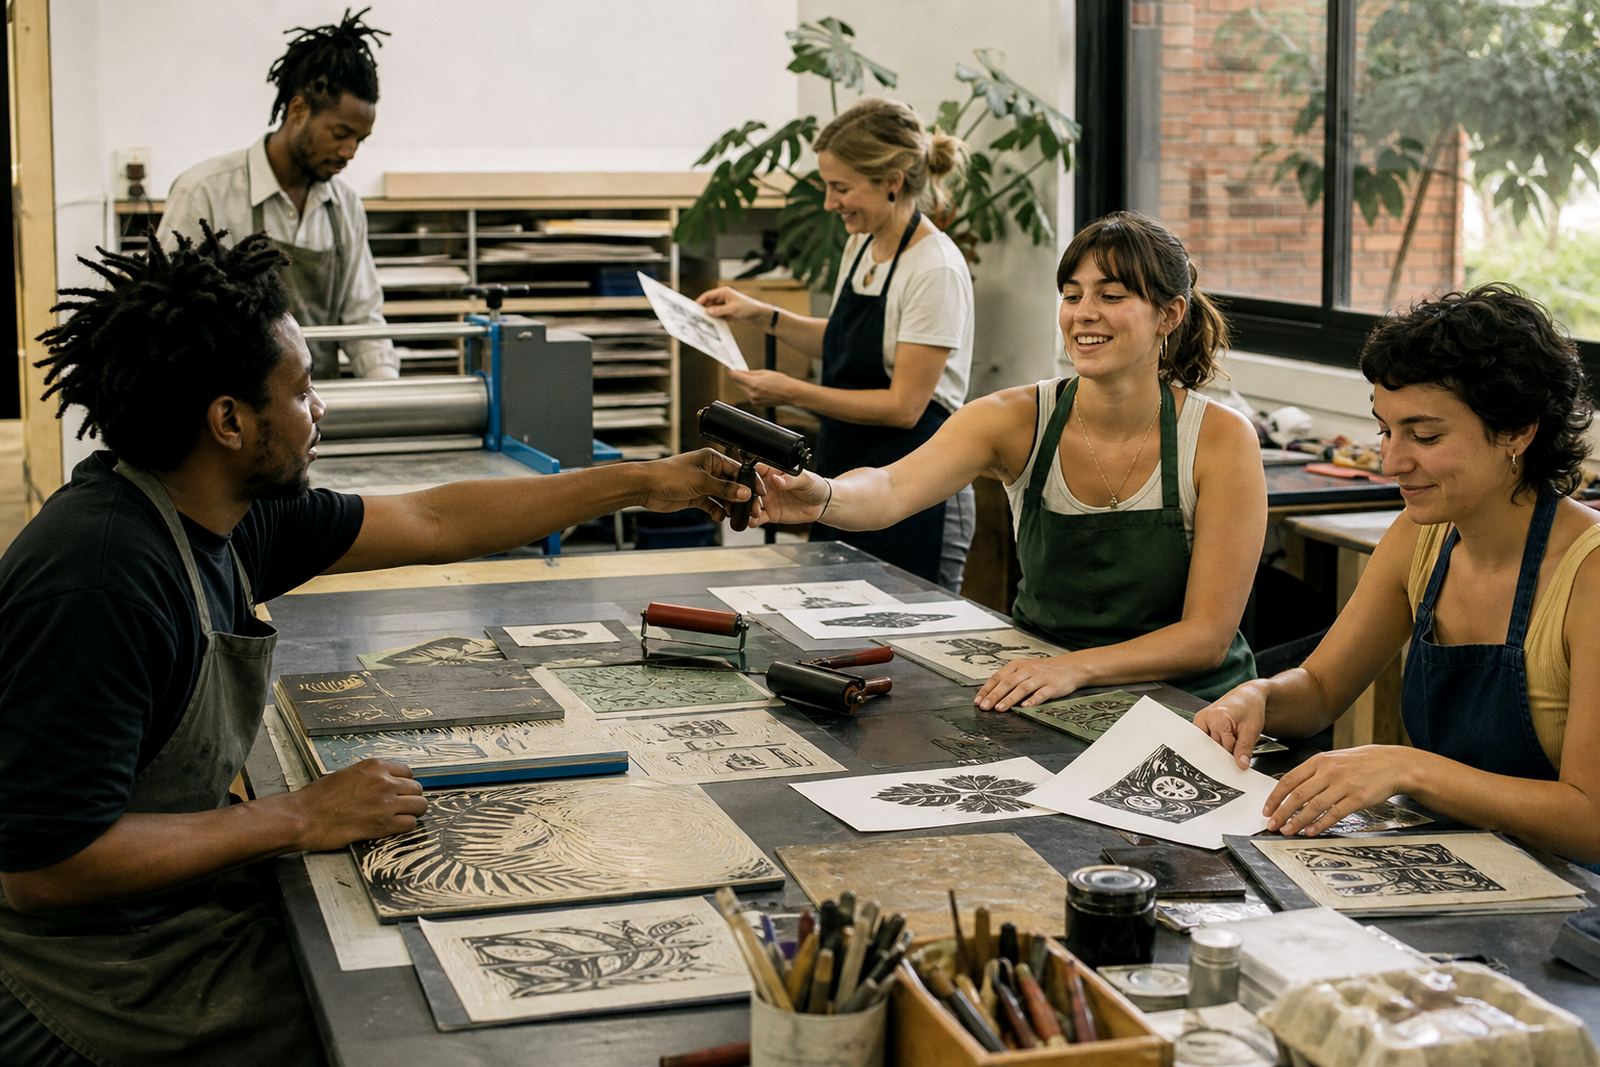
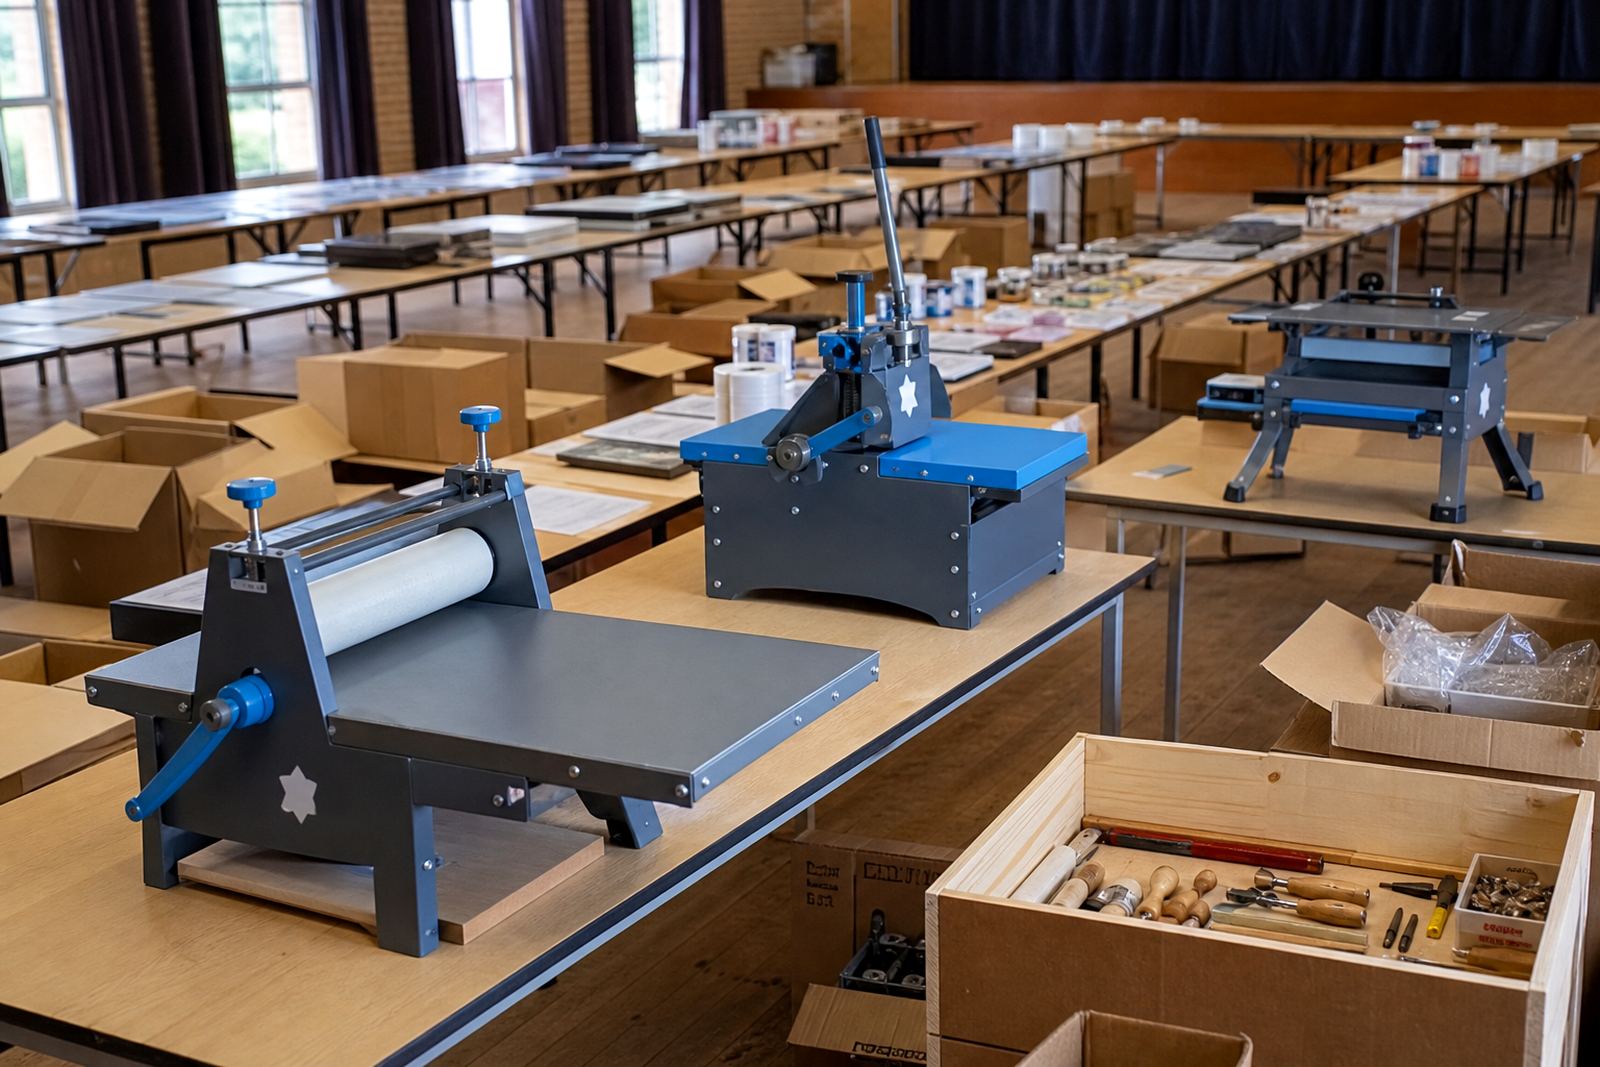
We set out the table with carving blocks, V-tools, gouges, brayers, barens, inks and registration guides. For the first part of the session we kept the tools plain and direct: small shapes, simple line decisions and safe carving habits. That helped the group understand how pressure, angle and blade choice affect the line before any ink goes near the block.
As the project moved on, we introduced water-based block inks for the faster test stages and oil-based ink for selected final pulls where a denser surface was useful. Each participant handled registration by eye and with light guide marks, so the sheets held consistent placement from one impression to the next. We also showed how paper choice changes the printed surface, especially with smoother stock and slightly more absorbent sheets.
- Lino and soft-cut blocks for different cutting responses
- Gouges and V-tools for line weight and detail control
- Brayers, barens and press printing for varied finishes
- Water-based and oil-based block inks used by stage
How the workshop moved over three weeks
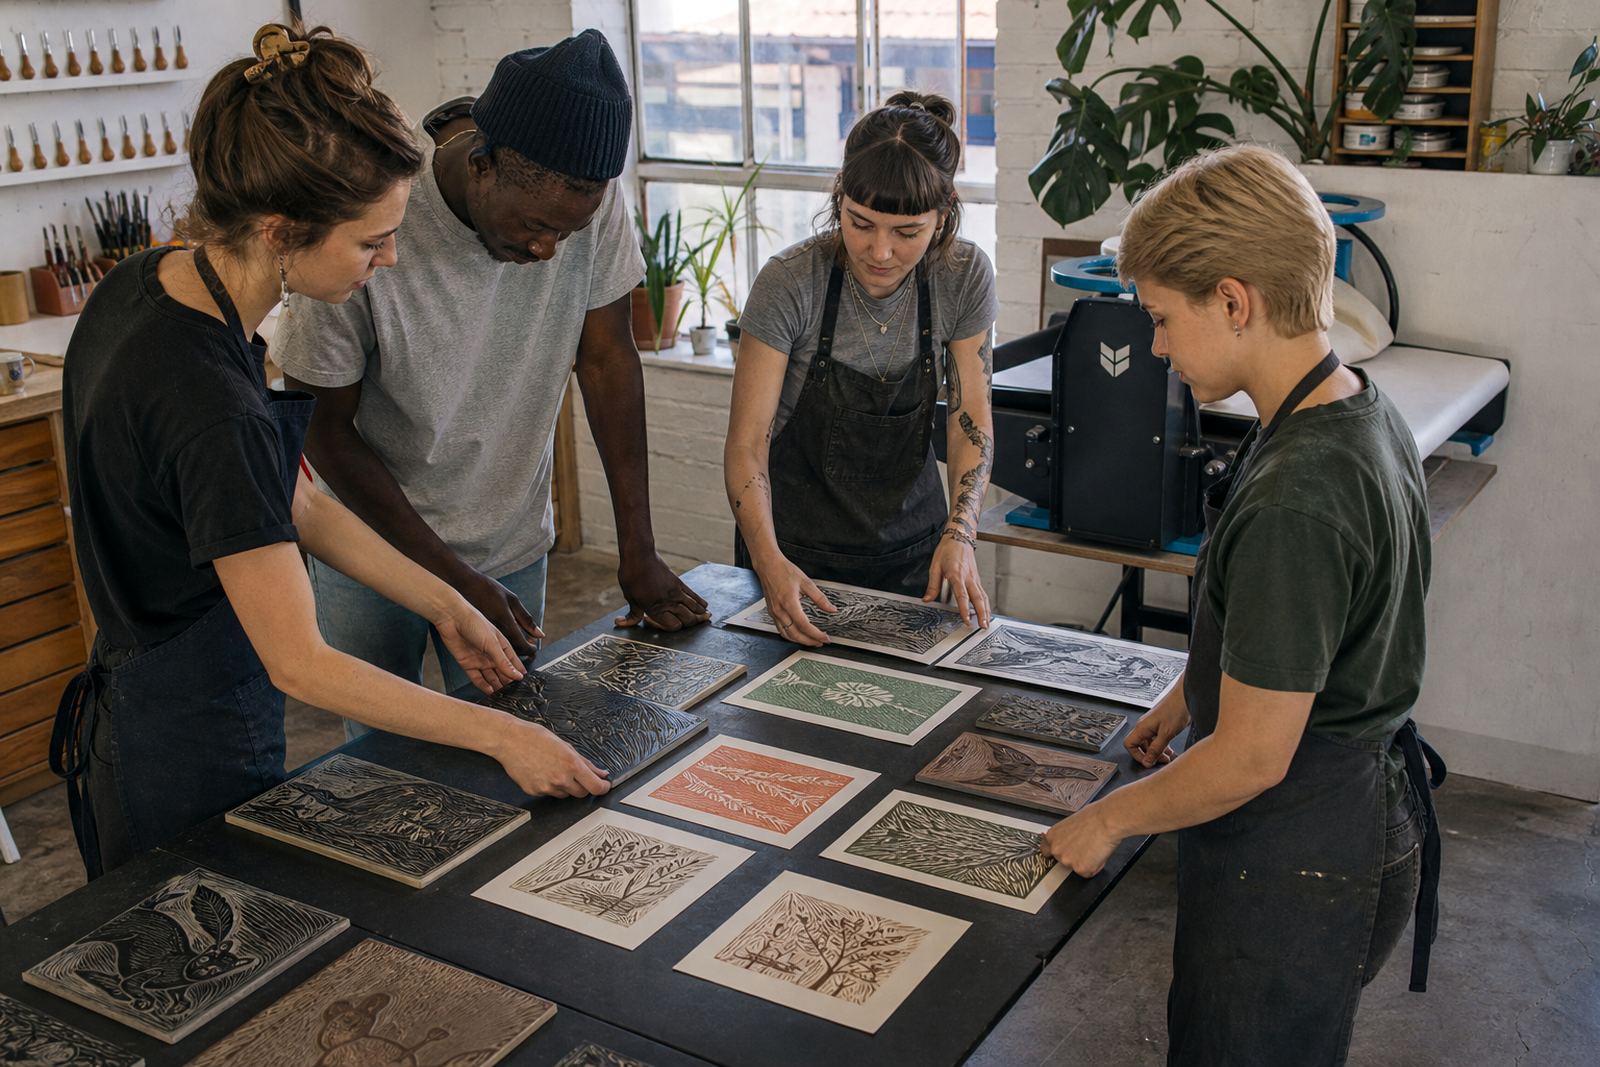
The project ran over three weeks, with each week carrying a different part of the printmaking process. The first week focused on design transfer, block preparation and safe carving. The second week moved into proofing, where the group checked line depth, white space and ink coverage. The final week was reserved for edition printing, sorting the cleanest sheets, and deciding which impressions belonged in the portfolio set.
That kind of pacing works well when a group wants both learning and output. It gave space to correct a weak line, deepen a cut or rework a border before the edition sheets were printed. We also kept an eye on drying time between layers of ink and on handling so the printed surfaces stayed crisp rather than smudged. The result was a set of process sheets that showed real progression.
- Week 1: sketch transfer, block marking and carving
- Week 2: test proofs, registration checks and surface correction
- Week 3: edition sheets, sorting and final presentation
What the group took from the process
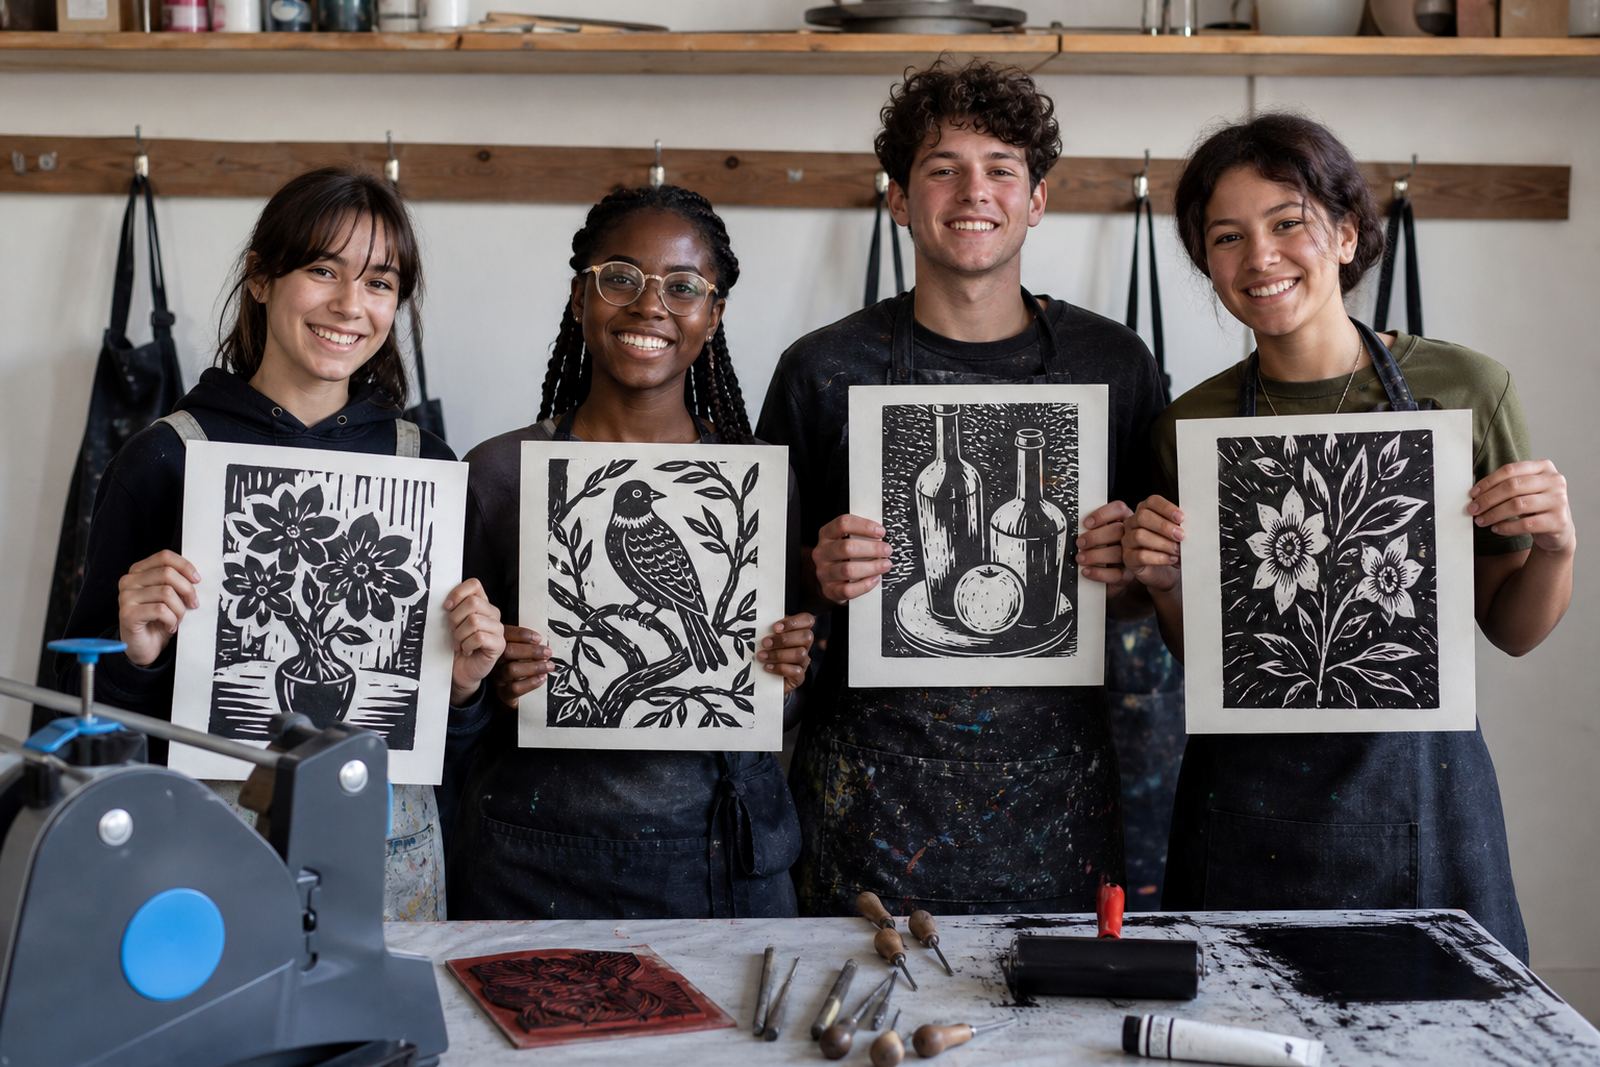
The strongest result was confidence. People who began the session unsure of the tools were able to cut a stable image, ink it properly and pull a clean print by hand. The portfolio set had a useful mix of material: exploratory proofs, one or two adjusted impressions, and the final edition sheets with enough consistency for presentation. That balance matters in a portfolio group because the work has to show thinking.
The final sheets also carried the character of the hand press clearly. In some sections the line stayed sharp and graphic, while in others the pressure of the baren or the press gave the paper a slightly different bite. For a printmaking project, that variation is part of the value. It shows where the block was firm, where the ink sat heavily, and how the edition held together across multiple pulls.
- Better control of carving pressure and line direction
- Cleaner understanding of proofing versus final edition work
- Finished sheets suitable for a portfolio presentation
Why the format worked in Mowbray
Mowbray groups often need workshop work that travels well between study, studio and presentation. This brief asked for something that could stand up in a portfolio review without feeling overproduced. Keeping the block size manageable helped with that, as did using a limited palette and a clear print plan. The group could compare each stage side by side and see exactly where the image improved.
We also kept the studio setup compact, which matters when a mixed group is working around shared tools. Papers were organised by stage, blocks were marked clearly, and the ink station stayed separated from the carving area. That reduced confusion and made the session easier to follow. It also meant the participants could focus on the print itself rather than on searching for materials or guessing the next step.
- Compact setup suited to shared workshop tables
- Clear separation of carving, inking and drying areas
- Portfolio-ready output without losing the hand-made look
Print workshop approach to repeat
On a similar project, we would keep the same structure: carve first, proof with care, then print the final edition only once the block is behaving properly. That sequence gives the group a clearer sense of control and avoids wasting good paper on weak impressions. We would also keep the edition size modest, because a smaller run is easier to keep even when the block carries fine detail.
For a portfolio group, the evidence of process carries the most weight. The samples need to show line tests, registration checks, inking variation and the final print outcome all in one body of work. That is what makes the project useful for review, study and future print sessions. It also leaves room for each participant to compare their own handling of the block against the group standard.
Clients reach us through our contact form when they want a workshop shaped around process samples, edition sheets or a mixed group session. For Mowbray and nearby areas, we can structure the printmaking around school groups, studio teams or private bookings, with the block choice and print method matched to the brief.
Key facts
| Project type | Portfolio-focused group workshop |
|---|---|
| Town | Mowbray, Cape Town |
| Format | Process samples and final edition sheets |
| Tools and materials | Lino and soft-cut blocks, gouges, V-tools, brayers, barens, print papers |
| Print methods | Hand printing, baren work and press printing |
| Timeline | 3 weeks |