A two-person brief with one shared print path
The brief came from a couple in Green Point who wanted a hands-on print workshop with enough structure for first-timers and enough process to leave with something worth framing. They asked for a session built around paired image planning, so each person could bring a separate visual idea into one balanced composition.
The work needed to stay approachable. We planned the class around safe carving, simple shapes and clear mark-making, then kept the print sequence steady from sketch to block to paper. The pair wanted time with the tools, not a rushed demo, and the session was shaped around that pace.
- Client type: private couple
- Town: Green Point, Cape Town
- Format: private studio workshop
- Main method: linocut with hand burnishing
- Outcome: one shared edition of prints
What the couple wanted from the session
The couple asked for a workshop that would feel personal, with enough guidance to avoid the usual first-day carving mistakes. They were drawn to the slow rhythm of block printing, where a line cut in lino or soft-cut block changes the whole image once ink meets the surface.
We kept the visual language simple and practical. That meant planning with pencil, choosing forms that hold their shape in relief printing, and working with the grain of the design so the final print reads cleanly. We also made space for test marks, because the first pull often shows where a line needs opening or where a shape needs more breathing room.
- Pared-back image planning for two voices in one print
- Safe carving with gouges and V-tools
- Water-based block inks for easy handling and clean studio work
- Hand burnishing with a baren for pressure and texture
- Edition printing with repeatable registration
Tools, blocks and paper choices
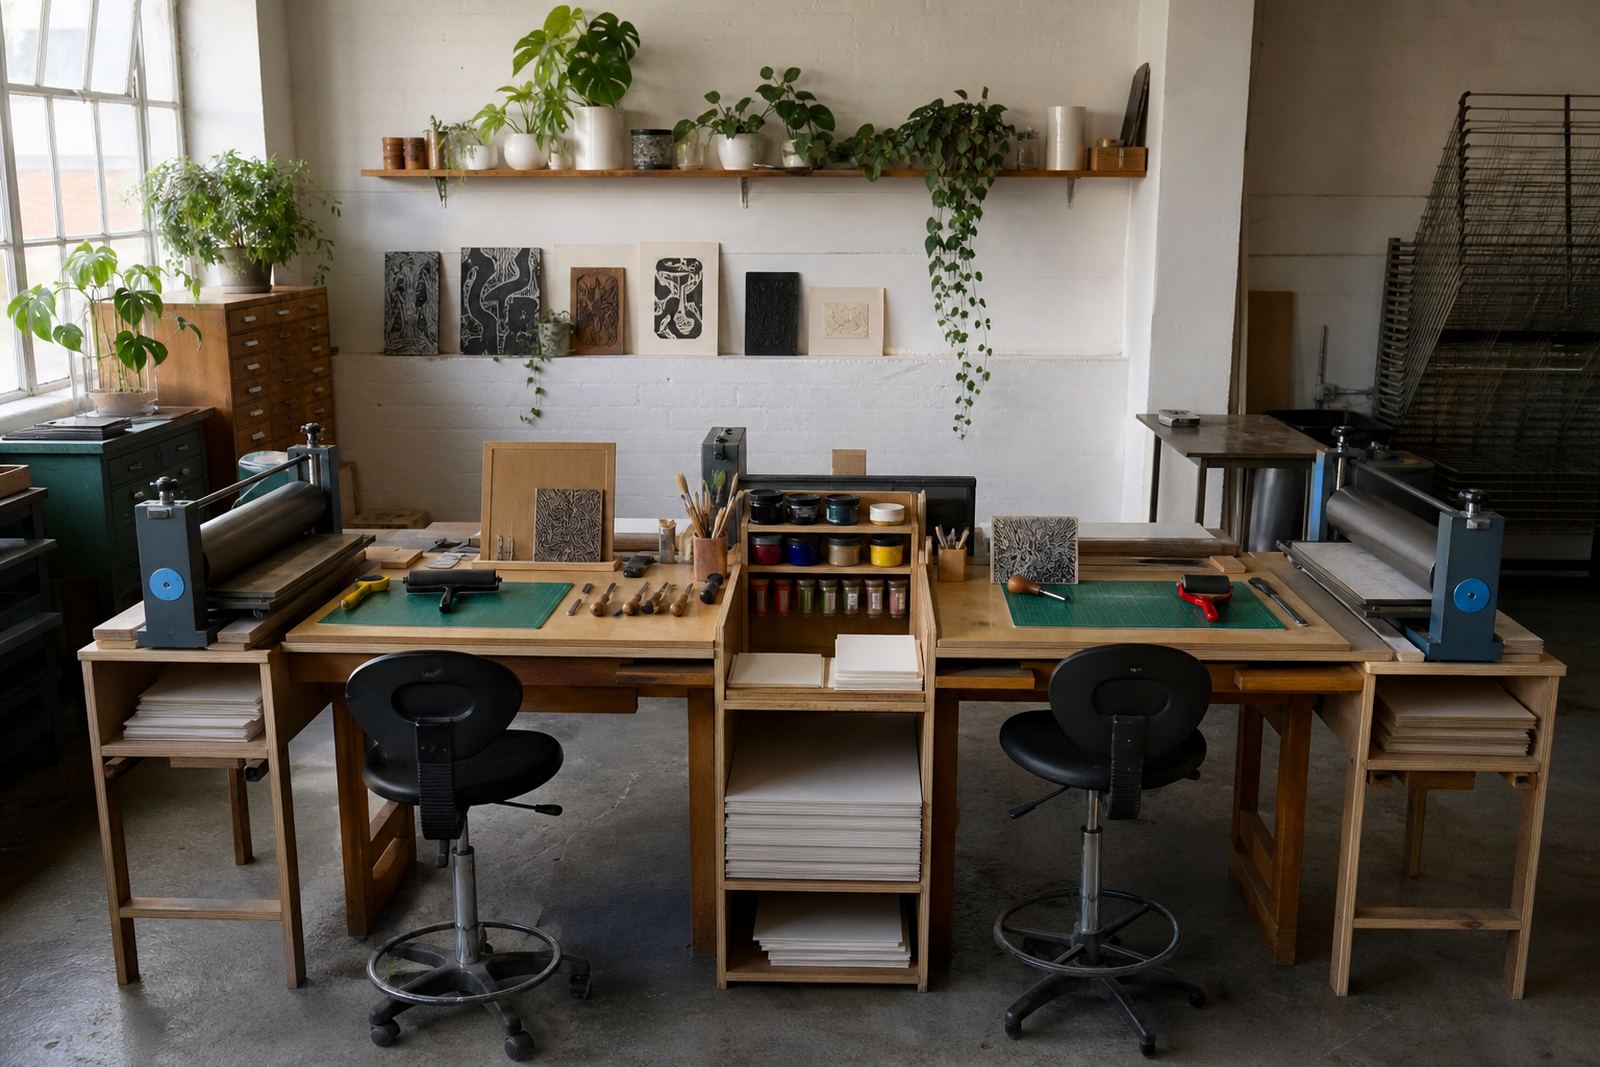
For a couples session like this, we chose tools to suit the design. We worked with lino and soft-cut blocks, which handle differently under the blade and suit different levels of pressure. The carving set included gouges for clearing wider fields and V-tools for narrow, crisp linework.
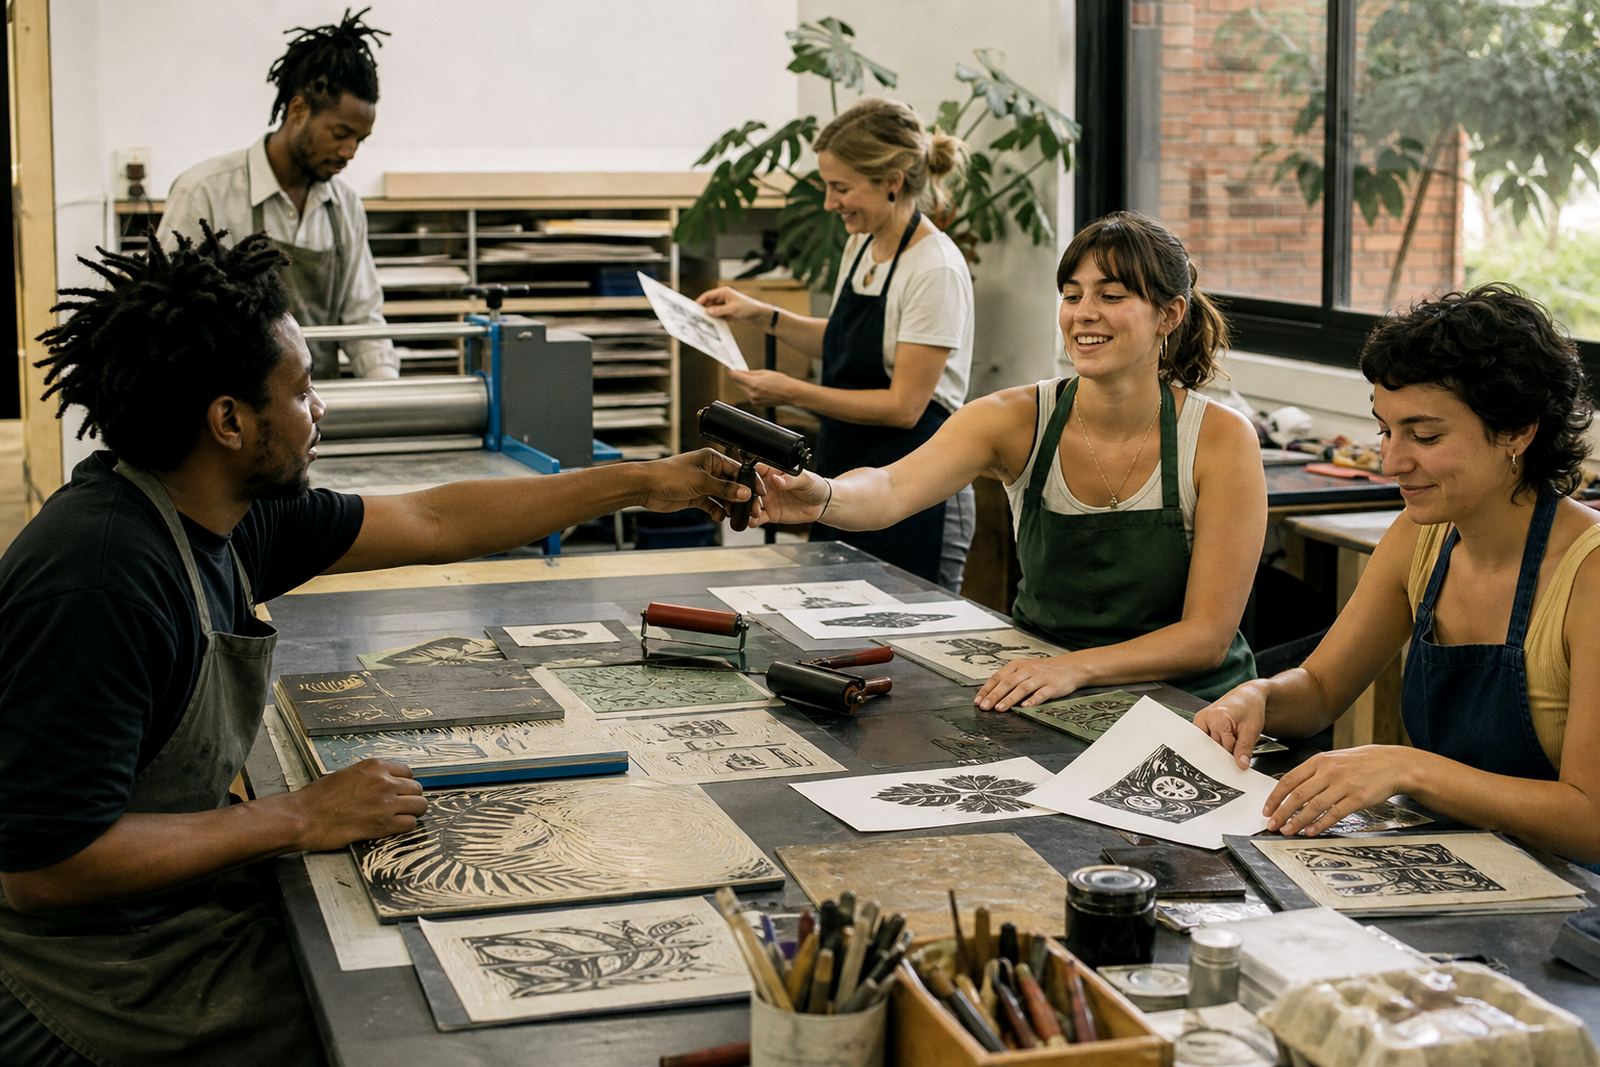
Ink handling stayed direct. We rolled the colour out with brayers, checked coverage on the slab and kept the layer thin enough to avoid filling the cuts. The couple printed by hand first, then used the press for a few sheets once the composition was settled. Paper choice mattered too, because a lighter sheet can show the relief more clearly while a heavier sheet takes pressure and ink with less warp.
Registration was kept practical. We used simple corner stops and marked placement so the image sat in the same position on each sheet. That makes a small edition feel tidy instead of accidental, and it also helps a pair keep the same visual balance across several pulls.
How the workshop unfolded over three weeks
The project ran over three weeks, with the first session set aside for paired planning, sketching and block preparation. The second week focused on carving, testing lines and checking whether each element would print cleanly at the intended size. The final session covered inking, hand burnishing, press printing and drying the finished sheets.
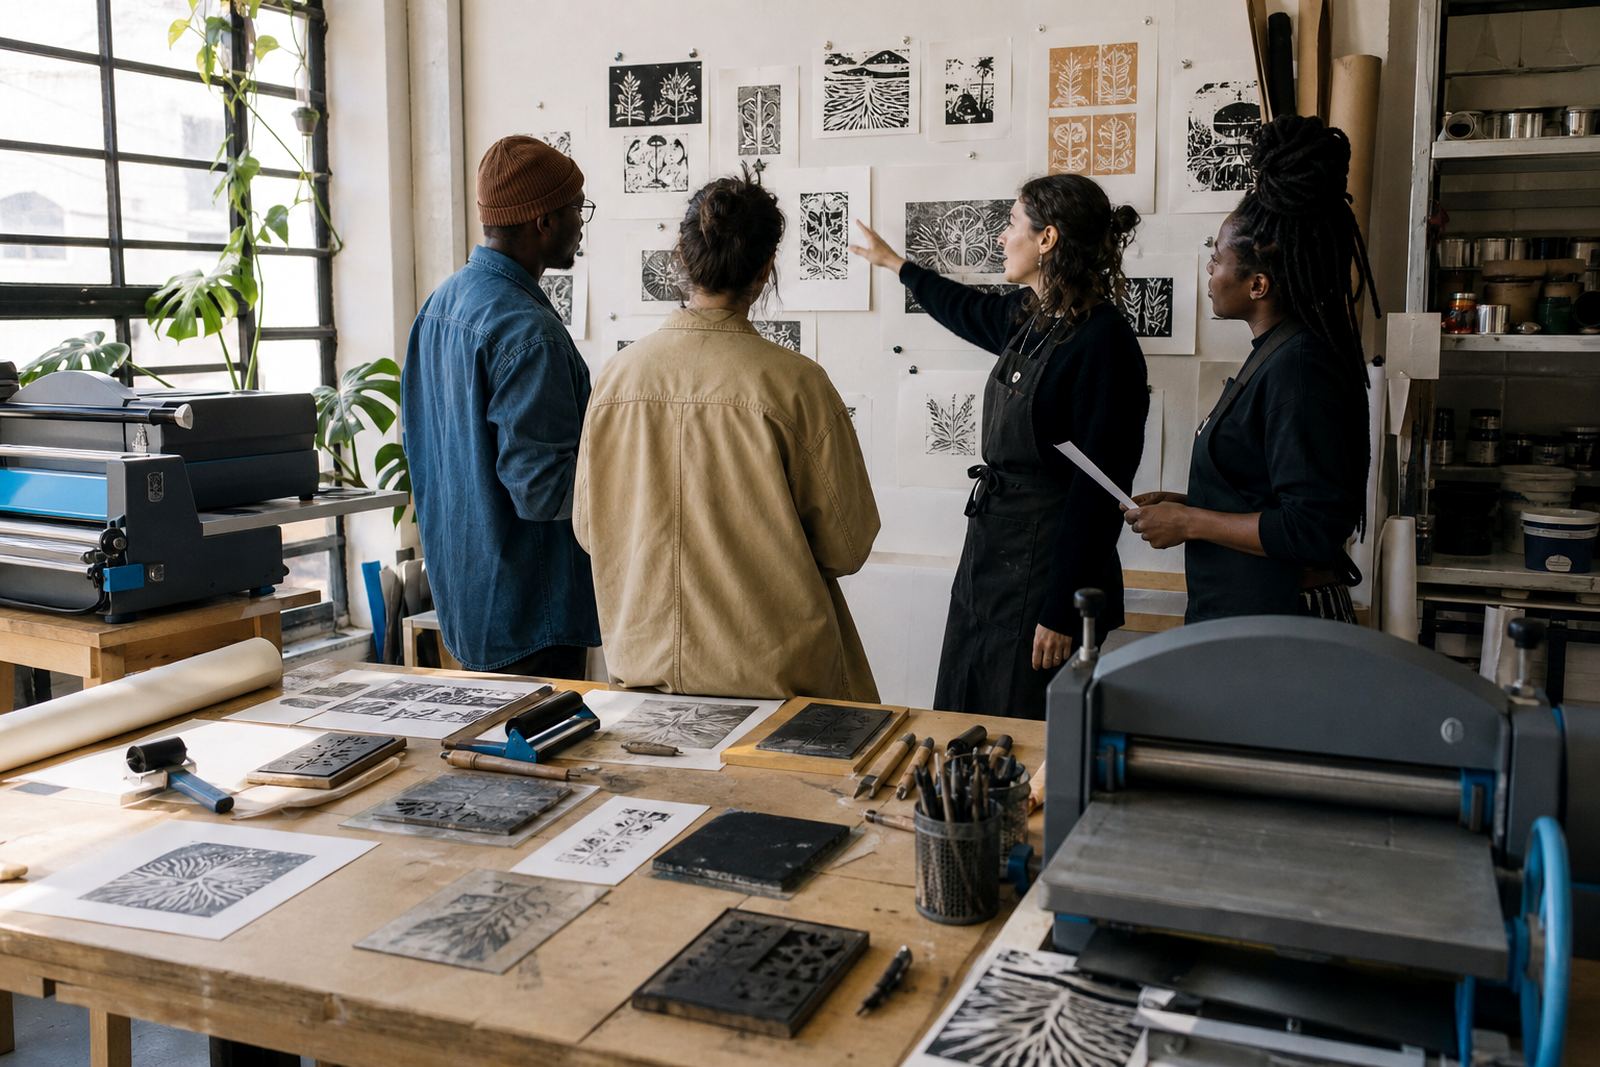
The couple wanted the process to remain calm and measured, so we left time in each stage for decisions rather than forcing quick fixes. That mattered when the composition needed a small shift, because a narrow line cut too deep can vanish in print and a solid shape can overpower the rest of the image. A slower pace gave both people room to adjust without losing the shared idea.
- Week one: paired concept and block prep
- Week two: carving, line testing and layout checks
- Week three: inking, burnishing, press printing and drying
Tools and tables we brought
We supplied the carving blocks, cutting tools, inks, rollers, barens, paper and studio setup needed for the session. The practical side was kept tight and orderly, which helps in a small group where both people are working across the same bench and need room for moving blocks, trial sheets and wet prints.
We also managed the print sequence, from first mark to final pull. The couple learned how much pressure matters during hand burnishing, how to read the surface of the block before ink goes on, and how small registration shifts affect the final look. By the end of the session they had a better sense of how edition printing works.
- Blocks prepared for safe carving and clean edges
- Brayers and inks mixed for consistent coverage
- Paper cut and marked for alignment
- Press setup used for selected sheets
- Drying handled so finished prints stayed clean
The finished prints and what held up well
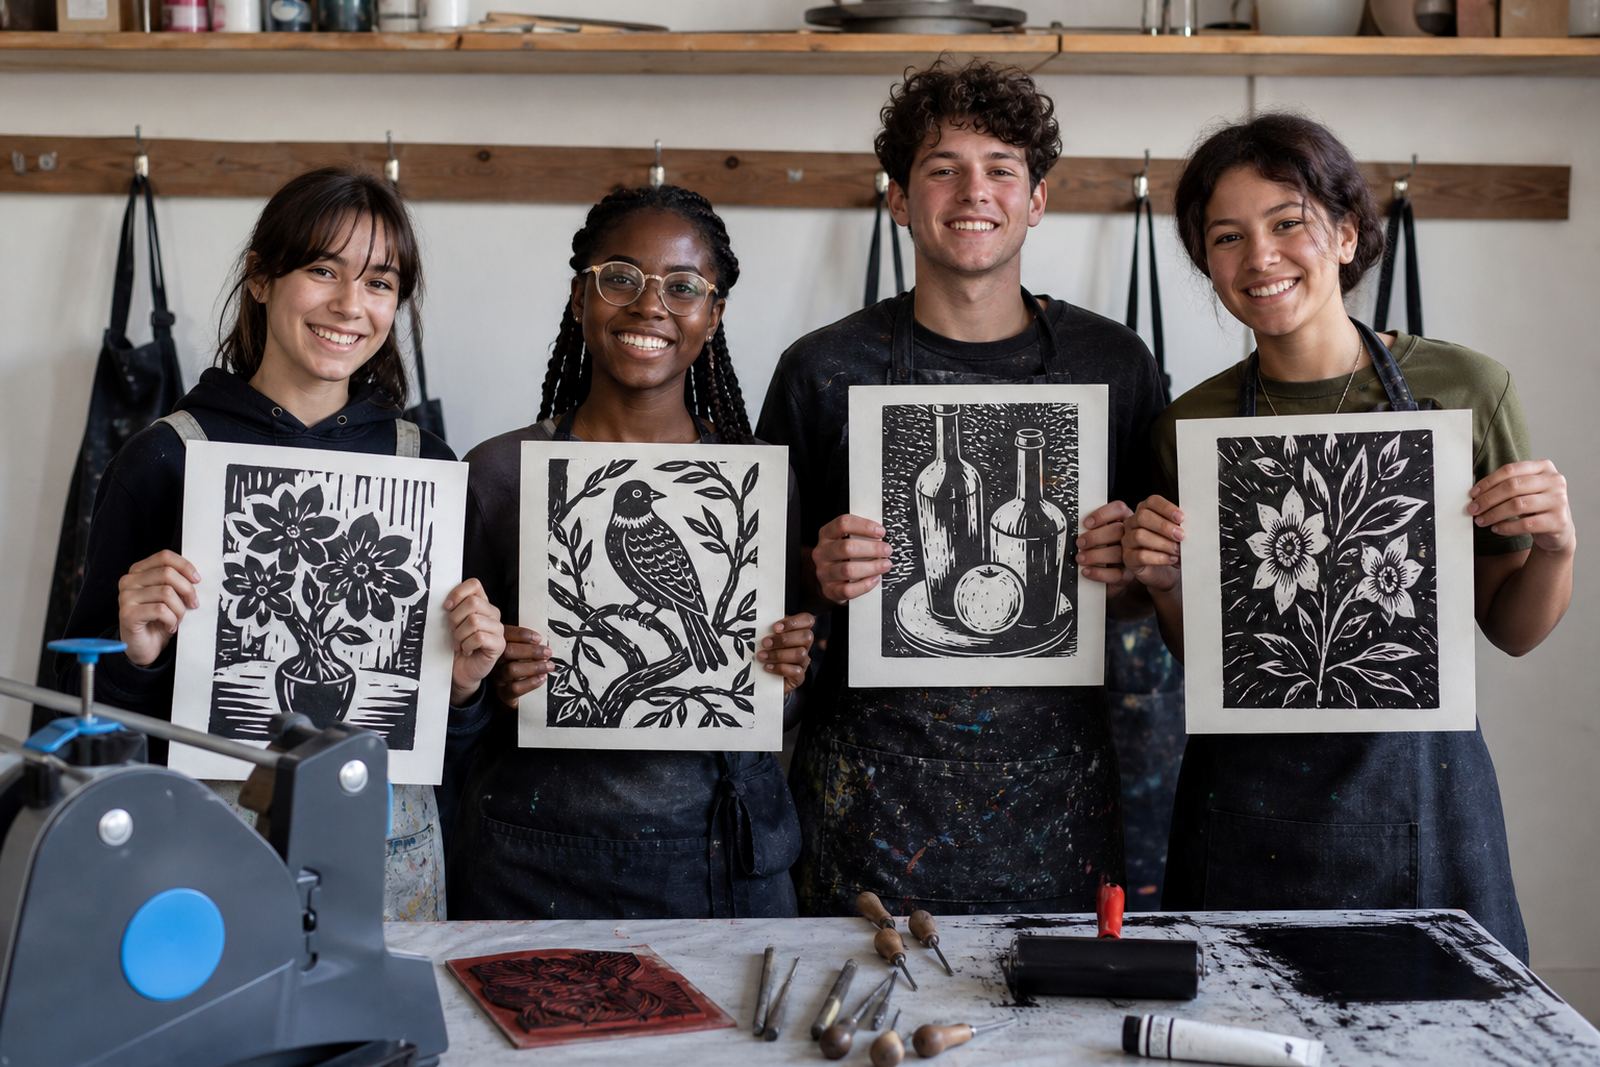
The strongest result was the shared visual rhythm. Because the composition was planned as a pair, the image did not read like two separate ideas placed side by side. It held together as one print with two hands behind it, which is often what couples are hoping for even when they do not say it in those exact words.
Hand burnishing gave the sheets a slight variation that suited the subject matter. The texture from the paper and the pressure marks from the baren gave each pull a little movement, while the edition still stayed consistent enough to feel deliberate. The final prints carried crisp carved lines, even ink coverage and a clean sense of space around the image.
The strongest part was how structure and freedom sat together. The couple could make decisions, but the session still had enough print discipline to keep the edition strong. That mix is useful in workshops for adults who want something meaningful without needing prior print experience.
Green Point workshop approach to repeat
For another couples workshop with a shared image, we would keep the planning stage compact and the carving stage generous. That gives both people time to find their line language before the print stage begins. We would also keep a press nearby and burnish most sheets by hand, because hand burnishing teaches pressure, ink and paper response.
We would use the same practical order of work: concept first, test marks second, edition printing last. That sequence suits couples sessions in Cape Town where the goal is a finished artwork that still feels personal. It also keeps the workshop steady if one person works more confidently with the knife and the other prefers the inking or printing side.
- Start with one shared image plan, not two separate briefs
- Keep the block size modest for cleaner carving and printing
- Leave room for registration checks before the final edition
- Mix hand burnishing with press printing for varied results
Key facts
| Project | Green Point Couples |
|---|---|
| Location | Green Point, Cape Town |
| Workshop type | Private couples print workshop |
| Method | Linocut and hand burnished relief printing |
| Duration | 3 weeks |
| Output | One shared printed edition |