A club format built around the proof sheet
The client was a Cape Town art club running regular print sessions for adults and mixed-age participants, with a strong interest in process rather than one-off novelty. The brief asked for a workshop structure that could hold a group through carving, test proofs, registration checks and the final edition without losing pace or clarity.
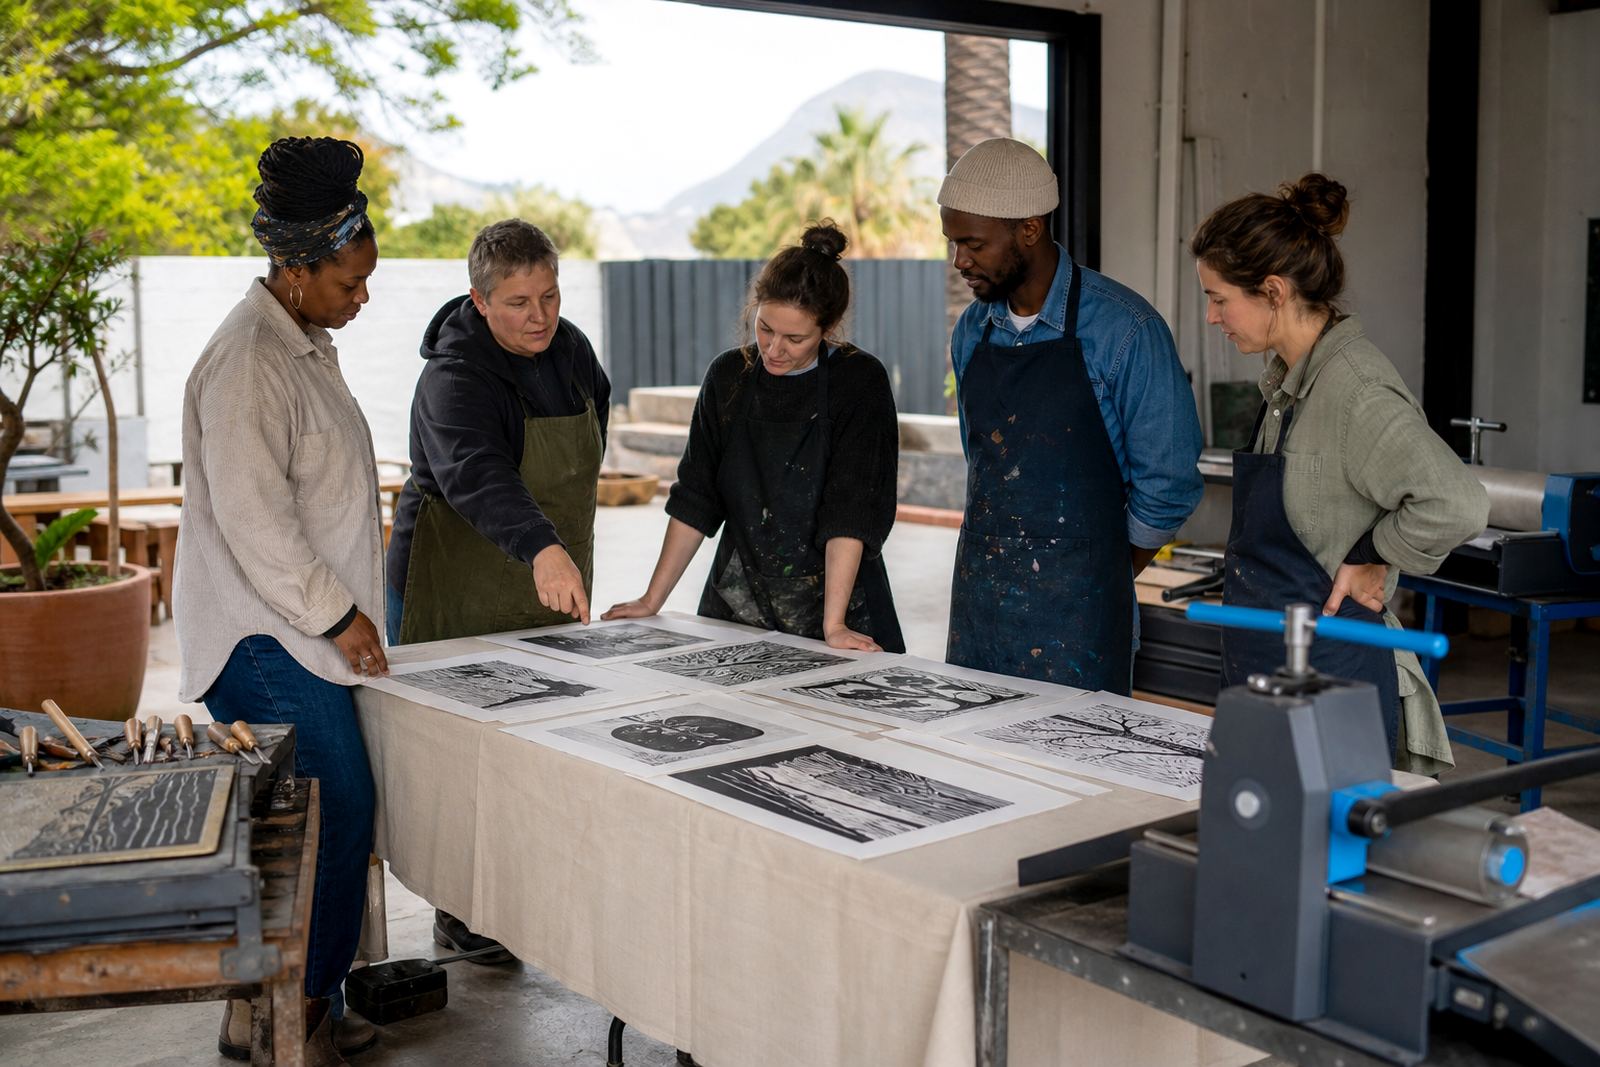
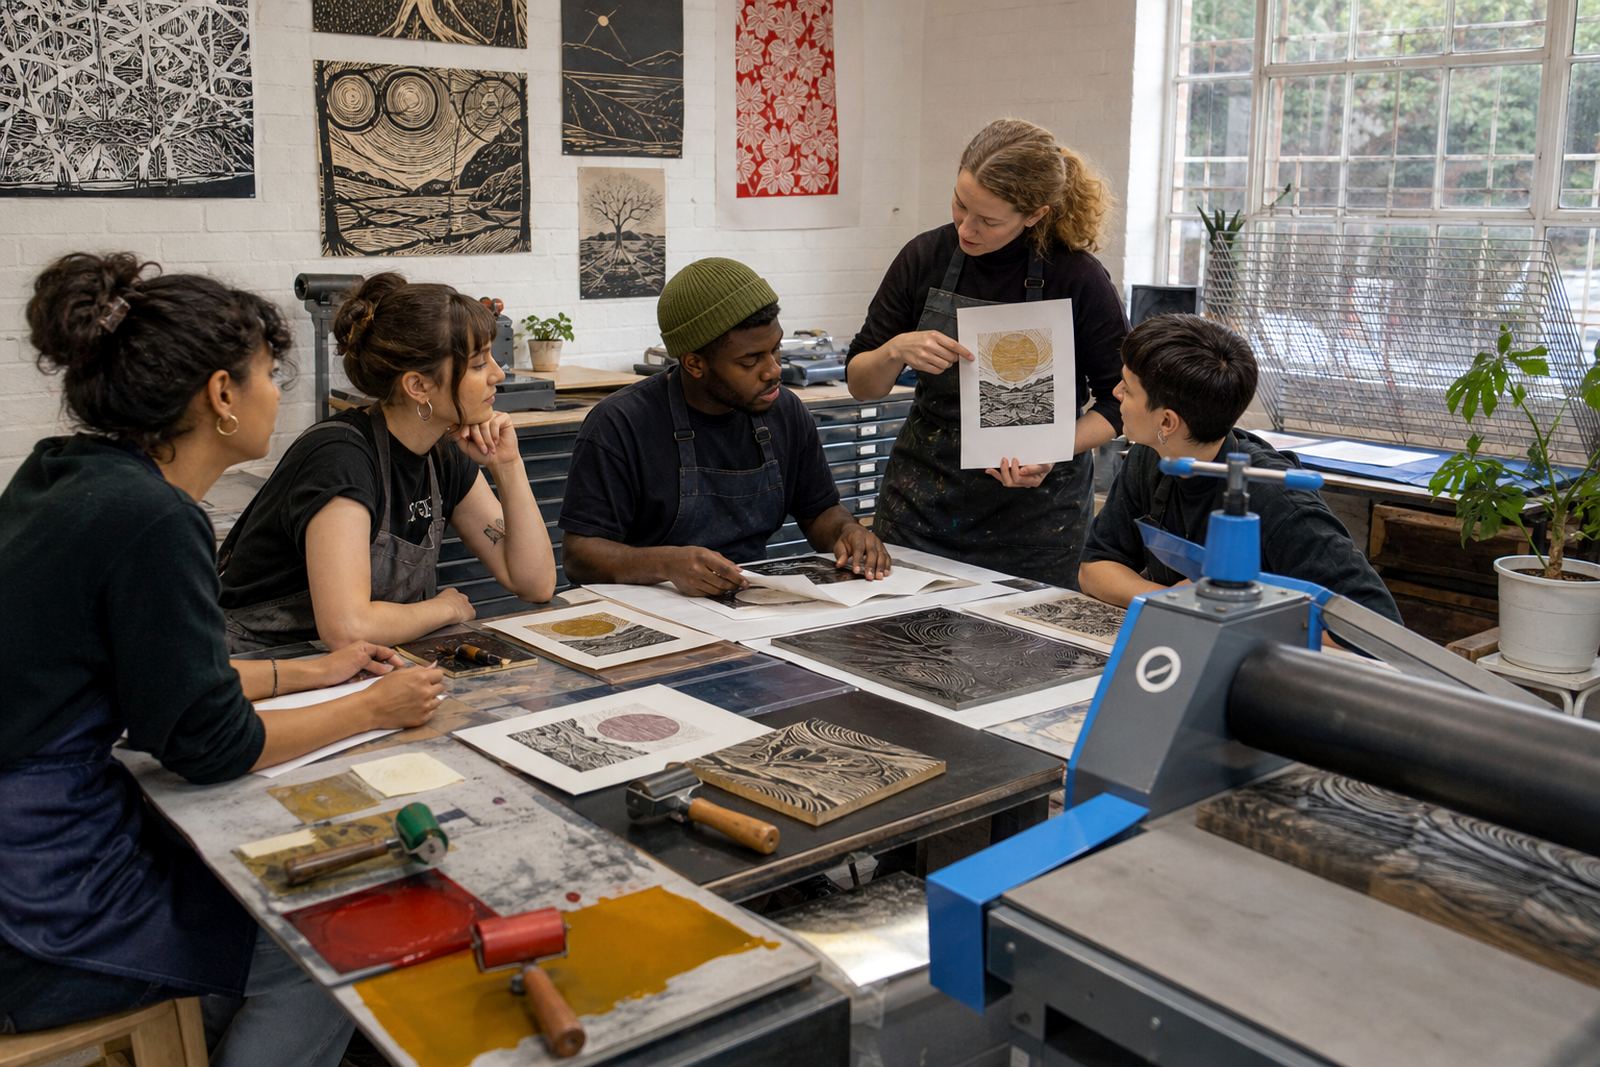
We shaped the sessions around the order that printmakers actually use at the table. Participants worked from a drawn transfer to a carved block, then moved through first proofs, ink checks, paper selection and the final pulls. That meant the group could compare results properly.
The studio plan also had to suit people with different levels of confidence. Some were handling a gouge for the first time while others were already ready for tighter line work and cleaner registration. The format had to support both without turning the room into a lesson that drifted off course.
Materials chosen for clean cuts and steady prints
The kit list stayed close to the tools and materials that give reliable results in a teaching room. We used lino and soft-cut blocks, gouges and V-tools, brayers, barens, rollers, registration guides, and both water-based and oil-based block inks where the session needed a longer open time. Paper was selected for handling, absorbency and how it took ink across repeated impressions.
- Safe carving practice with small, controlled cuts and clear hand positioning
- Registration marks that helped each layer sit where it should
- Proofing sheets for checking ink load, plate pressure and image balance
- Press printing where the edition called for firmer, repeatable impression
- Hand printing with a baren for groups needing portable setup and close control
One useful detail was the way paper choice changed the whole feel of the exercise. Softer sheets picked up a gentle bite from the block, while a heavier stock held edges better when the carving lines were tight. That made the class easier to compare and the edition more even from sheet to sheet.
How the workshop sequence was laid out
The series ran over three weeks, with the first week on carving and block design, the second on proofing and registration, and the last on final edition printing and drying. That pacing gave the group enough room to test ideas without rushing the block to the press before the cut was ready.
Each session had a clear working order. Participants started by checking their image plan, then moved into carving, proofing, clean-up between colours and final print runs. The point was to keep the edition consistent while leaving enough room for individual marks, which is often where a good lino print shows character.
- Week 1: design transfer, tool handling and safe carving
- Week 2: test proofs, registration and ink adjustments
- Week 3: edition printing, paper drying and finishing checks
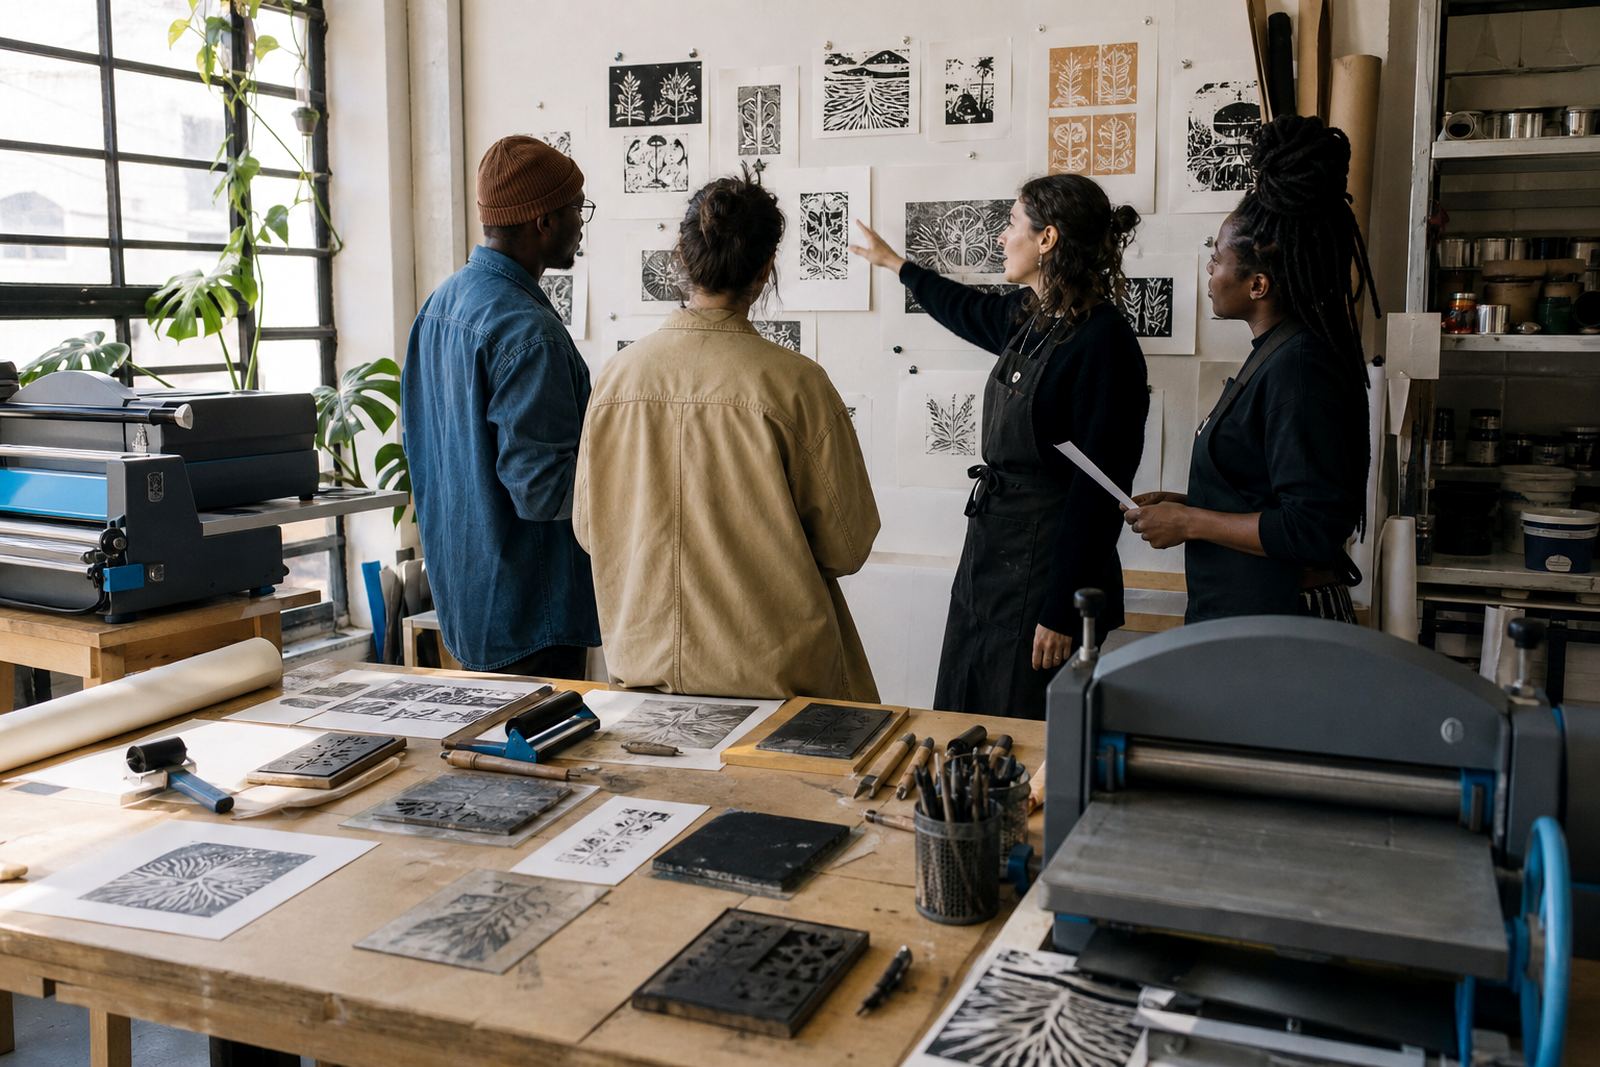
Because the group was meeting as a club, the timetable also had to work for return visits and shared tools. Blocks were stored flat, proofs were labelled clearly, and the paper stack stayed organised so no one had to guess which stage they were working on.
Edition consistency without losing the hand-made mark
Consistency was the brief’s biggest strength. The club wanted every print to feel clearly hand-made, but not uneven in a way that made the edition look accidental. That meant attention to ink coverage, pressure, paper feed and the order of printing each colour.
We kept the edition notes simple enough for people to use on their own. A first proof was checked for faint areas, then the block was adjusted where needed and the next pull compared against the earlier one. Small changes in brayer pressure or paper placement made a visible difference, so the room had to stay calm and methodical.
By the end of the series, the participants had a better read on how a print edition holds together. They could see how one loose margin or one over-inked corner changes the tone of a set, and they had a cleaner sense of how to correct it without overworking the block.
What the team handled on the day
The workshop team managed setup, material layout, tool guidance and the print sequence across the studio sessions. We kept the table arrangement practical for carving, inking and drying, with enough space for people to move between stations without crowding the block or the press.
Support also included helping participants read the block before the first cut, then showing how to check the proof against the original drawing. That part matters in a print room because a good image can still be lost if the registration is loose or the paper is not seated properly.
- Studio layout for safe carving and clean ink handling
- Guidance on block choice, line weight and negative space
- Paper handling, drying space and stacking between pulls
- Edition labelling so each sheet stayed in sequence
- Clean-up and storage of tools, blocks and working proofs
What changed by the end of the series
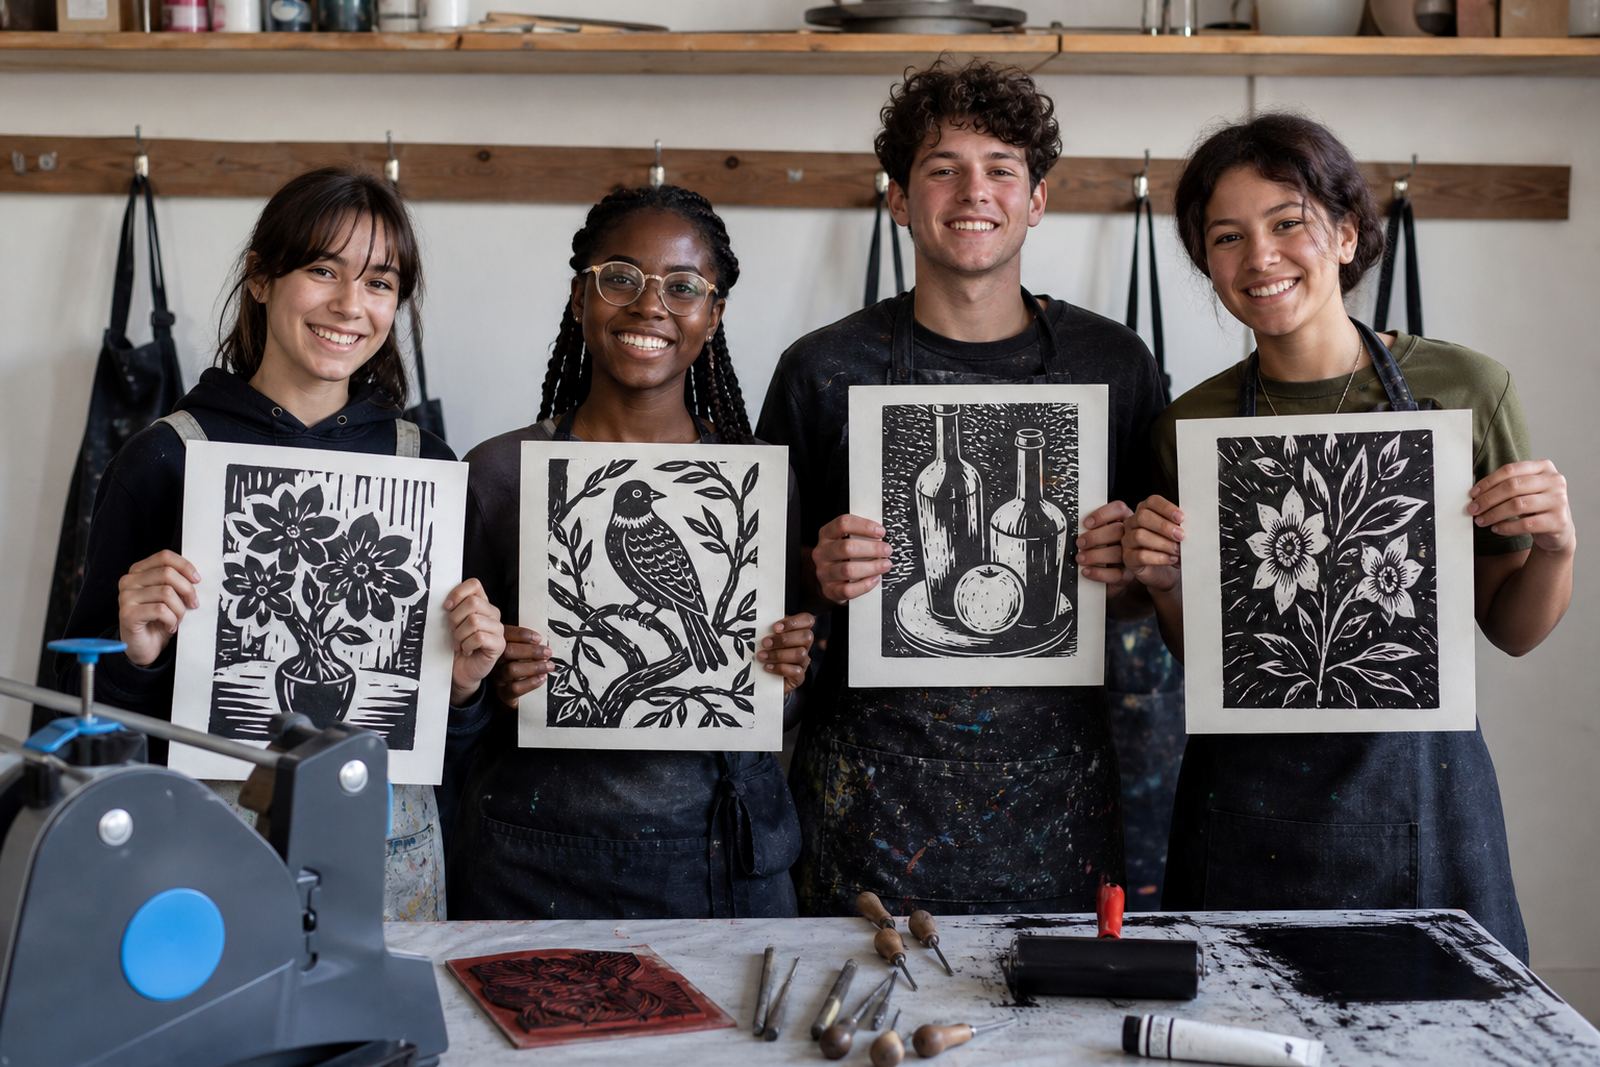
The finished work showed tighter registration, more even ink transfer and clearer awareness of paper choice across the group. The editions held together better because participants had time to compare first proofs with later pulls, rather than treating the first print as the final answer.
For a Cape Town club setting, that consistency was the real result. People left with a practical grasp of lino and block printing that they could use in future sessions, whether they wanted one-colour prints, small editions or a more layered approach with separate blocks. The studio process stayed readable from start to finish, which is what the client needed.
In a similar brief, we would keep the same three-part structure: carve, proof, then print. It gives beginners enough room to settle in, while still giving more experienced printmakers the detail they want from a proper edition.
Project record and working details
The brief called for a hands-on art club programme in Cape Town, with workshop flow, tool handling and paper control built into the process. The format was suited to adults and mixed groups, and the work stayed focused on practical printmaking rather than a display-only session.
The materials and methods were chosen to suit studio teaching, school-style group handling and portable sessions where needed. That meant a mix of hand printing and press work, along with clear proofing stages and dry-time handling that kept the editions in order.
Key facts
| Project type | Art club workshop series focused on lino and block printing |
|---|---|
| Town | Cape Town |
| Area | Woodstock studio base with pop-up potential across South Africa |
| Duration | 3 weeks |
| Core focus | Proofing, paper choice and edition consistency |
| Methods | Hand printing, baren printing and press printing |